How To Design Custom Files With Your Brother ScanNCut DX
- Brother Crafts Blogger
As you know, I love my Brother ScanNCut DX.
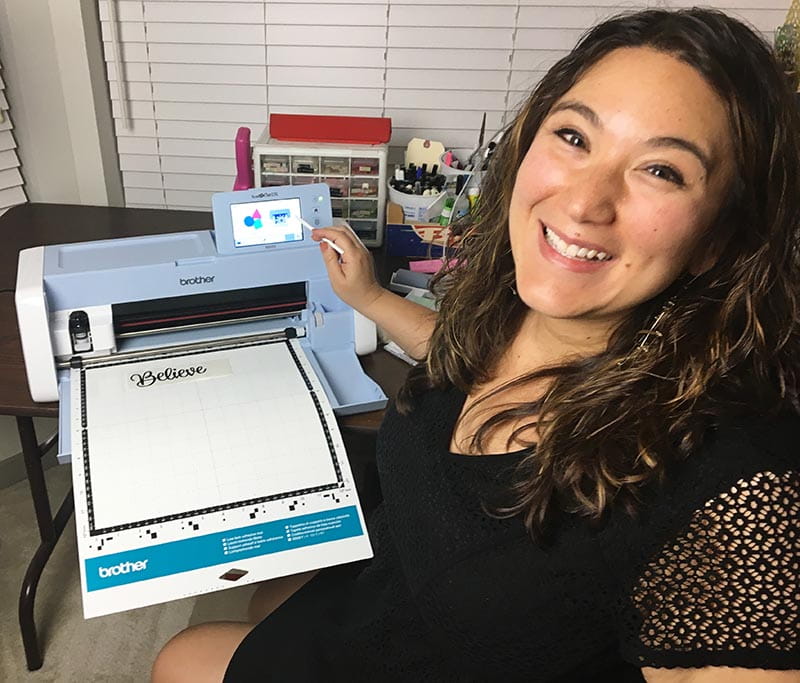
But, I'm definitely not into using cookie cutter designs. That's part of the reason I love the ScanNCut DX so much: it allows me to express my own quirky style quickly and easily. There are so many ways to design custom files:
• Using the built-in editing functions in the stand-alone ScanNCut DX.
• Using the built-in scanner to scan my own original drawings or copyright free artwork from books or the internet.
• Using the free computer-based software, CanvasWorkspace.
• Using any third-party software that can output an SVG cut file.
And the ScanNCut DX cuts a wide variety of materials, allowing me to make lots and lots of my own custom art tools.
Here are 4 ways for mixed media artists, like me, to use the ScanNCut DX:
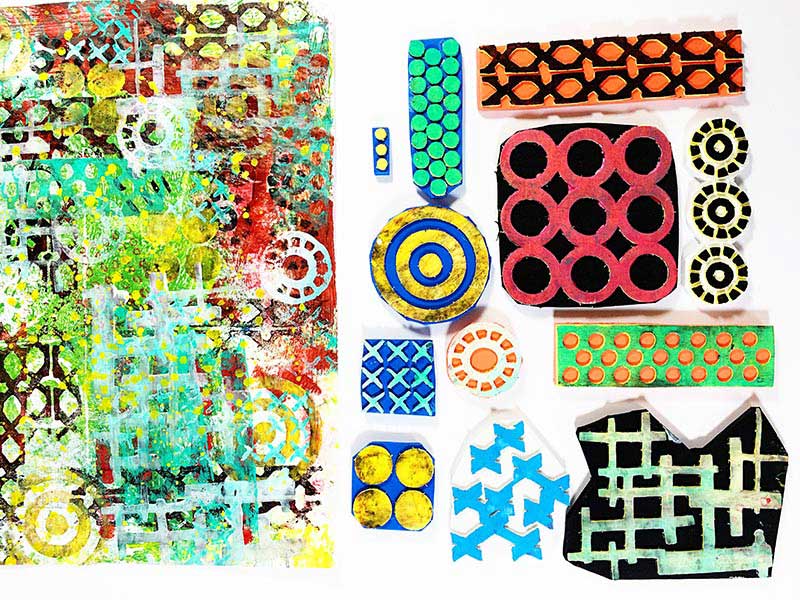
STEP ONE: MAKE CUSTOM STAMPS
You can easily design and cut your own foam stamps. Here are some that I've created:
And here's a video on how to make your own:
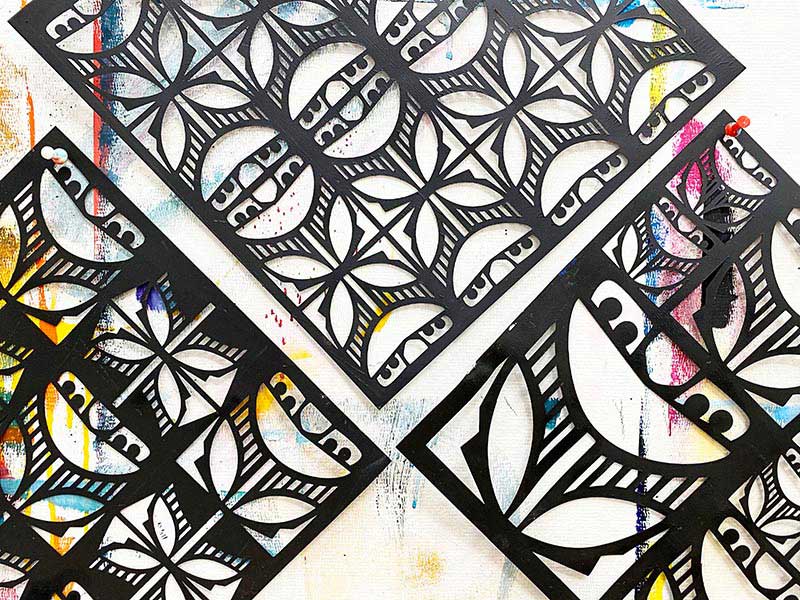
STEP TWO: MAKE CUSTOM STENCILS
You can also easily design and cut your own custom stencils. Here are three that I recently created:
And here's a video covering the most asked about stencil design question: How to create stencil bridges?
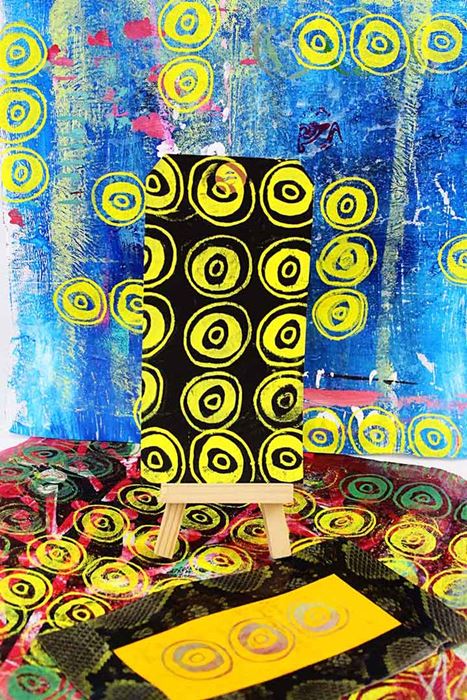
STEP THREE: MAKE CUSTOM SCREENS FOR SCREENPRINTING
This is one of my favorite techniques. All you need it a curtain sheer and some heat transfer vinyl (HTV). Here are some screenprints that I've created using custom ScanNCut DX screens:
And here's a video on how to make your own custom screen:
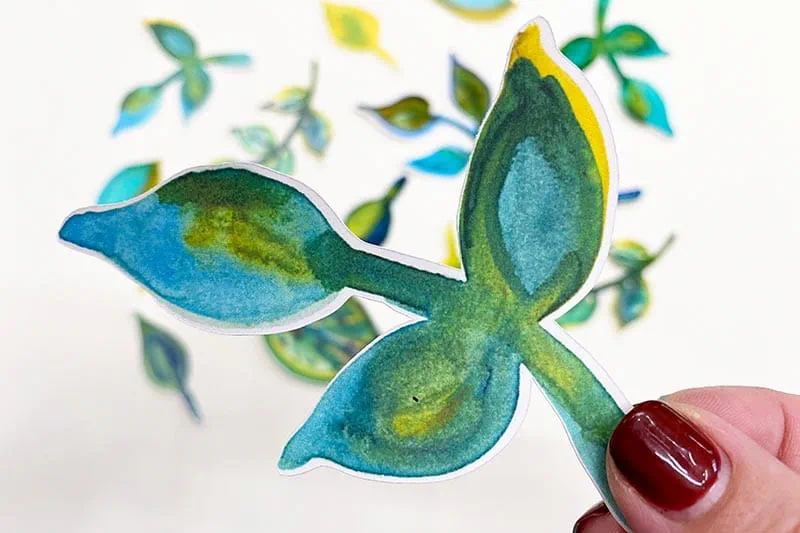
STEP FOUR: MAKE CUSTOM EMBELLISHMENTS
I love that the ScanNCut DX is able to fussy cut around an entire sheet of stamped or even hand painted images. Here are some leaves I painted and had the ScanNCut DX cut out using Direct Cut:
And here's a video on how Direct Cut works:
I know you will have fun making all the tools an artist could need with your ScanNCut DX machine!
Tags
Shop this Project
No ScanNCut DX? No problem! Any products mentioned in this project are available to buy here.
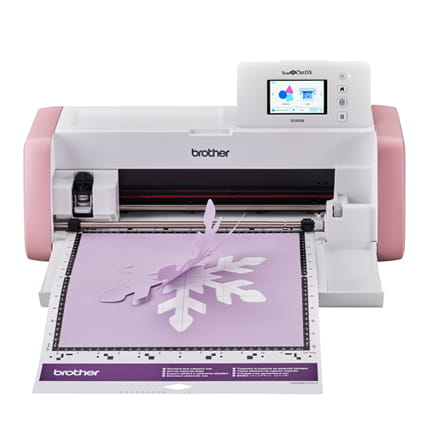
Brother ScanNCut DX
- 251 Built in Designs
- True Auto Blade, no manually adjusting blade pressure settings
- Built-in Scanner; scan in hand-drawn creations and cut them out!
Related Projects
Stay Connected
* Required fields