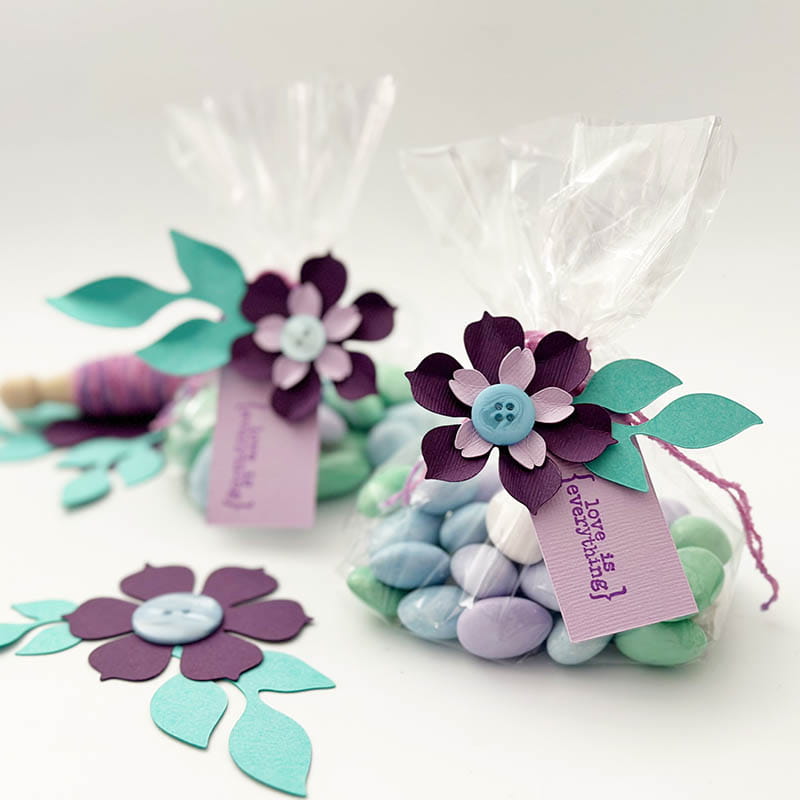
Candy Wedding Favor Tag
Supplies:
- ScanNCut DX
- Standard mat
- Cardstock
- Glue (such as hot glue)
- Button
- Ribbon
- Bag
- Candy to fill
When it comes to favors, who doesn’t love a little sweet treat? While this particular design was made for a wedding, you could use this idea for birthday parties, baby showers, and more! The ScanNCut machines make visualizing a project to creation a snap! This is an easy one to work in batches, make as many as you need quickly and easily. To begin, decide on the favor, bag, colors, the size you would like your tag to be, and how many you'll need - then let the crafting fun begin!
Instructions:
- Stamp the patterned paper with the sentiment you would like on your tag, being sure to distance enough apart to allow for tags to be cut.
Tip: This could also be done with printing the sentiment out onto cardstock using computer fonts/designs as well - Select your tag shape from the basic shape designs built into the ScanNCut DX machine. Then press the button to scan your mat (with paper in place) so that you can see where your tags will need to be.
- Size and rotate the tag design to fit your sentiment as desired. Once your first is finished, use the edit screen to add additional tags, and position those.
- Cut out the tags, and set aside.
- Select a flower (or other design that can be layered) and cut from a piece of cardstock or patterned paper. Make note of the size selected, add additional of the same (one per favor), and cut.
- Select additional flower, and repeat step 5 for any other designs such as leaves, etc. Use different colors of paper so that the designs will pop and really make an impact.
- Once all parts are cut, you simply need to assemble! Starting with the bag, ensure a string, ribbon, or other trim is secured firmly. Then attach your tag to the trim, and using hot glue (or other adhesive) attach the layers you have cut as desired.
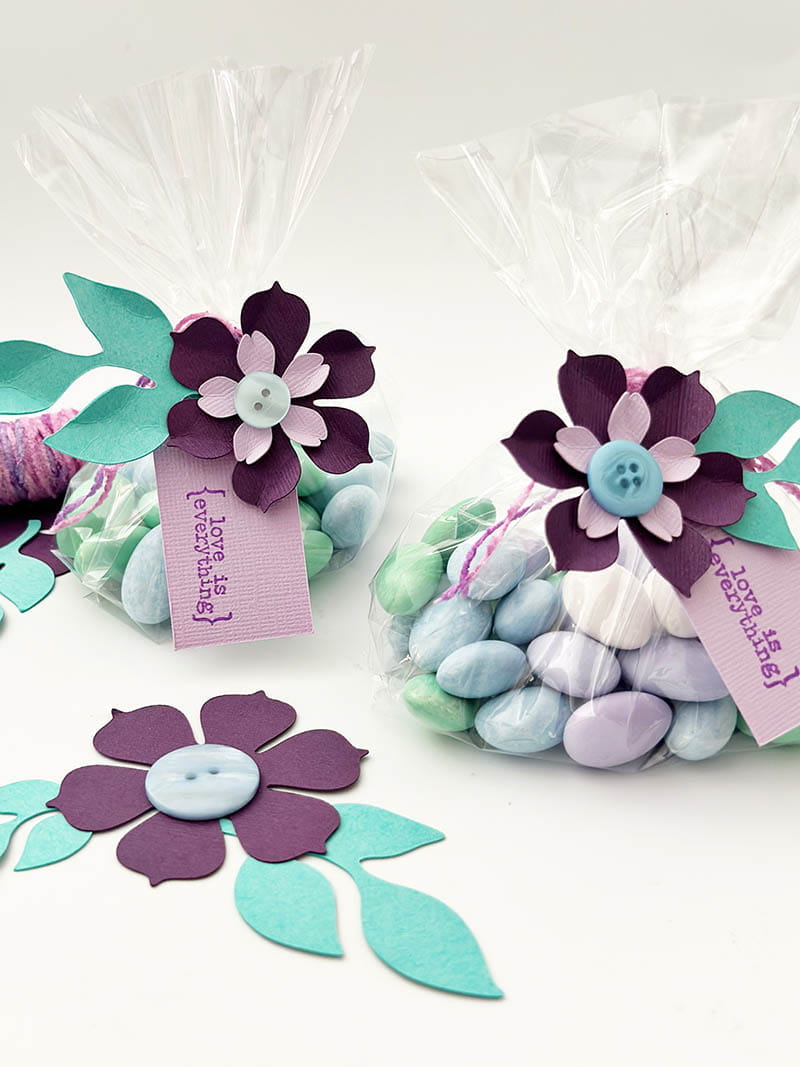
Not only is this quick and easy, it’s a beautiful way to put a handmade touch on your special day, and show your guests that you care!

Related Projects
Stay Connected
* Required fields
