Create A Felt Santa Ornament
Creating custom ornaments is always a joy, and with the ScanNCut DX built-in patterns you can have things customized and easy!
Supplies
- ScanNCut DX
- Felt
- Adhesive (iron on) for felt and fabrics
- Scissors
- Iron
- Buttons
- Ribbon or trim
- Needle and thread (optional)
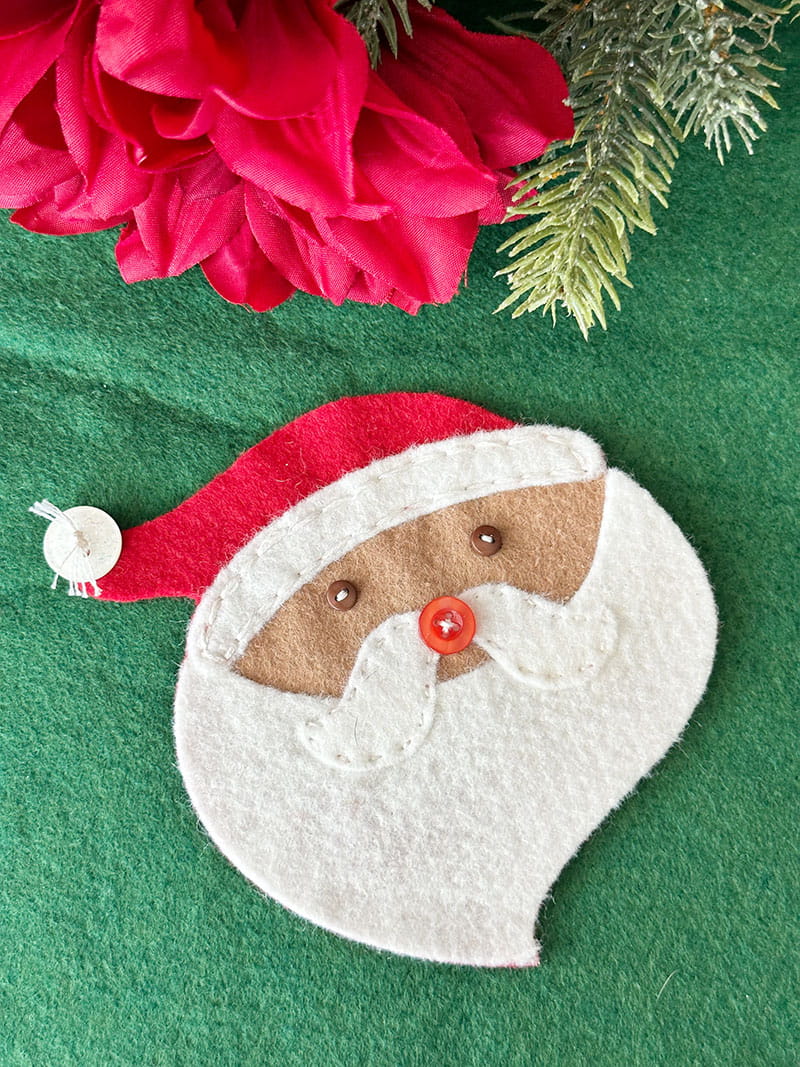
Felt crafting has always been a holiday favorite of mine. With the hard work of cutting handled by my ScanNCut DX, and with a little help from the built-in patterns, I can focus on the custom creative touches and have fun with my designs. In this case, I have altered a Santa design with a darker skin tone, and button eyes and nose (vs. cut material) ready to hang in moments or take a bit more time to add more details as I please.
Instructions
1. Begin by preparing the felt with an iron-on adhesive product. This step is optional; however, it makes everything much easier! Leave the paper backing on the felt and allow to cool.
2. Turn on your ScanNCut DX and select the Santa pattern. Select all of the white (hat, beard, moustache) and group together. Then select skin tone and place. Scan mat to ensure your placement of pieces are good and cut.
Tip: You can place all pieces, create one color at a time, or two first then add a third. In my case, I cut the white and skin tone first, then the red.
3. When cutting is complete, select the next part and select the red portion of the hat. Cut this from red felt.
4. Using a piece of felt as a base, adhere each of your pieces (now removing the paper backing) to your felt base. Press firmly and check that each piece has securely attached before moving on. This can be your stopping point and glue can be used for the eyes and nose if you prefer!
5. For hand stitched touches, use embroidery floss (6 strand) and a needle and back stitch (or use other decorative stitch) on parts that you would like to accent. I selected the moustache and white accents on the hat.
6. To sew the eyes, nose, and button on hat use the same floss and knot into place.
Tip: If you want to hide all of the stitching – you can add a third piece of felt (with adhesive or iron-on) to the back at this point.
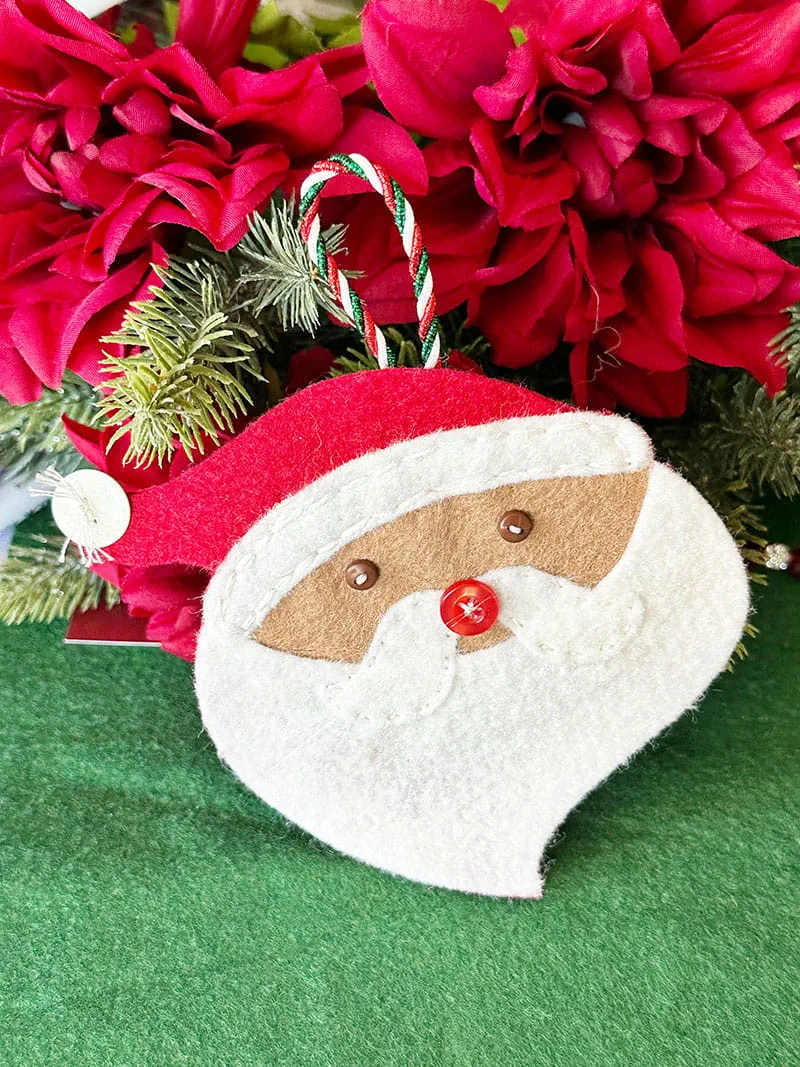
7. Add (with glue or stitch) a hanger in place at the top. Twine, ribbon, or cording all work well.
Now you’re ready to attach this to a gift, hang on your tree, and otherwise enjoy your jolly custom Santa!
Related Projects
Stay Connected
* Required fields