Children’s Alphabet Book
Create a wonderful accordion styled child's alphabet book with your choice of designs from the ScanNCut.
You will need: 12” x 12” Cardstock in an assortment of colors, 12” x 12” chipboard, non-toxic glue, tape, Brother pen holder & black/blue pens, ScanNCut
- 1. Load the file Book covers.fcm into the machine. Place a sheet of 12” x 12” cardstock onto a standard tack mat and use the draw function first to add in part of the book’s title. Then, use the cut function to cut the book covers out.
- 2. Using the same cutting file, place a sheet of 12” x 12” chipboard onto the mat and cut the two pieces out once more (skipping the drawing function this time).
- 3. Load the file Book pages.fcm into the machine. Place a piece of colorful cardstock onto the mat (low-tack works best) and first use the draw function to write the text on the paper using the black pen. Then use the cut function to cut out the pages.
- 4. Repeat step three 8 times until 28 pages have been cut (only 26 are required; feel free to modify the .fcm file in your machine).
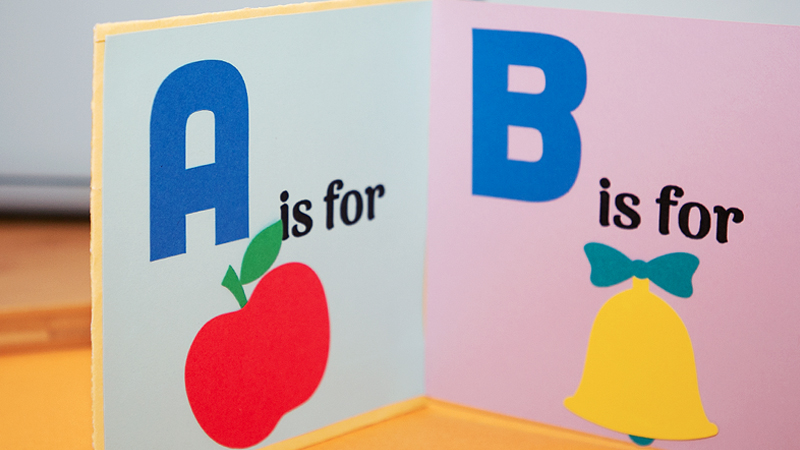
- 5. Go into the machine’s built-in patterns and select the text function, choosing a font that you like. You’ll want to type out each letter of the alphabet separately, making sure each is scaled up to 1.5” W. Arrange each letter on the cutting mat canvas, and cut out using cardstock. Vary the colors as you see fit.
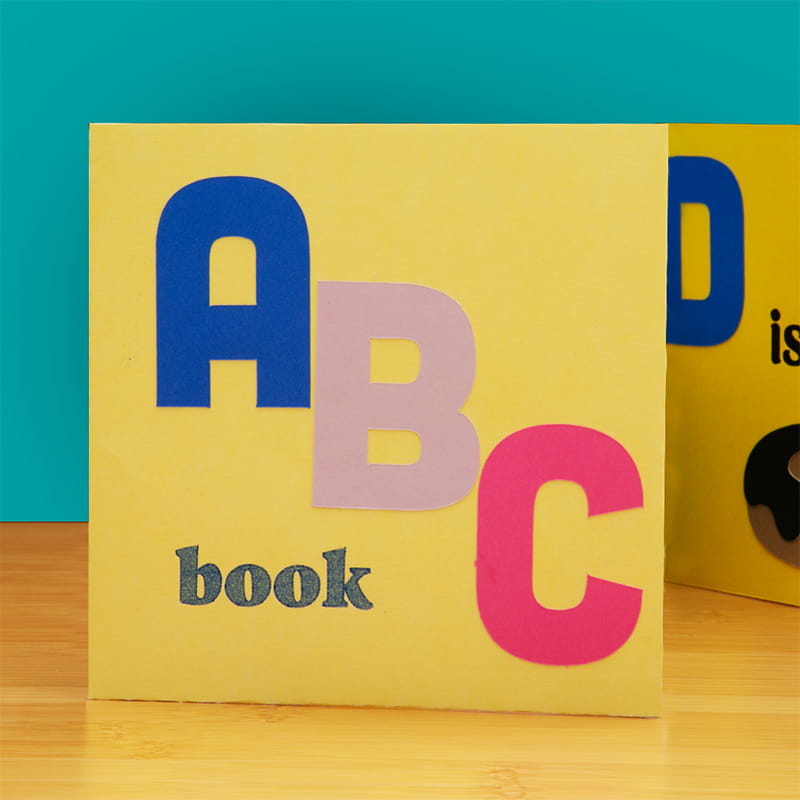
- 6. Cut an extra letter of A, B, and C for the front cover. Vary the colors.
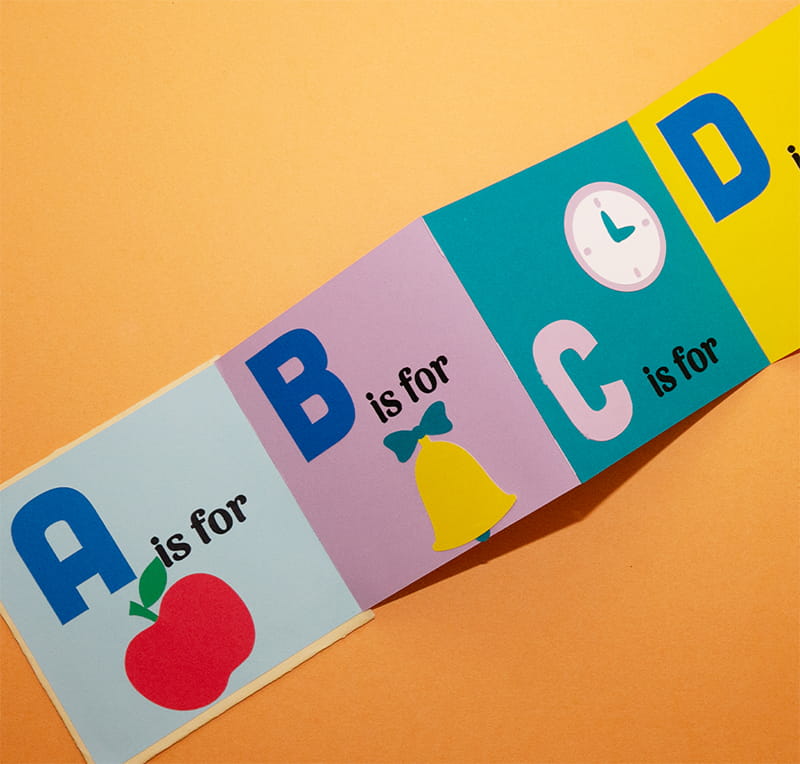
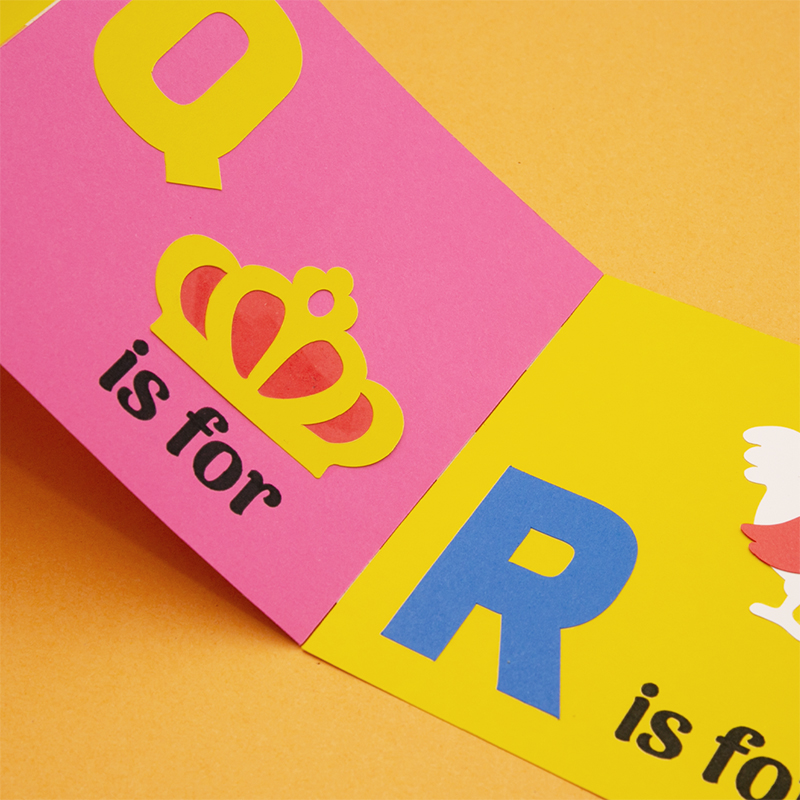
- 7. Finally- this is the fun part! Explore your SDX225’s 1303 built-in patterns to find objects that match each letter. We used the apple pattern for A, the Bell pattern for B, etc.- get creative and have fun exploring all the machine has to offer. You’ll want to make sure each pattern is scaled properly to the size of the page (no taller or wider than 2” is a good rule of thumb).
- 8. Once all pages, covers, letters, and patterns have been cut, get everything organized and get ready to assemble each page.
- 9. Assemble the front and back covers by gluing the cover cardstock to the cover chipboard. Add the additional A, B, and C letters to the front cover like shown in the photo.
- 10. Once all pages are assembled using glue, arrange in the correct order and use tape to connect the backsides of each page, with the back of the first page glued to the back of the front cover and the back of the last page glued to the back of the back cover.
- 11. Fold in an accordion style, and you’re done!
Related Projects
Stay Connected
* Required fields