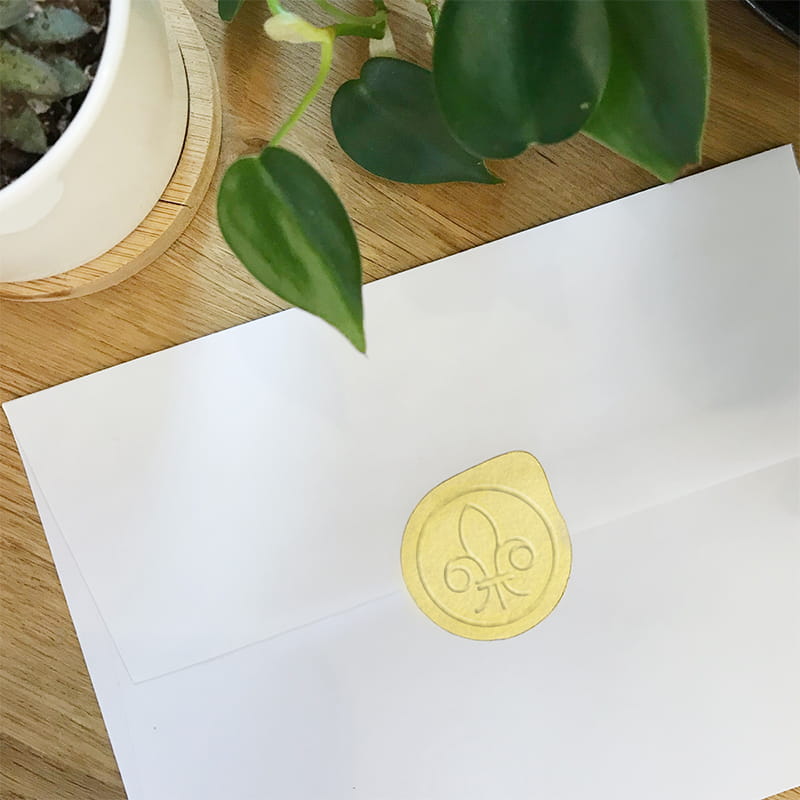
Line Embossed Envelope Seal
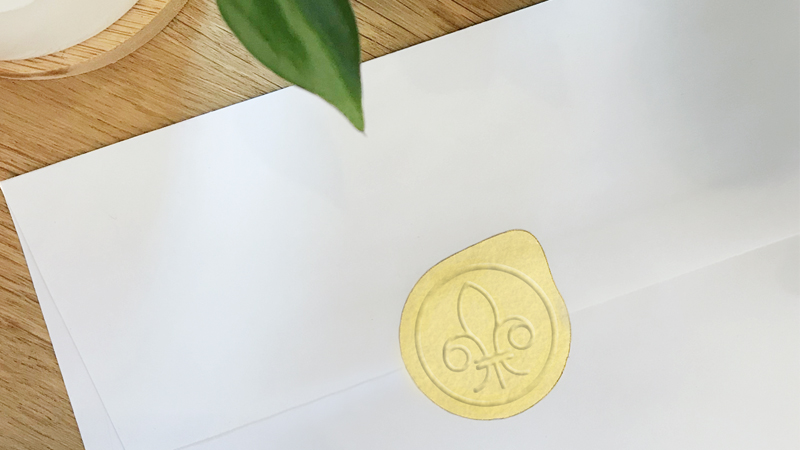
Check out how the Brother Embossing Starter Kit is used to make this elegant envelope seal.
You will need: Gold or silver sticker paper, ScanNCut DX, Embossing Starter Kit, low-tack adhesive mat
- 1. You’ll need to make sure the embossing function is activated on your machine and CanvasWorkspace.
- 2. Place the embossing mat on the machine (following all kit directions).
- 3. Place the sticker paper face down on the mat (backing should be facing you).
- 4. Place the 1.5 mm embossing tool into the holder.
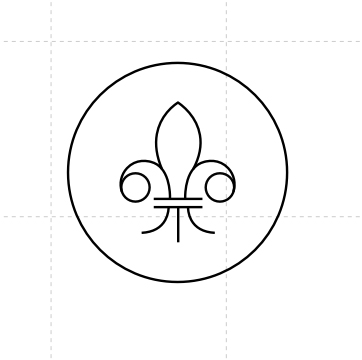
- 5. Load Step 1 .fcm file into the machine.
- 6. Use the scanning function in the machine to scan the material. Make sure that the pattern is aligned on top of the material.
- 7. Select “emboss” in the menu, and press start.
- 8. Once the embossing is finished, remove the sticker sheet from the embossing mat and attach it to the low-tack mat. Align the sheet to the same part of the mat as you did before.
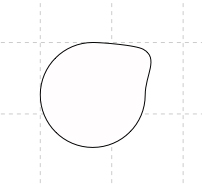
- 9. Load Step 2 .fcm file into the machine. Use the scanning function to make sure the cut pattern aligns with where you embossed earlier.
- 10. Cut the sticker pattern out.
- 11. Done!
Related Projects
Stay Connected
* Required fields