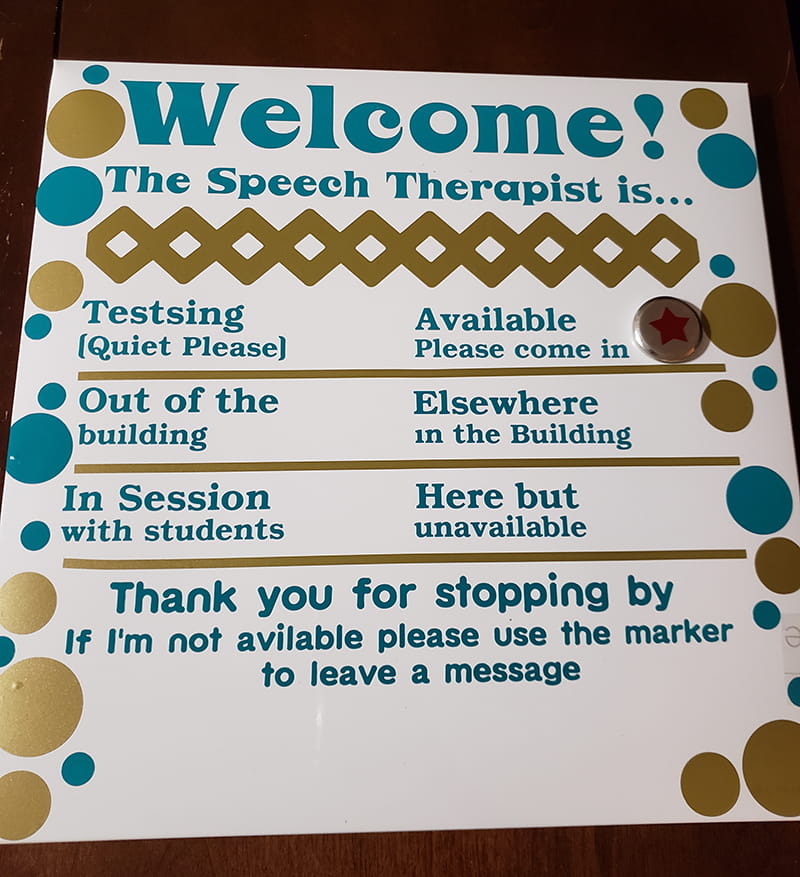
Back to School! DIY Office Door Sign

Back to school is just around the corner (if not, already started), and here is a practical school project for teachers using the ScanNCut.
Supplies:
3 color choices of permanent vinyl (you will need about 2 12x12 sheet in 2 colors and you can use a smaller or scrap piece for the 3rd color), a magnetic white board (I used a 14x14), magnet (mine came with the white board), transfer tape, a scrapping tool, ScanNCut.
1) Chose layout design. You can use any fonts or borders you like.
2) Select 4 to 6 messages for your availability.
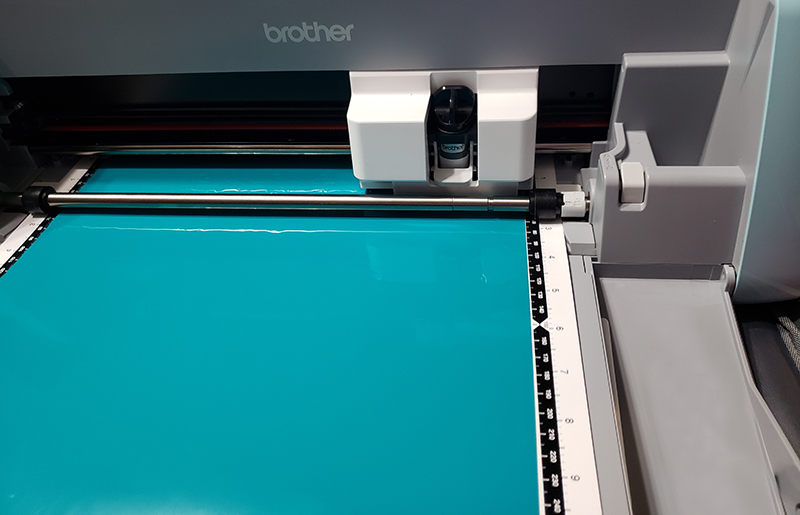
3) Once your design is ready, load it to your ScanNCut. Once you have it loaded, select which parts you would like for your first color vinyl and select those for cutting. Use a half cut to make transferring the vinyl easier later.
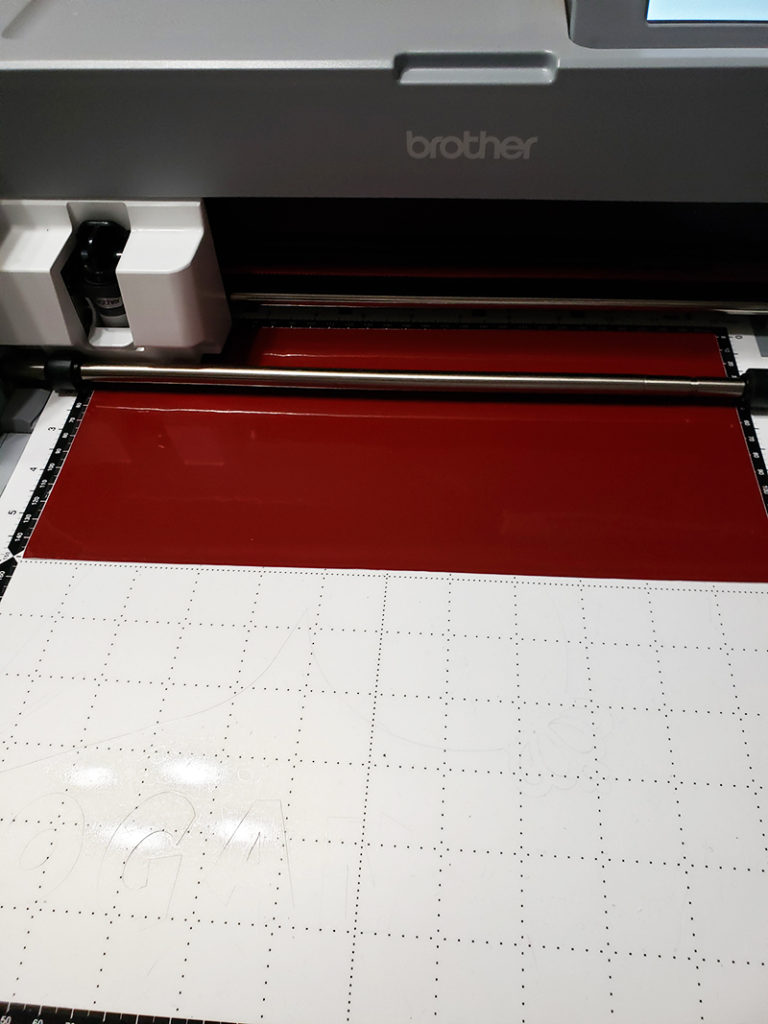
4) Repeat step 3 with the parts you would like in the second color vinyl.
5) In Patterns, chose a small star or other shape of your choice and adjust the size to fit your magnet. Cut the shape on your 3rd color vinyl (it can be any small scrap piece you have).
6) Weed all of the extra vinyl pieces out and place transfer tape over the 3 vinyl sections you have. Use a scraper to ensure that the vinyl adheres to the transfer tape.
7) Chose one piece and peel the back off the vinyl so it is stuck to your transfer tape. Carefully place it onto your white board. Use the scraper to thoroughly adhere the vinyl to the white board surface. Slowly peel up the transfer tape (your vinyl should be staying on the white board).
8) Repeat step 7 with the other color vinyl. Carefully line up with other color vinyl before sticking down with scraper.
9) Repeat step 7 with your small star or other shape and adhere it to the magnet.

10) Use the scraper to remove any remaining bubbles.
Related Projects
Stay Connected
* Required fields