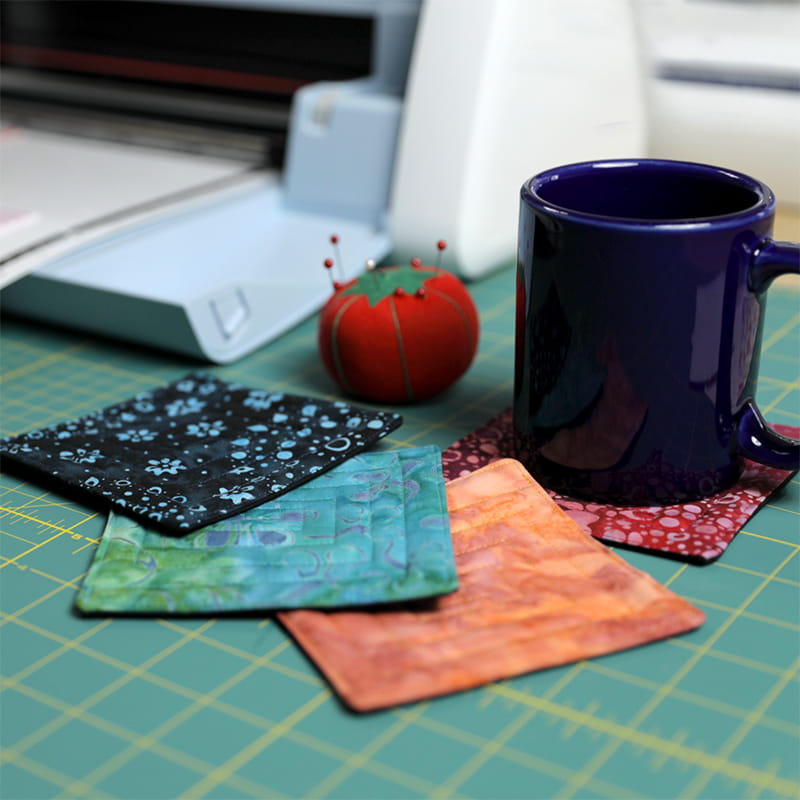
DIY Quilted Coasters

Combine a little sewing and some crafting to make one-of-a-kind quilted coasters for your next fun gathering!
You will need: ScanNCut DX machine, Brother sewing machine, scrap fabric in assorted colors, thread, quilt batting, iron.
Steps:
- Choose two colors of scrap fabric and stick to the standard tack mat the with high-tack fabric support sheet applied. Make sure each portion of scrap fabric measures at least 6.5” x 6.5”.
- Using the built-in shapes on the machine, select the square shape and set the width and height to 5.75.” Create two of these shapes.
- On the Object edit screen, set both square cut shapes to have a 0.25” seam allowance using the seam allowance tool.
- Use the scanning function to get an image of the fabric on the screen, and make sure the cutting files are aligned to each piece of fabric.
- Cut out the squares using the Thin Fabric Auto Blade.
- Remove the cut fabric from the mat.
- Using an iron, iron down 0.25” on each side of each square to create sharp creases. Make sure there are no wrinkles in the fabric.
- Trim a piece of quilt batting down to 5.75” x 5.75”. Insert the quilt batting beneath the folded edges of one of the quilt squares, and then stack the other square on top of it. Make sure both of the right sides of the fabric are facing out.
- Using a quilting setting on your sewing machine, start in the center of the quilt square and begin sewing a square spiral pattern outward, maintaining a distance of about 0.5” between each line of the spiral. Make sure to backstitch at the beginning and end of the line of sewing to secure the stitches.
- Once you get to the edge of the quilted square, backstitch and cut the threads.
- Now it’s time to finish the edges of the square. Get close to the edge (0.125” or closer) and carefully sew all the way around the coaster to secure the edges. Backstitch at the beginning and end of the line of sewing to secure the stitches.
Trim all excess threads, and you’re done!
Related Projects
Stay Connected
* Required fields