Faux Stained Glass
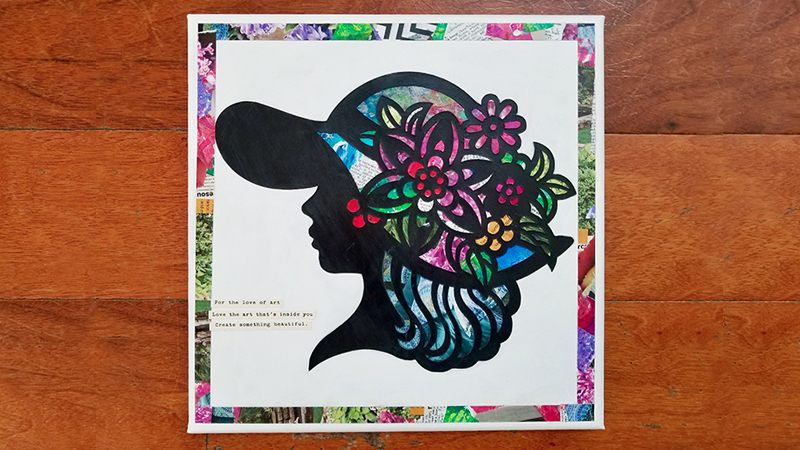
Happy National Craft Month! Celebrate the best month of the year by creating some new artwork for your crafty space! Today, ScanNCut Specialist Erin Bassett shows Not only is this a fun project to create, but it’s also a great way to use up scraps of paper and fabric you have in your stash.
Supplies:
ScanNCutDX Machine and Accessories
12” x 12” Canvas
Gesso (optional)
Gel Medium
Glue Stick
12” x 12” Black Cardstock
8.5” x 11” Printer Paper
Paper Trimmer
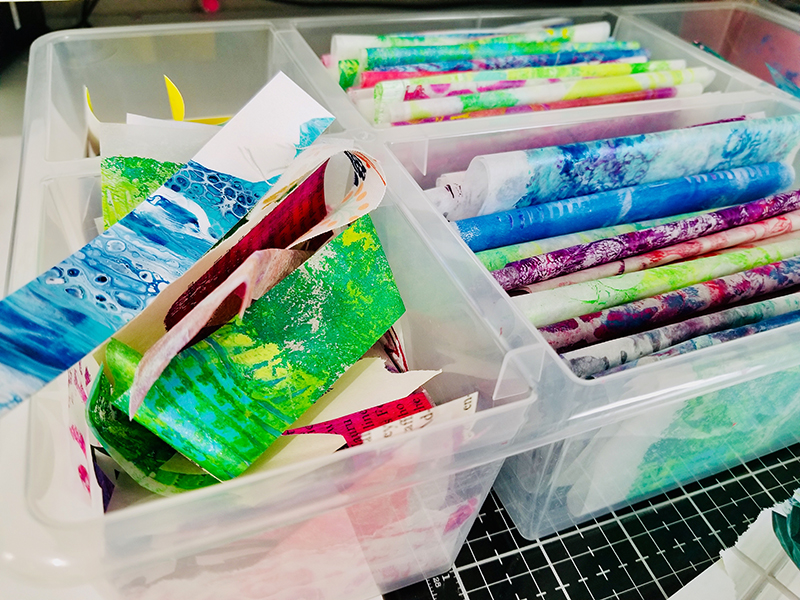
Paper or Fabric Scraps, Magazine or Book Pages
Foam Brush
Word or Phrase Stickers
Instructions
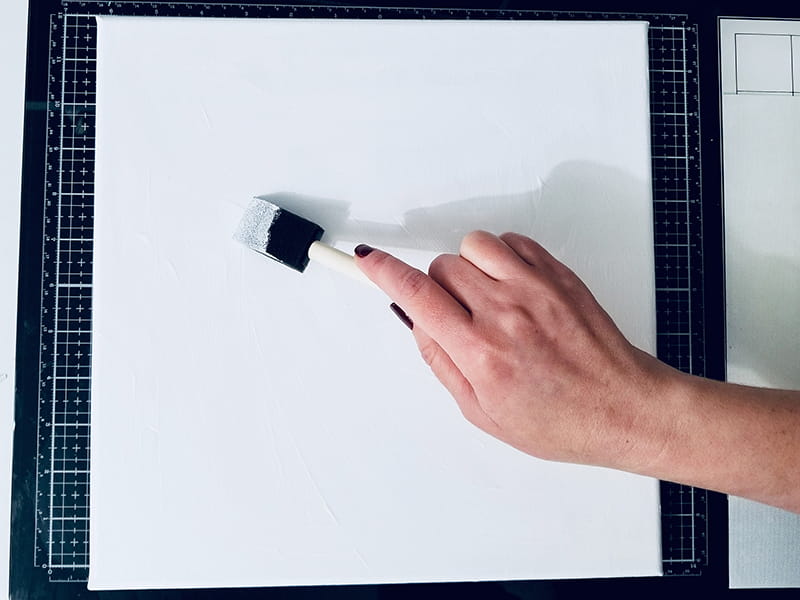
- 1. Apply Gesso to the canvas if desired.
2. Adhere black cardstock to the standard cutting mat.
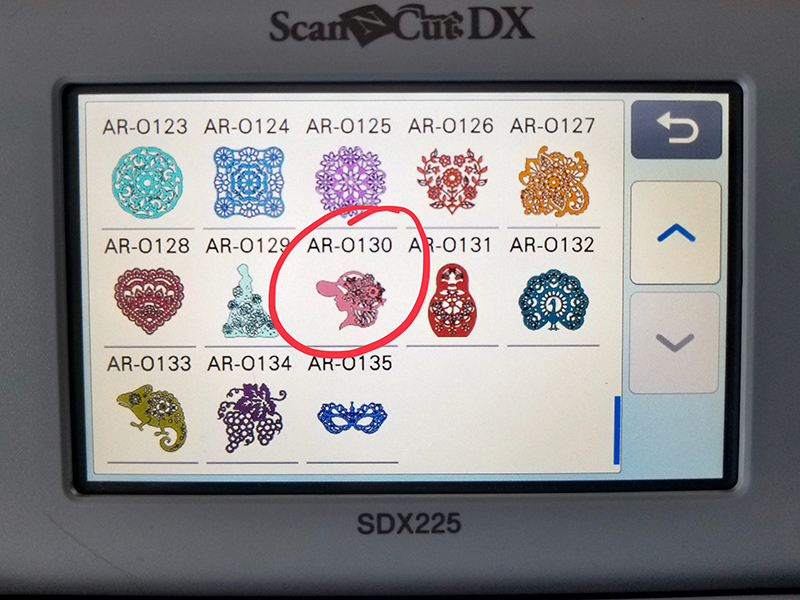
3. Load the mat into your ScanNCutDX. Select “Patterns.” Then select the lacy icon and then select the lacy lady pattern (AR-O130).
4. Resize the pattern to 10.50” wide. Select “set” and then “ok.”

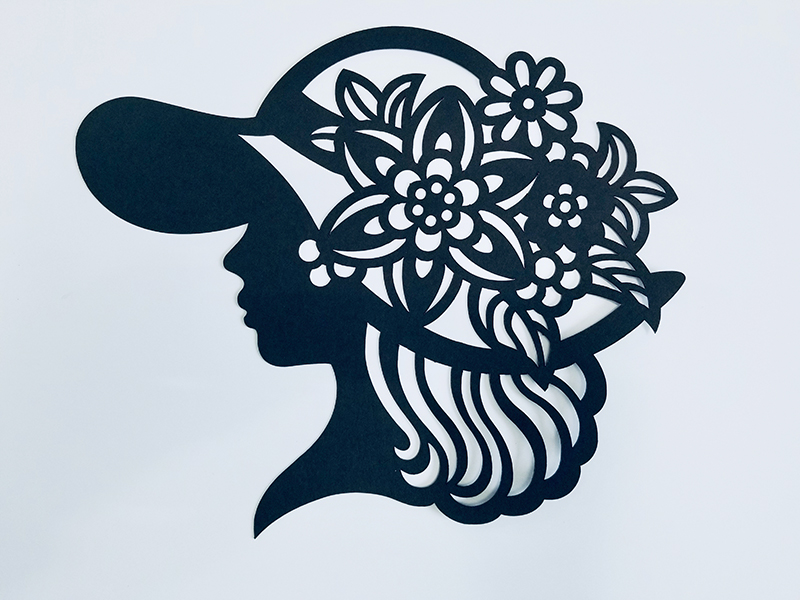
5. Select “cut” and “start” to begin cutting.
6. Unload the mat from the machine and carefully remove the cut pattern and remaining paper.
7. Select a variety of paper or fabric scraps to use on your project and tear them into small pieces.
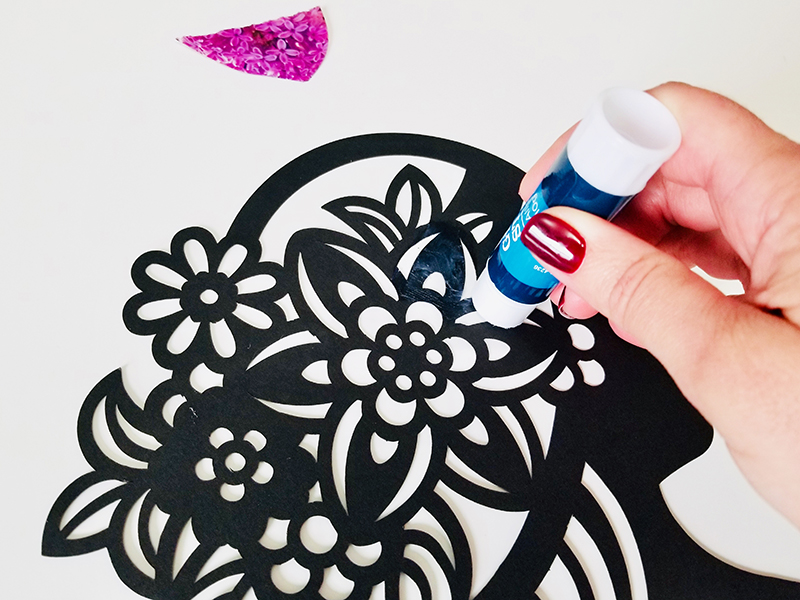
8. On the back side of the lady die-cut, use a glue stick to adhere scraps of paper, fabric, or magazines to the open sections of the pattern and allow to dry.


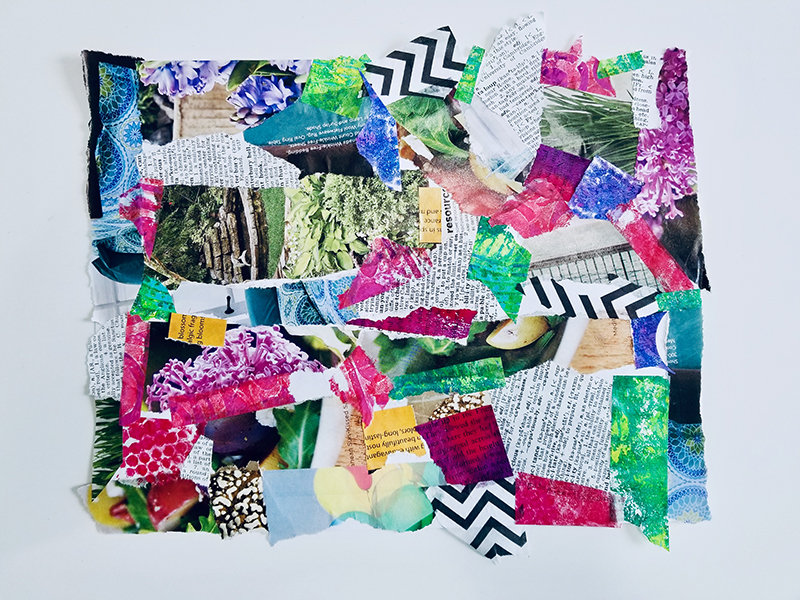
9. Cover a piece of printer paper with scraps of paper, fabric or magazines and allow to dry.
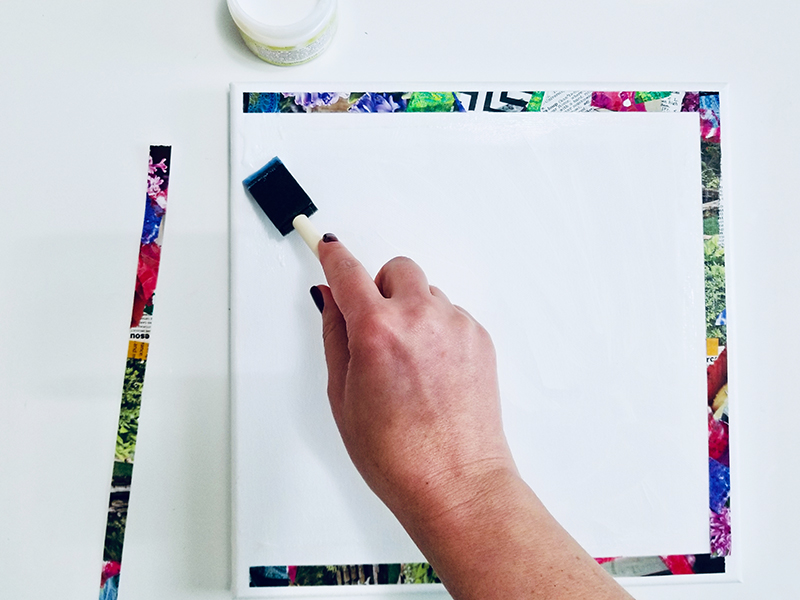
10. Cut five ½” x 11” strips of the collated paper.
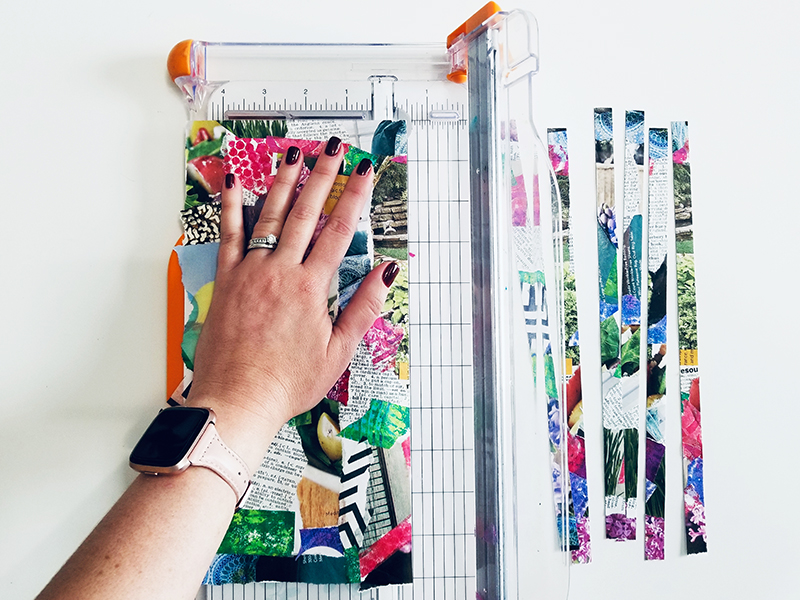
11. Use gel medium to adhere the strips along the edge of the canvas about ¼” from the edge.
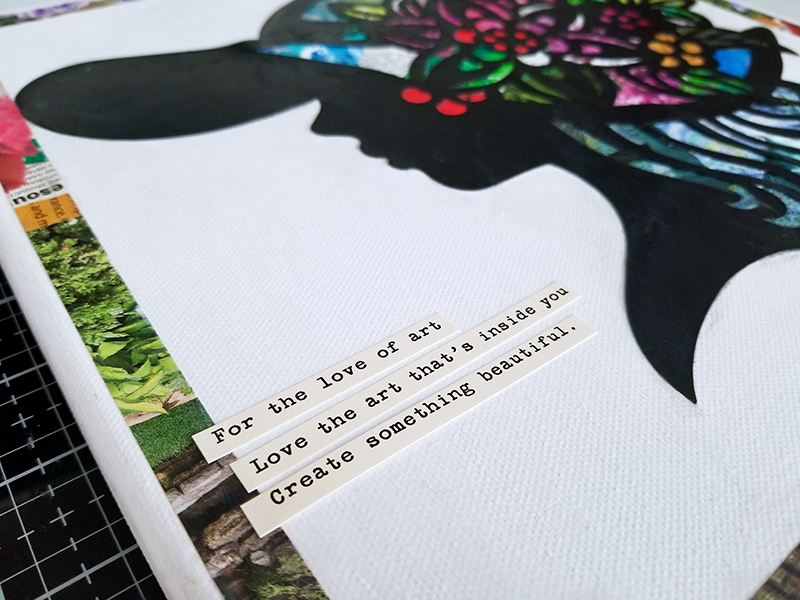
12. On the lady die-cut, trim off any scrap papers that extend beyond the edge of the shape and then use gel medium to adhesive it to the center of the canvas. Allow to dry.
13. Add word sticker phrases to finish off the project.

But wait, there’s more…
Bonus Project!
With some leftover collaged papered, Erin then turned that into a card.
Supplies:
ScanNCutDX Machine and Accessories
Collaged printer paper Sentiment Stamp
Instructions:
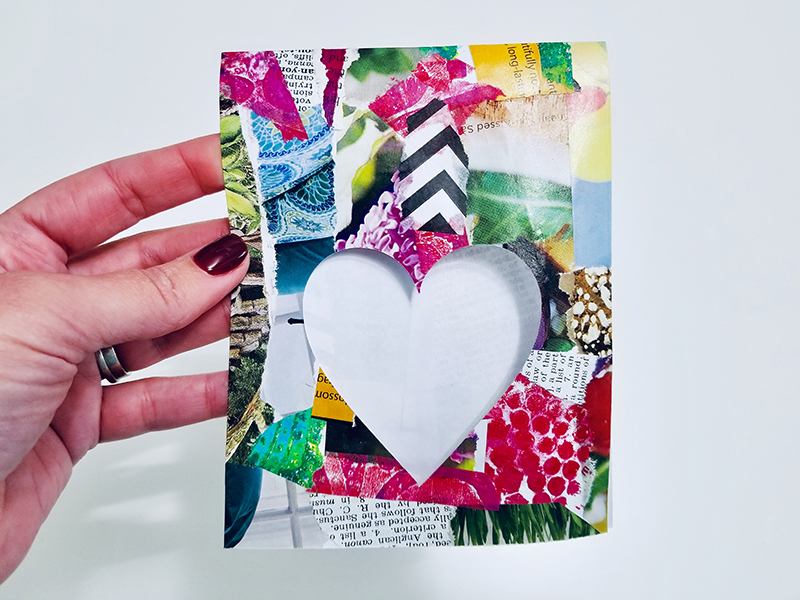
- 1. Trim collaged paper to 8.5” x 4.25”
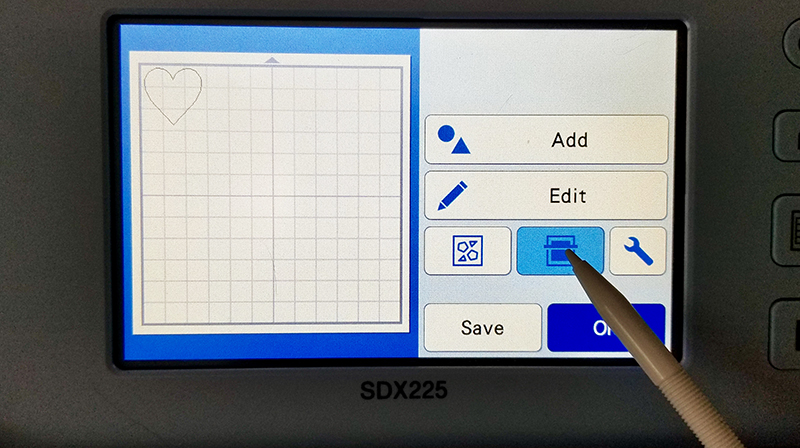
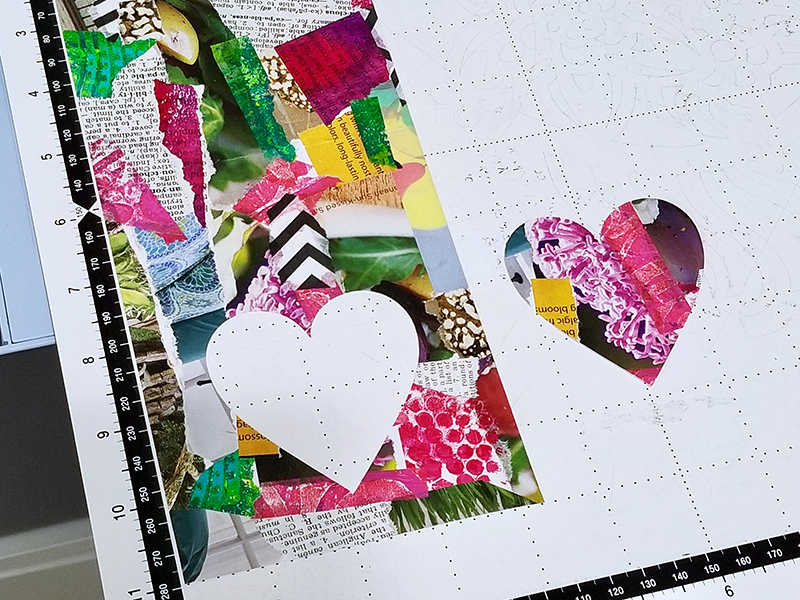
2. Fold your collaged paper in half like a card, noting where the center of the front of the card is. Select “ok.” Choose a shape that will fit your stamp sentiment. For the example I choose the heart.

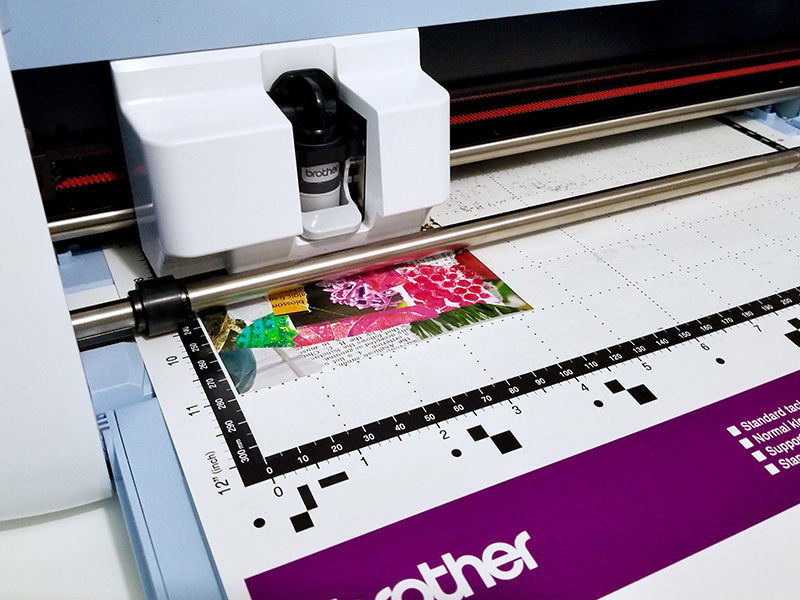
3. Adhere the collaged paper to the cutting mat and insert it into the machine.
4. Press the “scan” icon to scan in the collage paper.
5. Move your shape onto the center of the front of the card. Select “cut” and “start” to begin cutting.
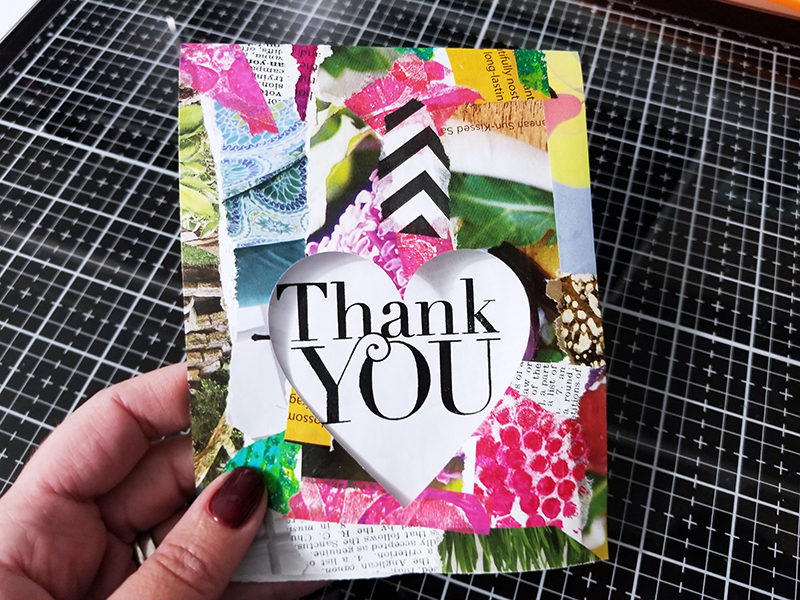
6. Remove the card and stamp the sentiment onto the inside of the card so it shows through the shape you cut out.
Related Projects
Stay Connected
* Required fields