How To Make A Summery Flamingo Tote

Supplies
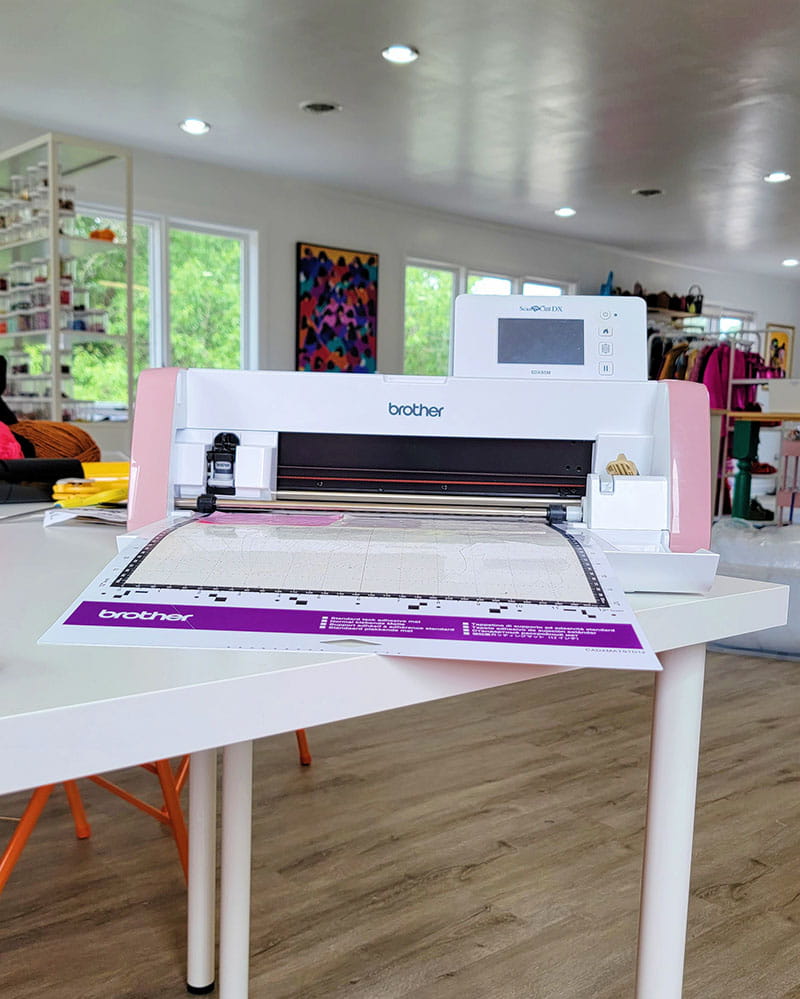
- Brother ScanNCut SDX85M
- Brother Standard Mat
- Flamingo Cut File
- Pink Heat Transfer Vinyl
- Mustard Heat Transfer Vinyl
- Iron + Ironing Board or Heat Press
- Yarn
- Pompom Maker
- Canvas Tote Bag
- Hot Glue Gun + Glue Stick
In today's digital age, nurturing your child's creativity and providing them with hands-on artistic experiences is crucial. The Brother ScanNCut is a versatile cutting machine that can bring endless possibilities to kids' projects. In this blog post, we will explore how this remarkable device empowers children to express their imagination and how easy it is to get them involved in exciting DIY endeavors.
One of the significant advantages of the Brother ScanNCut is that it fosters creativity and encourages children to take charge of their projects. By providing them with the ability to design, cut, and create their unique pieces, the machine empowers kids to unleash their imagination and develop problem-solving skills.
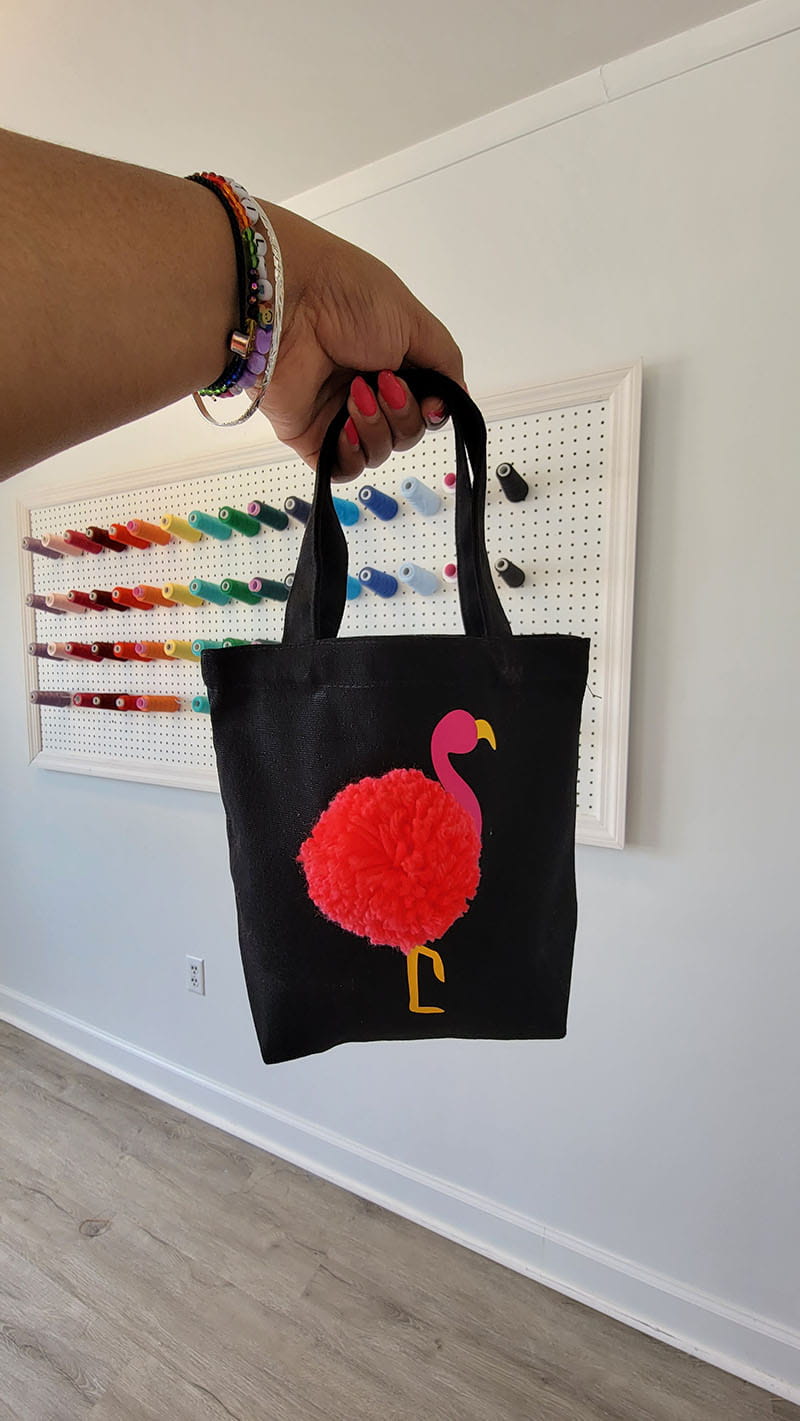
The Brother ScanNCut offers a myriad of exciting possibilities for kids' projects and it’s so easy to use.. Today, I want to show you how to create this cute mini tote bag by simply layering vinyl and yarn. Let’s create!
Safety Considerations: While the Brother ScanNCut is designed with safety in mind, it's essential to supervise younger children during their projects. Emphasize the importance of proper handling of tools and materials to ensure a safe and enjoyable creative experience.
Instructions
1. Open CanvasWorkspace and upload the flamingo svg file. Resize as needed.
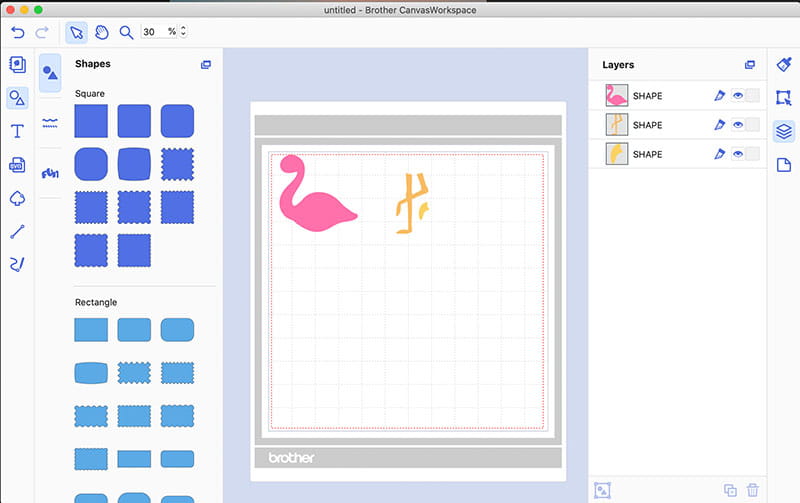
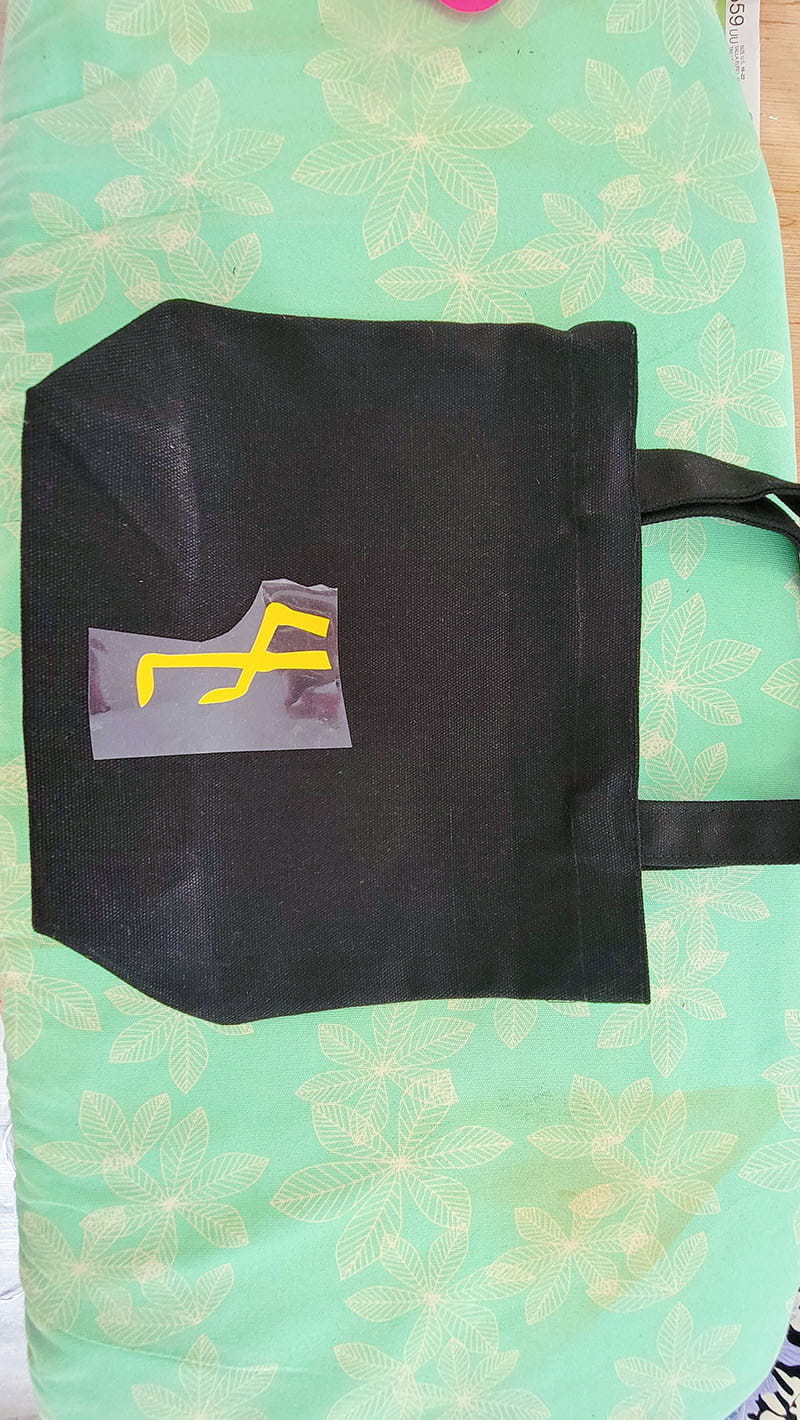
2. Place the pink and yellow vinyl onto the cutting mat, making sure the vinyl is adhered completely onto the mat. Prior to cutting the design out of the vinyl, do a test cut to make sure that the settings are accurate. If the test cut comes out clean, proceed with cutting out the design.
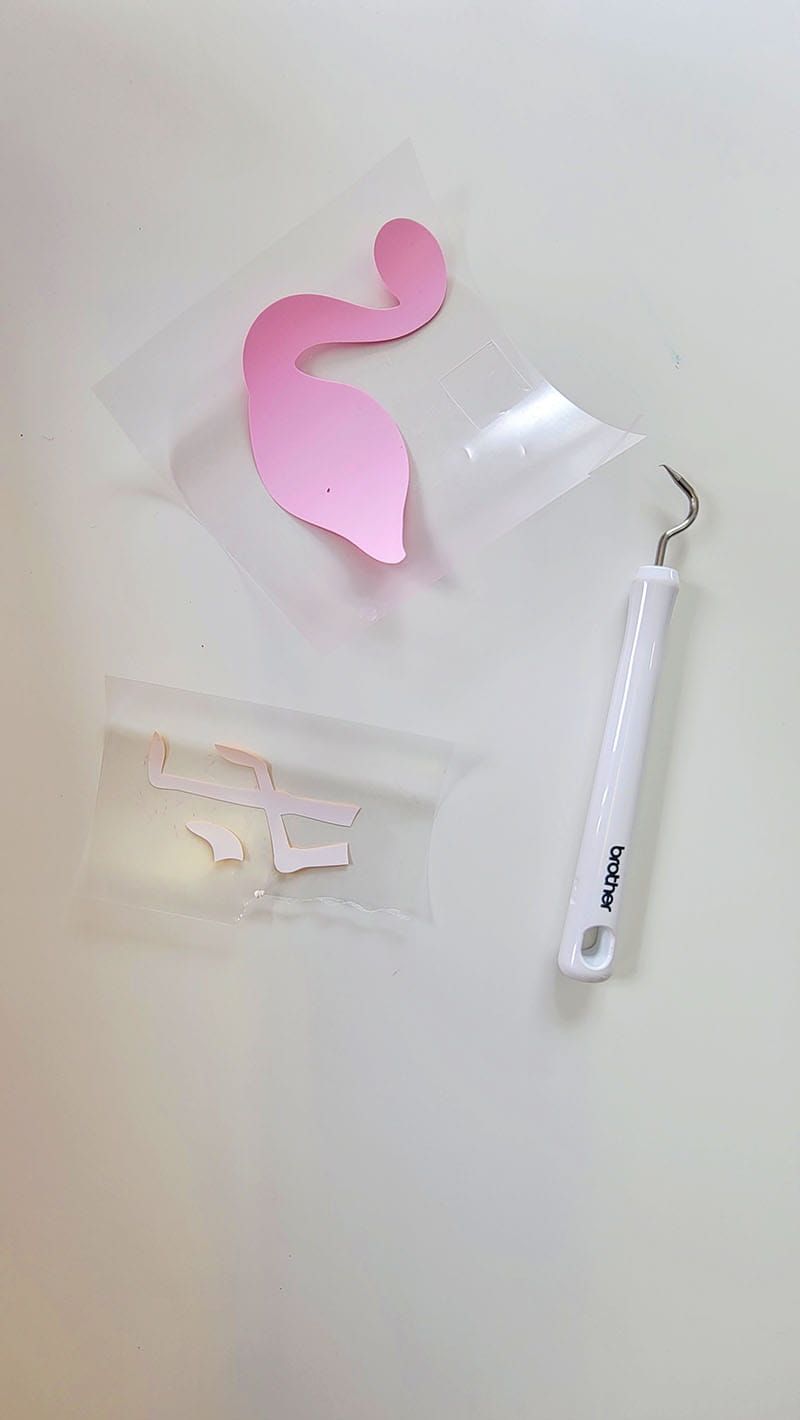
3. Remove the vinyl from the mat and weed the excess vinyl away from the design using the weeding tool from Brother
4. Lay your tote bag down onto your ironing board and iron across the top of the bag.
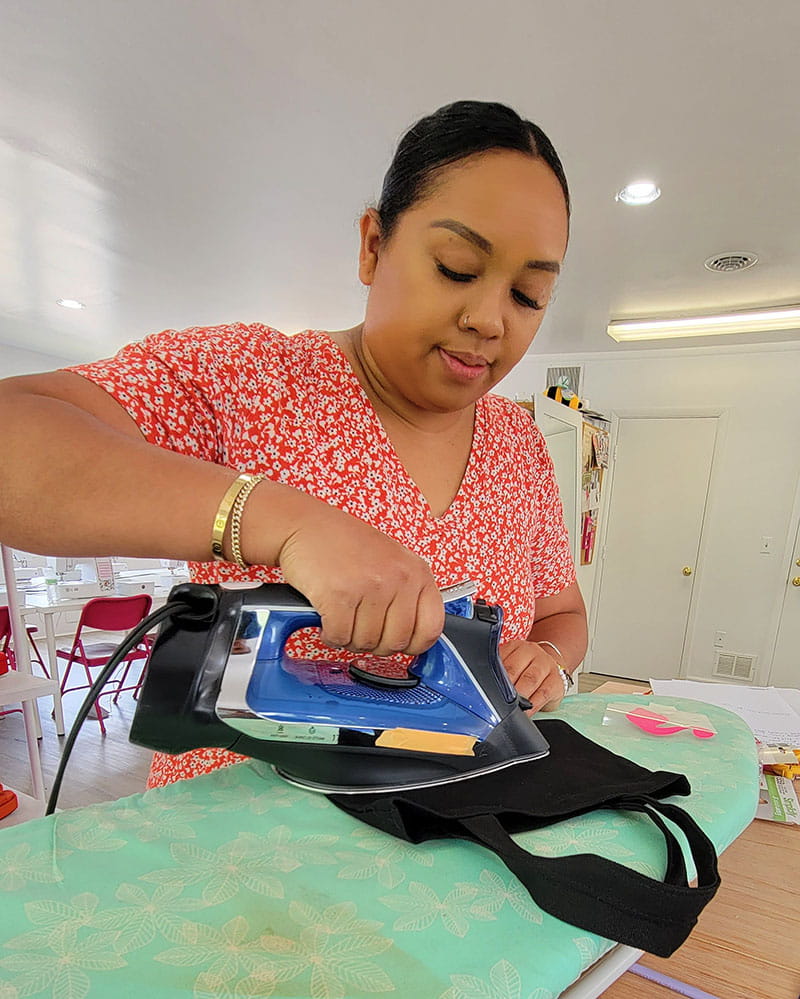
4b. While the bag is warm, place the flamingo’s feet onto the bag and press for 15-20 seconds. Remove the clear backing.
4c. Next, layer the flamingo’s body above the feet and press for 15-20 seconds. Remove the clear backing. Take care to avoid touching the vinyl of the feet with the iron.
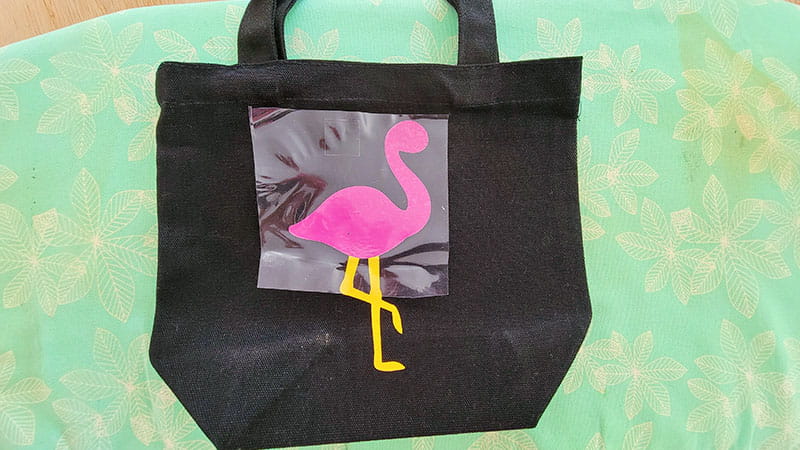
4d. Repeat with the flamingo’s beak. Set aside.

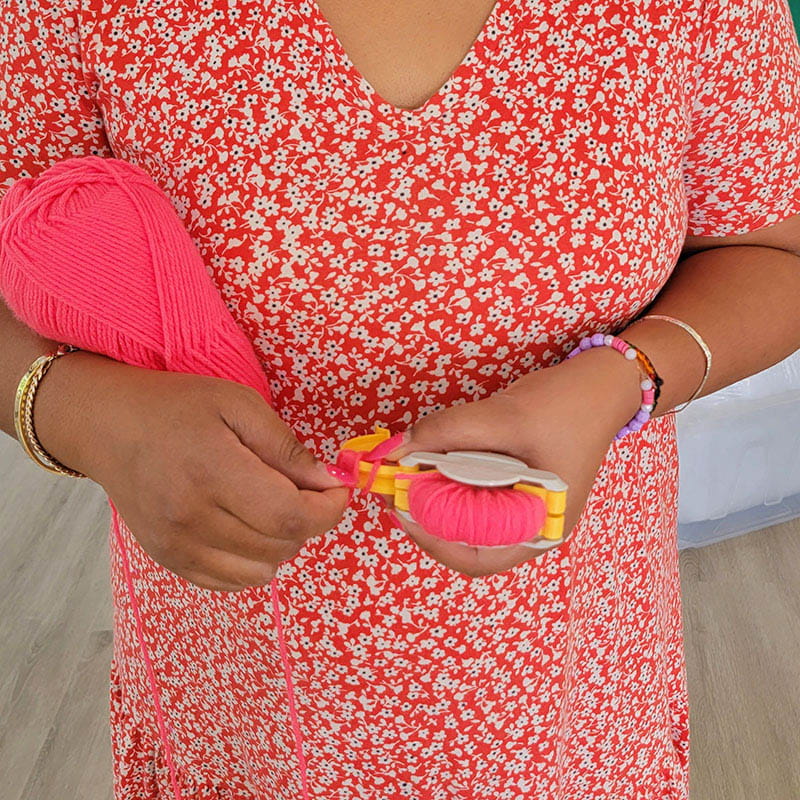
5. Take the yarn and pompom maker and create a pompom.
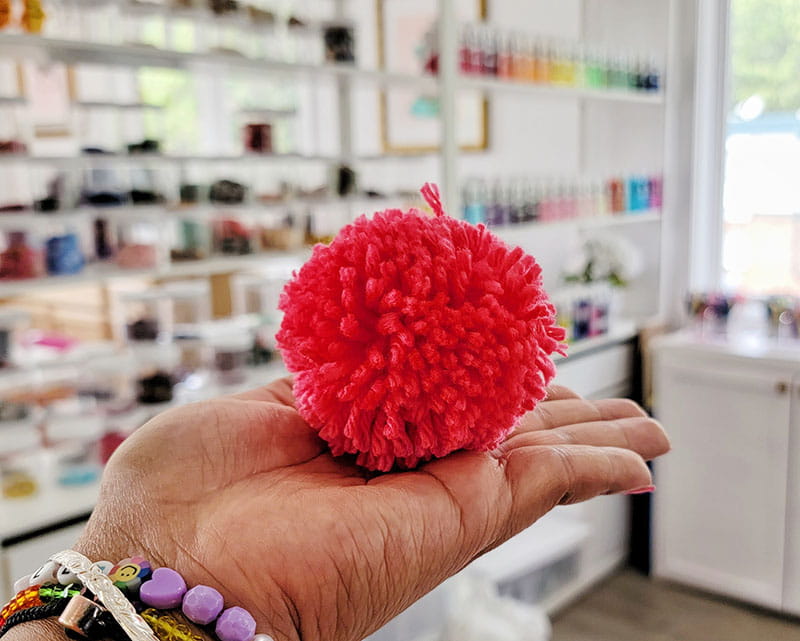
6. Take the pompom and glue it onto the body of the flamingo.
7. That’s it! How cute is this bag?!
Related Projects
Stay Connected
* Required fields