How To Make A Puff Vinyl Sweatshirt
SUPPLIES
- Brother ScanNCut
- A sweatshirt (in the color of your choice)
- Puff vinyl (in the colors of your choice)
- Heat press or iron
- The Design
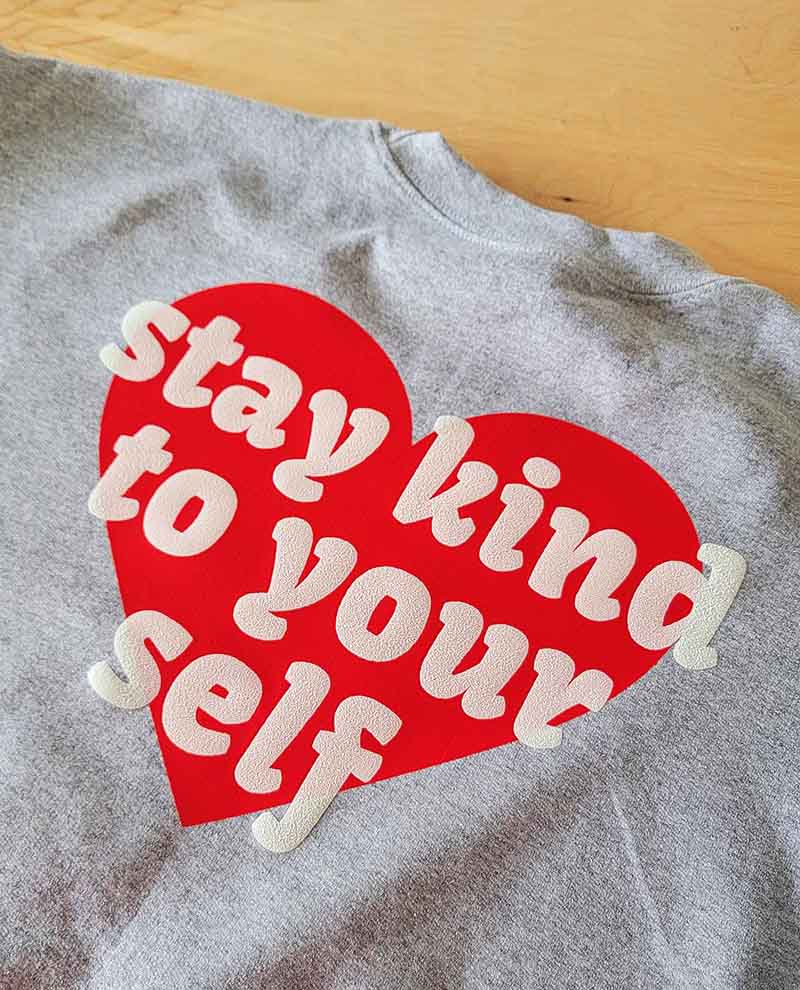
Have you ever used puff vinyl? Puff vinyl is like magic in a material. When you apply heat to it, it puffs up and creates a cool, raised texture that adds an extra element of playfulness to your projects. It's like adding a little bit of 3D magic to everything you make!
The fun doesn't stop there. Puff vinyl comes in a wide range of bright and bold colors, so you can create playful designs that really stand out. Whether you're making custom t-shirts for a fun event or adding a playful touch to your home decor, puff vinyl is the perfect material for adding a playful and colorful touch.
Puff vinyl is super easy to use! You can cut it with your Brother ScanNCut, weed it like regular vinyl, and then apply it to all sorts of surfaces, from t-shirts to tote bags to hats. Plus, it's durable and long-lasting, so your designs will stay looking great even after lots of wear and tear.
Perhaps the most innovative thing about puff vinyl is the endless possibilities for creativity it offers. You can use it to create custom designs for your favorite sports teams, school clubs, or even just to show off your own unique style. And because it's so easy to work with, you can let your imagination run wild and create all sorts of fun and playful designs.
Puff vinyl is a fun, innovative, and magical material that adds a playful touch to everything you create. So let's break out the heat press and get puffing!
INSTRUCTIONS
- Gather your materials.
- Create Your Design. Using a computer or a mobile app, create a design or image that you want to cut out of puff vinyl. Keep in mind that puff vinyl works best with bold and simple designs, so don't worry too much about adding lots of detail. Make sure your design is sized to fit your sweatshirt.
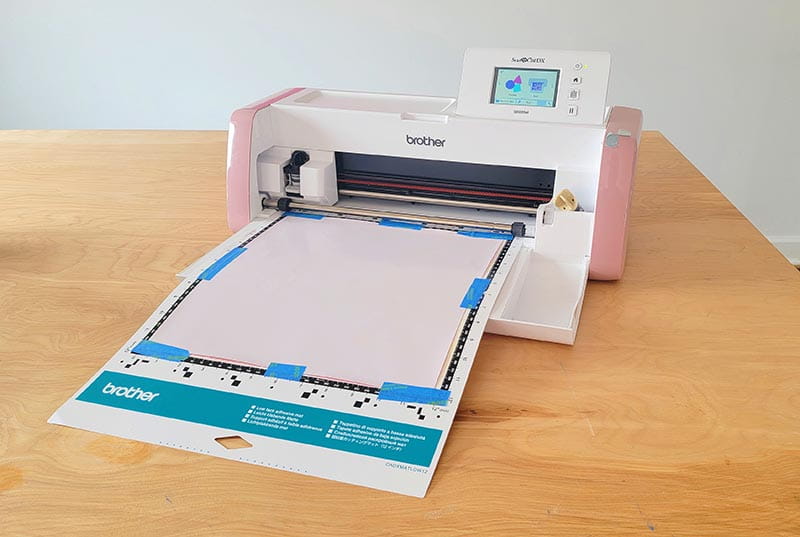
- Cut Your Design. Load your puff vinyl onto your Brother ScanNCut machine and select the appropriate settings for the type of vinyl you're using. Then, load your design into the machine's software and let the machine do the cutting for you! (Prior to cutting your final design, ALWAYS do a test cut!). Once your design is cut out, weed away the excess vinyl so that only your design remains on the backing paper.
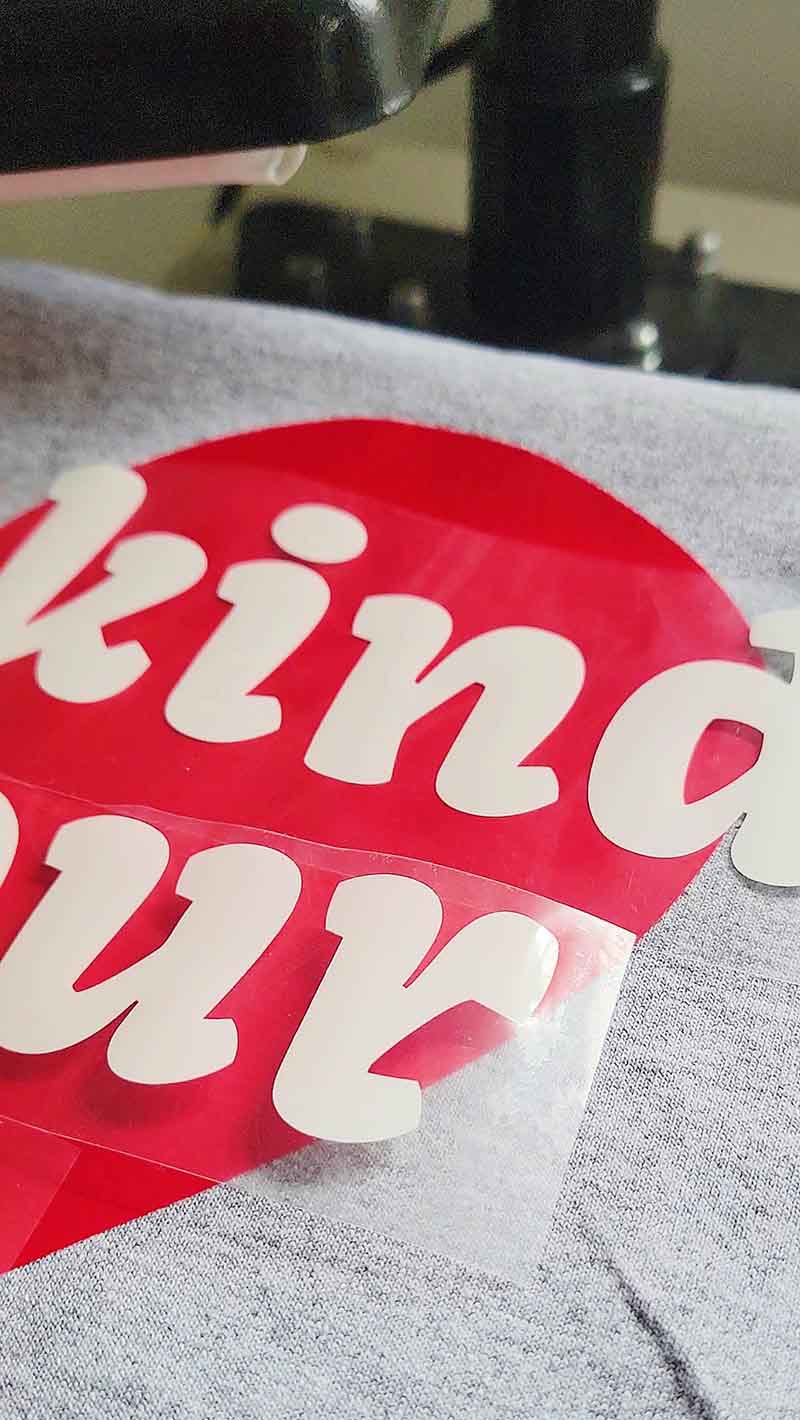
- Apply Your Design. Place your sweatshirt on a heat press or ironing board and preheat it for a few seconds to remove any wrinkles or moisture. Then, position your puff vinyl design onto the sweatshirt in the desired location. Cover it with a non-stick pressing sheet or parchment paper and press it with a heat press or iron according to the instructions for the puff vinyl you're using. I use 250 degrees and press for 10 seconds. Peel off the backing paper while the vinyl is still warm to reveal your design!
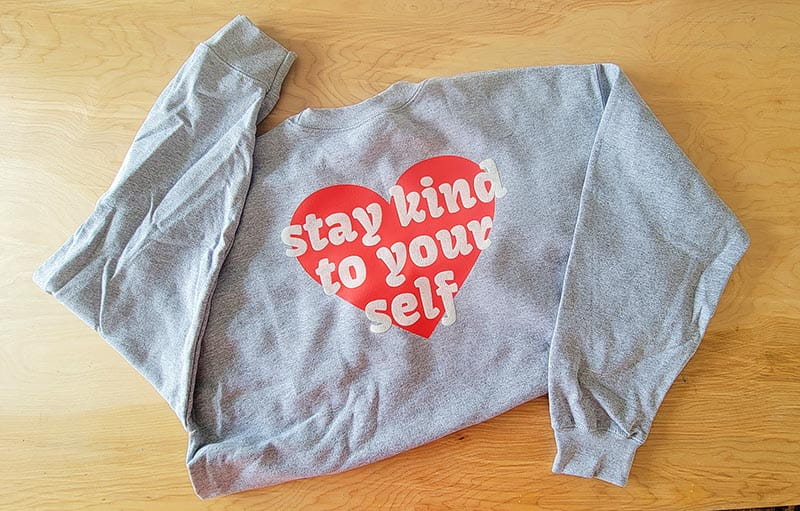
- Show It Off!

Related Projects
Stay Connected
* Required fields