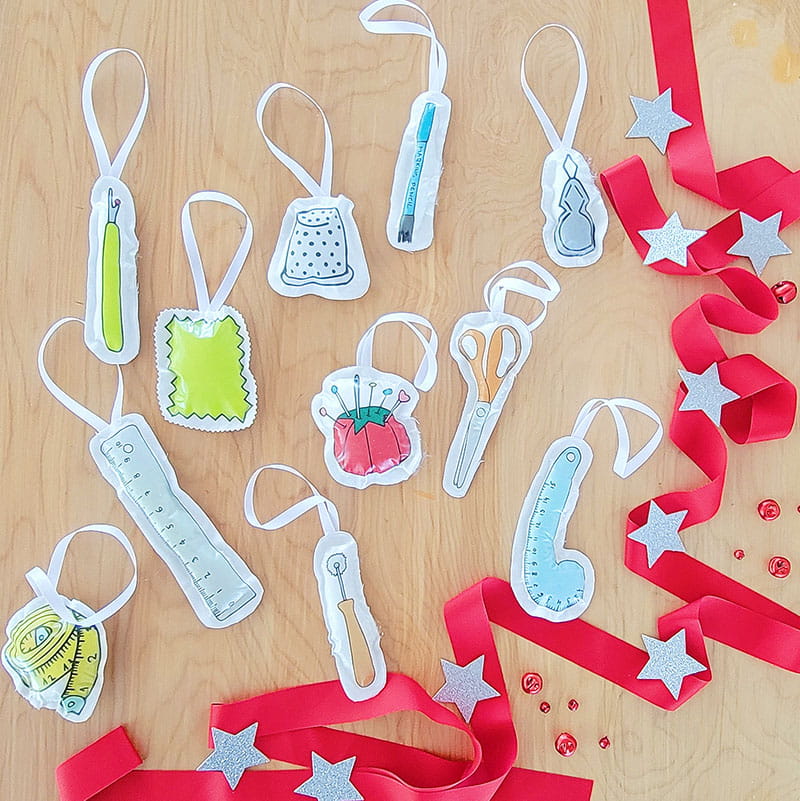
How to Make Custom Plush Ornaments

Adding a personal touch to your holiday decorations can be incredibly rewarding. What better way to do that than by creating your own custom plush ornaments? In this project, we'll show you how to make unique ornaments using Brother PrintModa Studio Fabric Printer. The best part? You don't need to be a seasoned crafter to tackle this project. With just an hour and a few basic supplies, even beginners can create charming and bespoke ornaments that will impress your family and friends.
Crafting your very own plush ornaments using the Brother PrintModa Studio Fabric Printer is like hitting the crafting jackpot for Christmas. Imagine decking the halls with ornaments that tell your unique story, featuring your favorite holiday symbols or family memories. While store-bought decorations have their charm, there's something special about hanging your personalized creations on the tree. It's like wrapping your Christmas spirit into each ornament, making them a conversation starter and memory holder. Plus, the process of making these adorable ornaments can turn into a delightful family activity, bonding over the joy of crafting and celebrating the holiday season.
So, what's the buzz about the Brother PrintModa Studio Fabric Printer? It's like your crafting fairy godmother, granting you the power to transform creative ideas into real, high-quality products without the need for a magic wand. Whether you're in the mood to create plush ornaments, craft personalized fabric gifts, or dream up one-of-a-kind decorations, this studio makes your creative journey exciting and accessible.
In a world that values handmade, heartfelt creations, having a Brother PrintModa Studio Fabric Printer in your crafting arsenal is like having the ultimate DIY sidekick. It's your ticket to turning imaginative concepts into real-life treasures, all without needing a degree in advanced crafting. Whether you're a seasoned crafter or just dipping your toes into the creative pool, this studio invites you to unleash your inner artist and make your crafting dreams a reality. It's a game-changer, a must-have for any crafter looking to add a personal, playful touch to their projects, especially during the merriest season of all – Christmas!
Supplies
- Brother PrintModa Studio Fabric Printer
- Brother Printable Cotton Fabric Roll
- Brother Laminate Vinyl
- Brother Genuine LC400 Series CMYK ink cartridge set.
- Canvas Fabric ½ yd
- Cotton Filling
- Fabric Glue
- ¼” width Ribbon
- Fabric Clips
- Clip Art
Directions
-
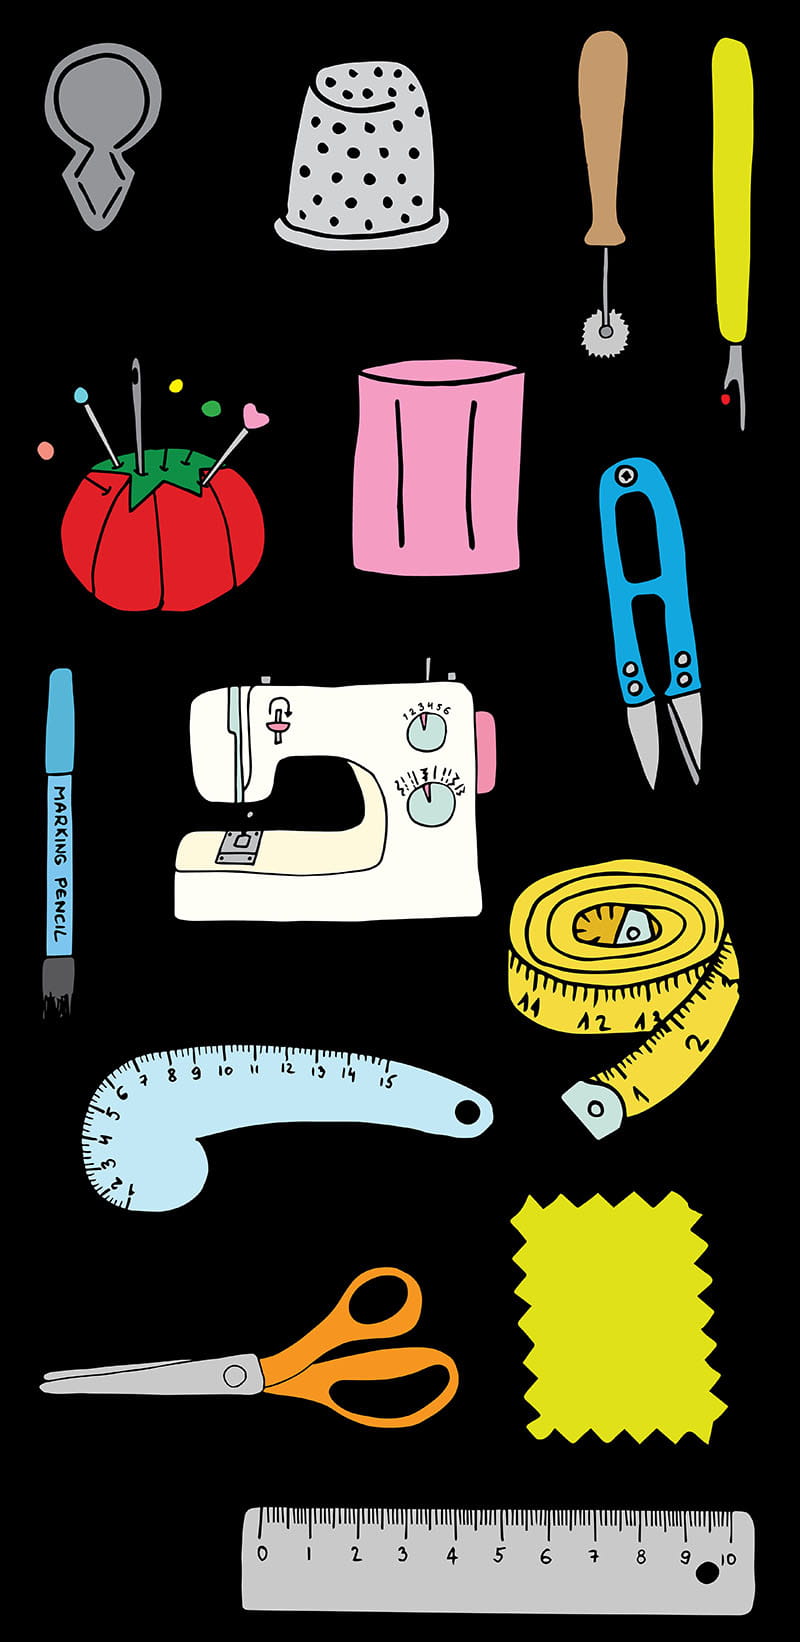
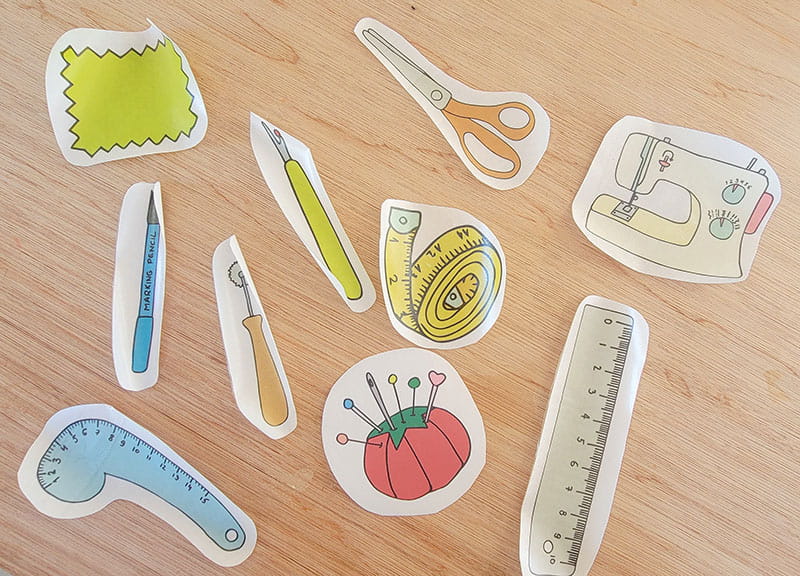
Prepare Your Clip Art:
Start by collecting a variety of clip art that inspires you. In a photo editing application of your choice, arrange your clip art on an 11.69-inch width background. Each image should be about 3 inches in height, spaced 1 to 2 inches apart. Save the composition as a PNG file, ensuring that the background is transparent.
-
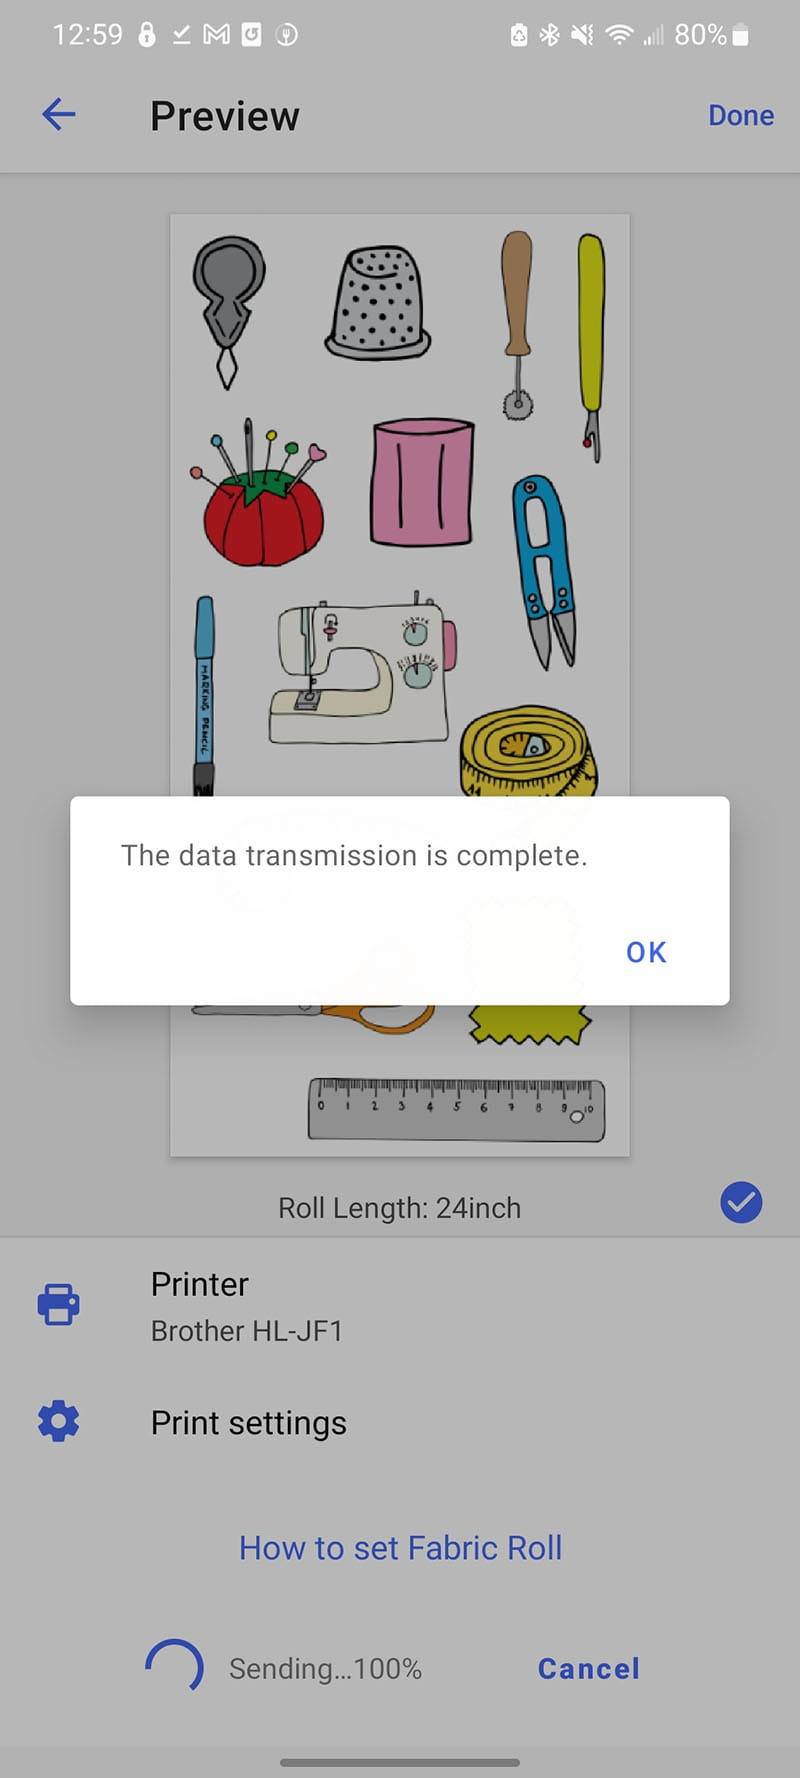
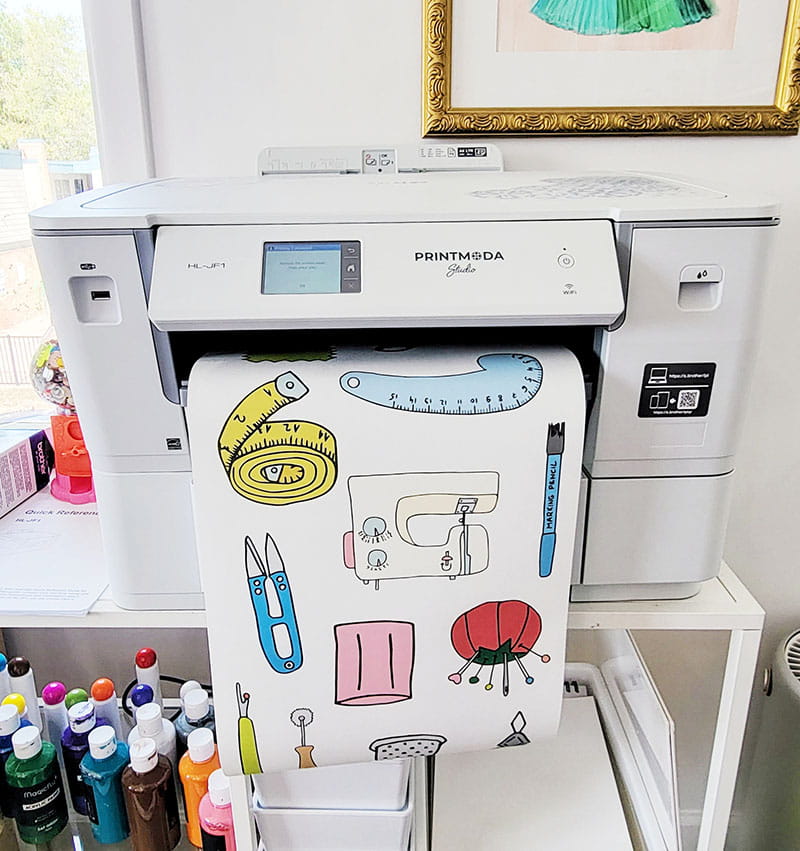
Printing with PrintModa Studio Fabric Printer:
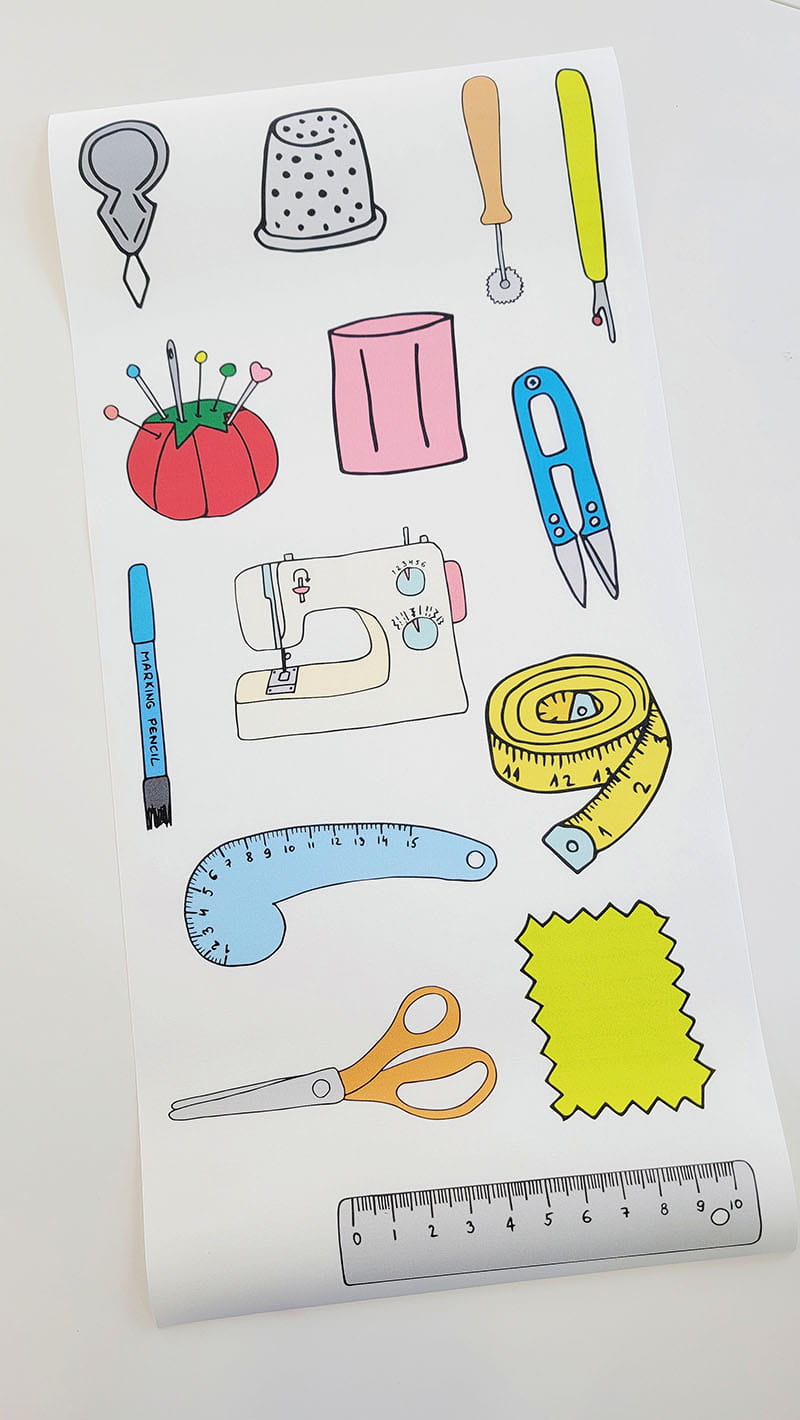
Upload your PNG file to Artspira and send it to the PrintModa Studio Fabric Printer. The printing process is quick, taking just a few minutes. After printing, allow the ink to dry.
-
Laminate Your Fabric:
Take the Brother laminate vinyl and iron it onto the entire piece of fabric. Follow instructions for pressing temperature and time to ensure that the laminate bonds to the fabric. Then, carefully cut out each individual image, leaving approximately a 0.5-inch seam allowance around the edges.
-
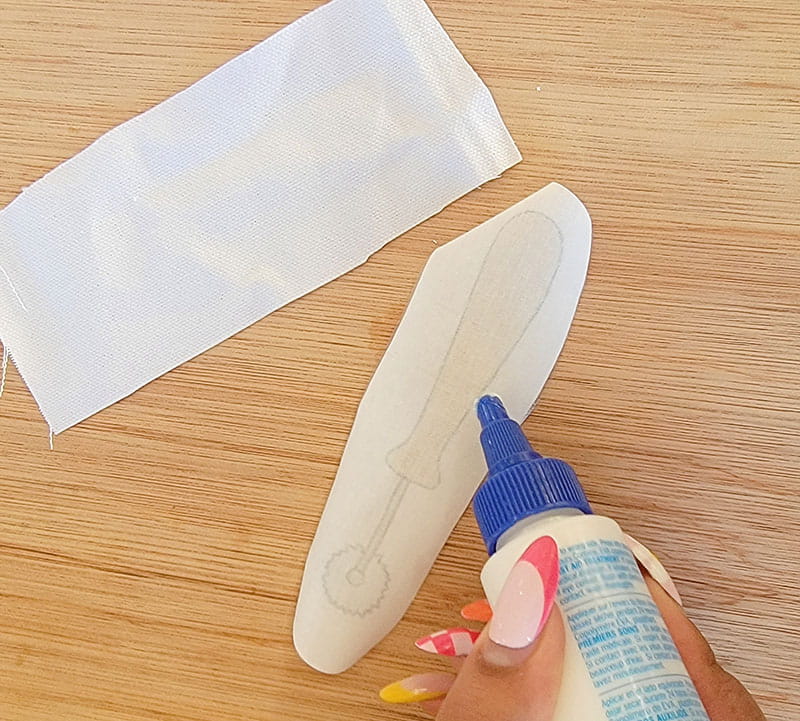
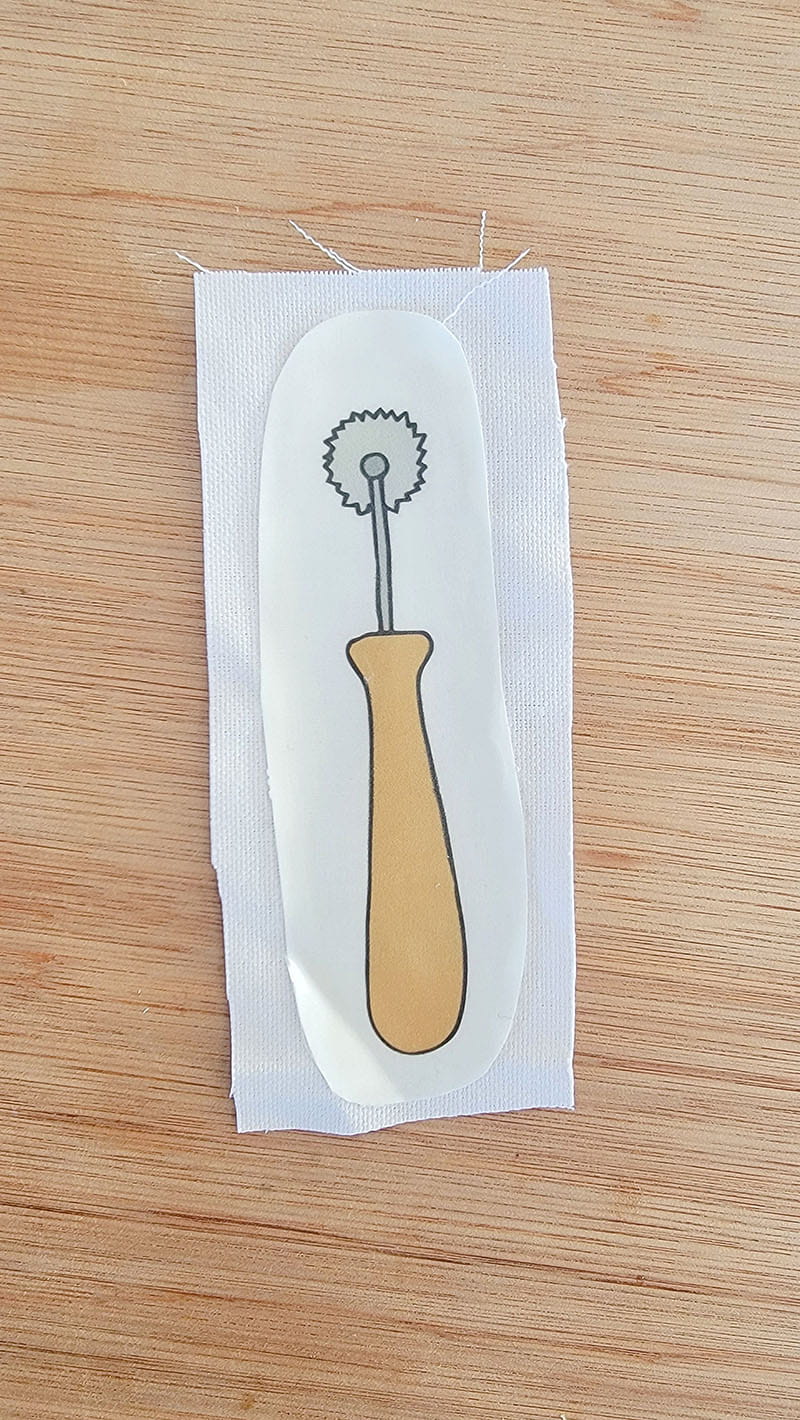
Glue the Backside:
Apply fabric glue to the backside, focusing on the outer edge of the fabric. Do not apply glue to the top side. Adhere your printed fabric to the canvas fabric. Allow this to dry for about an hour.
-
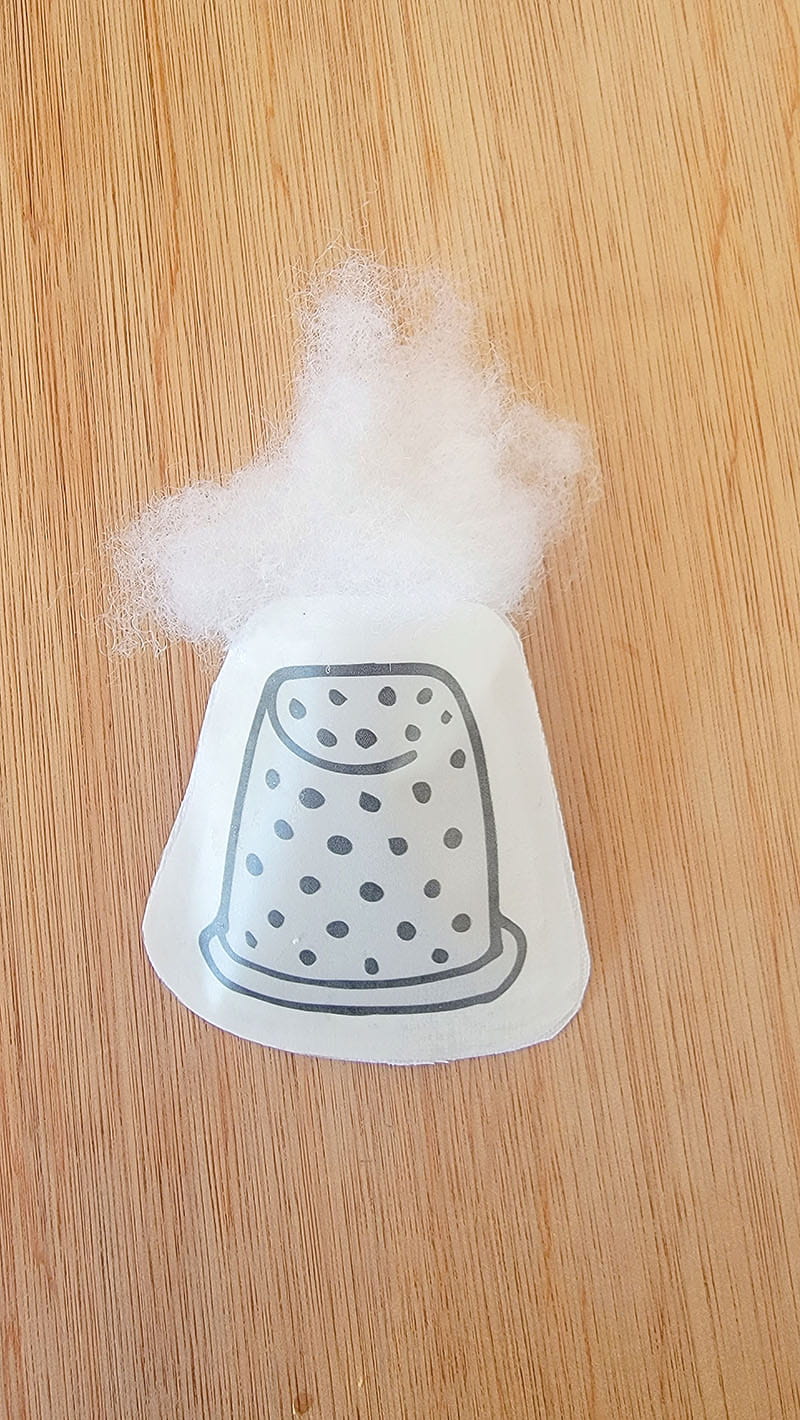
Fill with Cotton:
Using the opening at the top of the pocket you've created, fill it with cotton filling to give your ornaments their plush appearance.
-
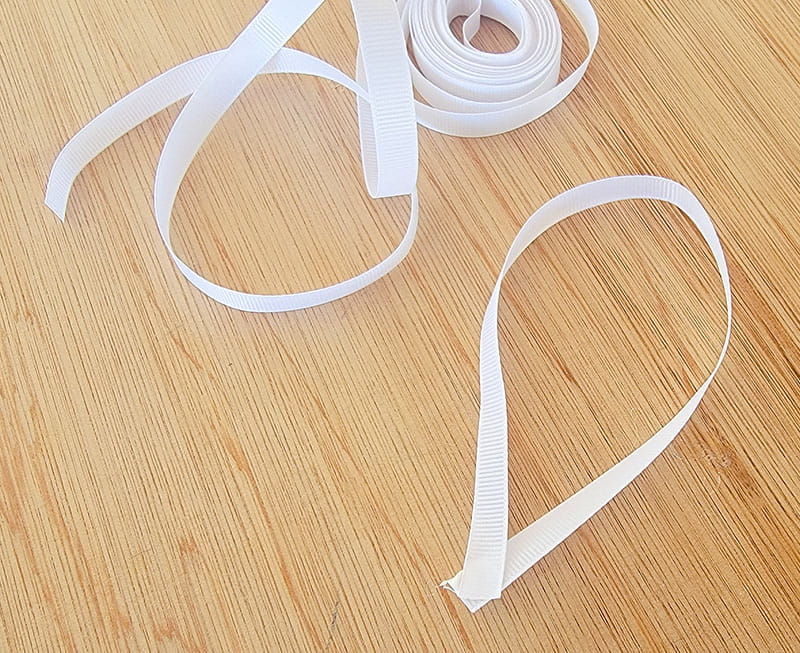
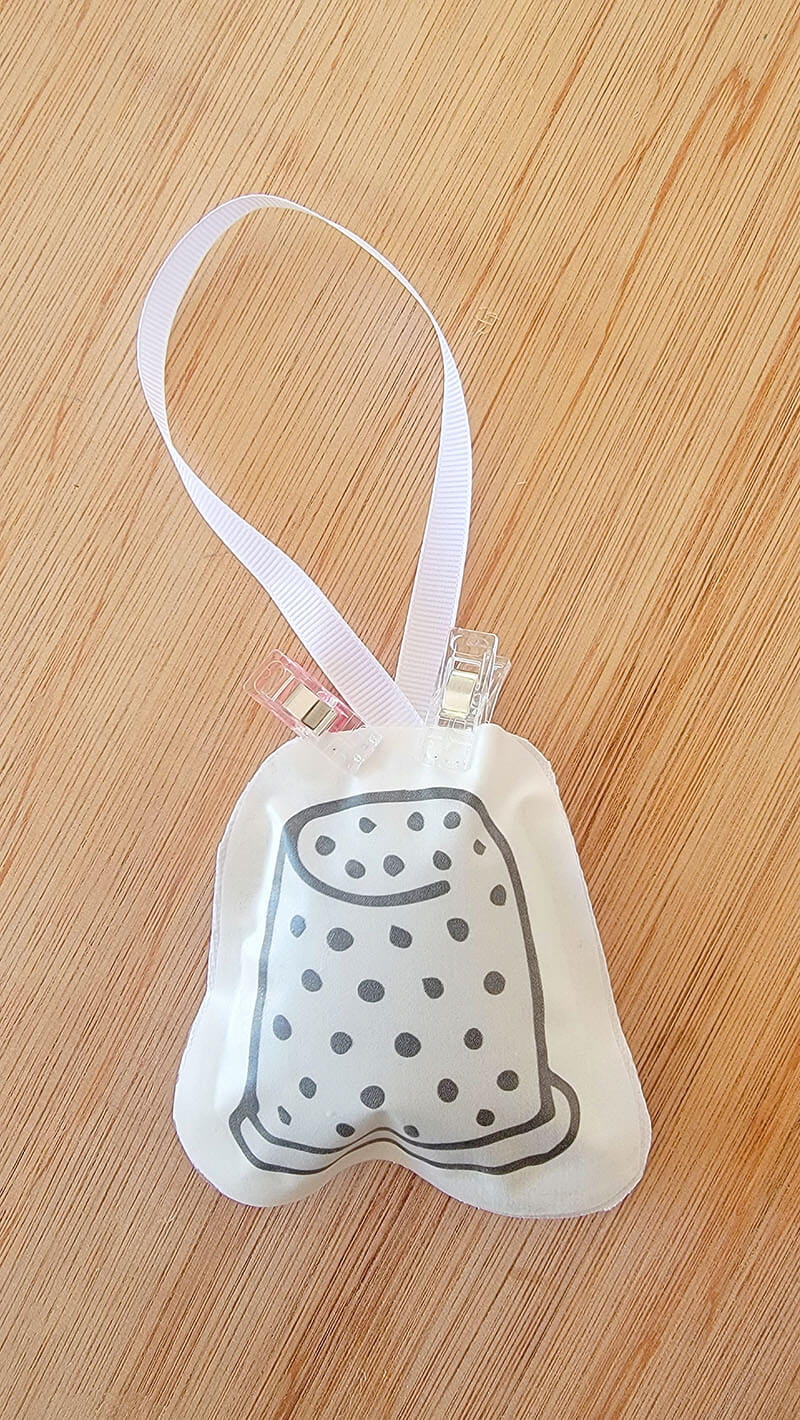
Add a Ribbon Hanger:
Take about 6 inches of ribbon, fold it in half, and glue the ends together to create a loop. Place the glued edge within the opening at the top of your ornament and glue it in place. Use fabric clips to hold the ribbon in place, and allow it to dry for about an hour.
-
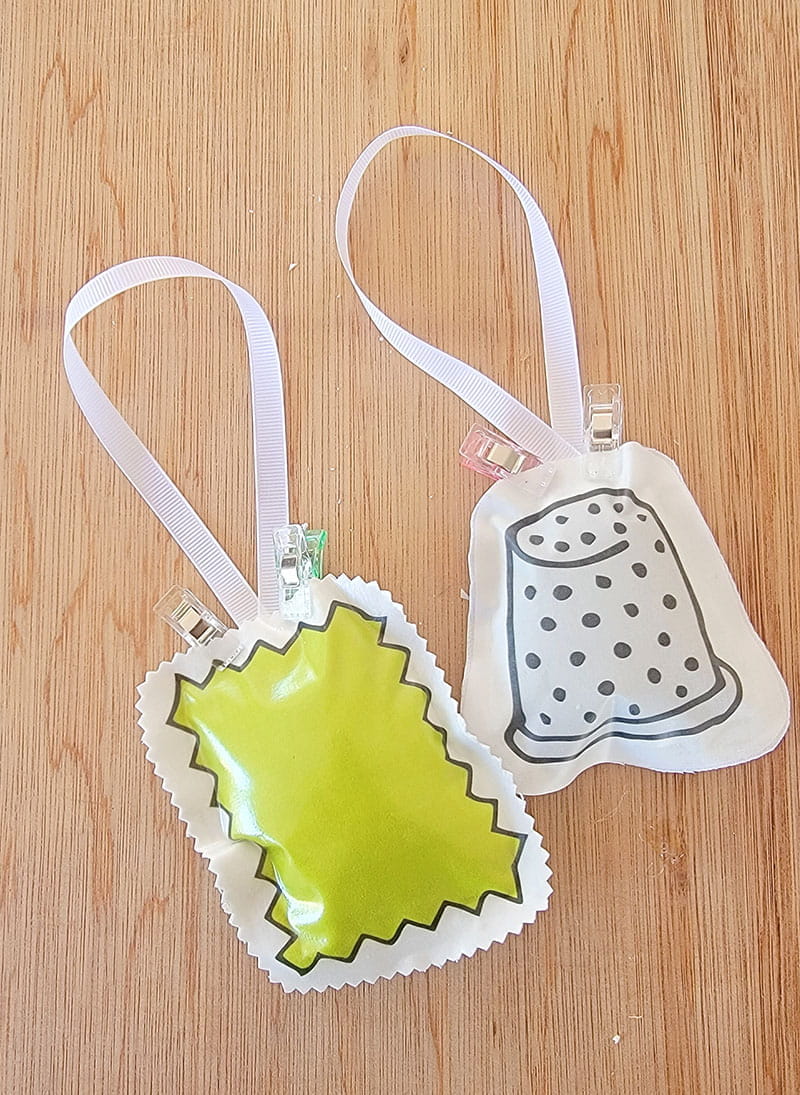
Final Touch:
Your ornaments are almost complete. You can leave the edges of the fabric as they are, allowing them to naturally distress over time. Alternatively, you can use pinking shears to create a fun design around the edges for an extra decorative touch.
Related Projects
Stay Connected
* Required fields