How to Make a Rainbow Canvas
Supplies:
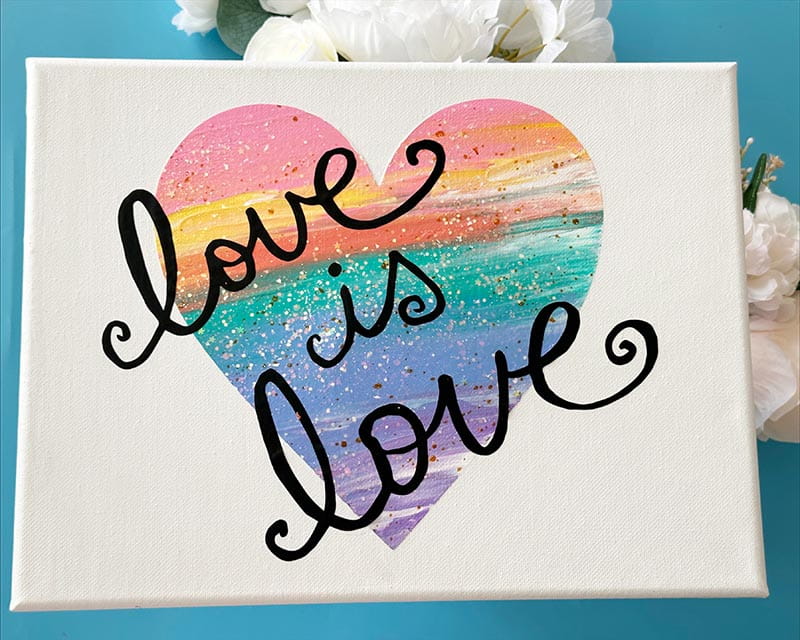
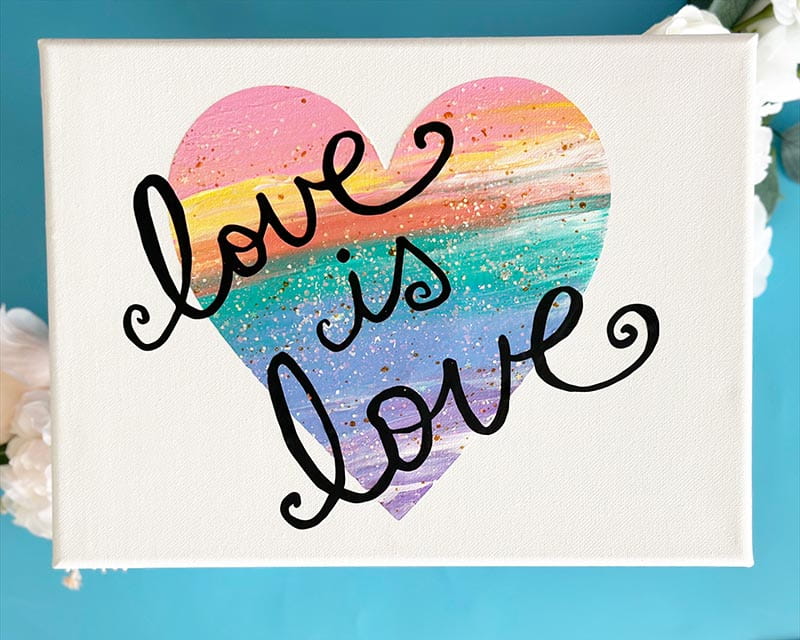
We love in all shapes, sizes, and forms and want to celebrate all that is love here with this rainbow heart wall hanging. Mixed media art can be intimidating, but with the help of your ScanNCut and some easy techniques, you can have a masterpiece in minutes! By using some vinyl as a mask (other sticky style stencil material could work too!), you can get right to the fun of mixing colors and having a blast designing your own custom wall décor.
Step-by-step instructions:
- Select and size a basic shape, in this project I have selected a 7 ½” heart. Then scan your mat (if working with smaller material) and adjust the shape to best fit the material you are using by rotating the design in the edit screen. Once your design is sized and edited as you would like, select cut and ensure half cut is turned on. Cut from craft (sticker) vinyl in any color.
- Remove the heart from the vinyl and set aside. Then using transfer material, lift the vinyl left onto your canvas, center, and place down. Remove transfer material.
- Using the heart that was earlier discarded, as well as other scraps of material, cover any visible canvas so that paint will not get on the piece where you do not wish it to be.
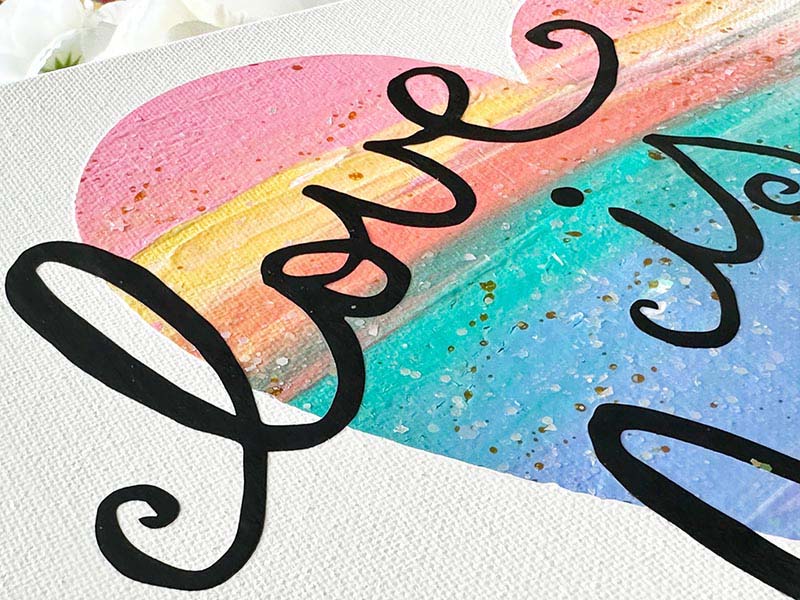
- Place white acrylic paint onto the canvas and spread around the open/exposed heart area. Then place additional colors on top (simply “squirt” or run lines of paint).
- Smear the paint so that some blends and allow white to show through if desired. Continue to blend until desired effect is achieved. If you are not happy with the results, it’s as simple as scraping it off and trying again!
- Add any additional colors, gold leafing, glitter, or other color mediums then remove the stencil material and allow to completely dry.
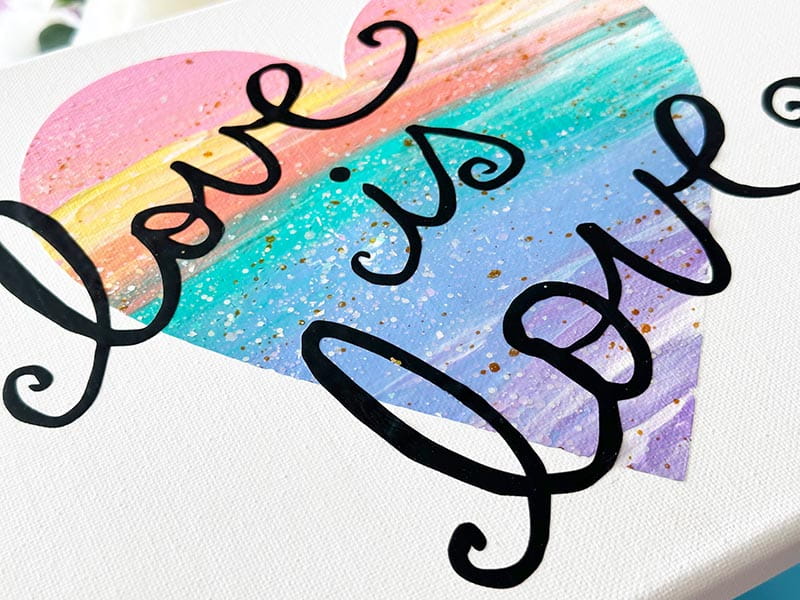
- Once dry, set a piece of thin paper such as printer paper over the top, and size/create your “love is love” wording by hand.
- Once you have filled in the word art with a thicker pen and are satisfied, scan in using the scan to cut data scan function. Select the inside and outside lines option and save to your ScanNCut machine.
- Open the retrieve data option back at the home screen, do any needed editing, and then cut (remember to use half cut!) out of another color of vinyl. I have selected black for a contrast of colors.
- Weed out all vinyl other than your design before using transfer material to move the vinyl onto your finished canvas piece.
- You can be finished here, or if you would prefer, add a thin layer of sealant or collage medium to seal the project and ensure everything will remain beautiful for years to come.
Tip: Using transfer material is optional, but it can save a lot of trouble! Often vinyl wants to fold, stick to itself, and otherwise not lay nicely which is why the transfer material is so helpful in moving it from the backing sheet to the project.
Tip: By putting down a layer of white paint first, not only will this project have more texture, but it will also ensure a crisp line when the stencil is removed, as no colors of paint (other than white) will show should any seep underneath the stencil during creation. This ensures a great finished piece!
Tip: Don’t like your handwriting? You can use a ruler to determine the size you’d like, then print out word art or use the font converter tool or built in words or letters to create something!
This project is such a joy to make, so easy for all levels of crafters, and can be used in so many different ways!
Related Projects
Stay Connected
* Required fields