How to Make A Customized Craft Storage Container
Do you struggle with organization? Or making rather ordinary things feel or look fun? I’m taking on my craft space this season and making things look more fun and appealing, which I hope will lead me to keep more of these things put away. Getting crafty for organization can be an effective way to get cleaner and motivated to stay organized, as the customization and details make things a little more fun. Got a young child in your life? Customizing your storage has never been more fun or easy, and this idea can work on plastic (sticker vinyl) or fabric (heat transfer vinyl) containers as well!
Supplies
- ScanNCut DX
- Standard mat
- Sticker style vinyl
- Transfer material
- Container
- Rhinestones and glue (optional)
Time: 1 hour
Instructions
1. Begin by measuring your container and noting what dimension are of the side(s) you’d like to create on.
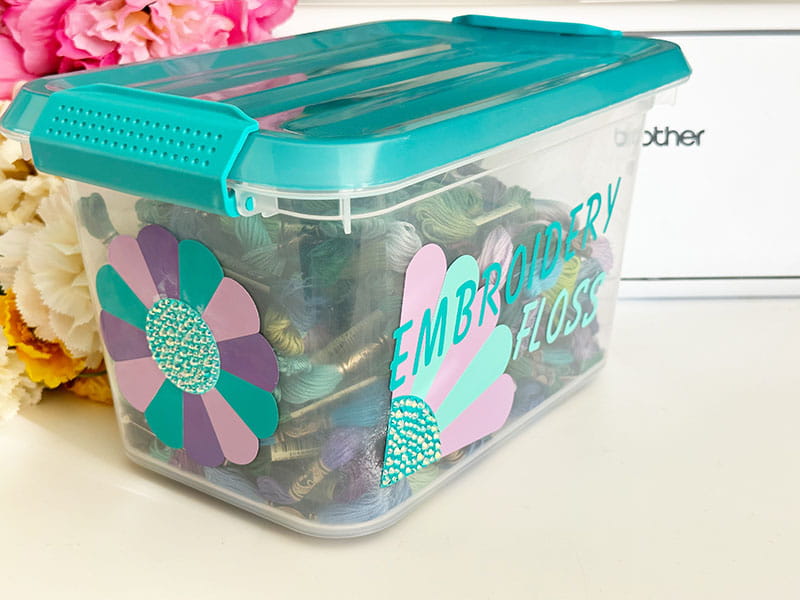
2. Select the pattern you would like, and if you choose a layered design, add each piece. For this I began with the corner flower pattern and placed each part in a separate corner.
Tip: Don’t forget that the quilt patterns such as the flowers I’m using here also work beautifully with paper, vinyl, and more! From card making to storage DIY and everything in between – they’re lovely!
3. Using a built-in font, select the word(s) that you would like to include and type them out. Write one word (or even letter) at a time if you’d like to use multiple colors of vinyl. Repeat with additional letter/words.
Tip: for evenly sized letters and words be sure to measure on height (vs width) when re-sizing
4. Select another pattern (full quilt flower pattern used here) and place the pieces onto your mat (and repeat by adding, selecting next part) according to the color you would like to cut them out of.
5. Cut four pieces of 6” square vinyl in coordinating colors, and place onto your mat. Scan the mat (if needed) to confirm the places of your petals, words, or other designs.
6. Select half cut, and press cut when ready. The half cut will ensure that all vinyl is cut, but not backing material.
7. Weed (remove) all excess vinyl. Cut pieces apart if desired and organize into which shapes/areas they will go.
8. Using transfer material lift and move your vinyl pieces into place starting with petals, ending with the center portion. For the words, you can either lift one whole word or just a letter at a time.
9. Once the transferring of vinyl is complete – you’re all set! If you have additional items such as buttons, rhinestones, or other embellishments to add select a strong and appropriate for material glue, and add those on to complete.
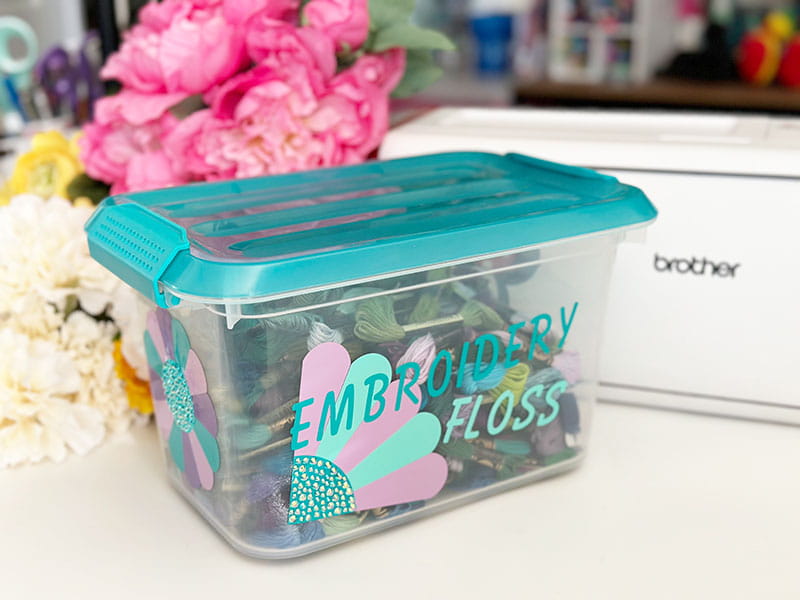
Not only is this a lot of fun to make, but it adds personality to my space as well as making me want to keep it full and tidy with my embroidery flosses. What else could you customize in this way? Any of your craft, sewing – or anything in your home that needs a bit of sprucing up!
Related Projects
Stay Connected
* Required fields