ScanNCut Is More Than Just A Cutting Machine
Brother Sews Blogger
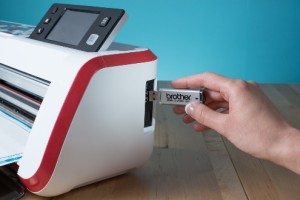
One of our favorite things about the Brother™ ScanNCut machine is its scanning ability. A crafting industry-first feature, the ScanNCut machine’s 300 DPI built-in scanner allows you to scan not only photos, magazine clippings and hand-drawn art, but also important documents and receipts that you accumulate over time. In minutes, you can have a variety of documents scanned through the ScanNCut machine and saved straight to your machine and/or memory stick for future use (memory stick not included).

Today, we decided to share with our fans some of our own tips when scanning items through your ScanNCut machine.
- Use the Low Tack Adhesive Mat (CAMATP12) or Photo Scanning Mat (CAMATS12)
- Organize your documents in categories before you begin scanning
Related Projects
Stay Connected
* Required fields