Video: Hollywood Glam Party Décor
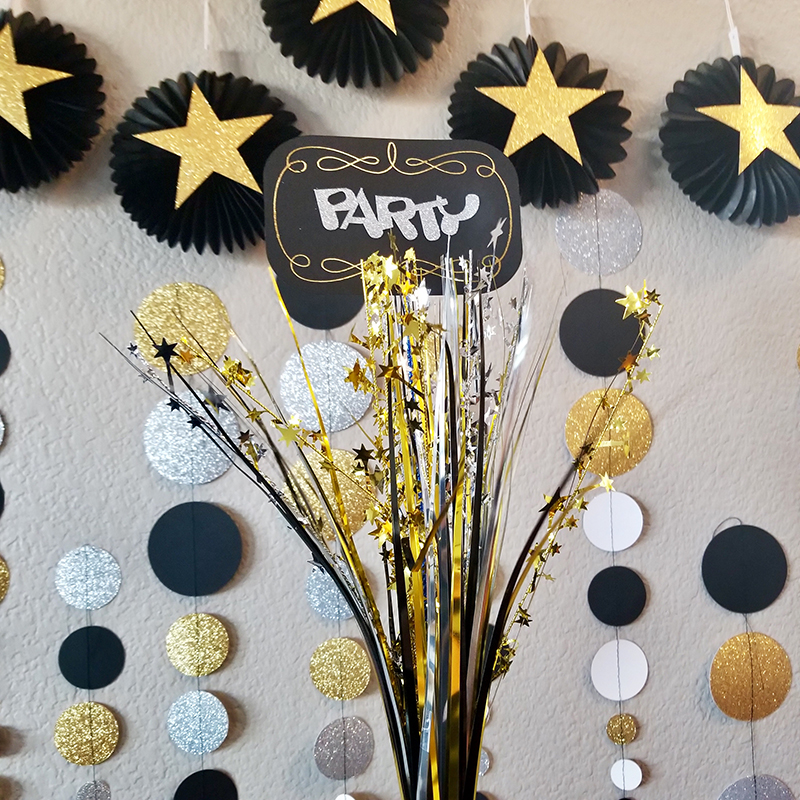
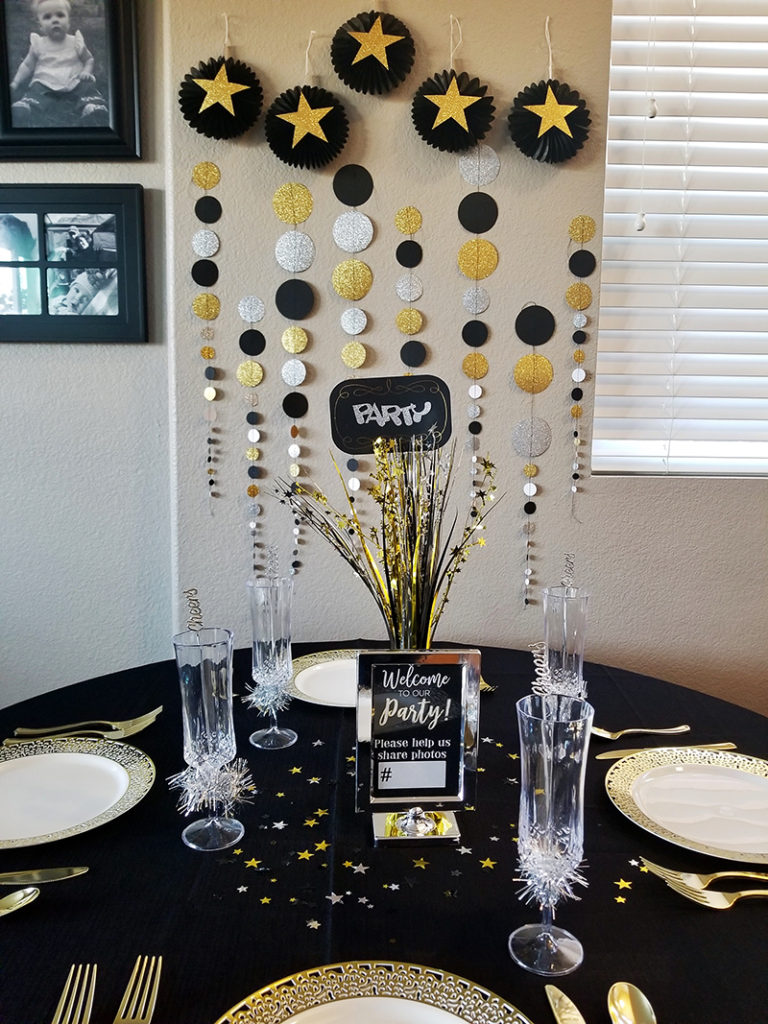
| The big award show is upon us…are you having a watch party? ScanNCut Specialist Erin Bassett presents her Hollywood Glam Party tutorial and video to get your home all glammed up for the big awards night. Here’s some easy-to-make pieces that will jazz up your get-together and personalize some basic party décor. Go from boring to glamours! |
Supplies:
- ScanNCut DX Machine and Accessories
- Foil Transfer Starter Kit
- 5 – 6” Tissue Paper Fan
- 1 Table Frame
- 1 Ready-Made Party Centerpiece
- 2 Black Cardstock
- 2 Gold Glitter Cardstock
- 2 Silver Glitter Cardstock
- 1 White Cardstock
- Adhesive
- Sewing Machine and Accessories
- Printer
- Washi Tape
- Embellishments
- Paper Trimmer or Scissors
Free ScanNCut patterns:
Free Printable:
Instructions:
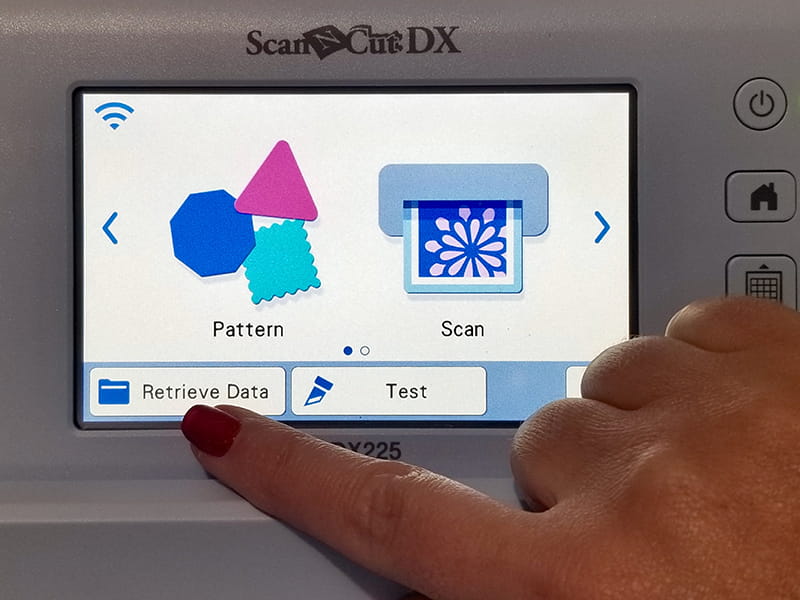
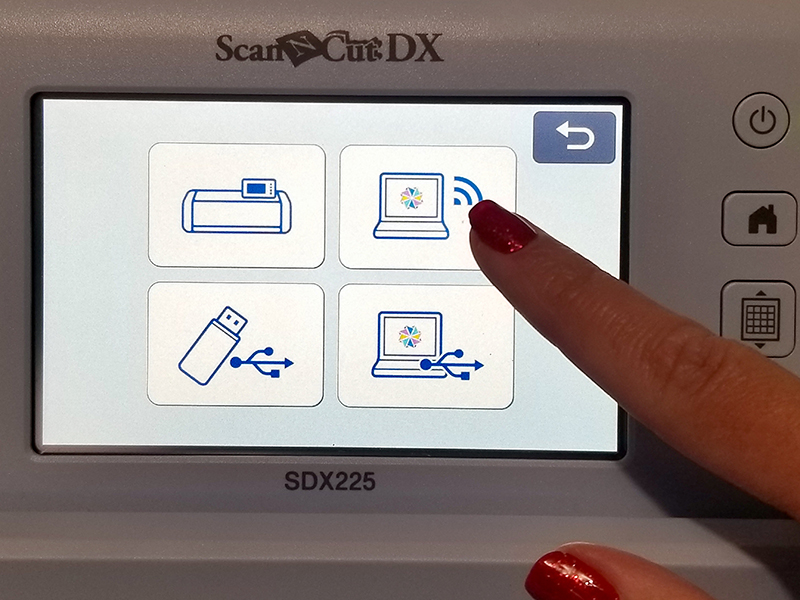
- 1. Download all the free patterns. To use them, either save them onto a USB drive and insert it into your ScanNCutDX or open them in CanvasWorkspace and use the ScanNCut Transfer feature to send it to your computer wirelessly.
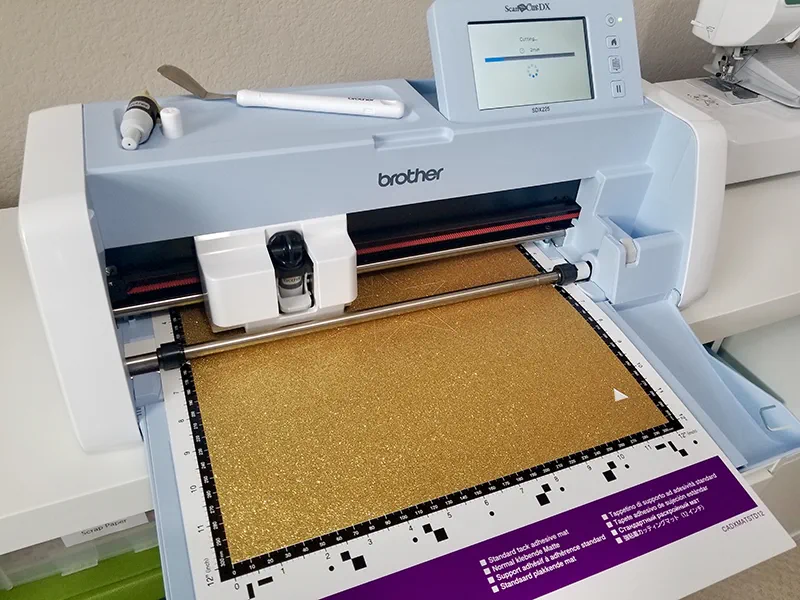
| 2. Cut out the “party stars and circles” patterns from the free downloads by placing the gold cardstock onto the standard mat and insert it into the machine. Load the “party stars and circles” pattern onto your ScanNCut following the instructions in step 1, then click on “ok” and then select “cut” and “start.” |
3. Cut out the “party circles” patterns from the free downloads by placing the gold cardstock onto the standard mat and insert it into the machine.
Load the “party circles” pattern onto your ScanNCut, following the instructions in step 1, then click on “ok” and then select “cut” and “start.” Repeat using 1 silver and 1 black piece of cardstock.
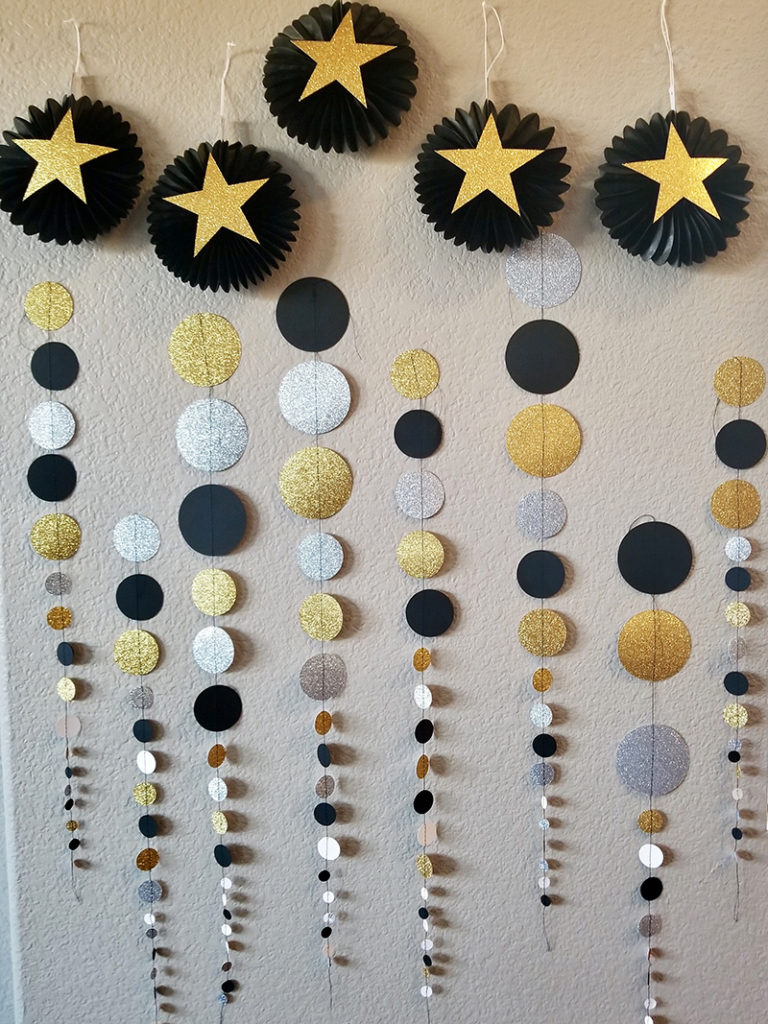
| 4. Assemble the ready-made tissue paper fans and then adhere a large gold start to the center of each fan. |

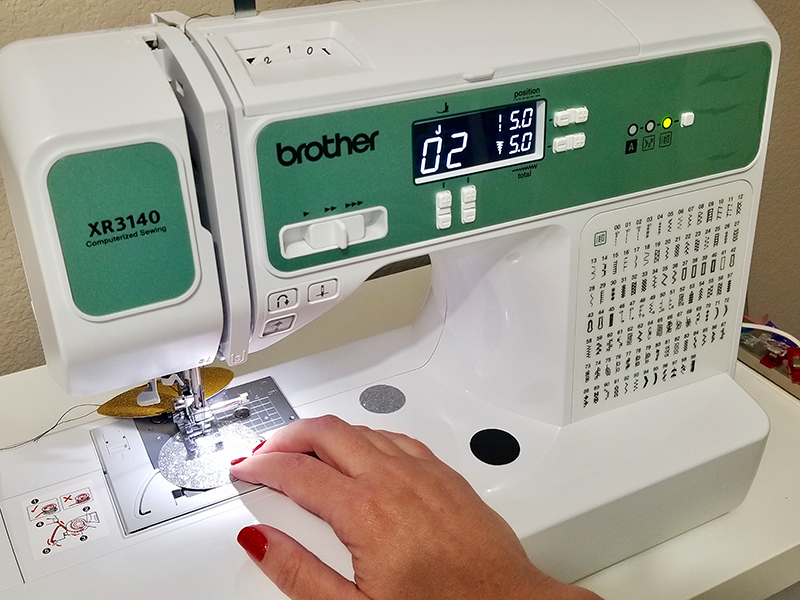
5. At your sewing machine, sew down the center of one of the circles, sew off the edge a few stitches and then threw another circle... repeating until you have a chain of circles.
6. Cut out the "party-foil-centerpiece" pattern from the free downloads by placing the black cardstock onto the standard mat and insert it into the machine.
Load the pattern onto your ScanNCut DX and then select the scroll pattern and delete it.
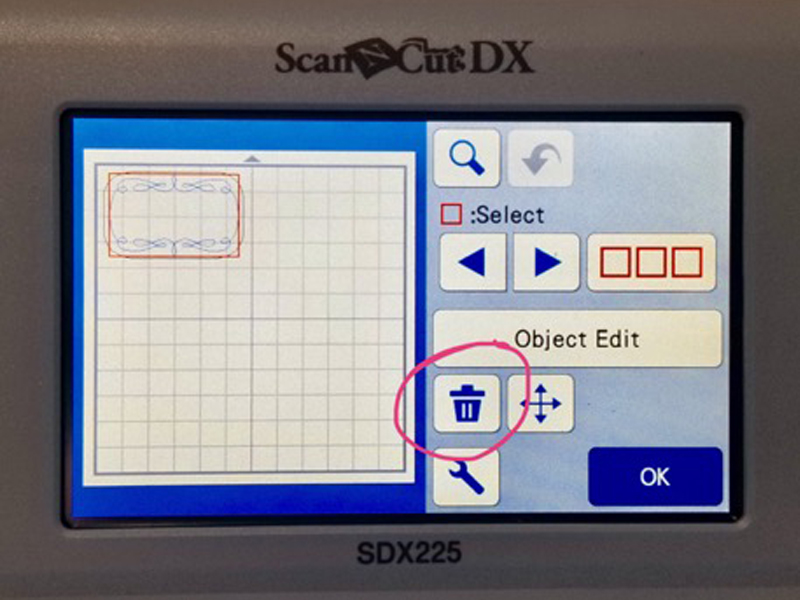
| Then cut out the shape by clicking on "ok" and then select "cut" and "start." Do not remove the cardstock once cut. |
7. Open up the Foil Transfer Starter Kit. Place the glue pen into the holder and insert it into the machine
Select “Foil1 (Glue),” follow the instructions on the screen and press start. Remove the glue pen and re-cap it.
Allow to dry.
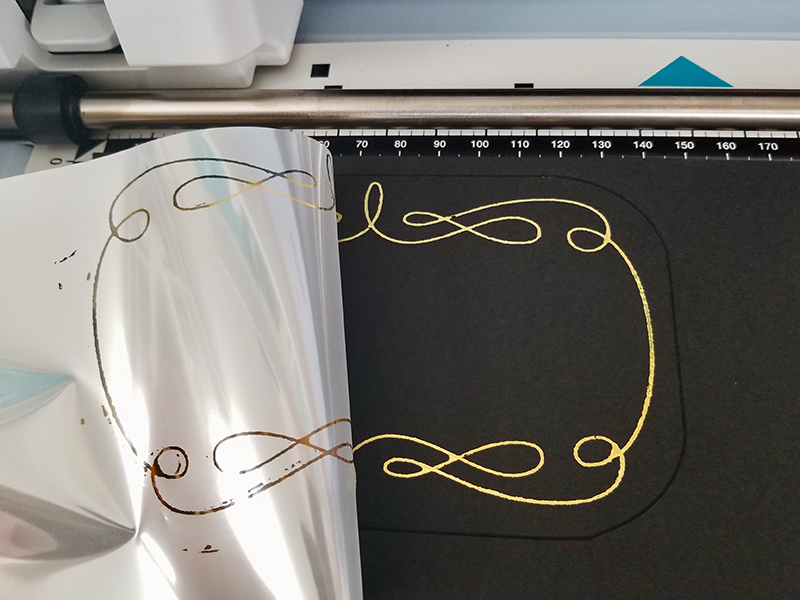
Select “Foil2 (Foil).” Follow the instructions on the screen. Place the pressing tool into the holder and insert it into the machine. Place the gold foil sheet, gold side up on top of the dried glue.
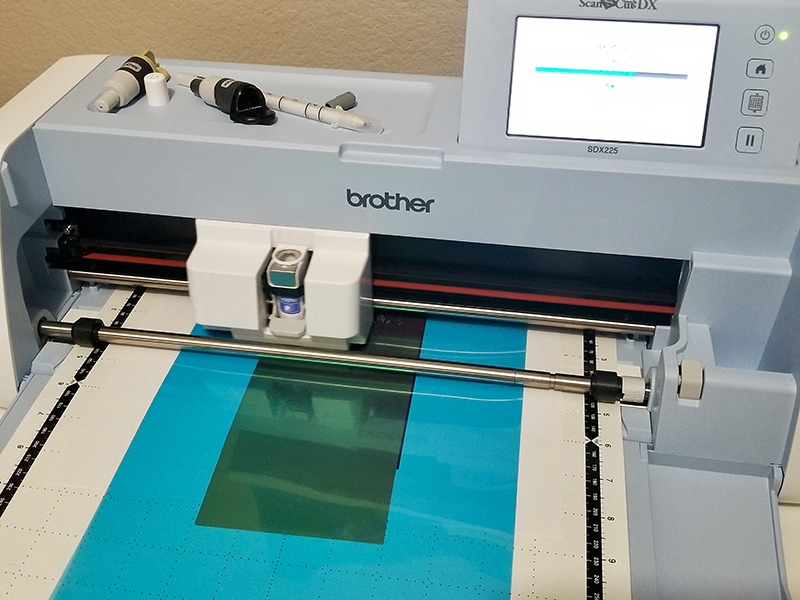
| Place the blue protective sheet over the foil and use Washi tape to hold it in place. Press Start. Once it's finished, unload the mat and remove the foil and protection sheet and brush off any gold debris. |
8. Adhere it to the centerpiece.
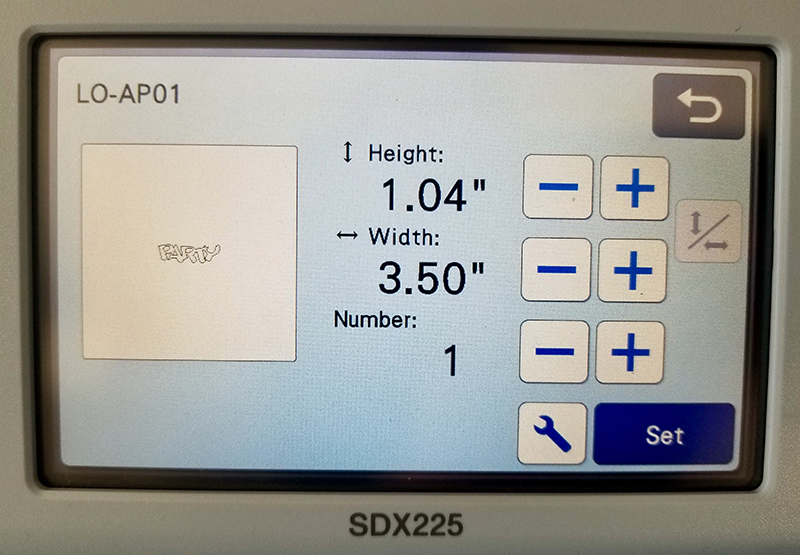
| 9. On your ScanNCut DX, click on "patterns" then choose the 'words' category. |
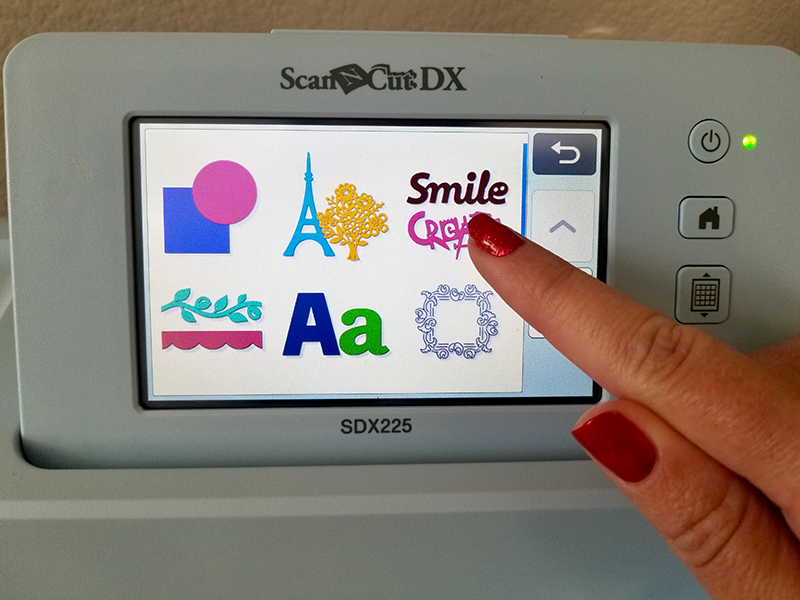
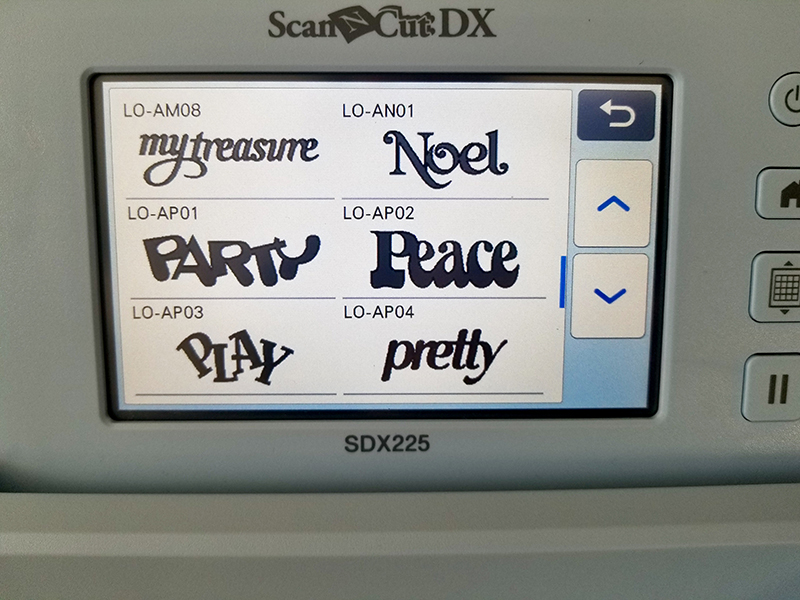
| Click on the word 'party,' resize it to 3.5" wide and 1.04" high and add it to the mat. |
Place a sheet of silver cardstock on the standard mat and cut it out.
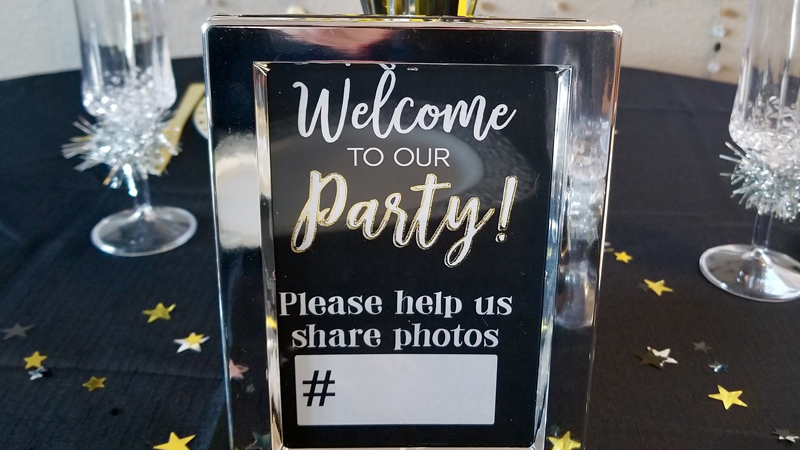
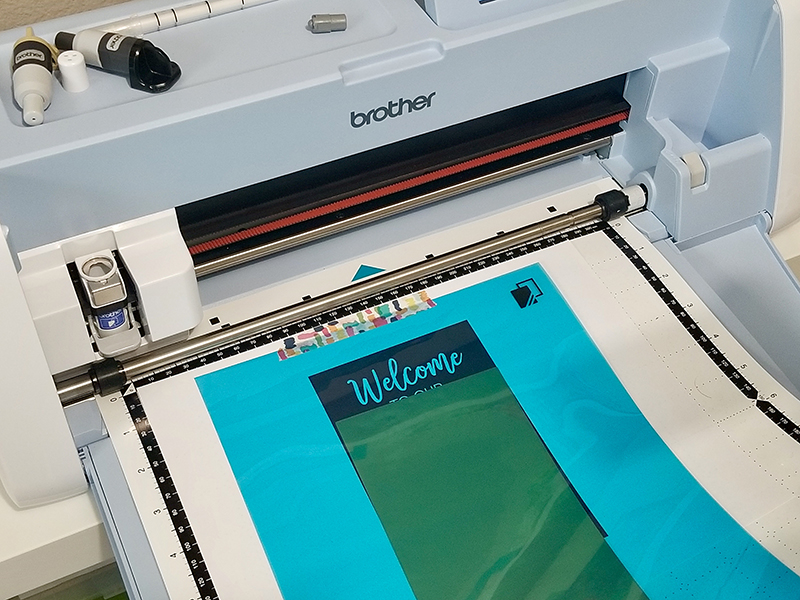
10. Print the 'party hashtag' on white cardstock.

Place the printed paper onto the low tack mat and insert it into the machine.
Load the "party hashtag" pattern onto your ScanNCut DX. Press the 'scan' icon and 'start' to scan the page.
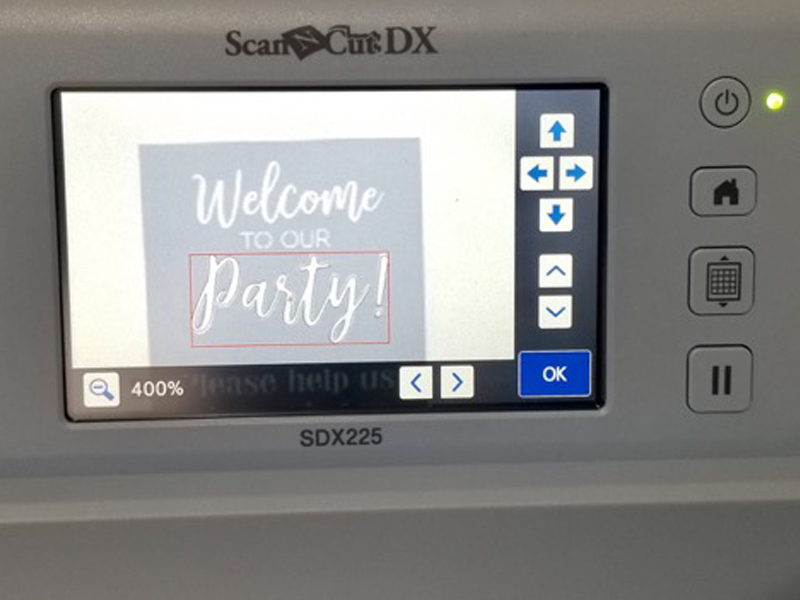
Click on "edit" then use the nudge arrows to line up the pattern with the scanned image.
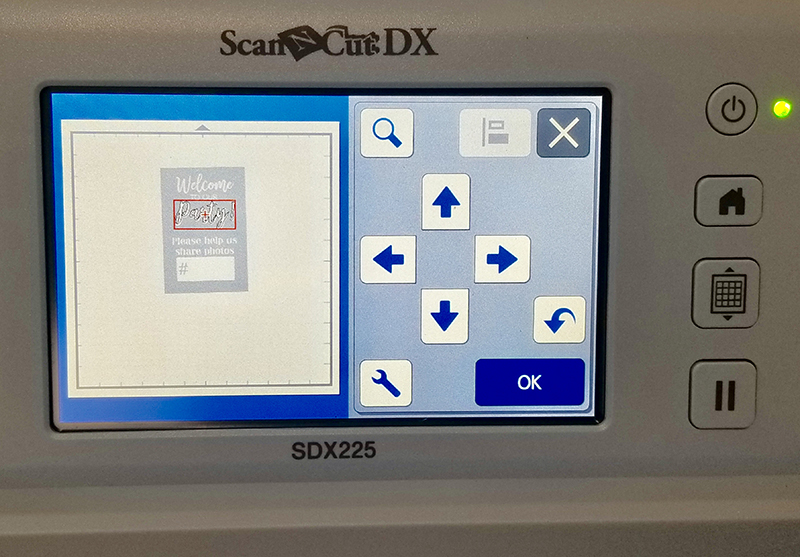
| Use the "Zoom" icon to help enlarge the image in order to see it better. |
When it's lined up, press "ok."
| 11. Select "Foil1 (Glue)," follow the instructions on the screen and press 'start.' When finished, remove the glue pen and re-cap it. |
Allow to dry completely.
Select "Foil2 (Foil)." Follow the instructions on the screen. Place the pressing tool into the holder and insert into the machine. Place the gold foil sheet, gold side up on the top of the dried glue.
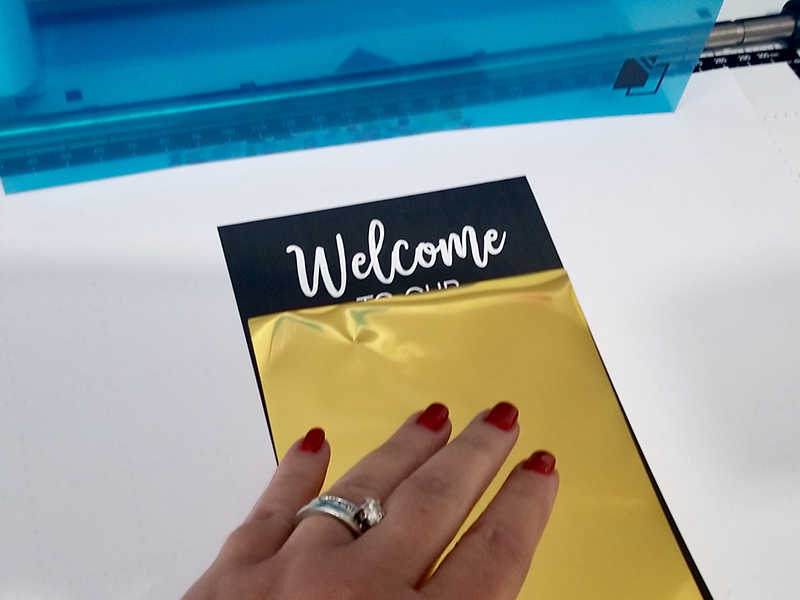
| Place the blue protective sheet over the foil and use Washi tape to hold it in place. Press start. |
Once it's finished, unload the mat and remove the foil and protection sheet and brush off any gold debris.
12. Trim down the party hashtag sign to 4" x 6" and insert it into the frame.
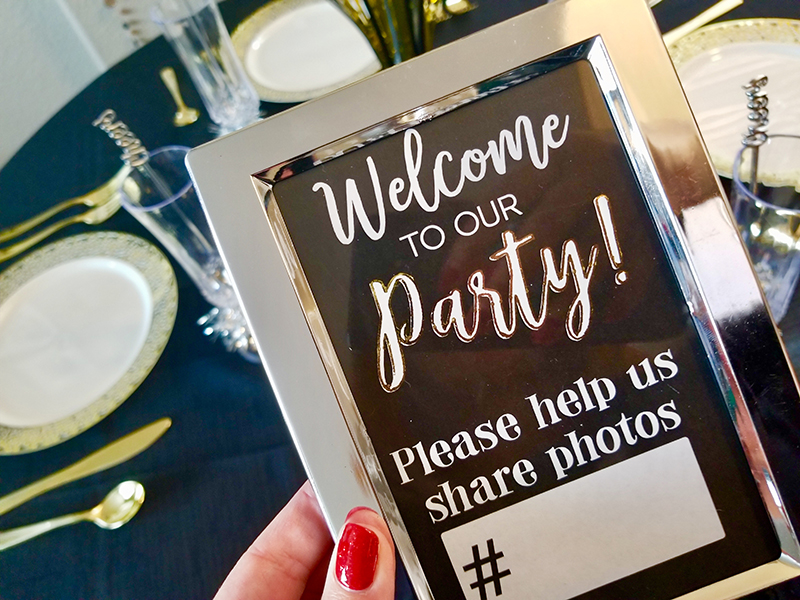
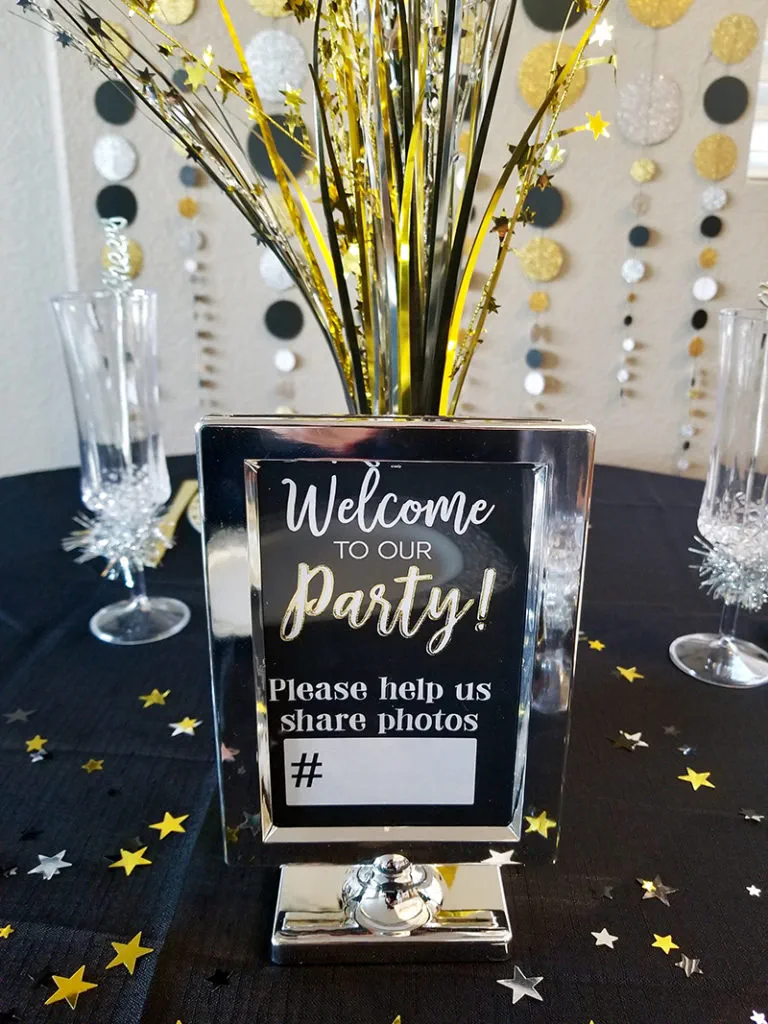
| Enjoy the party! |
Related Projects
Stay Connected
* Required fields