FASHION: HOW TO MAKE A FLORAL TRENCH COAT
SUPPLIES
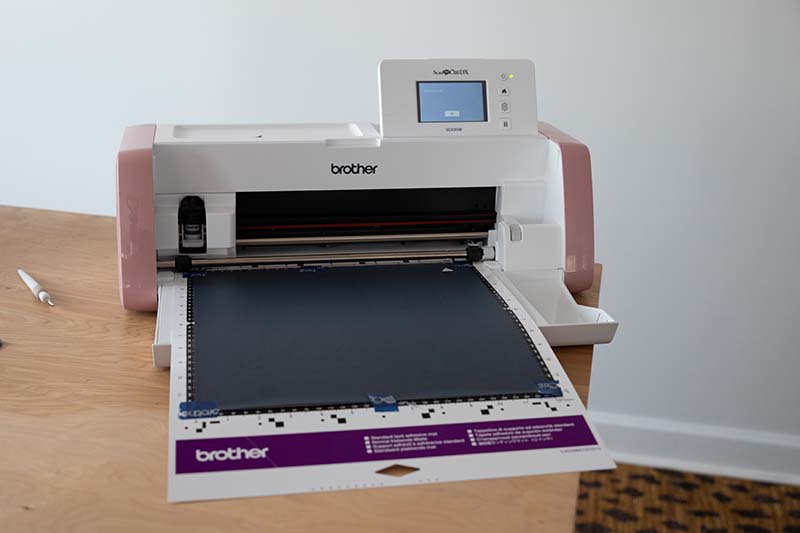
- Brother ScanNCut SDX85
- Brother ScanNCut Cutting Mat
- Black Flock Vinyl
- White Flock Vinyl
- Camel Flock Vinyl
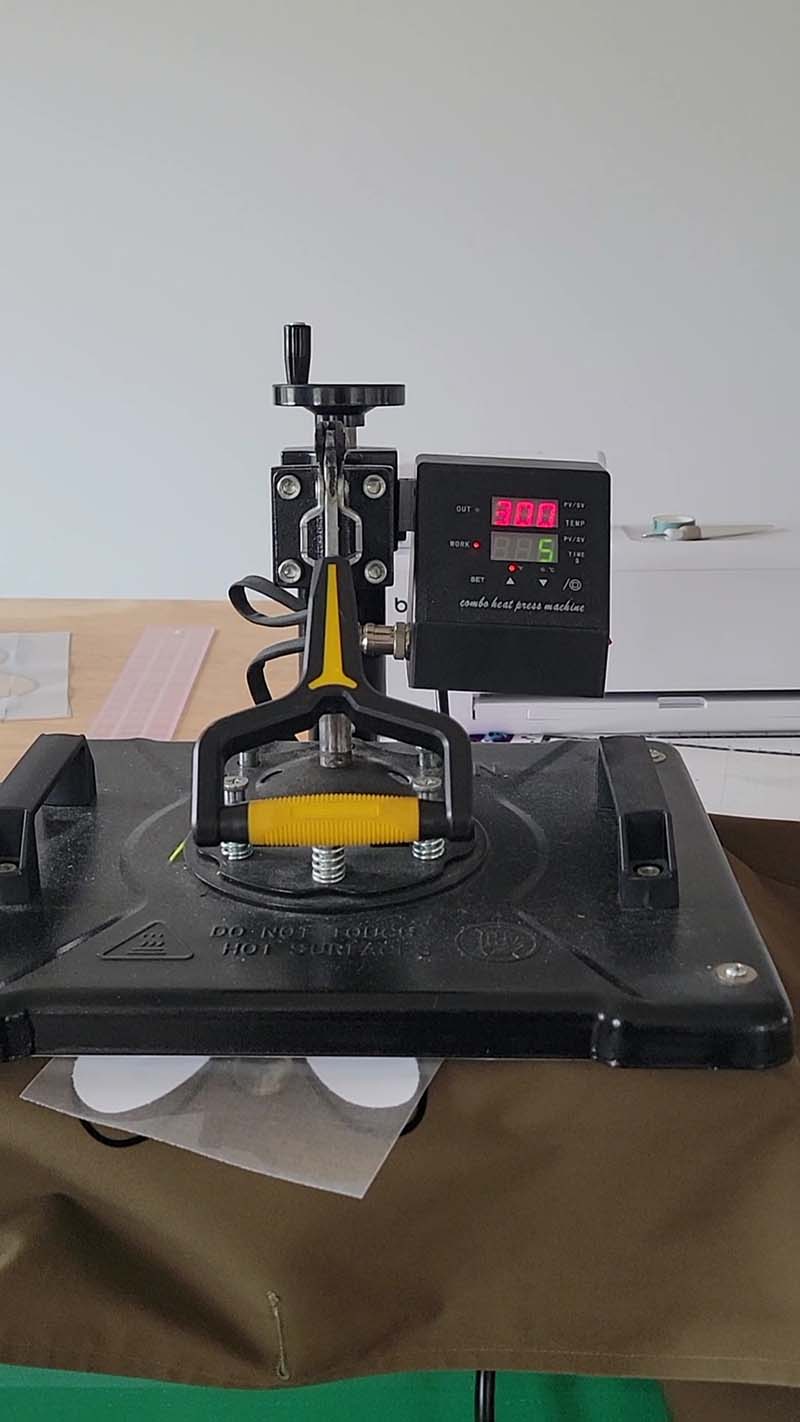
- Iron/ Heat Press
- Pressing Cloth or non-stick pressing sheet of your choice
If you follow my work, you would know that I fell in love with thrift flips. If you're unsure of what that is, a thrift flip is when you take a garment that you've purchased from the thrift store and turn it into another wearable garment; something totally different. I absolutely love doing this! It's an art form.
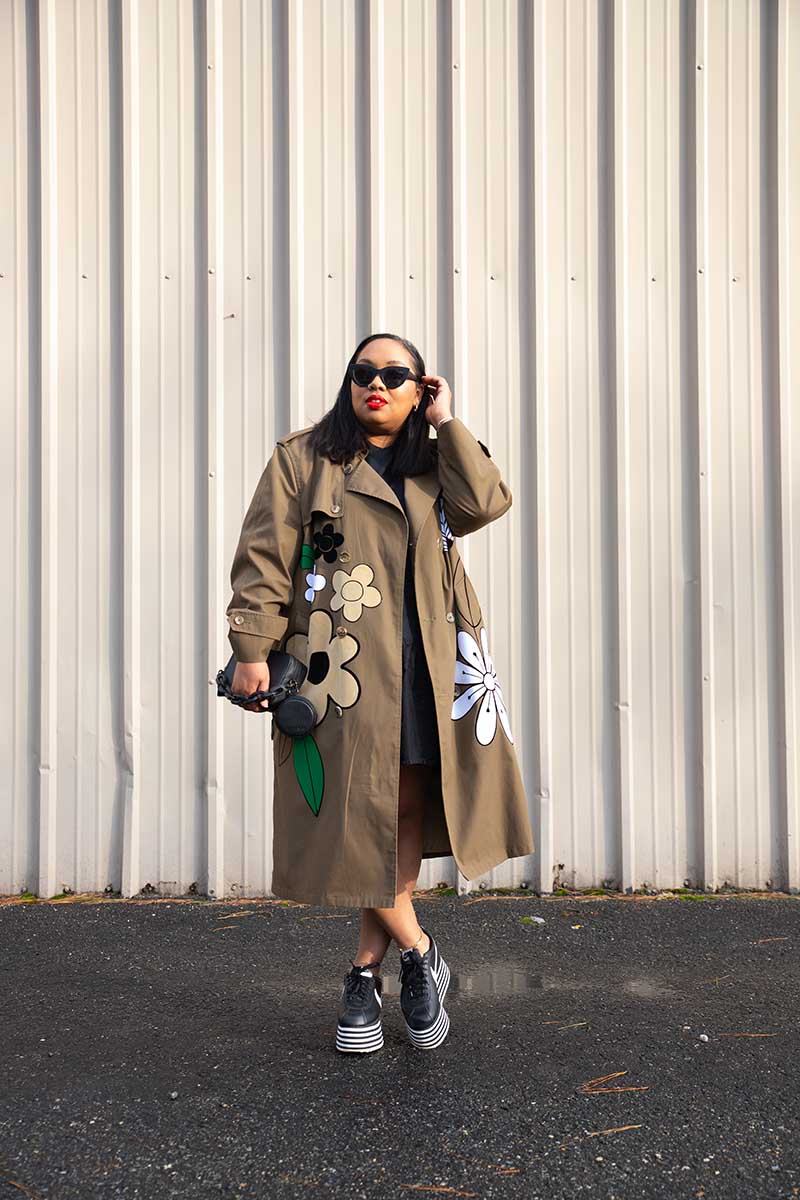
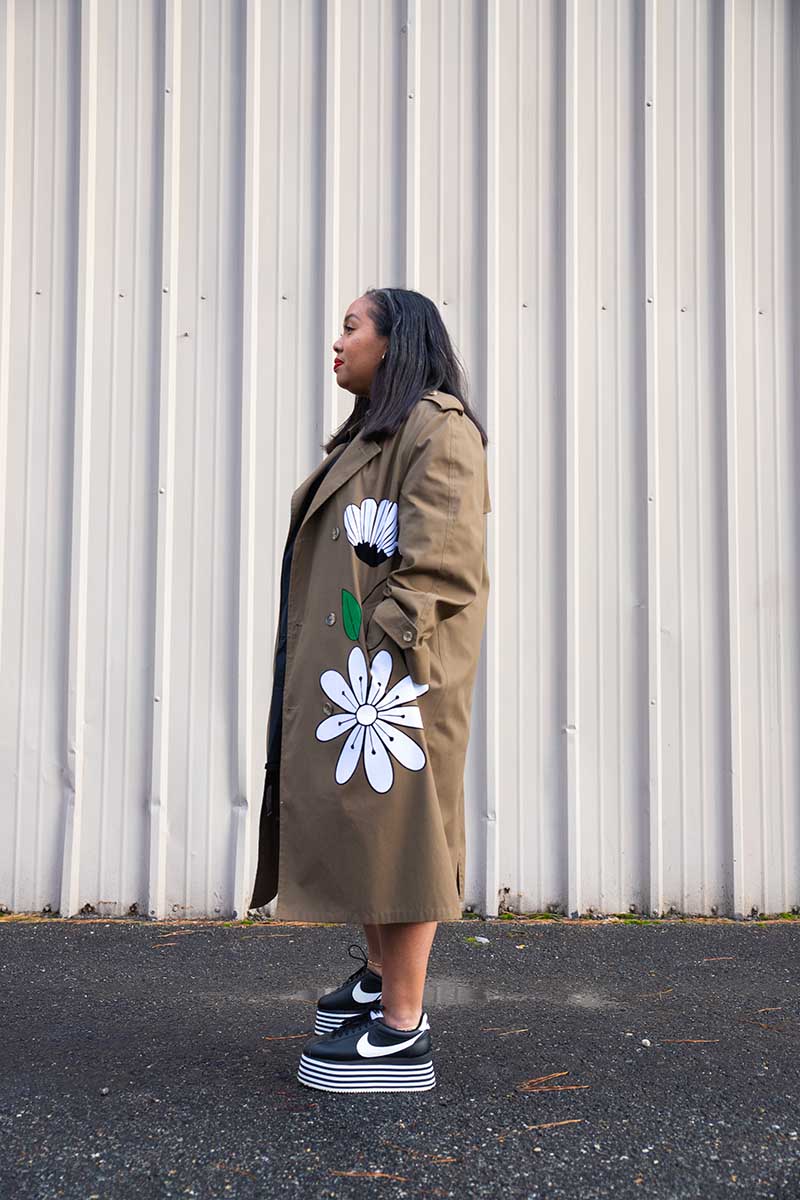
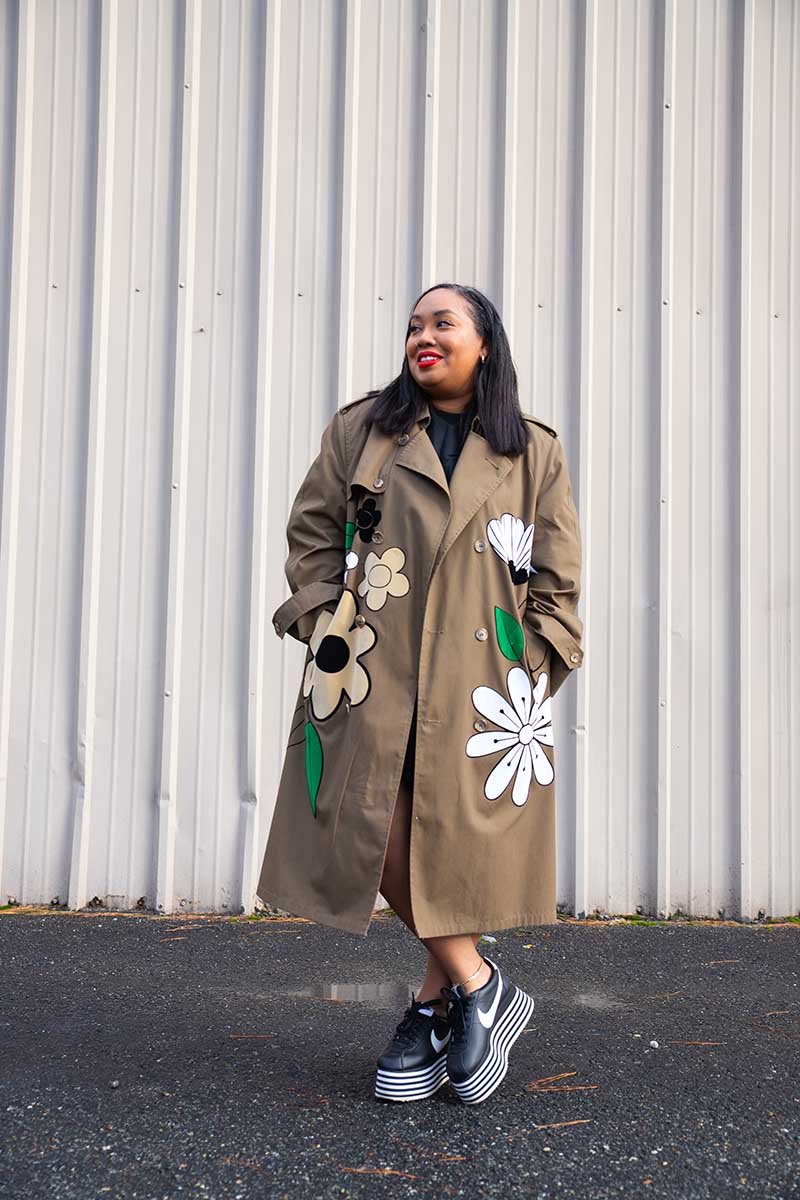
Last year, I purchased an army green trench coat from the thrift store. It's a beautiful coat. There are no stains or damages. The style isn't outdated and the silhouette is classic which means it can be worn for many years to come. I've worn it many times within the last year but, I wanted to elevate it a bit and add a bit more interest to it using my Brother ScanNCut. I absolutely love a good statement piece. The trench coat is already a great base to create something even more beautiful.
I love a good juxtaposition so blending this masculine style coat with playful florals will be a fun pairing. There are so many different floral styles out there but I wanted to choose something that looked hand-drawn. To do this, I made sure that the files had black hand-drawn outlines and a fill-in color. You can choose whatever color you want, but for mine, (surprise, surprise!) I went with neutral colors. I wanted the playfulness of the drawings to be the start instead of the color.
This project will work on a trench, teddy, or wool coat. If you don't already have one in your closet that you'd like to redesign, head on over to your local thrift store to find one. I highly recommend, however, that you shop your closet.
CUT FILESThere are a few cut files provided to create this project. I’ve listed them below to help you navigate the files.
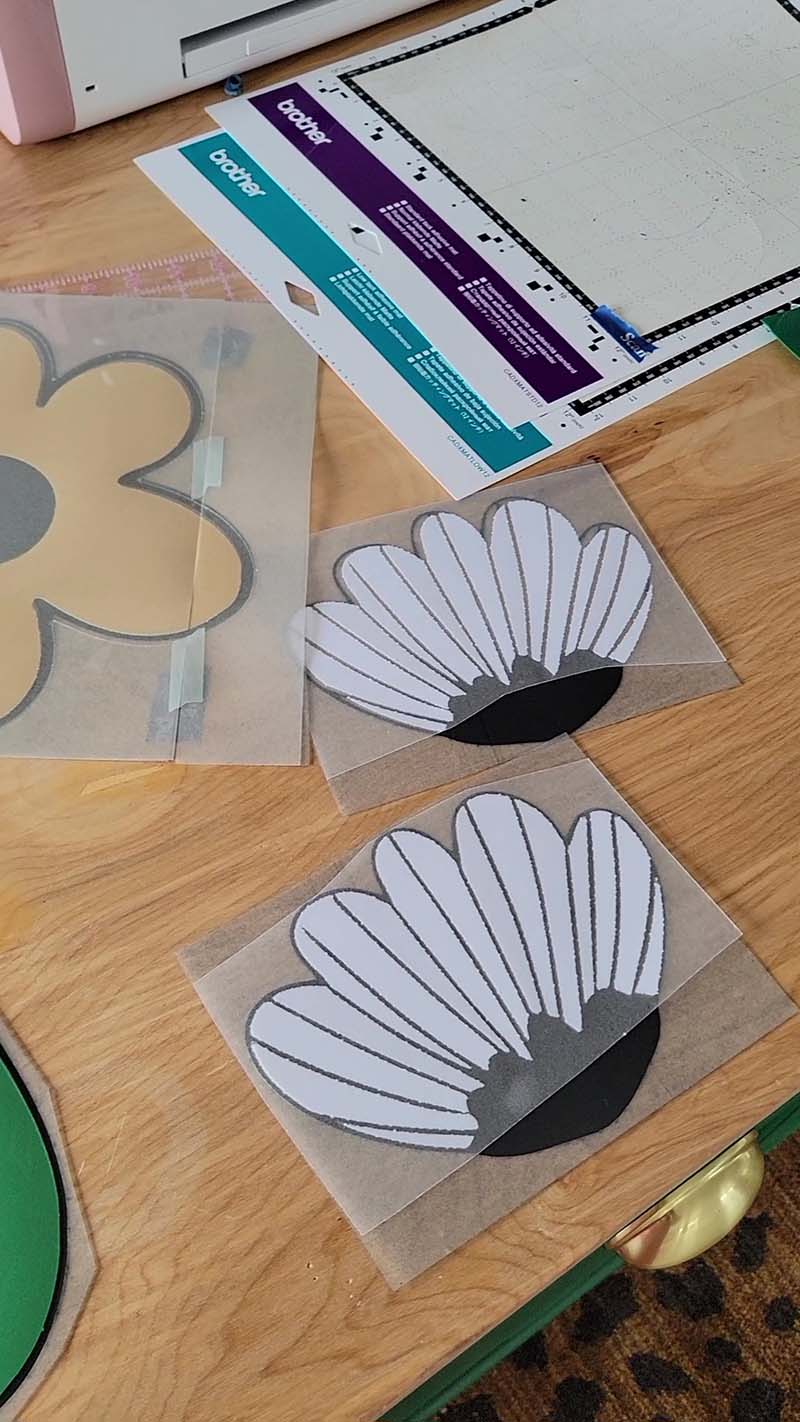
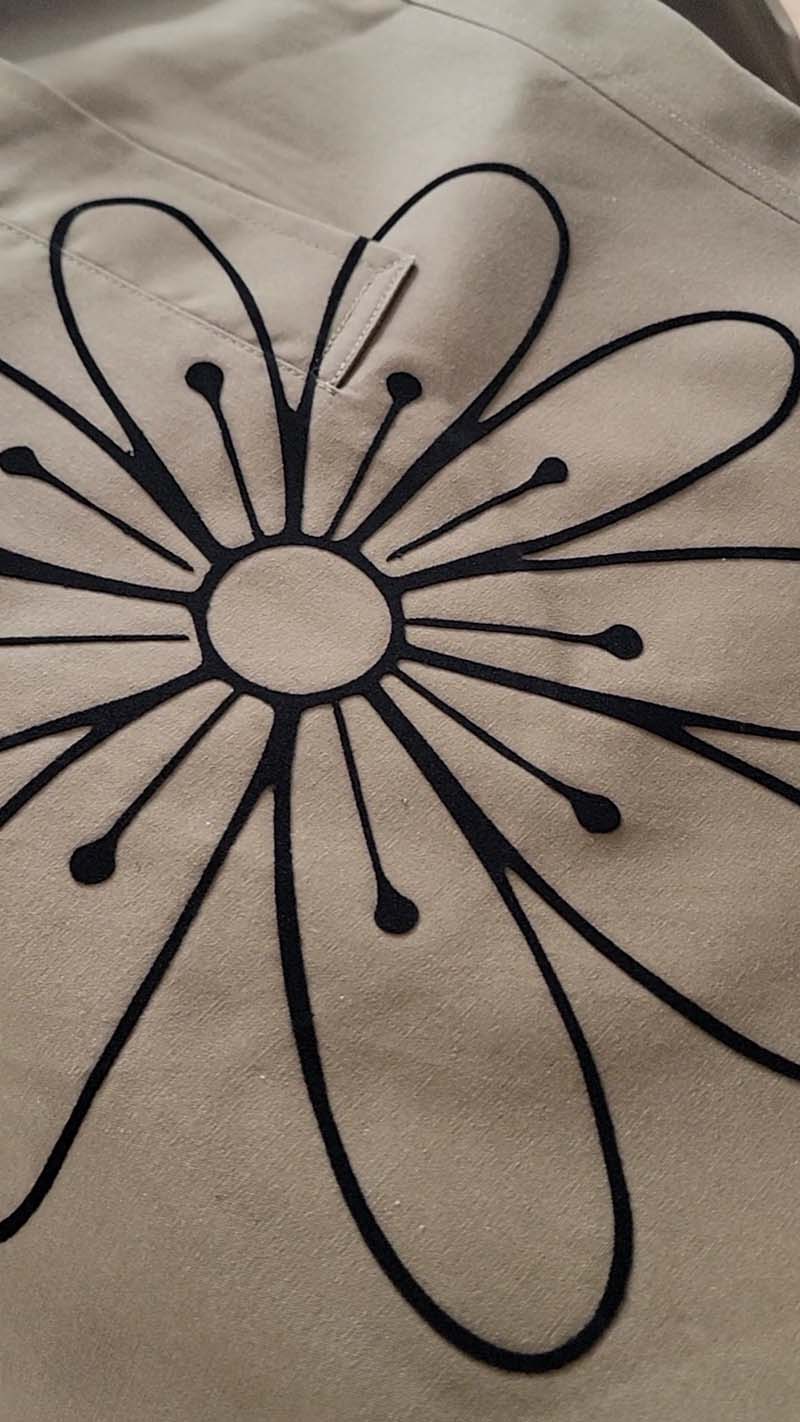
- Playful Flower 1- In this file, you’ll have three shapes. The largest shape aka the base is what outlines the flower (Cut this in black). The second shape is the inner flower which is what is layered on top of the larger flower. (Cut the petals white, tan, or in the color of your choice) The third shape is a circle which gets discarded.
- Playful Flower 2- This is similar to the Playful Flower 1, except there are 2 circle cut outs; one small and one big. When cutting this file, you can discard the larger circle and keep the smaller one. (Cut the petals white, tan, or in the color of your choice)
- Petal Flower- In this file, you’ll have the largest shape which is what outlines the flower. (Cut this in black) Then you’ll have all the separate petals as cut outs as well. (Cut the petals white, tan, or in the color of your choice)
- Tropical Flower- In this file, you’ll have the largest shape which is what outlines the flower (Cut this in black). Then you’ll have all the separate petals as cut outs as well. (Cut the petals white or in the color of your choice)
- Leaf- In this file, you’ll have the leaf outline aka the base of the leaf (Cut this in black) and you’ll also have the smaller leaf which is layered on top of the base. (Cut this in green)
INSTRUCTIONS
- Cut out your files as outlined above. Be sure to do a test cut prior to cutting your final design.
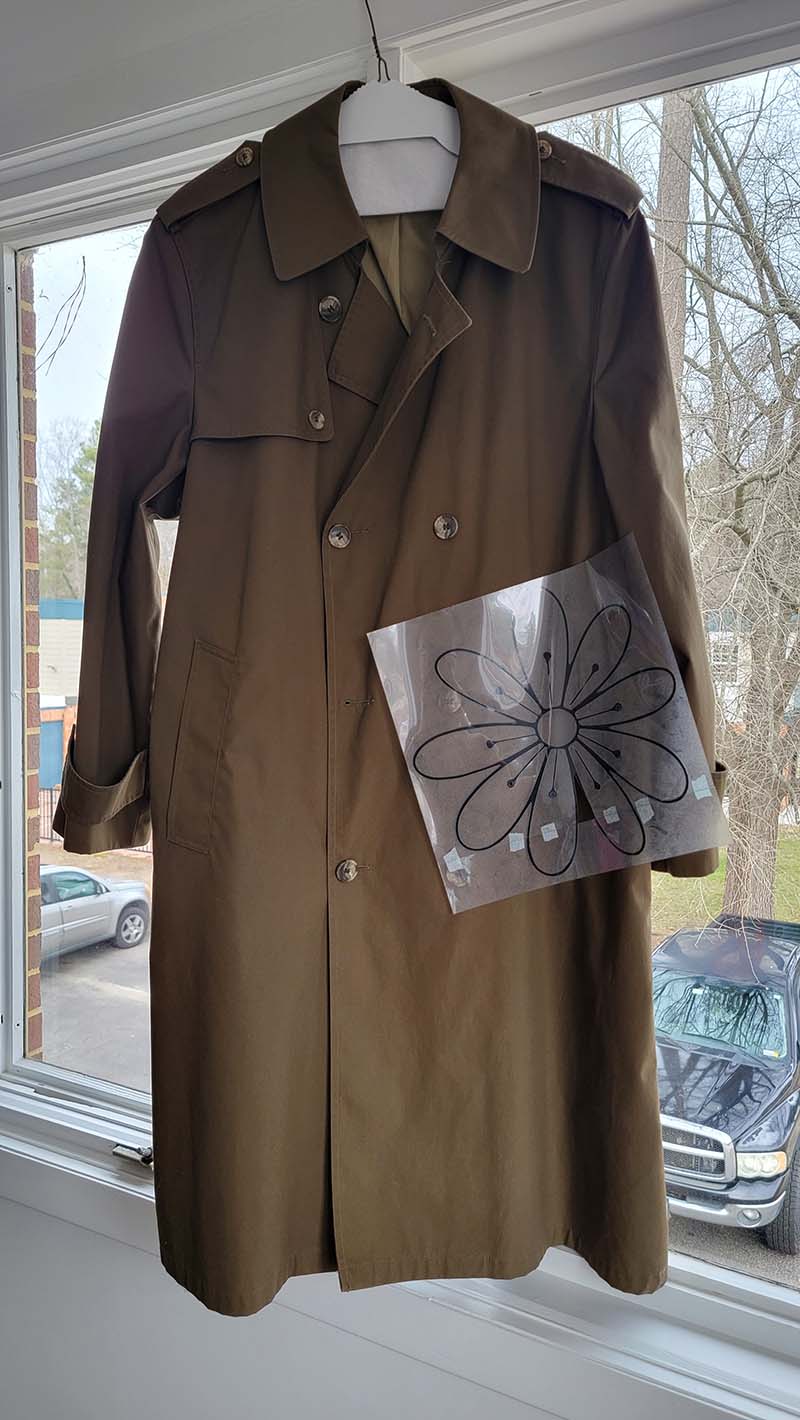
- Decide on your layout by placing the large, medium, and small flowers in the area of your coat that you desire. Once you have your desired layout, take a photo so that you’ll have a guide to help you move forward in this project. Remove the flowers from your coat and set aside.
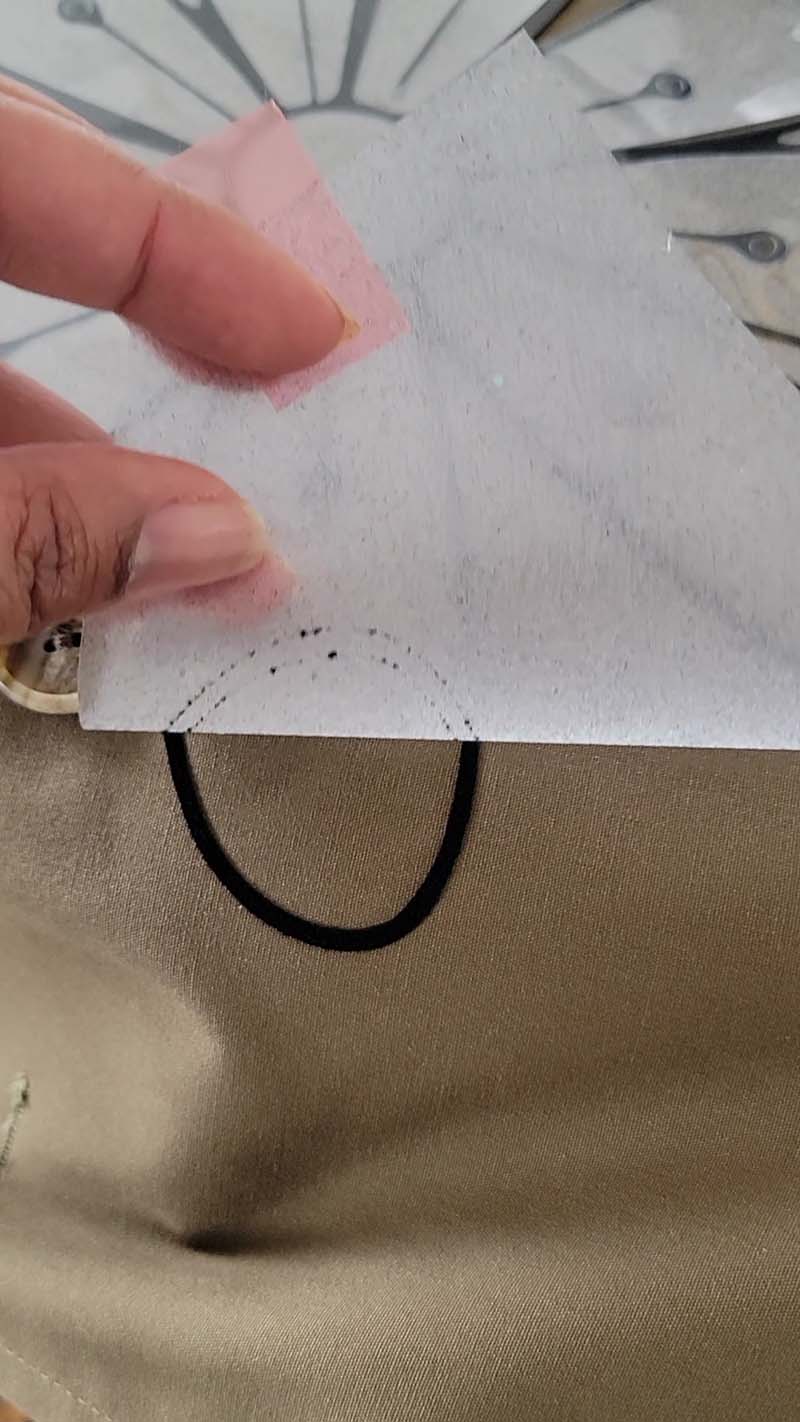
- Starting with the base of Playful Flower 1 (Remember, the base is the largest cut out of the flower and should be cut out in black flock vinyl), press this shape onto your coat using your heat press or hot iron. The temperature and time interval is determined by your heating tool. Everyone's heating tool is different so use your best judgment. For mine, I have my temperature set to 300 degrees and press for 15 seconds.
- Remove the heating tool and allow it to cool for a few seconds.
- Then, take the second shape (the smaller flower cut out which should be cut out in white, tan, or the color of your choice), layer it on top of the black flower you previously pressed. Prior to pressing it in place, be sure to use a non-stick pressing sheet to prevent damage to the previously pressed flower. Once the non-stick pressing sheet is in place, press the smaller flower in place. Again, using your best judgment based on your heating tool.
- Remove the heating tool and allow it to cool for a few seconds.
- Repeat steps 3-6 for all shapes until your jacket is to your liking. Remember to use the non-stick pressing sheet to prevent damaging your design.
Related Projects
Stay Connected
* Required fields