From A to Z Alphabet Foam Letters

Create your own foam alphabet letters with help from the ScanNCut! See the details below!
Materials:
(6) 6" x 9" foam sheets with adhesive back
(2) 6" by 9" foam sheets (no adhesive)
ScanNCut
Project Steps:
1) Create an alphabet board using your preferred font (a wide font will work best).
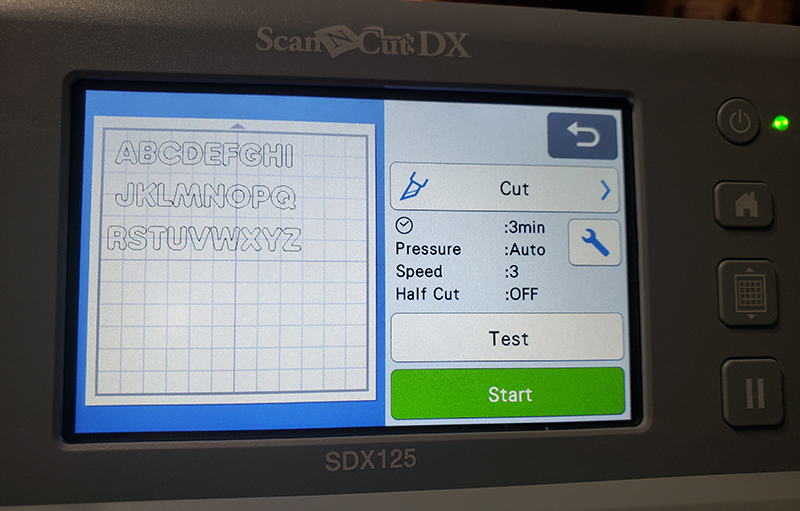
2) Use your ScanNCut to cut out one foam sheet and three foam adhesive back sheets of the alphabet.
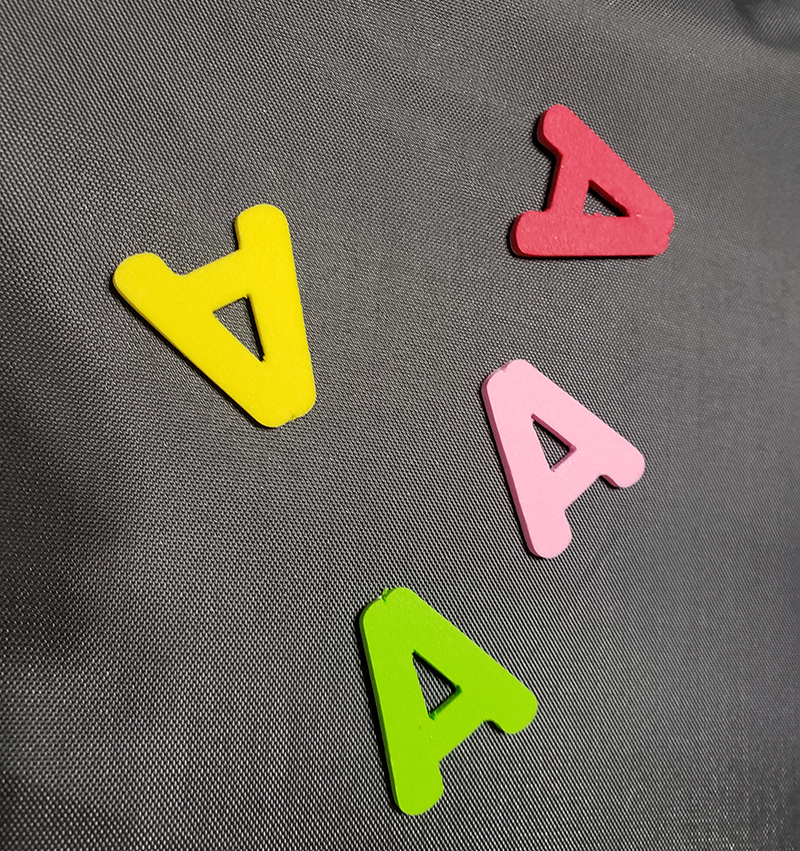
3) Pop out all letter and save both the letters and cut out (I found sorting the letters into color piles a good way to keep it all together).
4) Using one whole foam sheet, attach one whole adhesive back foam sheet to it. Try to align the edges best as possible.
5) Repeat with another adhesive backed foam sheet (you want the back to be three layers thick to provide a sturdy back).
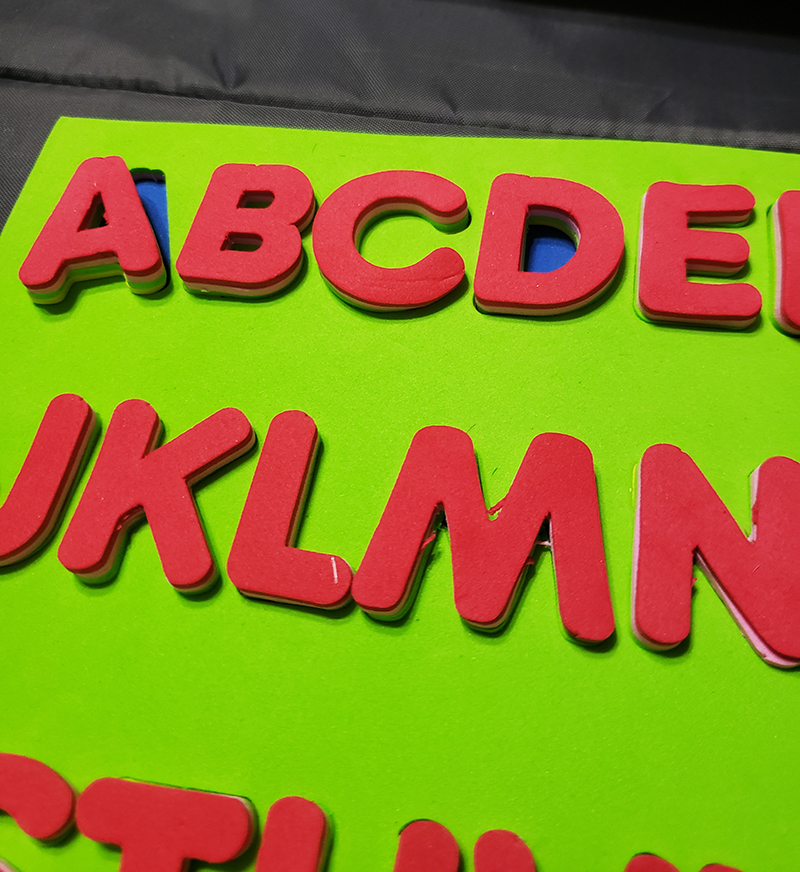
6) Careful line up and place one of the cutout letter boards on top of two attached whole sheets.
7) Repeat this process a second time taking care to line the edges as best as possible (your puzzle board can be as thick as you want).
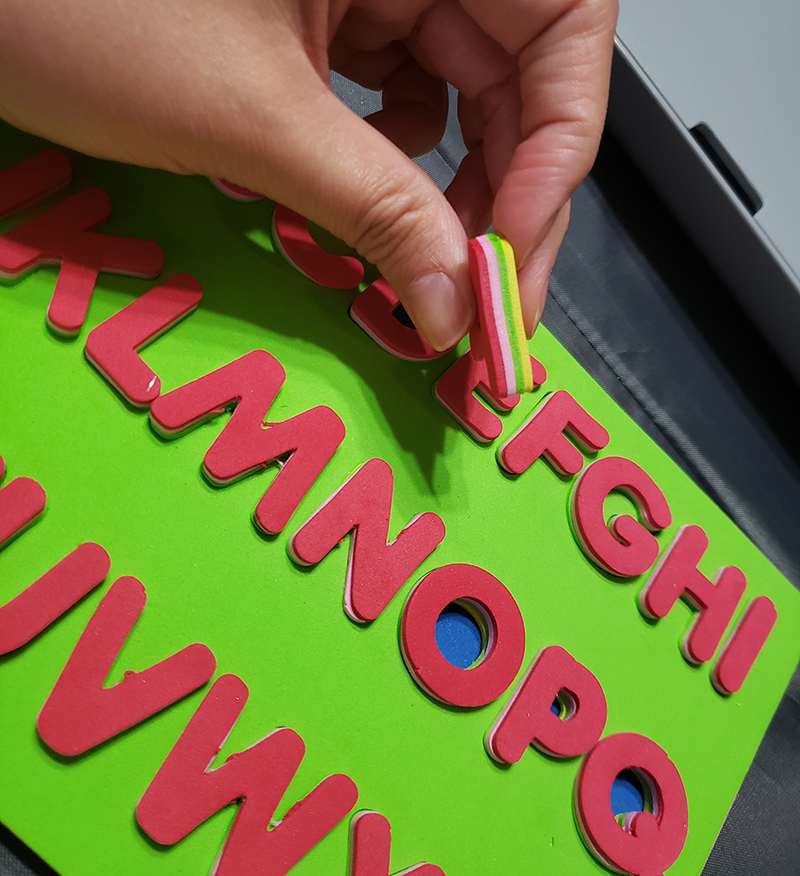
8) Using the foam letters, attach one of the adhesives backed foam letters on top (take care to line up the edges).
9) Repeat two more times so that your letters have four foam layers of thickness.
10) You can clean up any edges with a sharp blade if you choose. Just be careful to remove as little as possible to keep a nice fit for the puzzle pieces.
A, B, C...
Related Projects
Stay Connected
* Required fields