DIY Star Studded July 4th Decorations
Add a splash of red, white and blue home decor with a patriotic Fourth of July wreath, tablecloth and a few candle votive decals!
For the wreath, you will need:
ScanNCut DX, large embroidery hoop, Low-Tack Mat, hot glue gun, various cardstock colors of red, white, and blue
- Open up the built-in patterns on the ScanNCut DX. Select a star-shaped pattern and open up 4-5 instances of the same pattern on the machine. We used a variety of sizes -- 3 in, 2 in, and 1 in stars.
- Affix your cardstock to the Low-Tack Mat and begin cutting out your stars. Switch out your paper pattern and color for a varied effect like we did! Make sure to use plenty of red, white and blue for a patriotic effect.
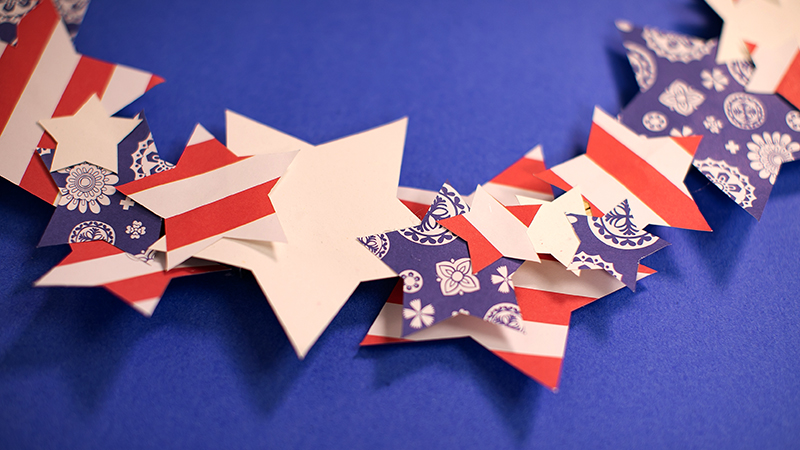
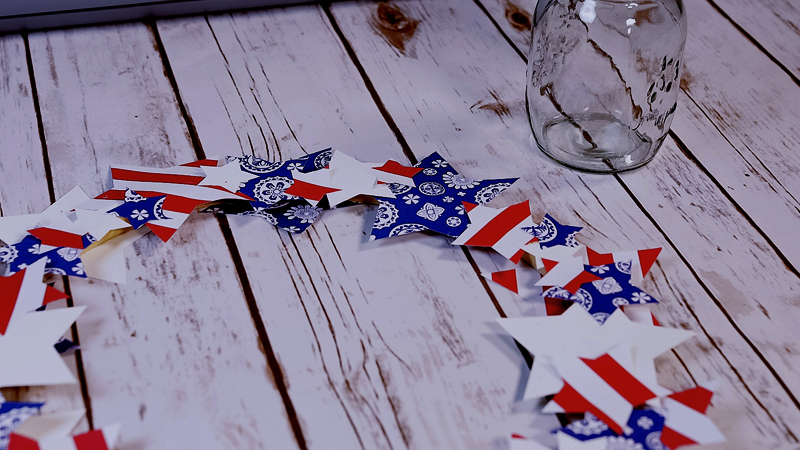
- Once you have a good pile of stars, gather up all of them and start creating your wreath.
- Use hot glue to affix the stars around the entire embroidery hoop. Layer the stars on top of each other and stick smaller stars on top of the larger ones to create a more three-dimensional and layered effect.
- Repeat step 4, on the other side of the embroidery hoop as well. This will make the wreath look thicker and more robust.
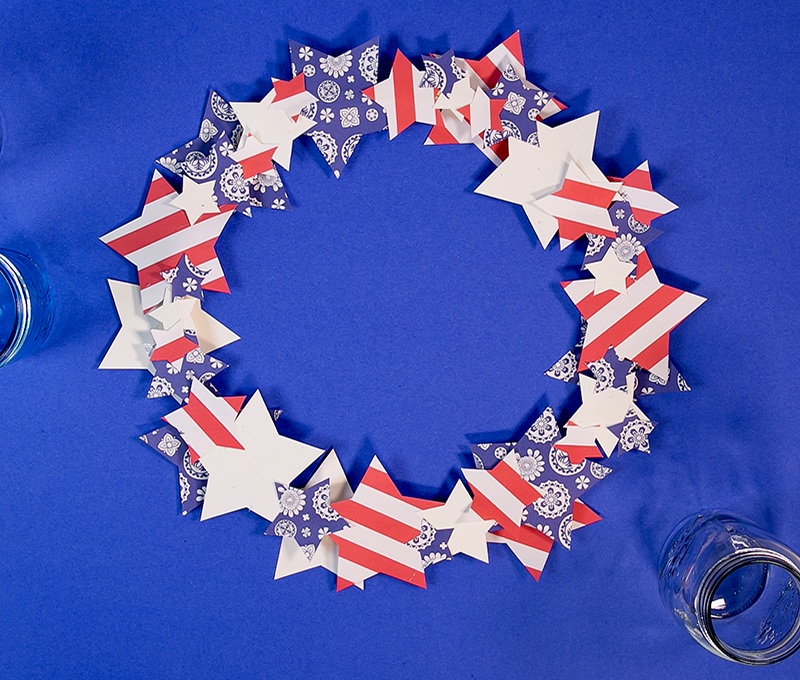
- Let all glue dry completely and use a tack or nail to hang up your festive wreath!
For the tablecloth, you will need:
Still craft felt in 12” x 12” squares (4 colors), iron-on transfer sheets, tablecloth, ScanNCut, standard tack mat, iron, presscloth.
- Load the file “tablecloth pattern.fcm” to your machine.
- Affix an iron-on transfer sheet to the back of each 12” x 12” piece of felt, following all directions.
- Stick down a felt square to a standard mat, adhesive side down.
- Cut out the triangles using the auto blade.
- Repeat steps 2-4 using the same cut file, but with the other 3 colors. You should have a large collection of multicolored triangles at this point!
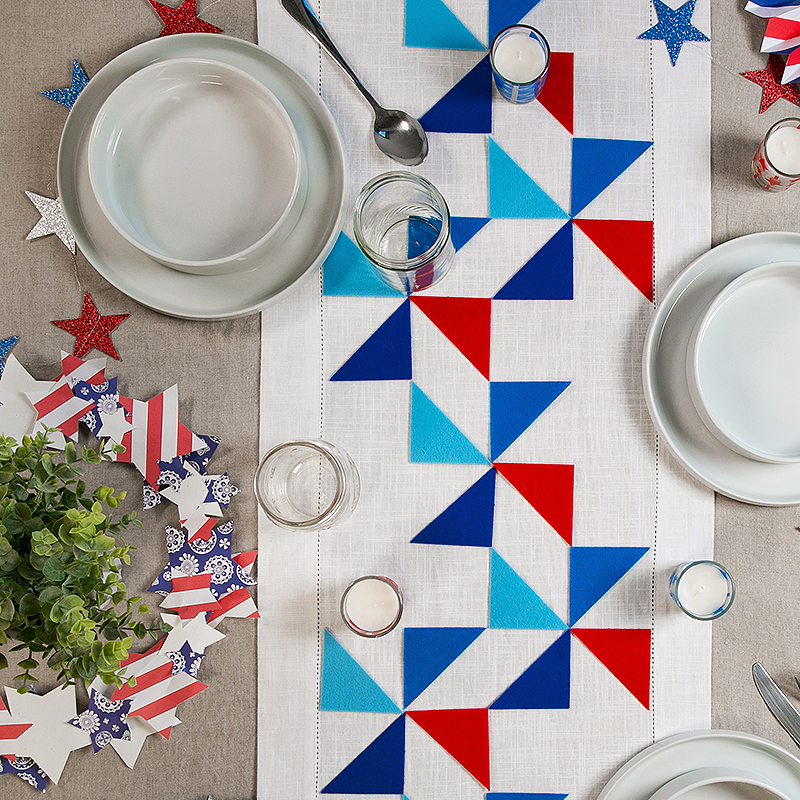
- Begin to arrange the triangles in a pinwheel pattern on your tablecloth, as shown in the images. Make sure you arrange the triangles precisely in preparation for them to be sealed to the tablecloth.
- Once the design is complete and you are happy with the arrangement, carefully lay a presscloth over the felt pieces and use an iron to firmly press the felt onto the fabric of the tablecloth.
- Let cool before touching -- it’ll be very hot!
- Done!
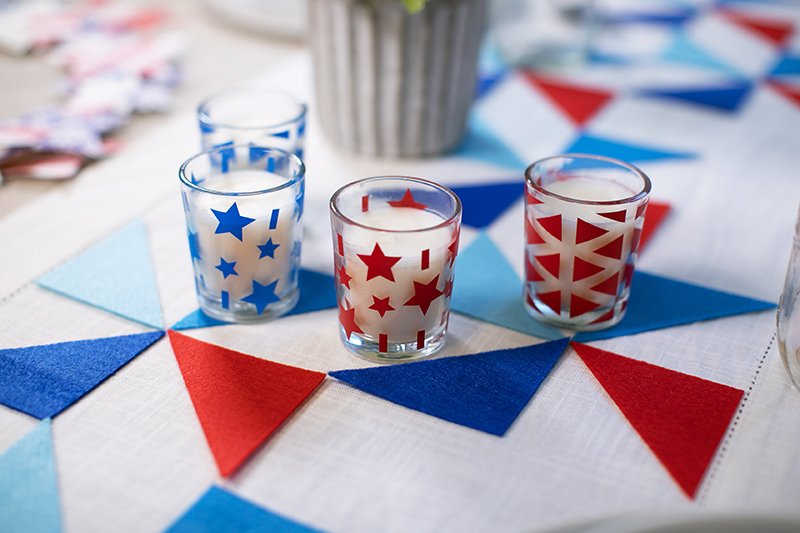
For the candle votive decals, you will need:
Small glass candle votives, Brother vinyl in patriotic colors, roll feeder, ScanNCut, transfer sheets.
- Load “votive decals.fcm” to your machine.
- Load your roll feeder with the color vinyl of your choice.
- Cut out the designs.
- Weed out the rectangular shapes and all excess vinyl, only leaving behind the patterned pieces.
- Repeat steps 2-4 with the same cut files to create as many glass votives as you want!
- Use a transfer sheet to lift the vinyl off of the backing sheet and place the designs onto the glass votives.
- Smooth out the vinyl once it’s applied, making sure there are no air bubbles.
- You’re done!
Related Projects
Stay Connected
* Required fields