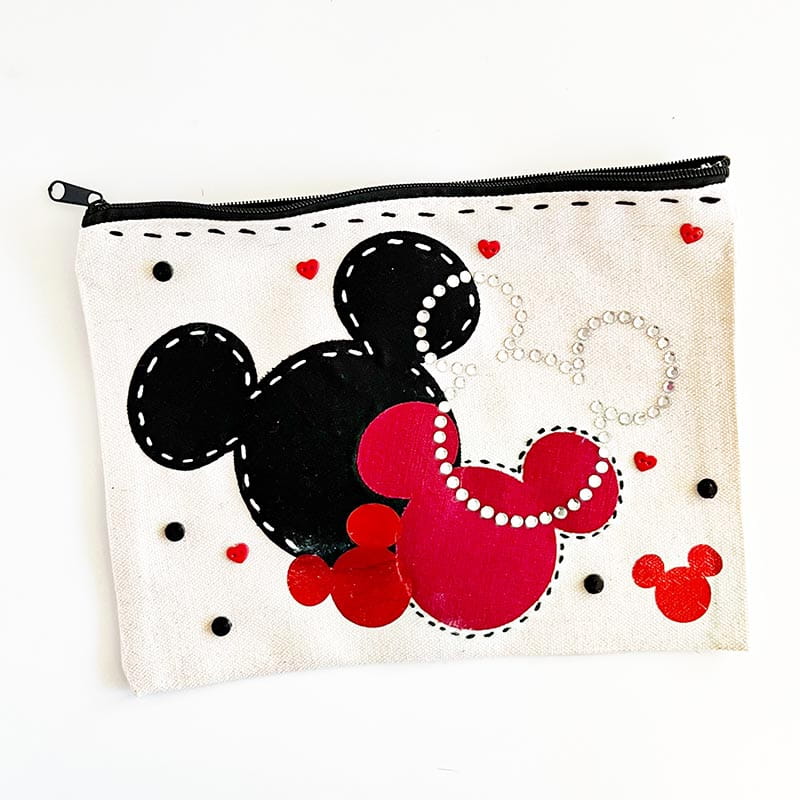
Disney’s Mickey Mouse Inspired Rhinestone Zipper Bag
-Brother Crafts Blogger
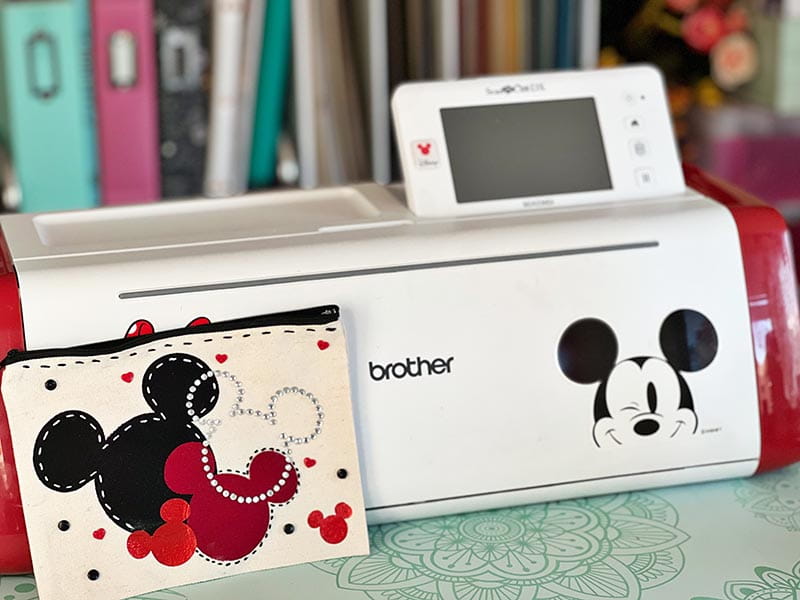
Did you know that the SDX230Di model has built-in Rhinestone designs? My personal favorite is the Mickey head and I’ve used this design on tote bags, shirts, even a denim jacket! The great thing about these designs is once cut and weeded, you can use the material over and over as a rhinestone template.
Supplies:
- Brother ScanNCut SDX230Di
- Standard Mat
- Rhinestone kit
- Zipper bag,
- Clear hot fix rhinestones
- Iron
- Fabric,
- Heat transfer vinyl,
- Embroidery thread and needle
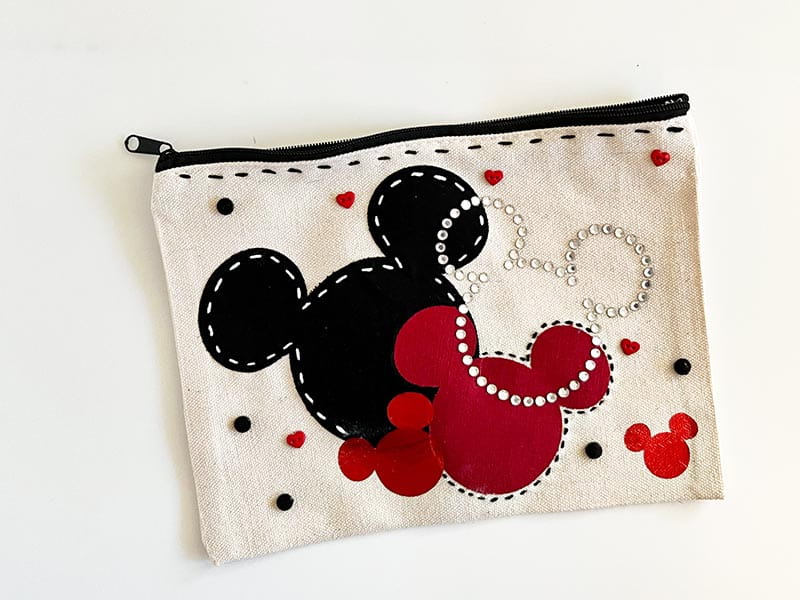
The process for any of the rhinestone designs is simple – either create in Canvas Workspace (if you have the rhinestone premium function activated) a custom design, or use one of the built-in as I did here. Then use half-cut to cut out the velvet material to create your circle (template) and weed it. Once it is full of rhinestones pick them up with the iron-safe transfer material, heat set, and enjoy!
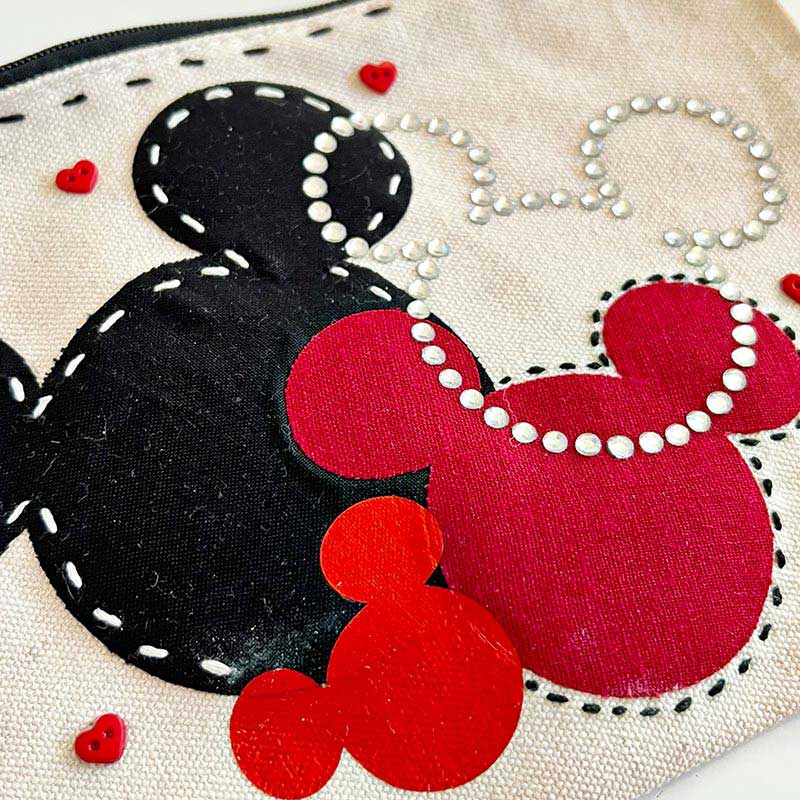
For this project I combined my love of cutting out fabric, rhinestone designs, and some hand stitching too. The Mickey head will forever be one of my favorite designs to work with because there is so much we can do! I can keep it simple, mix and match sizes and materials, and in the case of this zipper bag I was able to mix fabric, vinyl, rhinestones, and hand stitching as well!
Creating your own bags is a lot of fun – but finding plain, ready-to-decorate ones is another option. This is a great project to use up leftovers, scraps, and thanks to the built-in scanner you can easily make the most of small pieces of material for a project like this one. I definitely recommend a variety of sizes, and when adding stitches consider where some contrast and texture will be the most beneficial to the design. A little can go a long way!
Tags
Brother Disney ScanNCut DX SDX230Di
- 152 Built-in Disney Designs
- Built-in Scanner, scan in your own drawings and cut out on virtually any material
- Auto Blade Sensing Technology, no more adjusting blade pressure settings
Related Projects
Stay Connected
* Required fields