How to Make a Confetti Card
Supplies:
- ScanNCut DX
- Standard Mat
- Universal Pen Holder
- Black (Waterproof) Pen
- Watercolors or Markers
- Foam Adhesive
- Acetate
- Ribbons
- Sequins and Glitter (or other embellishments)
- Glitter Glue or Colored Pen
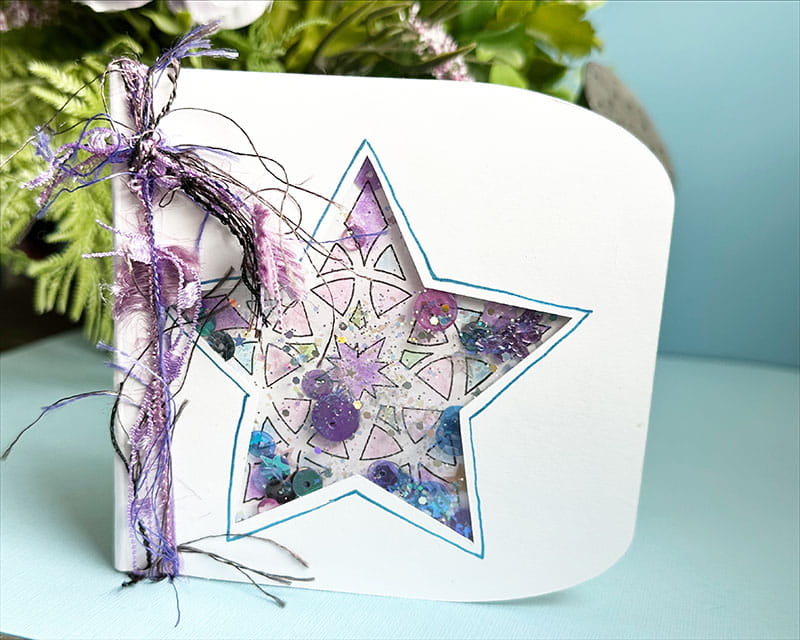
While we aren’t sure of the gender, my friend has a new baby on the way, and I want to send her a congratulations card. What could be better? Making something with hand-drawn touches, details, and wow factor that is actually quite simple! This project has a lot of very specific steps, but when followed, you too can have the design of your dreams beautifully colored and ready to gift for a new baby, wedding, or any occasion you like!
Step-by-step:
- Select the design that you want to show through your card window. I’ve selected an intricate star, however even a simple outline design will work. Use universal pen holder to insert pen, then draw function to draw the design on watercolor paper or heavy cardstock.
- Cut a circle or square around your design approximately ½” smaller than the anticipated final card. Use the scan function to scan the mat and see where it should be placed, then cut using auto blade for perfect results.
- Using colors of your choice, color the design as desired, set aside to dry (if dry time needed)
- Place a piece of paper (that will become the card base/front) on the mat either in the size you desire, or select the size/shape you desire from built-in ScanNCut machine designs, then cut that out. Now place the paper (mine is 4 ½ x 8 ½”) back onto the mat, and set the colored design on the mat as well in the position that you envision the cut-out window. Select scan function (Direct cut), and scan mat. Remove the colored piece and then cut the outline shape as-is, or scale down if you would like an outline (or less of an outline).
- With the pieces cut, it’s time to assemble. For the shaker card, place acetate down and trim around so that the hole is covered and secured with tape.
- Place foam adhesive all the way around the opening/visible part of the shape (star in my instance)
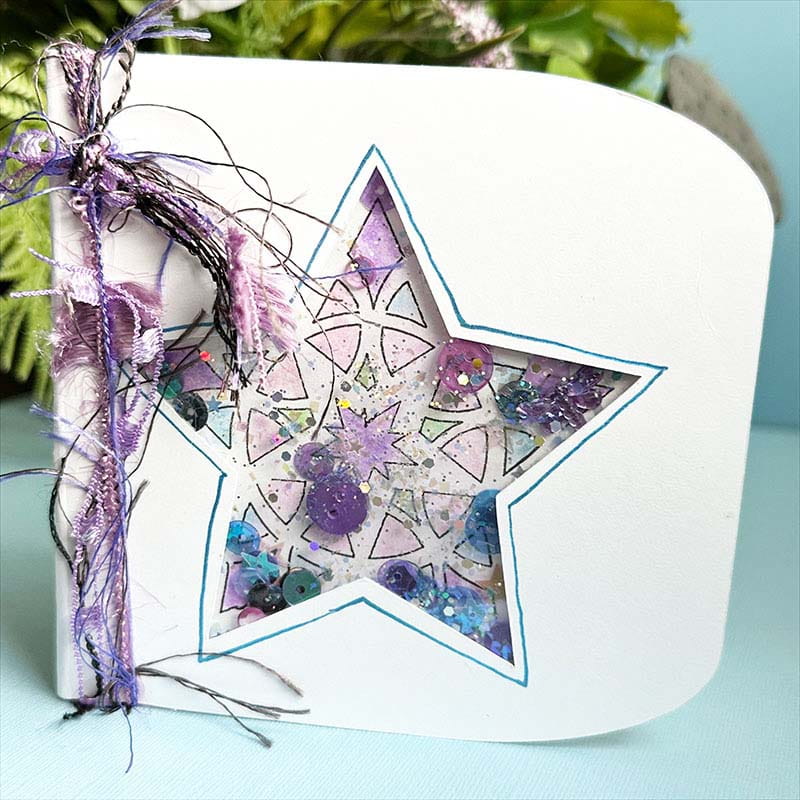
- Place some glitter, buttons, sequins, beads, or other small accents in the center of your star. Then take the card base (with acetate/foam tape set up) and place that over the top of the design as desired and press firmly.
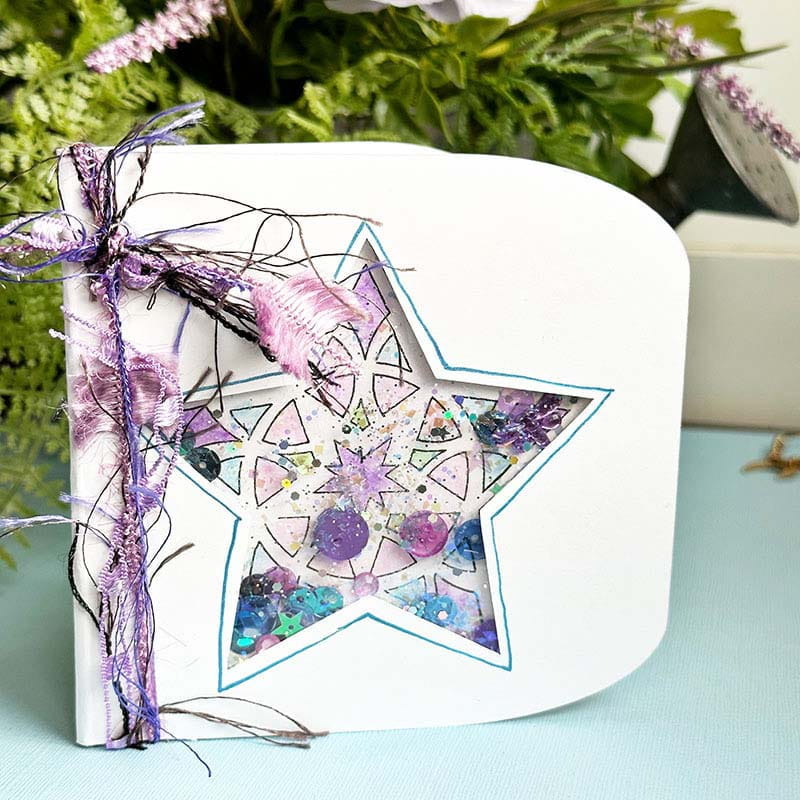
- Finally, add any last touches such as ribbon, a sentiment, or other details.
Tip: Remember, your scanner only knows what you show it, so you can absolutely place and scan something and then remove it to cut the material underneath! This is a great trick for easy projects like this one.
This card can be adapted to any number of occasions and is so much fun as you can color, add movement, and unlimited details while leaving the measuring and cutting up to the ScanNCutDX!
Related Projects
Stay Connected
* Required fields