How To Make a Spring Floral Denim Jacket

SUPPLIES
- Brother ScanNCut
- Brother ScanNCut Fabric Cutting Mat
- Brother Fabric Blade
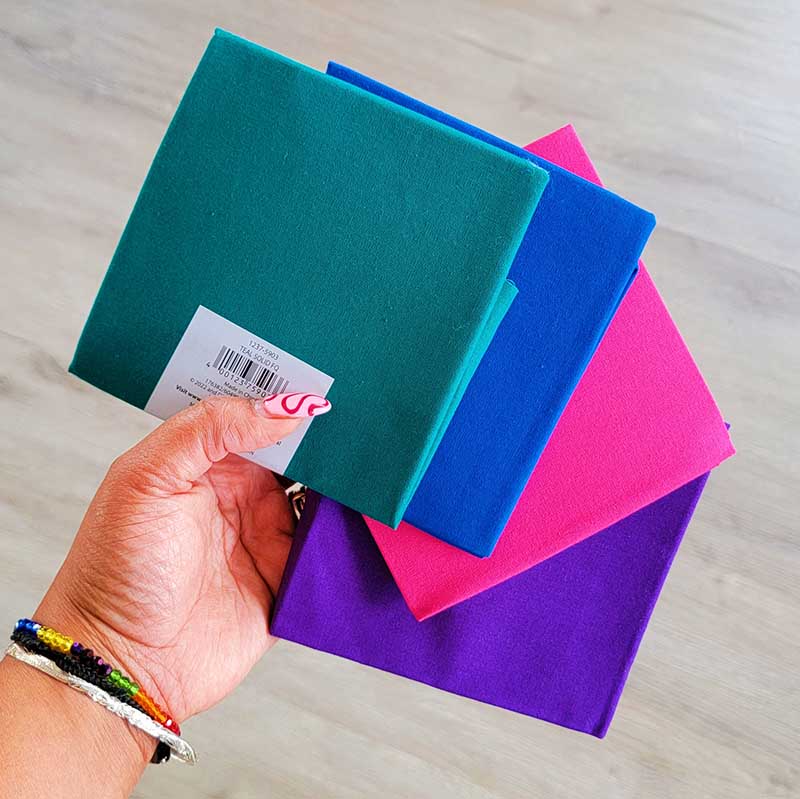
- Cotton Fabric Quarters (various colors)
- Iron + Ironing Board
- Craft Cover Button Kit
- Two Sided Fusible Web (permanent)
- Needle and Denim colored Thread
- Scissors or Rotary Cutter
Let me start off by saying that I made a really fun and colorful floral denim jacket two years ago. You can find it here. I love this jacket and I've been wearing it out every Spring. I love the compliments I receive when wearing it, and of course, I love it even more that I can respond with, “Thanks, I made it!” Isn’t that the best thing about being a DIYer?!
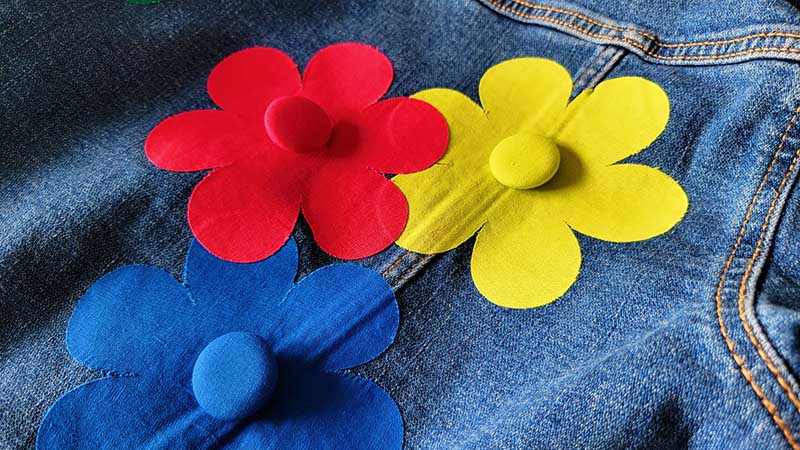
This year I wanted to create another version of that jacket. This time around, I wanted to approach with a bit of texture. Instead of using heat transfer vinyl like I did in my previous jacket, I decided to use fabric. I also thought it’d be fun to add a matching fabric covered button to each cut out to give the design a bit more dimension.
When choosing colors for this jacket, find a color palette that brings you joy. For my design, I went with jewel tone, but you can go with primary colors or even pastel. If you wanted to take a cool, modern approach, black and white would be really nice too. Going monochromatic would give your jacket an unexpected look; go all blue, but different shades of the color. I love that you can be playful with the design and control what the outcome is.
INSTRUCTIONS
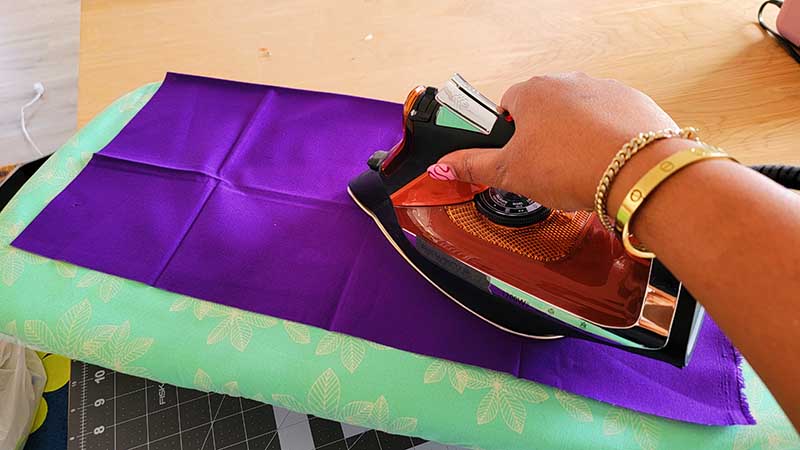
- Take your cotton fabric quarters to the ironing board and release the wrinkles and creases within the fabric. Set aside.
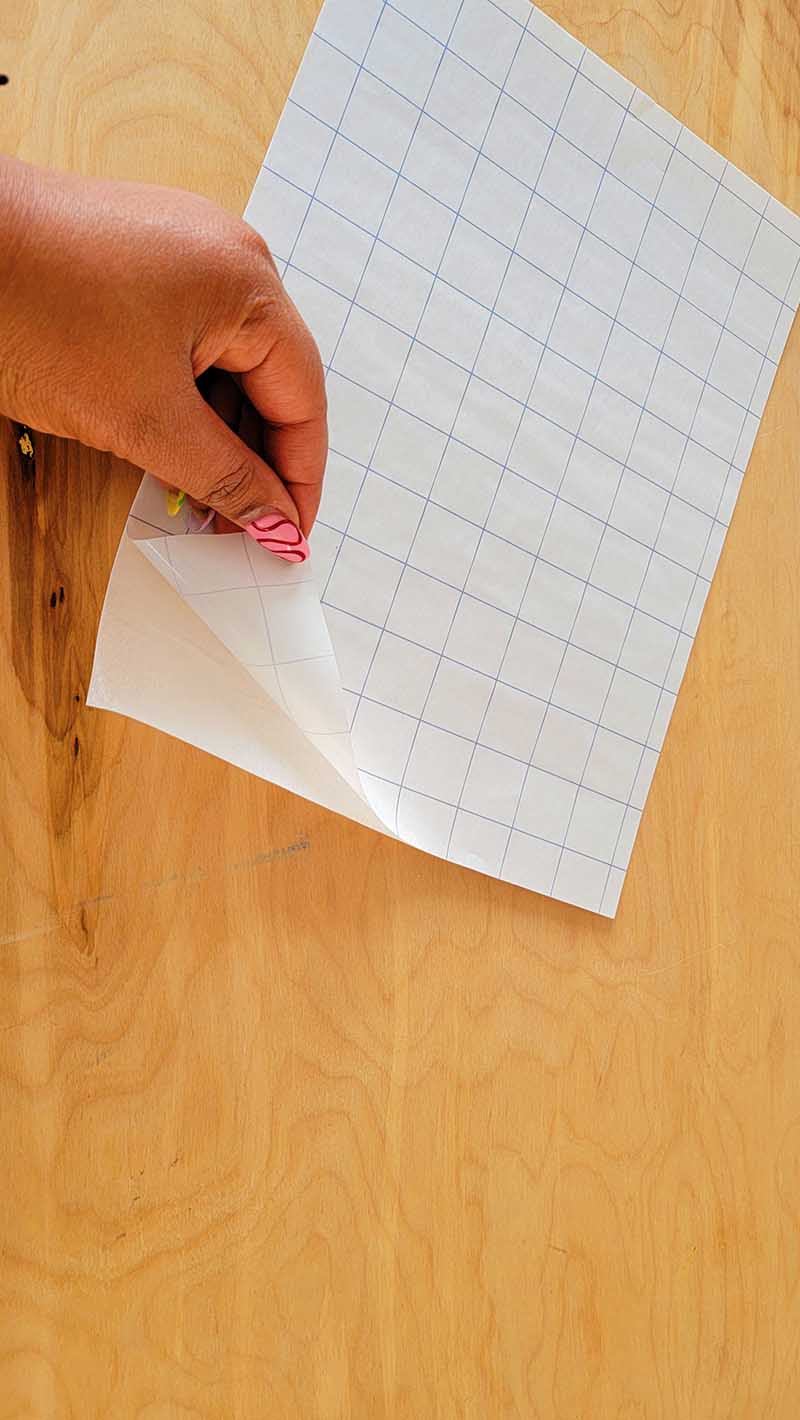
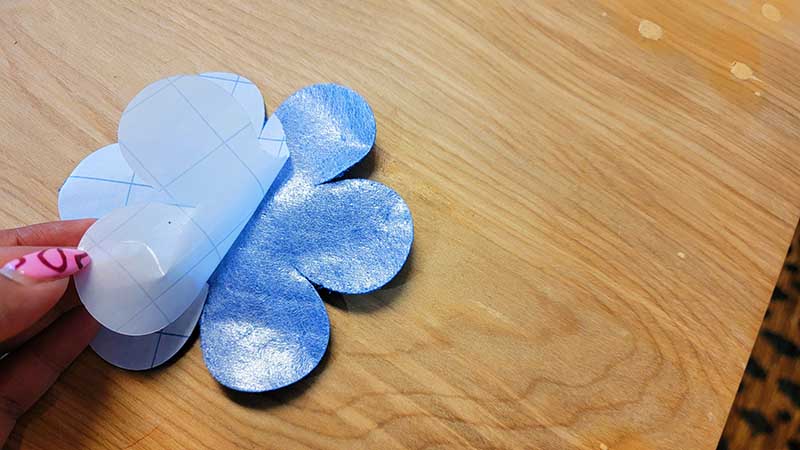
- Starting with one double-sided fusible web sheet, remove the grid paper backing from the adhesive side of the fusible web.
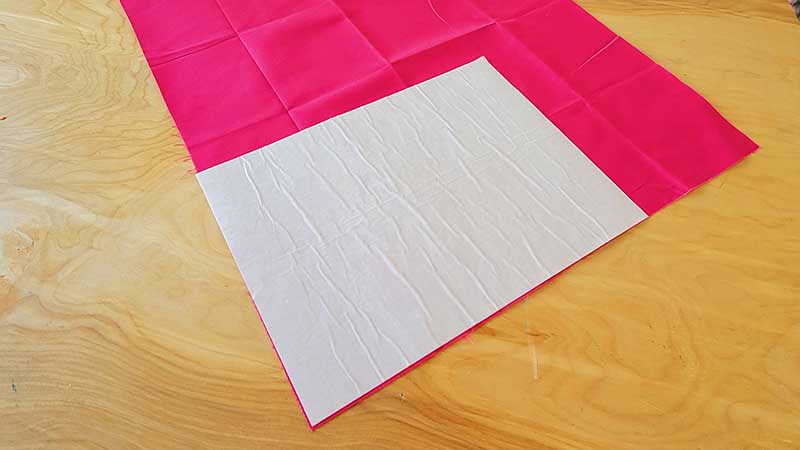
- Place the adhesive (sticky) side down towards fabric. Ensure the fusible web is adhered to the fabric.
- Cut the excess fabric from the fusible web.
- Set up your machine. Place your fabric onto the Brother ScanNCut cutting mat with fabric facing up. In the machine set up, be sure to turn off half-cut. Always do a test cut prior to cutting out your final design.
- Proceed with cutting your flowers with Brother ScanNCut.
- Once cut, remove the flowers from the mat. Remove the paper backing from your flower.
- Repeat steps 5-7 until all of your desired flowers are cut.
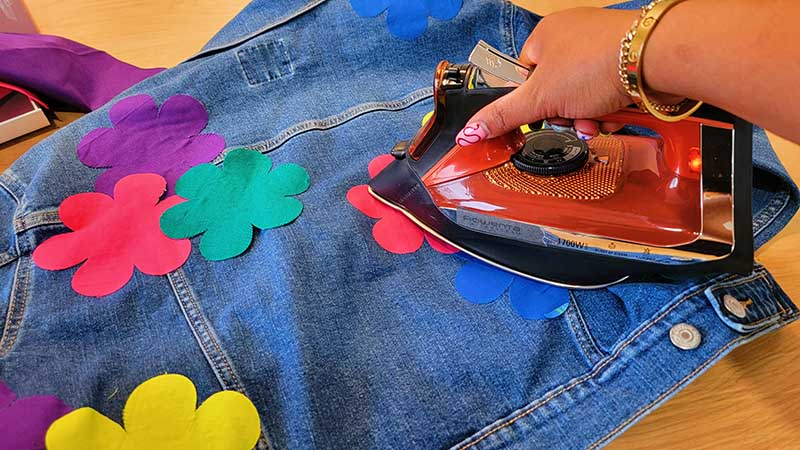
- Place your flowers on the back of your jacket in the design you want. Move things around until you get your desired look. Once you achieve a look that you want, press fabric flowers in place. Once flowers are pressed, they will be permanently stuck to the jacket.
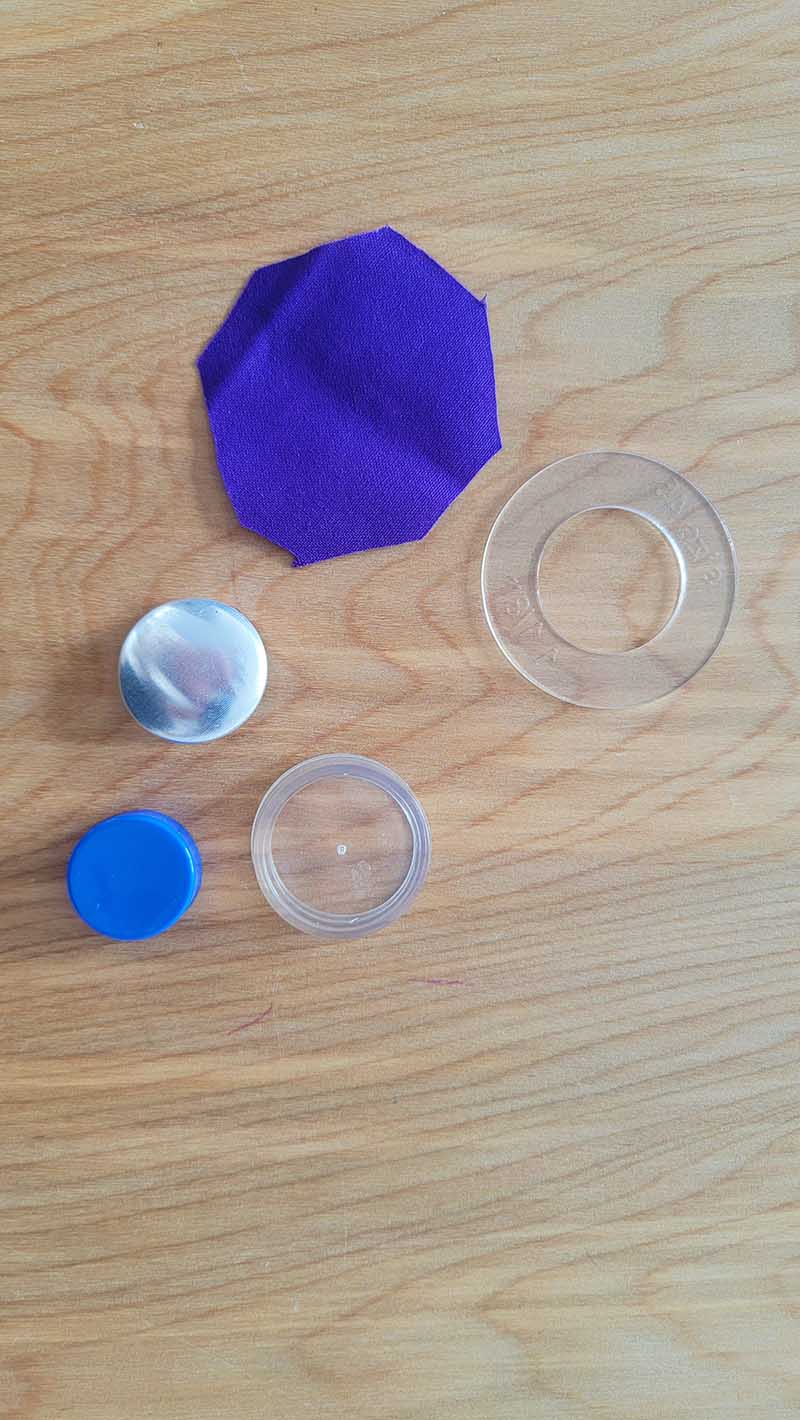
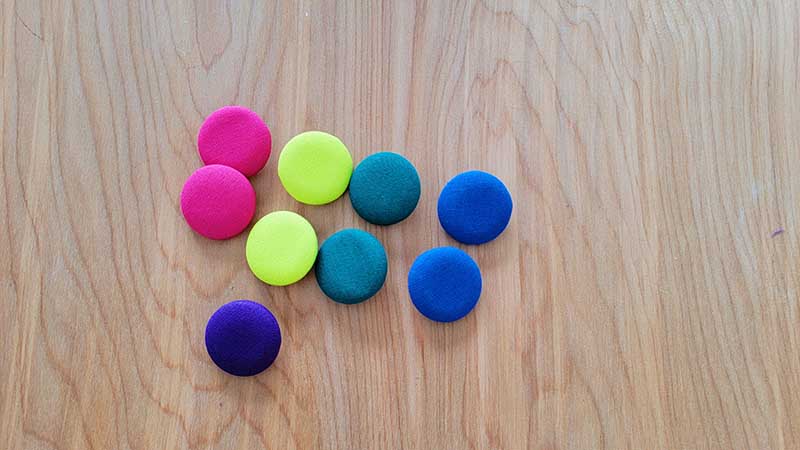
- Create fabric covered buttons in the same colors as the flowers you cut out. Follow the instructions on the Craft Cover Button Kit packaging.
- Hand sew each button the center of each flower. Ensure that you tie several knots on the inside of the denim jacket to prevent the button from falling off.
- That’s it! How fun is this jacket?! I love it so much and I can’t wait to wear it.

Related Projects
Stay Connected
* Required fields