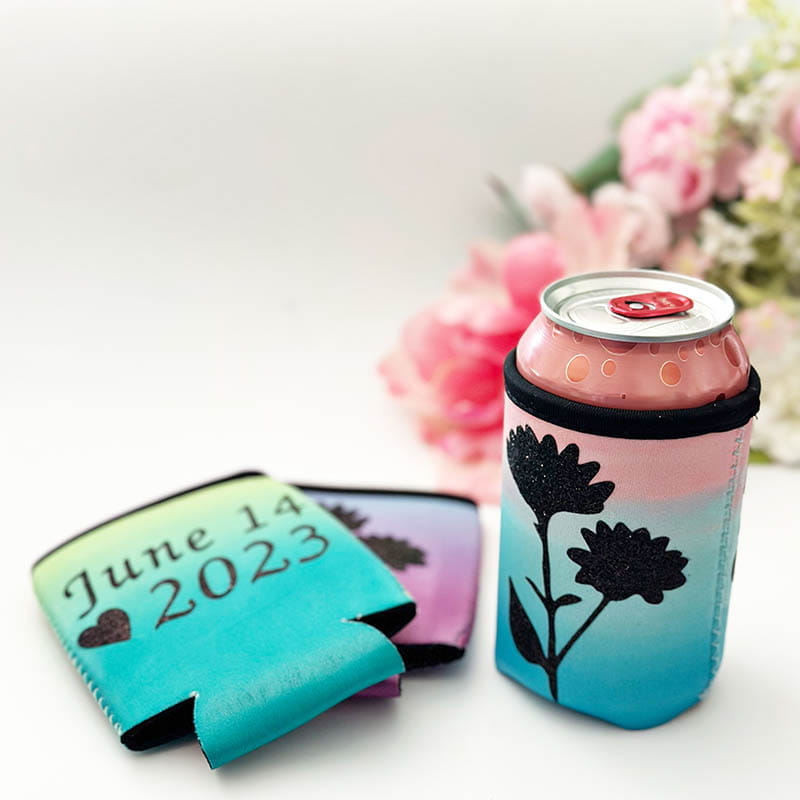
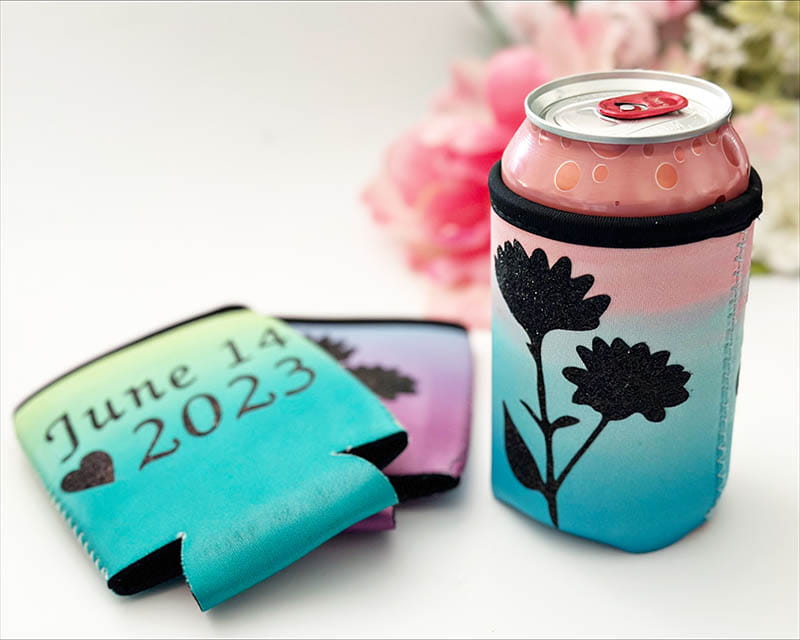
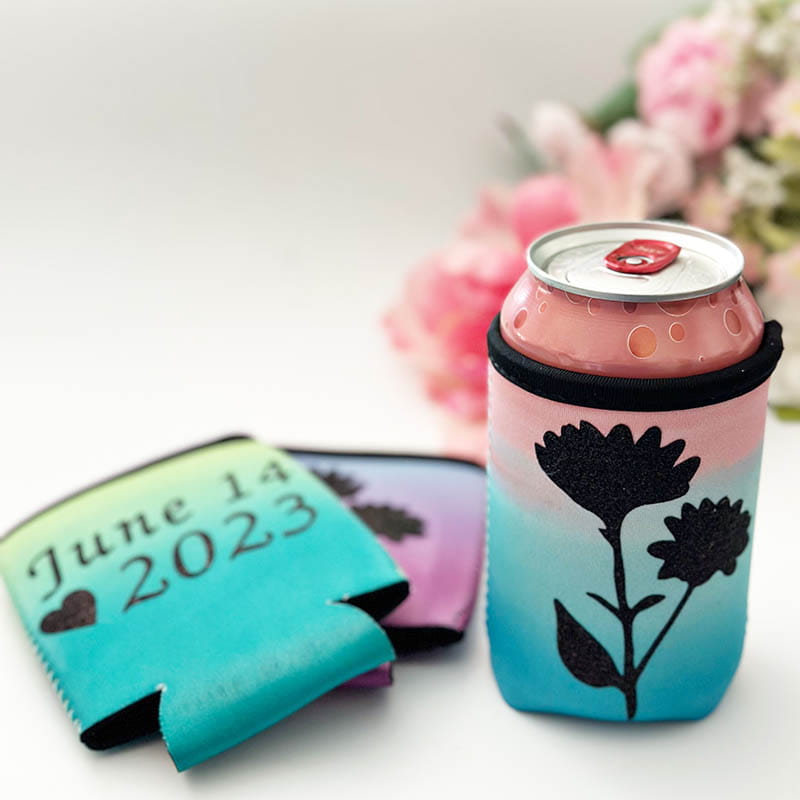
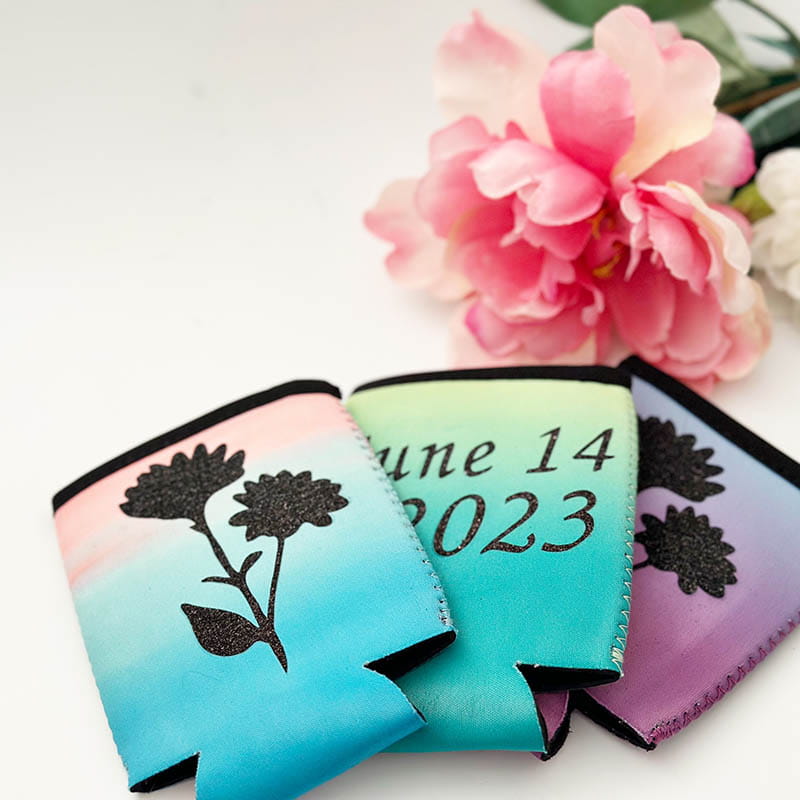
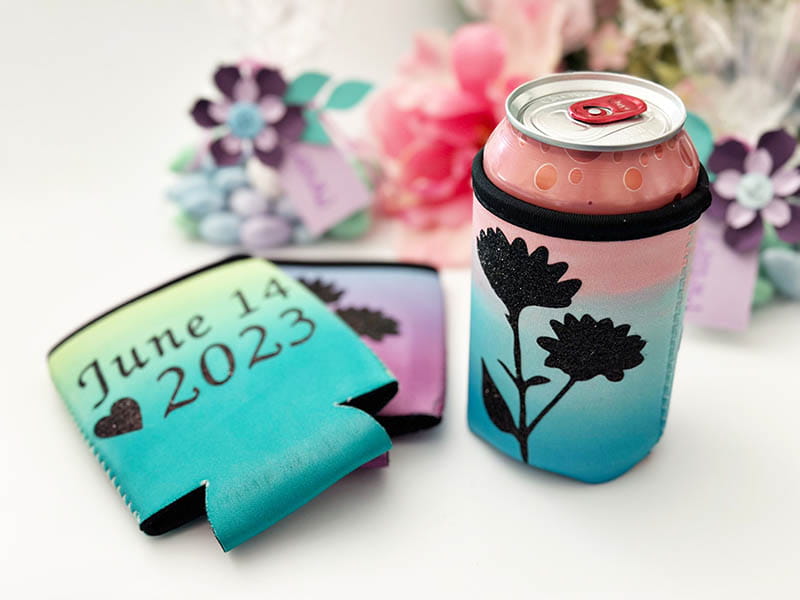
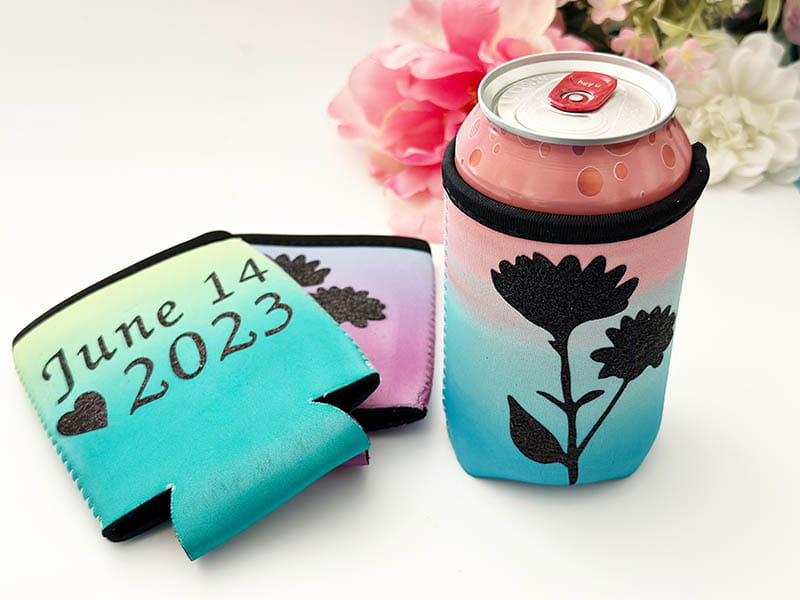
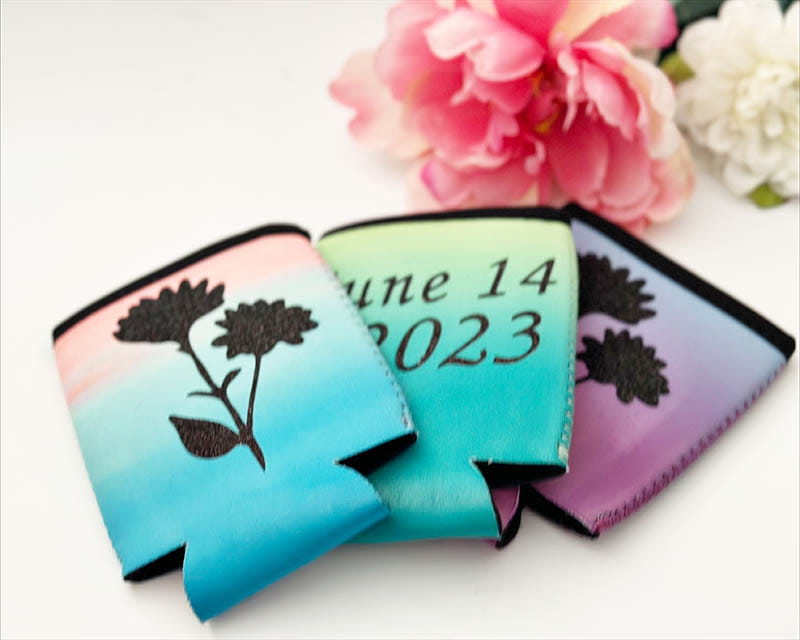
Custom Drink Coozie for Wedding Favor
Supplies:
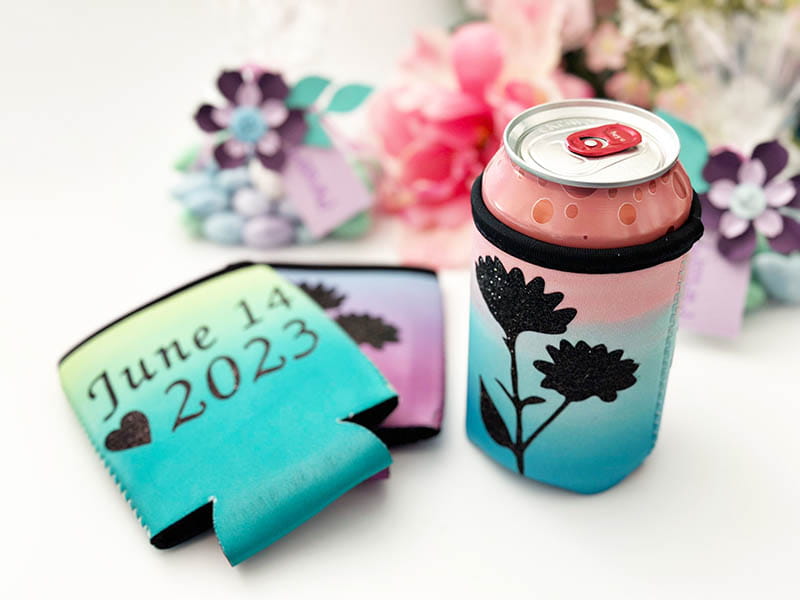
Looking for something to gift your wedding party, friends, or coworkers that is easy and will have them think of you each time they use it? Drink coozies can be easily purchased and even better – they make wonderful canvases to customize with your ScanNCut DX! For this design, a wedding party was in mind for staying cool and hydrated during a destination wedding weekend. Creating something special from the heart? It's never been easier when you combine the power of your ScanNCut DX with the Artspira app!
Instructions:
- Open the Artspira app, open the cut files, flowers, and select the flower silhouette of your choice. Once selected, press to transfer to your ScanNCut DX machine.
- On your ScanNCut DX ensure you are on Wi-Fi, then go to retrieve data, press the ‘cloud’ in the top right, and the file will be transferred in a moment. Once complete, add the date, words, or any other designs you would like to add to your custom drink coozie. You can do this by adding words in the ScanNCut DX with built in fonts, or you can use your own!
- Re-size your files as needed to fit (my coozie is approximately 3” square of workable area), and in the edit screen, adjust the quantity to reflect the number you’ll be making in total. I am creating 3, so I selected three.
- Mirror (reverse) any text, as we will be cutting from heat transfer vinyl and will need it to not cut backwards due to the nature of the ‘face down’ cutting style of HTV.
- Once you have all designs sized, placed, and ready to cut, select cut and load your mat with vinyl in place. Then in the tools, select half cut, and then begin to cut your files.
- Weed (remove) all excess vinyl around each design, and cut each design apart if you will be putting different things on the front and back.
- Heat your iron and pull out both a mat (or ironing board), and a cloth to cover your project as you press it.
Tip: be sure to test your iron and materials. Different irons will need heat adjusted depending on how hot they get, and how quickly material will heat transfer.
- Starting with your first coozie, place your heat transfer vinyl and cover with cloth, then heat press until transferred. Repeat with all additional coozies, as well as the back side (if desired) additional designs.
- This project is so much fun, and the custom details will be loved by recipients. The Artspira app is very easy to use, and those additional designs really expand the creative potential! Note that new designs are added regularly, so keep an eye on that app and let your creativity run wild.
Related Projects
Stay Connected
* Required fields