Brother Crafts Healthcare Mask Tutorial
Cut your healthcare masks using the ScanNCut and a Brother Sewing Machine.
Supplies:
- ScanNCut DX, your choice of fabric, ScanNCut tools, high tack support sheet, iron, Brother Sewing Machine
- SNC_Fitted_Face_Mask_Cut_File.svg
When deciding on a fabric to use, make sure to use the appropriate ScanNCut Blade. Use the Thin Fabric Auto Blade for thin fabric and the Auto Blade for thicker, fusible materials.
2. Gather Your Tools
Your tools will likely vary based on the project you are creating and the materials you are cutting. We recommend you have a brayer, a scraper, a standard mat, a high tack support sheet and fragrance-free baby wipes.
3. Prep Your Mat
Remove the mat from the packaging and carefully place the high tack support sheet face down within the cutting area on your mat outlined in ruled, black lines. Make sure to place the non-adhesive side of your High Tack Fabric Support Sheet down on your mat. As your gently lay your fabric support sheet down, carefully use your scraper to remove any air pockets from under the sheet. Scrape from end to end to ensure a flat fit. Once bonded, remove the green cover over your sheet.
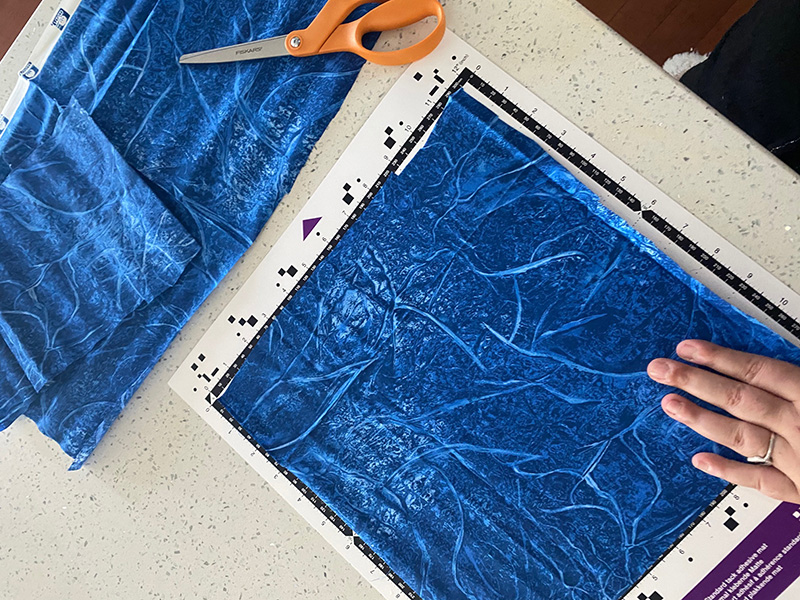
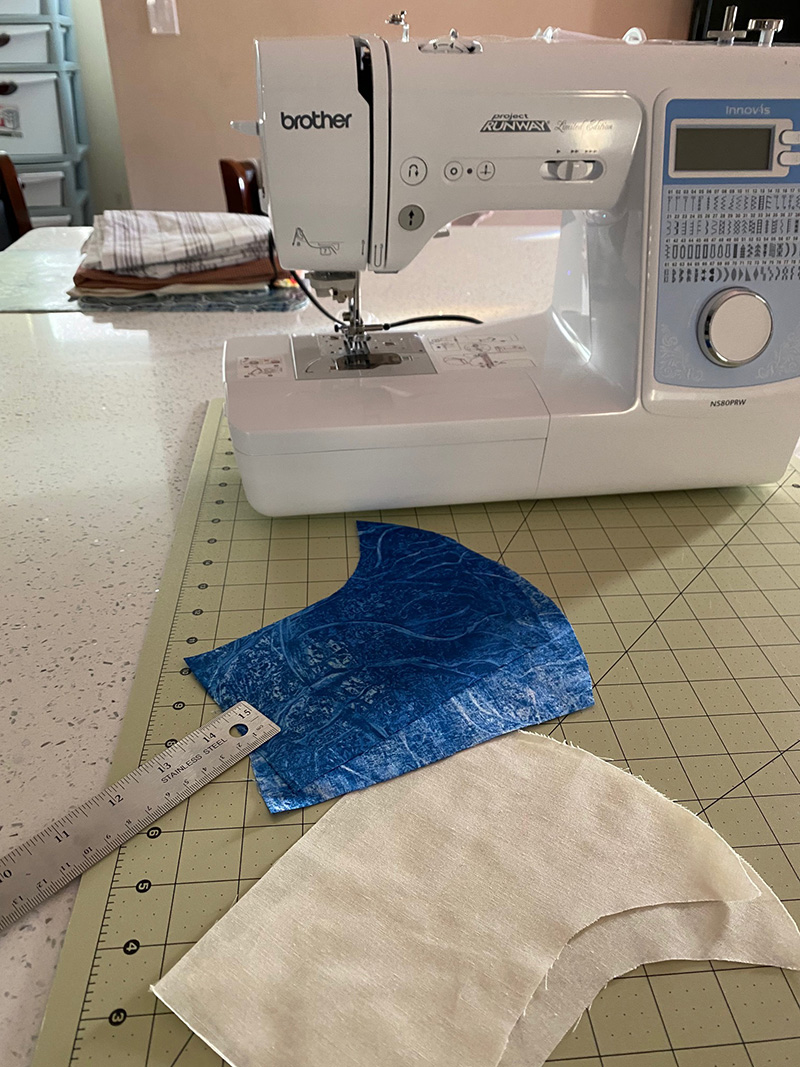
4. Prep Your Fabric
Place your fabric onto your high tack fabric support sheet, using the brayer to flatten and bond the fabric. Once in place, load your mat into your ScanNCut DX. If you want your cut-out fabric to be clean and free of frayed ends, starch your fabric prior to placing it on your mat or use a fusible material. Note, if you use fusible materials, be sure to use the Auto Blade.
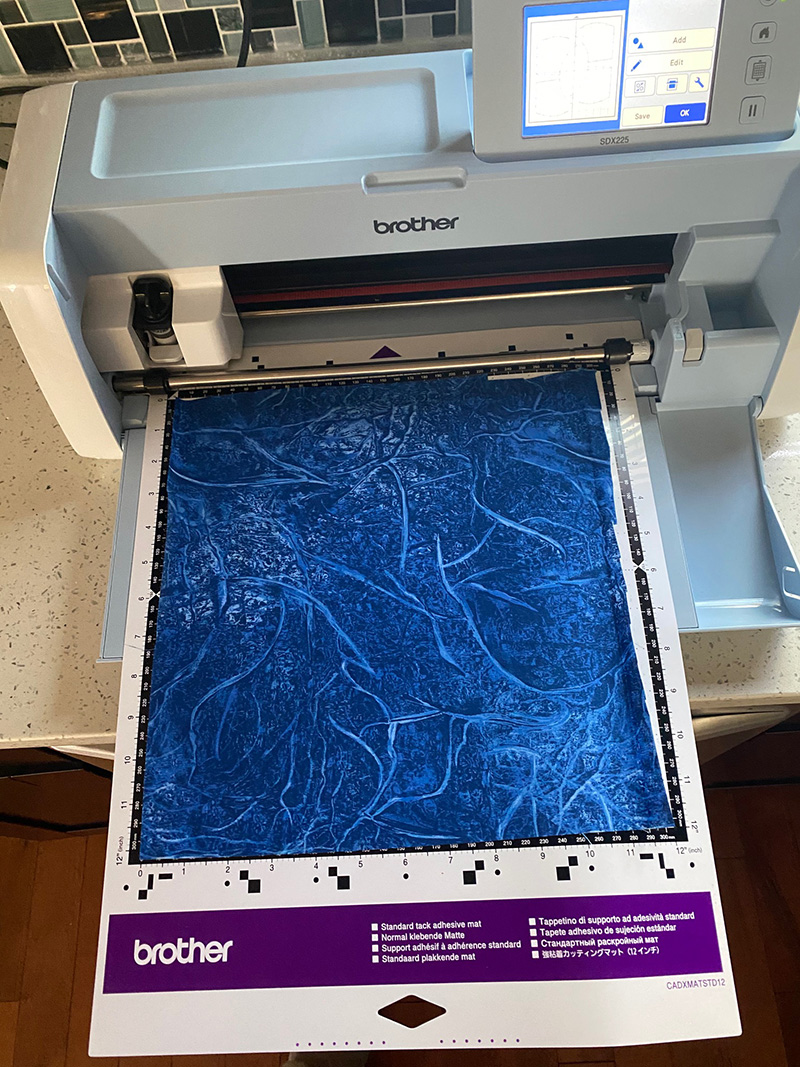
5. Ready to Cut
After you have loaded your mat, select a pattern from the library of designs on the ScanNCut you wish to cut out of your fabric and press “Cut.” Simply press “Start” and your machine will begin cutting.
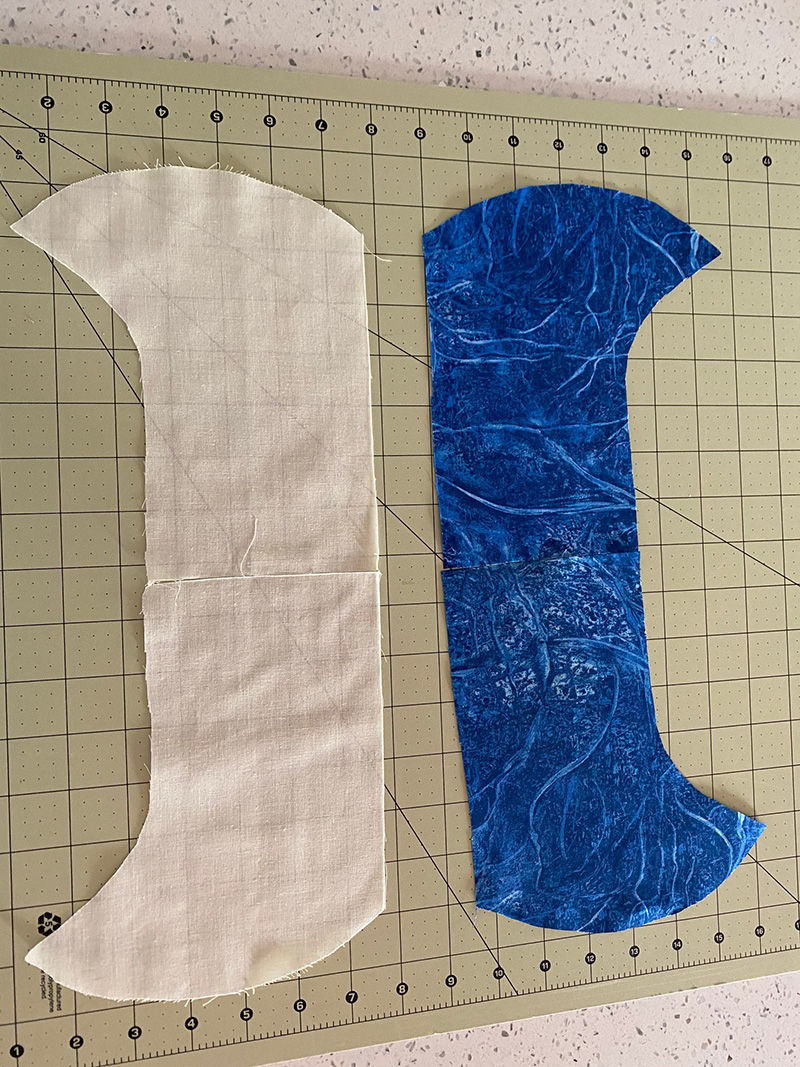
6. Removing Your Fabric
After your machine has finished cutting, carefully peel away the excess fabric from your design. Then, gently remove your cut out from your mat.
7. Cleanup
Finally, after you have removed the cut-out from your mat, use a fragrance-free baby wipe to remove excess threads from your high tack fabric support sheet.
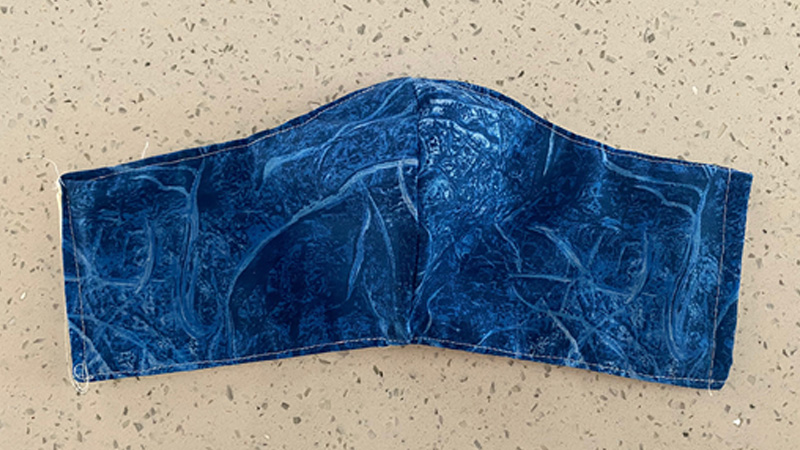
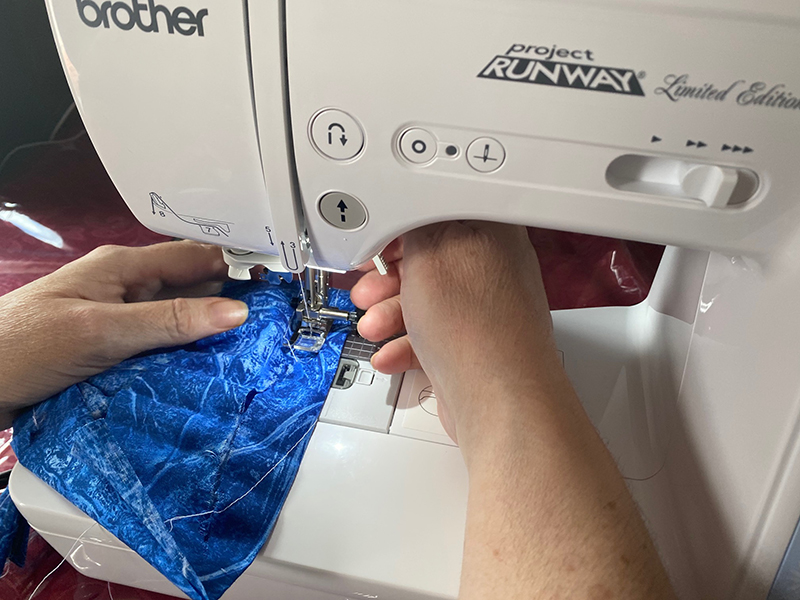
8. Sew Your Mask
• Align the left and right sides together (the printed fabric will be facing the inside). Pin both left and right sides together. Sew left and right sides of the mask together with ¼" seam allowance.
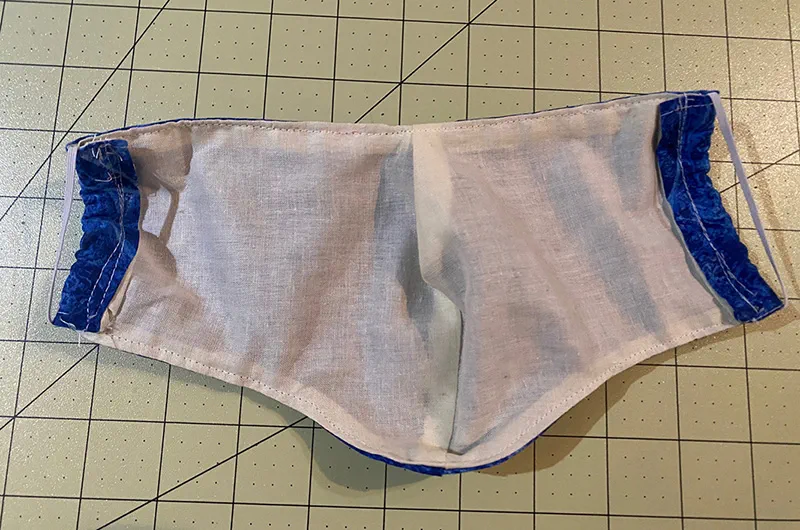
• Sew left and right sides of the filter holder together with ¼" seam allowance. Stitch Line. Now, let's finish the edges of the filter holder. Fold the edges in ½” twice and stitch. Finish both left and right edges.
• Align (seam facing outward to join) overlap and pin the filter holder together with the printed fabric. Sew along the perimeter of the edge where the stitch line is indicated. Leave 1” at the edge for casing.
• Finish edges sew casing space ½” from the edge. From the slit turn right side out. Insert a 10’’elastic strap through the casing space.
• Overlap elastic strap 1” and sew together with a zig zag stitch (Stitch twice for extra support). Note: If elastic is not available you can substitute with two hair ties
Disclaimer: It is important to note that cloth face masks have not been proven to provide effective protection against the spread of viruses. For more information, visit the CDC website.
Related Projects
Stay Connected
* Required fields