Screen Printing with the ScanNCut
You will need:
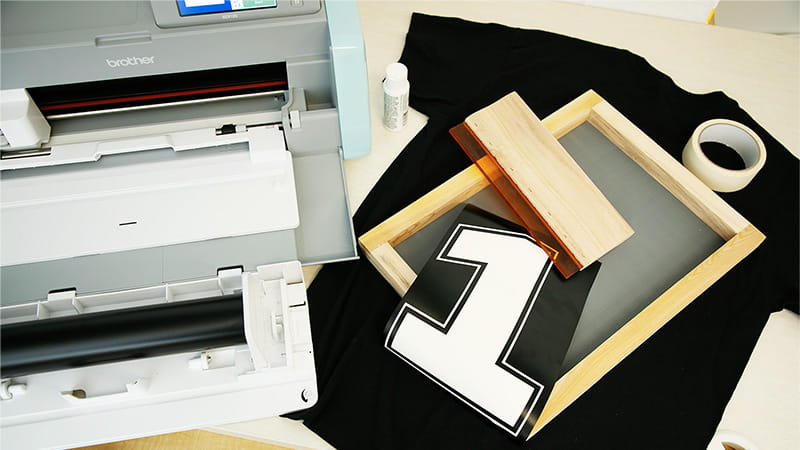
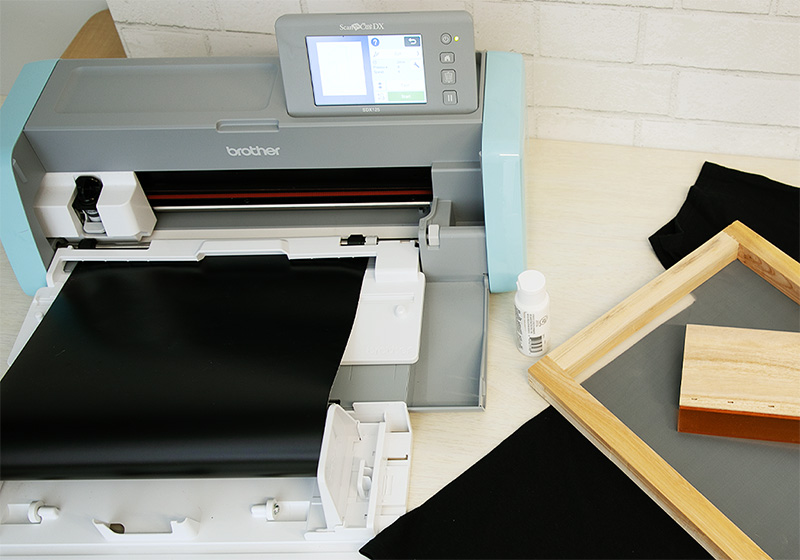
- Screen for screen printing, Fabric screen printing ink, squeegee, t-shirt, ScanNCut DX, vinyl, roll feeder, transfer sheets, painter’s tape
Steps:
1. Create your design that you’d like to screen print. Here are some notes to guide you while designing / deciding what you’d like to make:
a. Avoid really small, intricate details. Bigger areas of color will be easier to print.
b. Use CanvasWorkspace or the patterns included on your ScanNCut machine to easily design!
2. Load the roll feeder with vinyl.
3. Cut out the design and set aside.
4. Weed away all excess vinyl on the vinyl sheet - BUT NOTE! You’ll need to weed the design in the opposite manner you would normally, so that a “negative” of your design is left behind on the adhesive backing.
5. Apply a piece of transfer sheet on top of the entire weeded vinyl design, using the sheet to remove the vinyl from the adhesive backing.
6. Using the transfer sheet, apply the vinyl to the center of the screen. Press down firmly and remove the transfer sheet. Make sure there are no air bubbles.
7. Line all sides of the vinyl with painter’s tape, so that the only screen exposed is the part with your vinyl design.
8. Make sure your t-shirt has been ironed to be wrinkle-free, and is on a completely flat, hard surface.
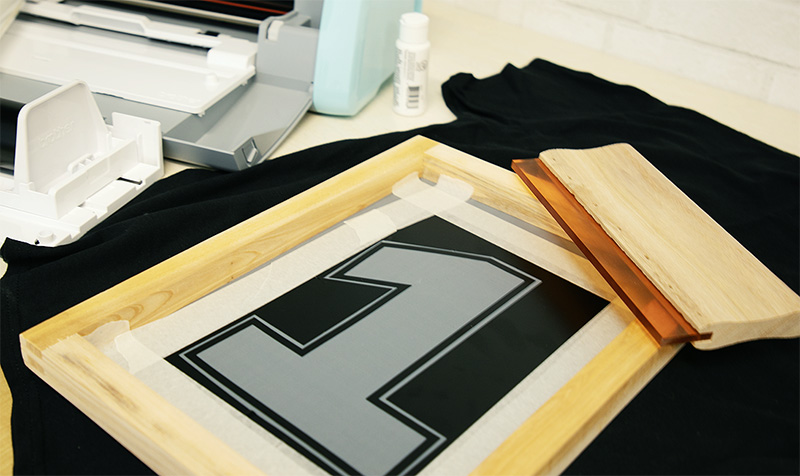
9. Place the screen on the spot you’d like the printed design to be.
10. Add a small amount of ink to the top of the screen, right above where the vinyl design begins. Make sure there’s enough ink to cover the whole width of the design.
11. Use the squeegee to quickly and smoothly spread the ink in a top-to-bottom motion across the screen.
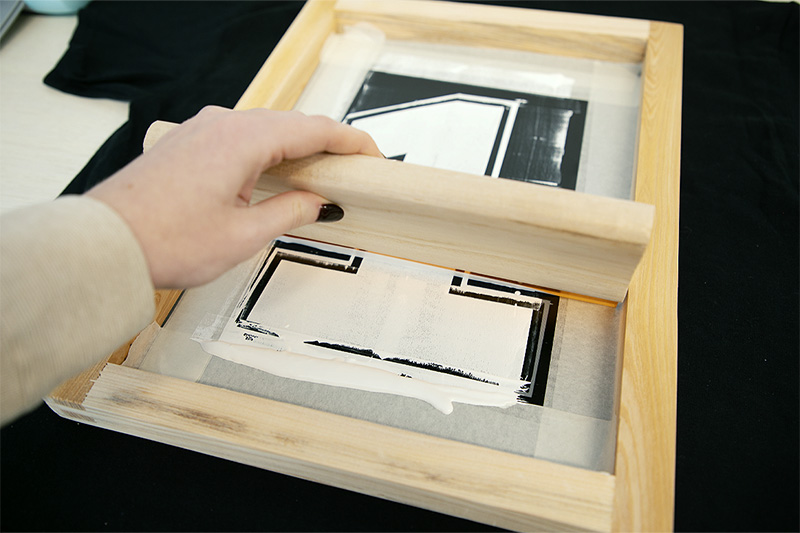
12. Carefully and quickly lift up the screen , leaving behind your screenprinted design!
13. Let the ink dry, and follow any instructions to set the ink permanently.
14. Done!
Related Projects
Stay Connected
* Required fields