Monogram Tote Bag
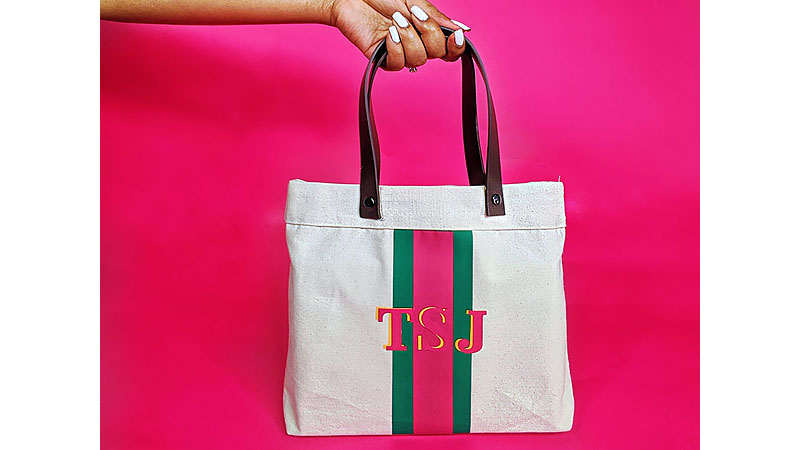
Simple tote bags are available in the stores all the time, and are extremely useful. But maybe you’ve passed them up because they’re just not your style. Let’s look past the simplicity of the tote bag and personalize the bag with a custom monogram to make it your own.
Before continuing, check out part one of this project with the link below, and learn how to make this tote!
http://blog.brothersews.com/sewing/leather-strapped-tote-bag/
I think that not only can you make this DIY tote bag for yourself, but this would also be a great gift for your friends and/or the kids in your life. When gifting this monogrammed tote bag, fill your personalized bag with all sorts of their favorite things.
SUPPLIES:
- Brother ScanNCut
- Green Heat Transfer Vinyl
- Pink Heat Transfer Vinyl
- Goldenrod Heat Transfer Vinyl
- Tote Bag
1. Taking your green vinyl (or the color of your choosing), Cut out a rectangle.
-
- Go to pattern
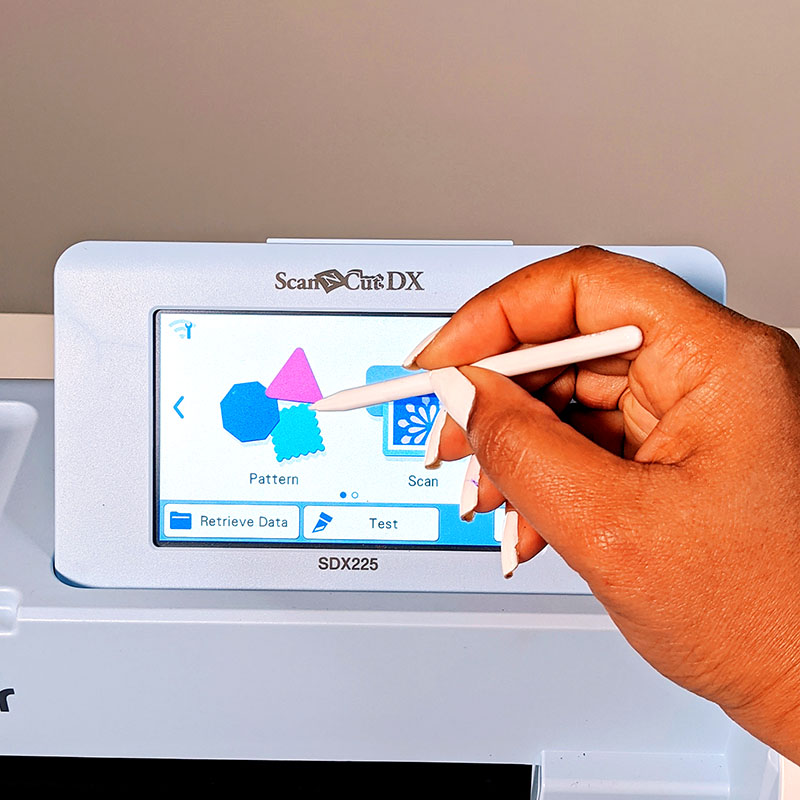
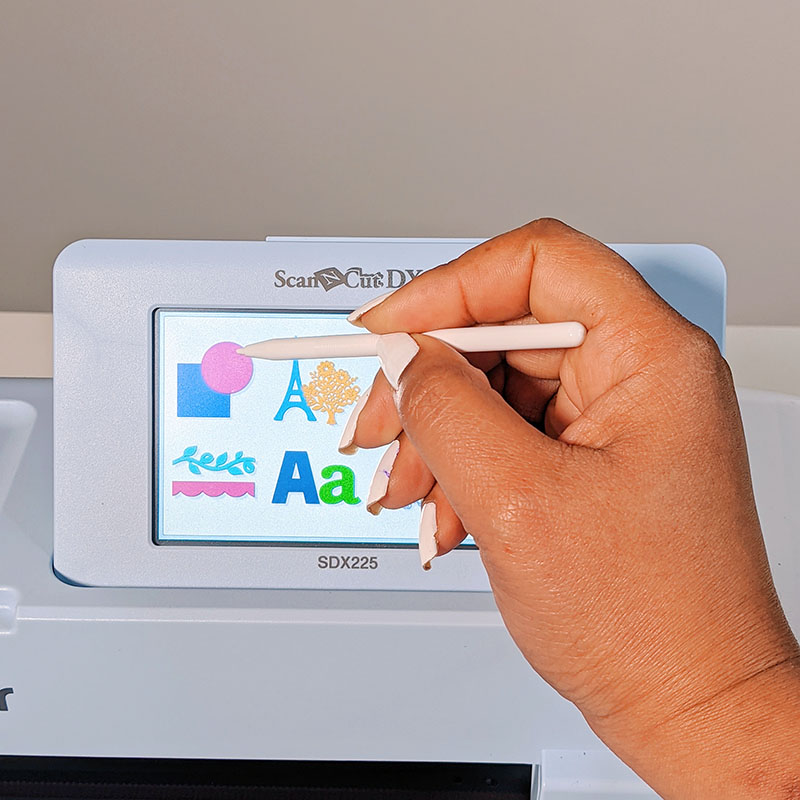
- 2. Choose the shapes
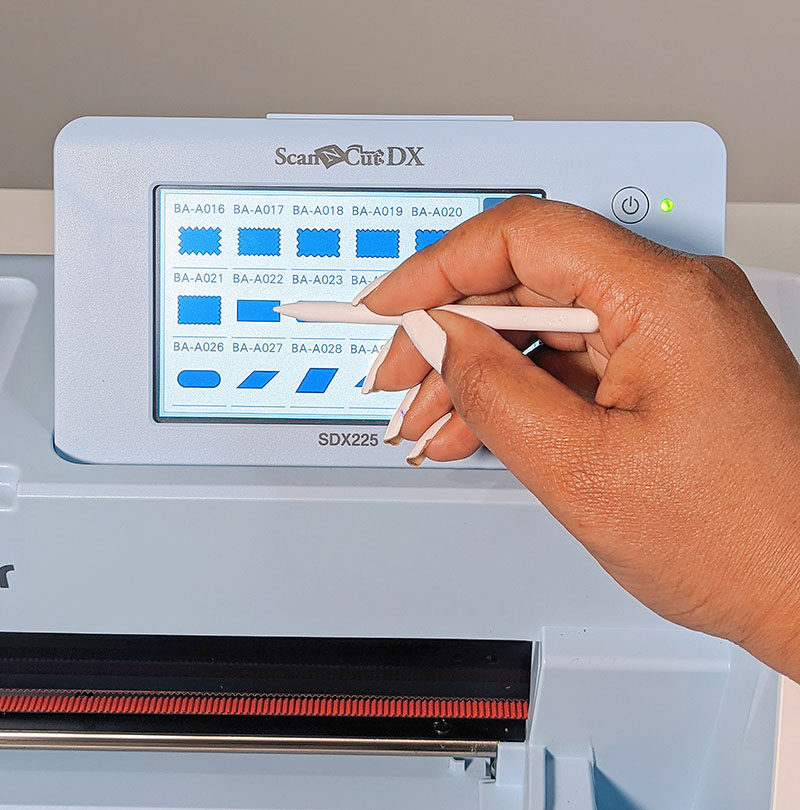
- 3. Choose BA-A022
- 4. Adjust the height and width individually at 9.50” x 3”
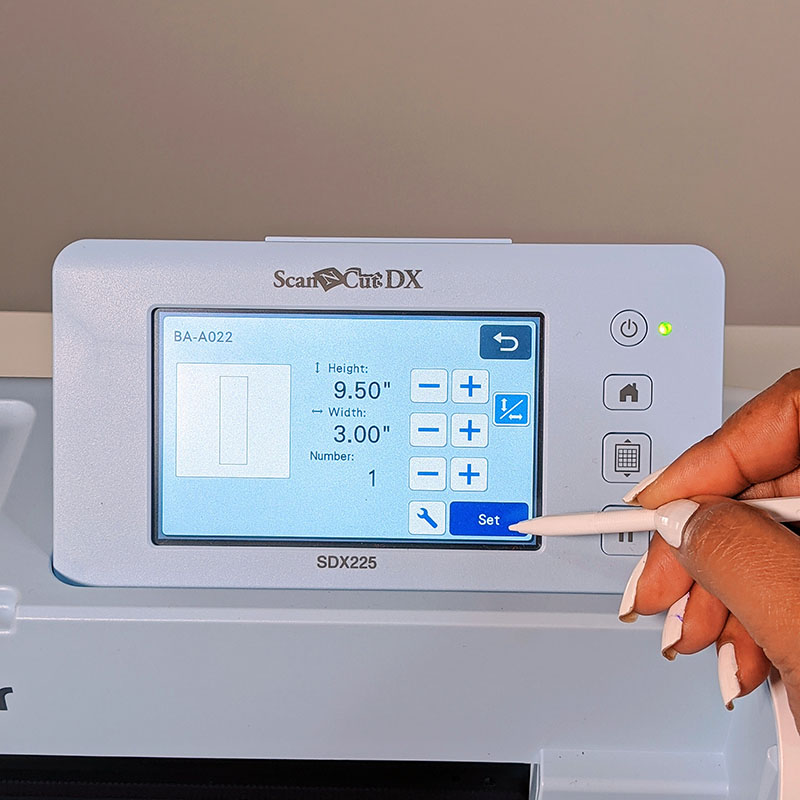
- 5. Cut
Note: Always do a test cut before the final cut
- Go to pattern
-
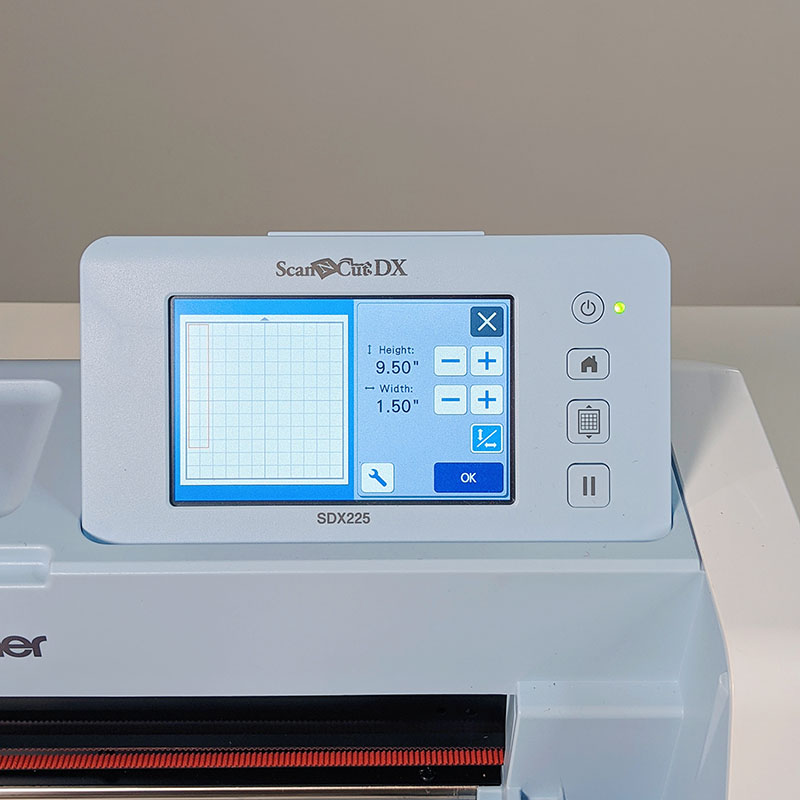
- 1. Go to pattern
- 2. Choose the shapes
- 3. Choose BA-A022
- 4. Adjust the height and width individually at 9.5” x 2.5”
- 5. Cut
- 6. Note: Always do a test cut before the final cut
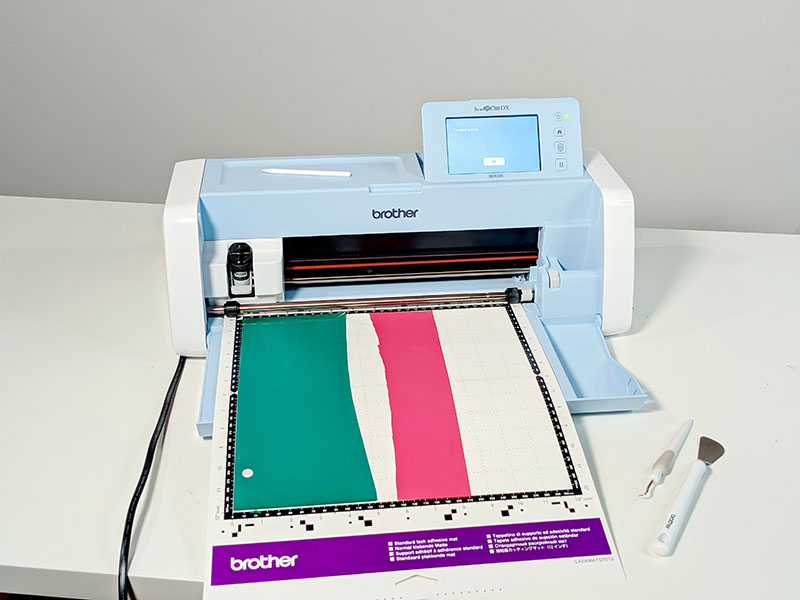
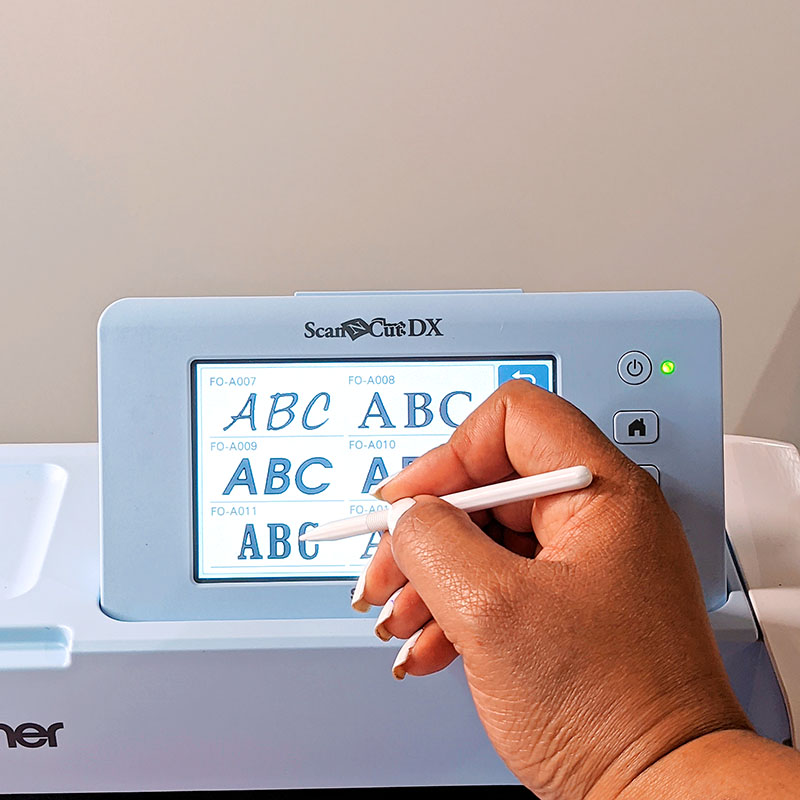
3. Take your Goldenrod vinyl and cut out your letters.
-
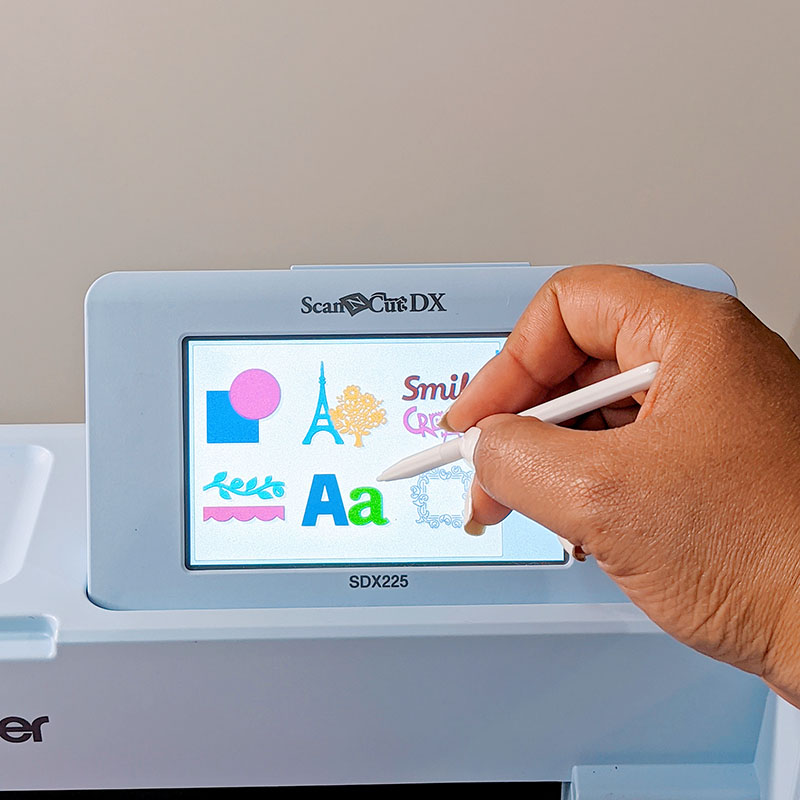
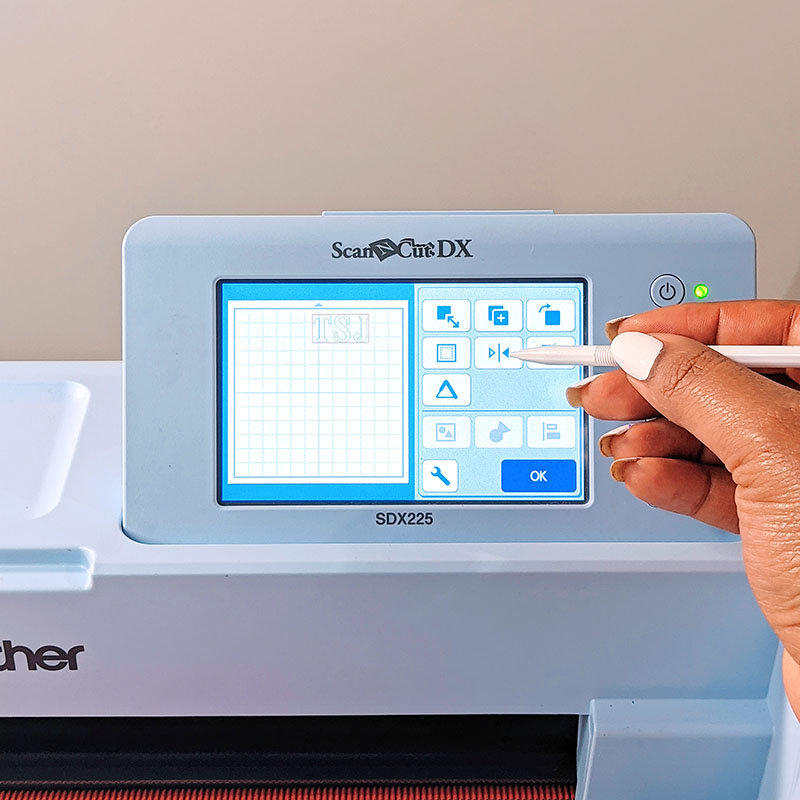
- 1. Go to the home menu and choose ‘Pattern’.
- 2. Choose the letters.
- 3. Choose the font of your choice
- 4. Adjust the height to 3”
- 5. Mirror the letters so that it looks backwards.
- 6. Optional: Cut 2 sets of letters if you want a shadow style.
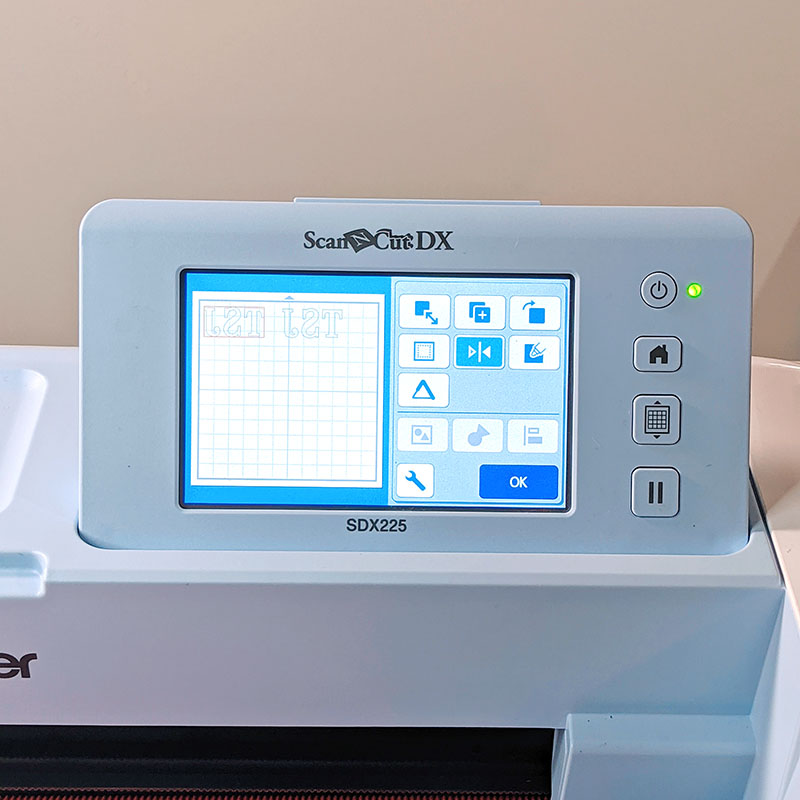
- 7. Cut
- 8. Note: Always do a test cut before the final cut
-
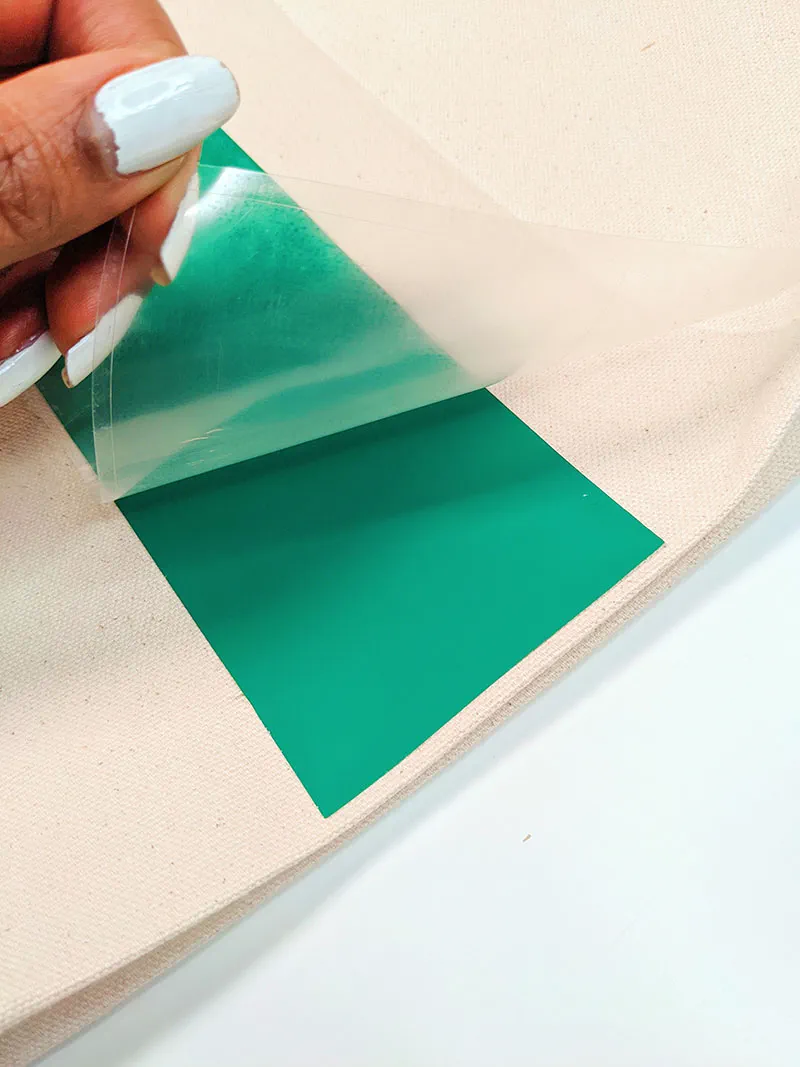
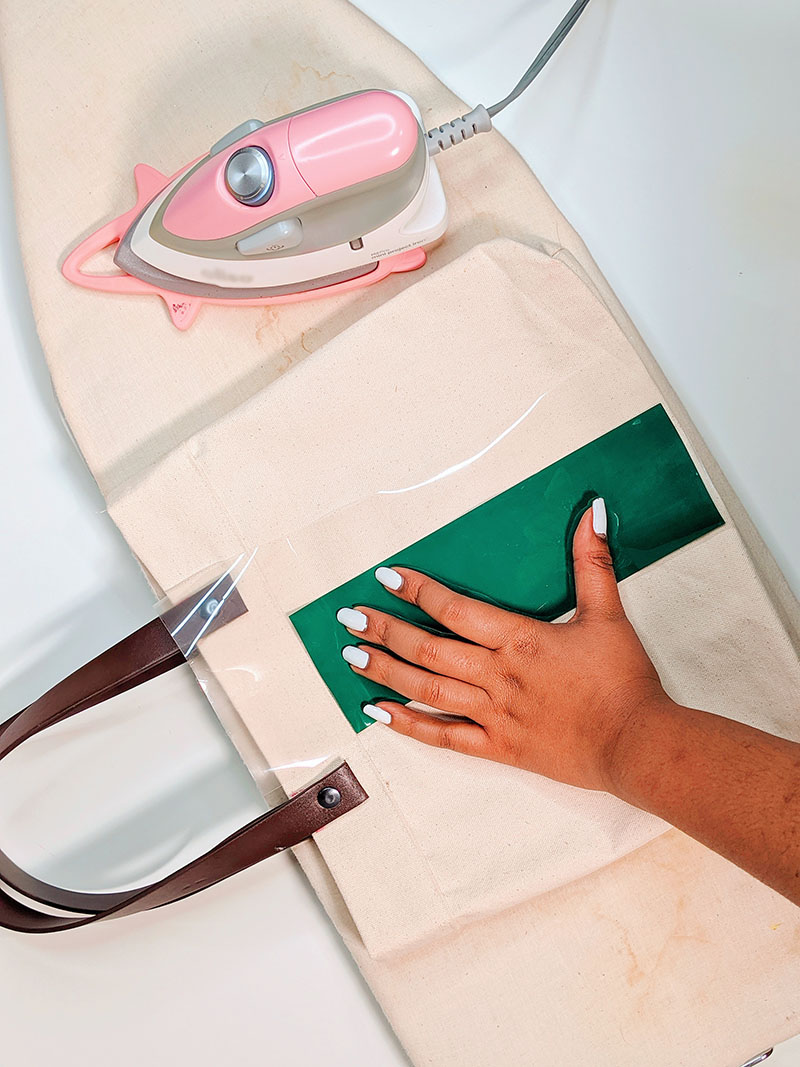
- 1. Starting with the green vinyl, center it onto the bag, and using a hot iron, press it to the bag. Before you remove the clear backing, be sure that it can peel smoothly without removing the vinyl.
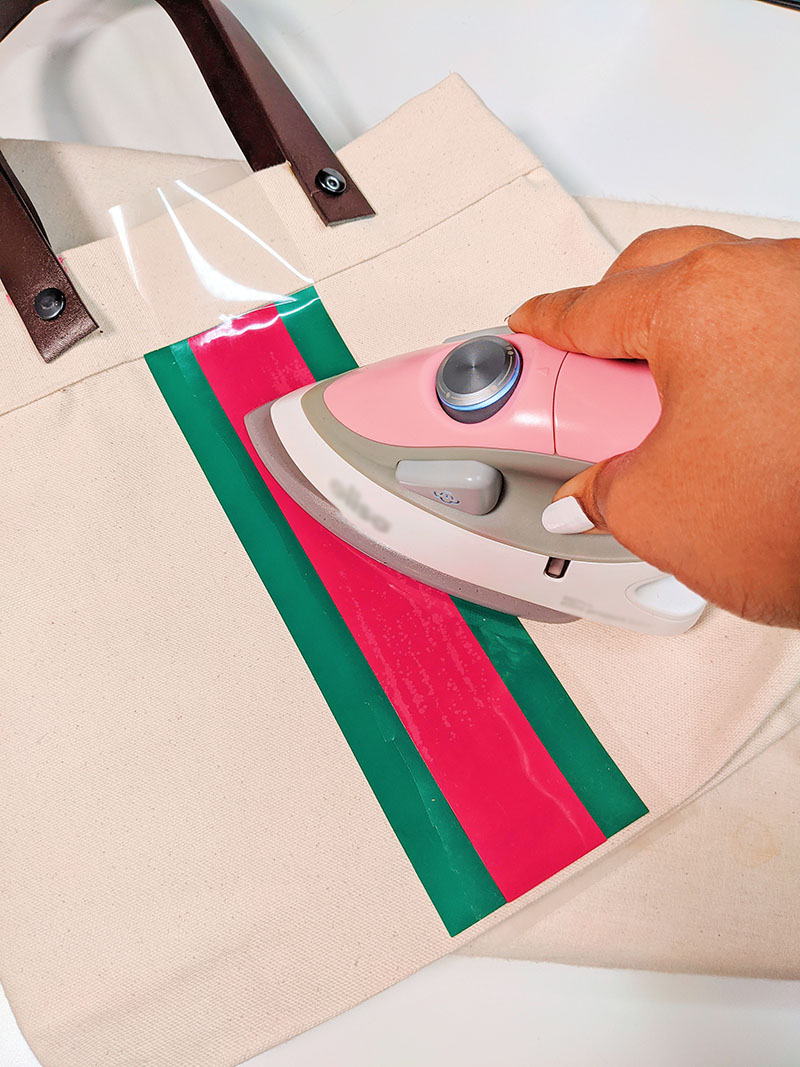
- 2. Repeat the seam step with the pink vinyl except before ironing, lay down a pressing cloth or a cotton fabric over the vinyl so that the green vinyl doesn’t melt onto the iron. The fabric barrier will help to protect your iron essentially.
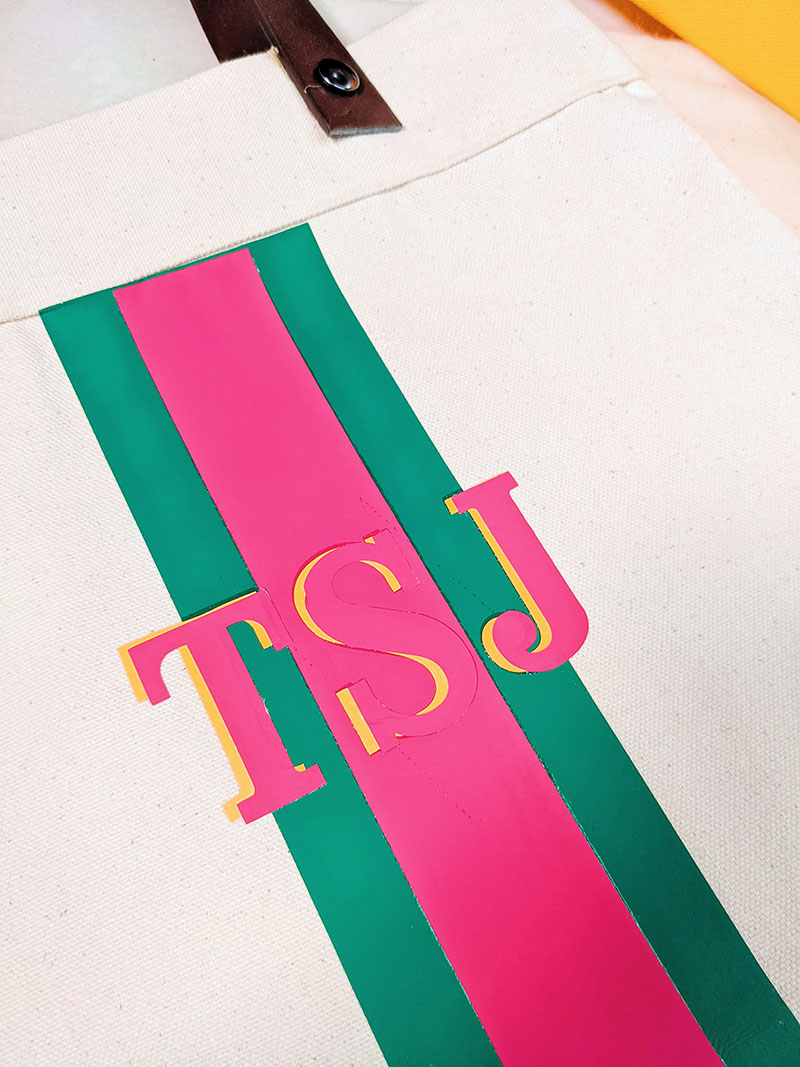
- 3. Center your letters onto the bag and adjust it exactly where you want it. Using a cotton fabric again, lay it over the letters and press the vinyl in place.
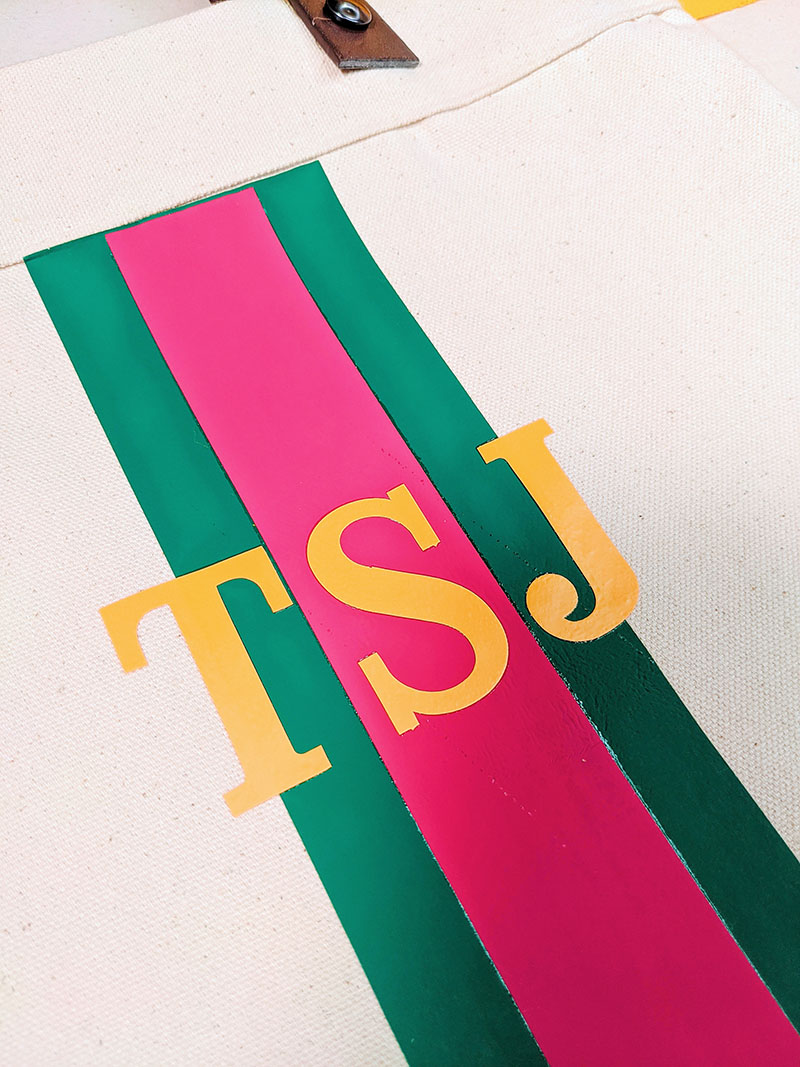
- 4. You can leave it as is or you can add another layer of letters for a shadow effect.
- 1. Starting with the green vinyl, center it onto the bag, and using a hot iron, press it to the bag. Before you remove the clear backing, be sure that it can peel smoothly without removing the vinyl.
Related Projects
Stay Connected
* Required fields