Getting Creative with the Path Tool in CanvasWorkspace Online
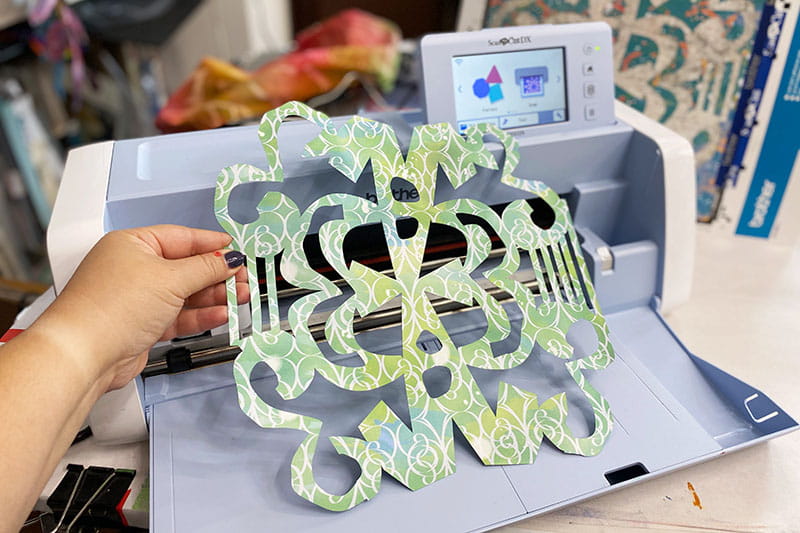
I made this totally original paper cut/stencil with custom shapes I created in CanvasWorkspace.
Supplies:
- ScanNCut DX
- Internet Connected computer running CanvasWorkspace Online
- Optional: pen tablet
Today, we're diving into a super cool feature of CanvasWorkspace Online that's going to take your cutting game to the next level: the Path Tool. Whether you're a newbie or a seasoned pro, this tool is your golden ticket to creating custom shapes that boast both curves and straight lines, giving your projects that extra edge (pun intended). So, let's roll up our sleeves and explore how to wield the power of the Path Tool like a crafting wizard.
What's the Buzz about the Path Tool?
Okay, first things first – if you've been hanging out with your ScanNCut DX machine for a while, you might already know that it's amazing at cutting intricate designs. But sometimes, you want a shape that's uniquely yours, right? That's where the Path Tool comes into play. This nifty feature in Canvas Workspace Online lets you draw and manipulate paths, allowing you to create your own shapes with precision. Whether it's a fancy swirl, a flowing wave, or just a simple geometric figure, the Path Tool lets you go wild with your creativity.
Let's Get Started!
1. Fire Up CanvasWorkspace Online: Before we get going, make sure you've got an account and you’re logged into CanvasWorkspace Online: www.canvasworkspace.com
2. Select the Path Tool: Start a New Project and then locate the Path Tool – it looks like a zig zag with dots connecting the lines.
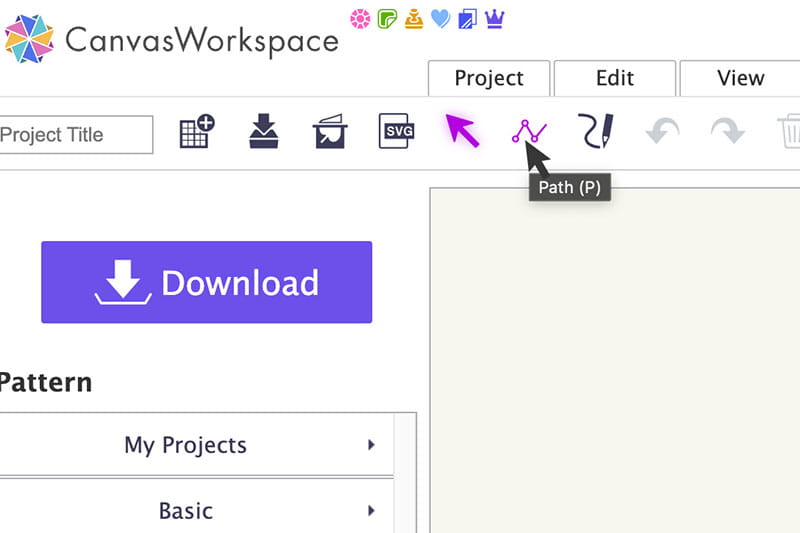
Click on it, and you're officially in "shape-shifting" mode.
3. Draw Your Path: Time to let your inner artist loose! Click to set points on your canvas. As you click, you'll start to see the path forming. Want a curve? Click and drag those points to bend the path to your will.
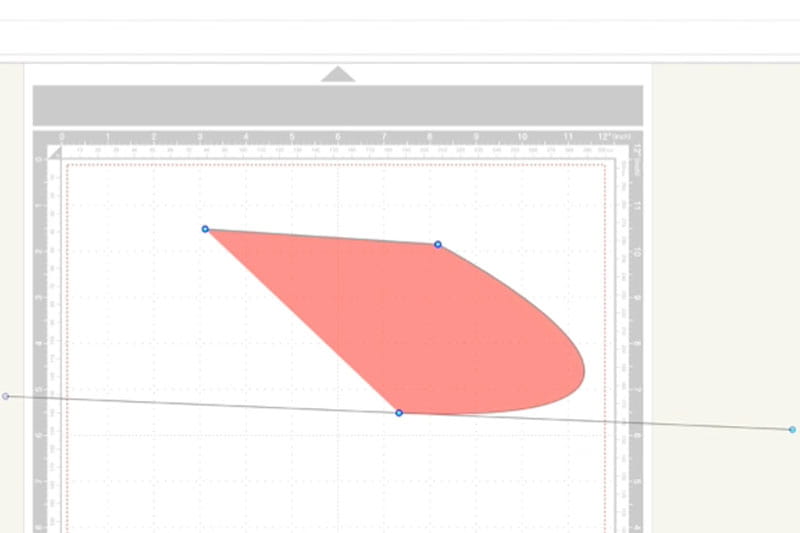
4. Embrace the Curve: Experiment with different points and dragging techniques to create swoops, loops, and elegant arcs. This is where the magic happens – your shapes get that organic, handcrafted wonky feeling that I love.
5. Add Straight Lines: Remember, it's not all about the curves. You can insert straight lines by simply clicking to add points in a straight sequence. Your shape, your rules!
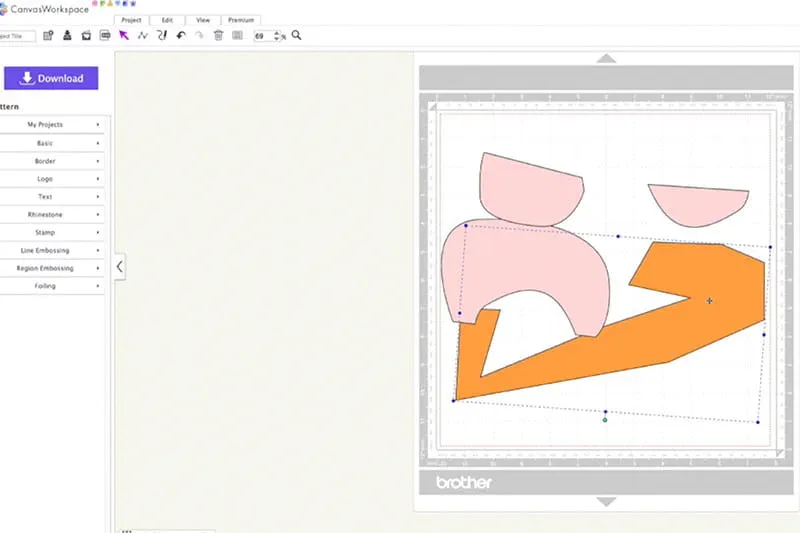
6. Close the Loop: When you're ready to transform your path into an actual cuttable shape, make sure to close the loop. Click on the first point you created, and voila! Your shape is officially a "thing."

7. Use Your Shape: Now that your custom shape is ready to roll, you can send it over to your ScanNCut DX machine. You can also edit it, and add to it, using the same techniques you’d use for any shape.
Tips for Path-Perfection
Don't get discouraged if your first few shapes don't turn out exactly as planned. Like any skill, using the Path Tool takes a bit of practice. And don’t forget that CanvasWorkspace Online has an "undo" button. Feel free to experiment without fear. You can always undo or delete anything that you don’t like.
Remember, there's no right or wrong way to use the Path Tool. Let your imagination run wild – combine curves and straight lines, experiment with different point placements, and don't be afraid to make it wonky!
It’s Time to Unleash Your Creativity!
With the Path Tool in CanvasWorkspace Online, you're not just a crafter – you're a creator. The ability to design and cut custom shapes that blend curves and straight lines is a game-changer, allowing you to infuse your projects with your unique style.
So, whether you're dreaming up intricate papercut designs, adding a personal touch to fabric projects, or even crafting a one-of-a-kind vinyl decal, the Path Tool is your artistic sidekick. Remember, the only limit is your imagination, so go forth and cut out some seriously awesome shapes! Happy crafting, everyone!
Talk to you next month!
Related Projects
Stay Connected
* Required fields