How To Sew A Bell Sleeve
~Emily Thompson, Brother Sews Ambassador Mixing up patterns to create new looks is one of my favorite things about sewing. Today, I’m going to show you how to create a full bell sleeve from a fitted sleeve shirt pattern. This is a fun way to create a more formal or flirty look from your fitted tee patterns. So cute, right? I also flared out the t-shirt a bit as well when changing up the sleeves on this sewing project. You can see here the comparison to the original fitted tee and my new tee with the fuller sleeves. I tried to use the same fabric to really highlight the style difference.
 The sleeve is both fuller on the top and the bottom, with the middle part left essentially the same. Ready to recreate this look? You can use any t-shirt pattern already in your sewing pattern library.
Bell Sleeve Supply List:
- T-shirt Pattern {I used the free girls t-shirt pattern here
} - Fabric for the shirt
- Tracing or tissue paper
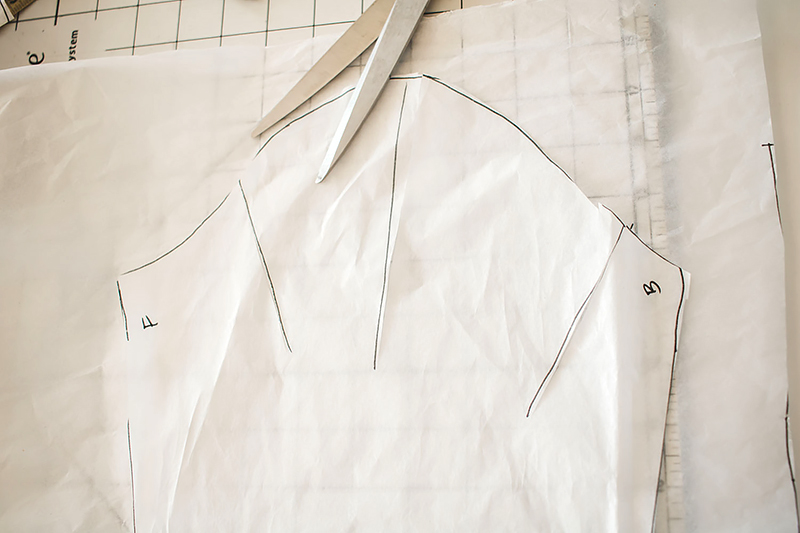
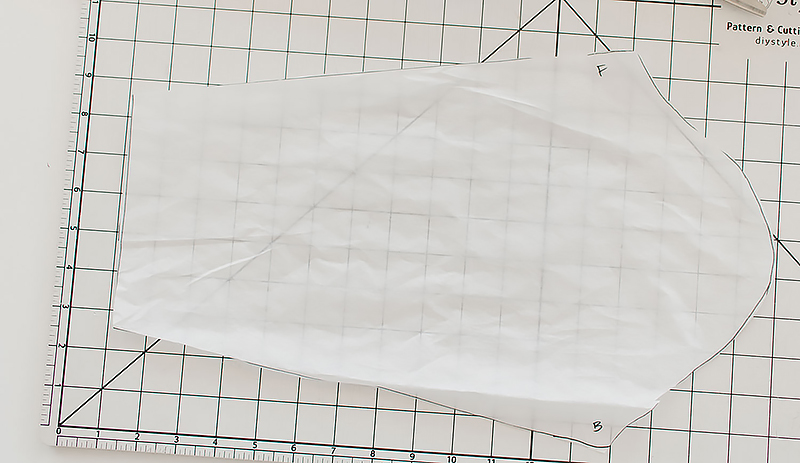 Now we will use the slash and spread technique to make the top and bottom of this pattern more full. Cut three slashes at the top of the sleeve pattern. The slices should be about 6” long. I added the black lines so that you can see where I cut.
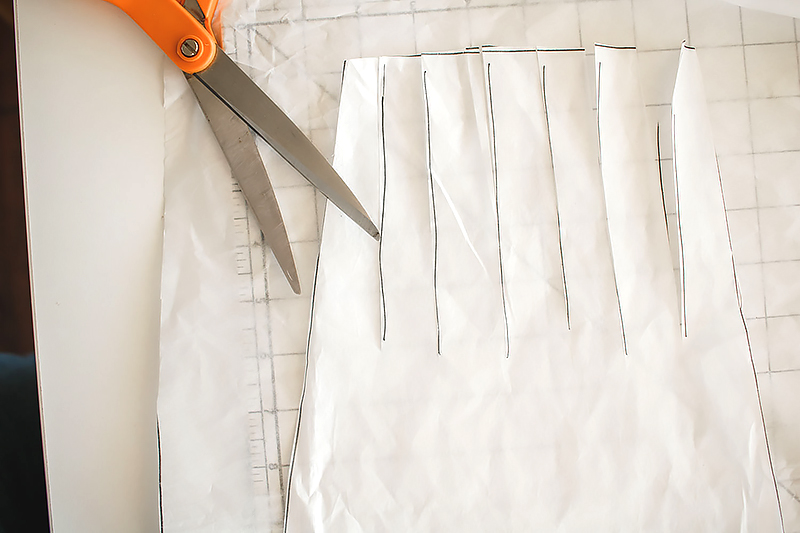
 You will also cut from the bottom of the sleeve as well. I cut six slashes here on the bottom. They should each be 5/6 inches long.
 You can do this next part with a magnetic cutting board or tape. Grab another piece of tissue paper and place it under your cut up pattern.
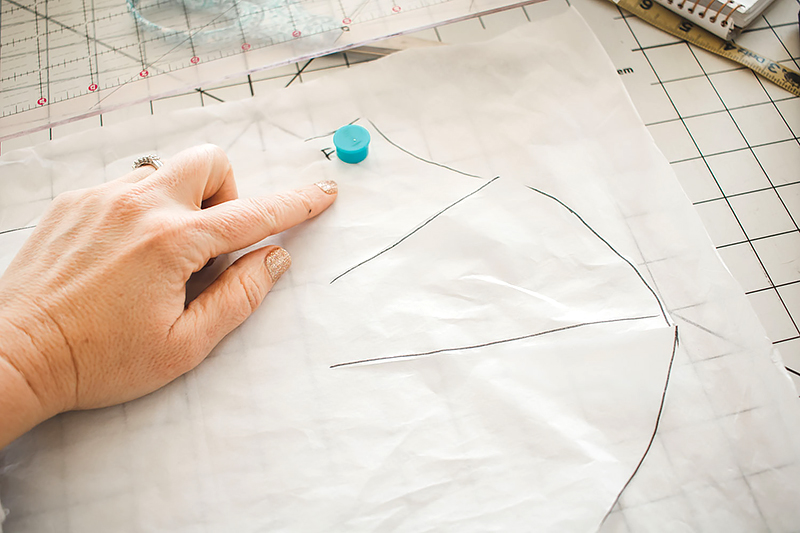 Tape one side of the sleeve and then pull the rest to spread open the top of the sleeve. Spread each cut around 1”.
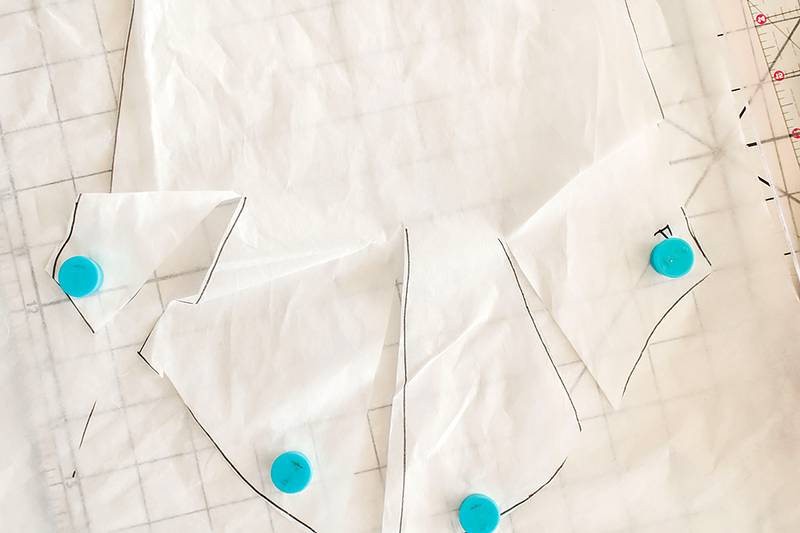 Repeat with the bottom of the sleeve. Since you have more cuts, each one will only spread about ½ inch.
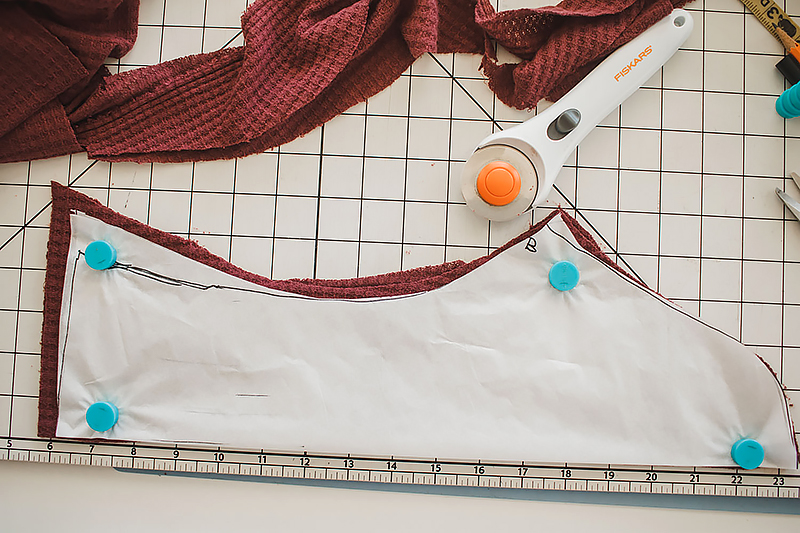
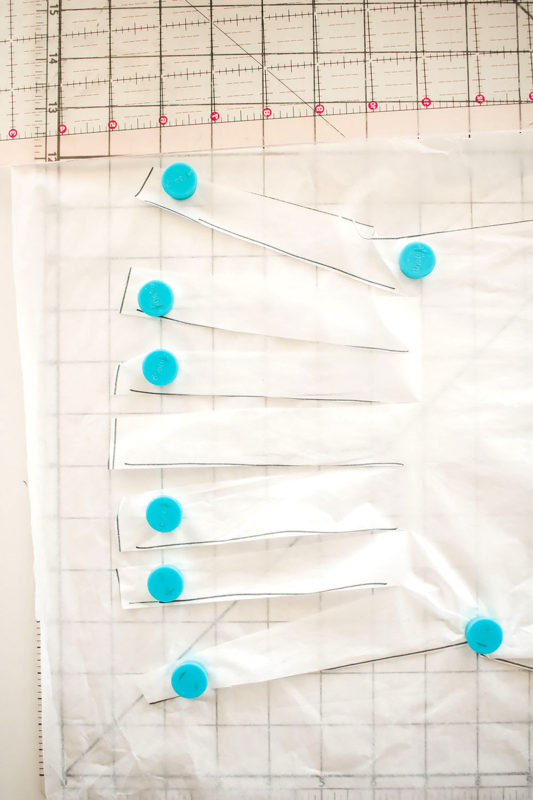 Trace around your new sleeve pattern shape.
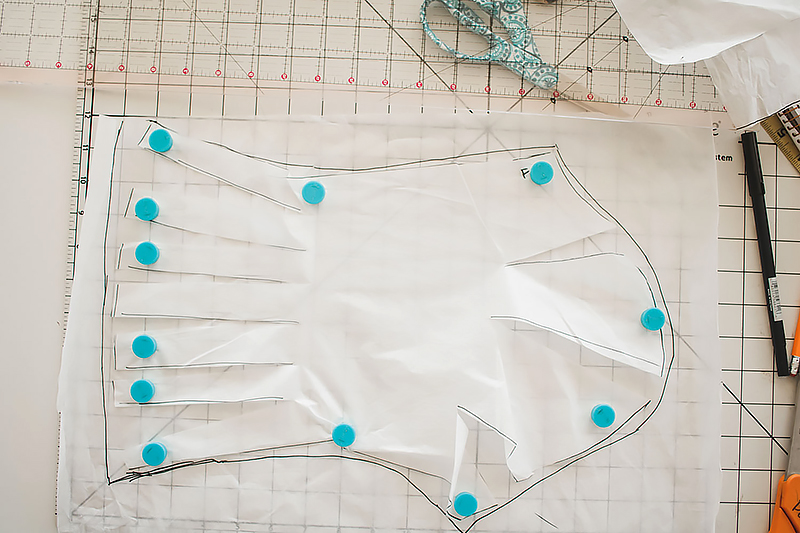 Because my sleeve shape did not end up symmetrical I folded it in half and then cut the fabric on the fold to create a more perfect shape.
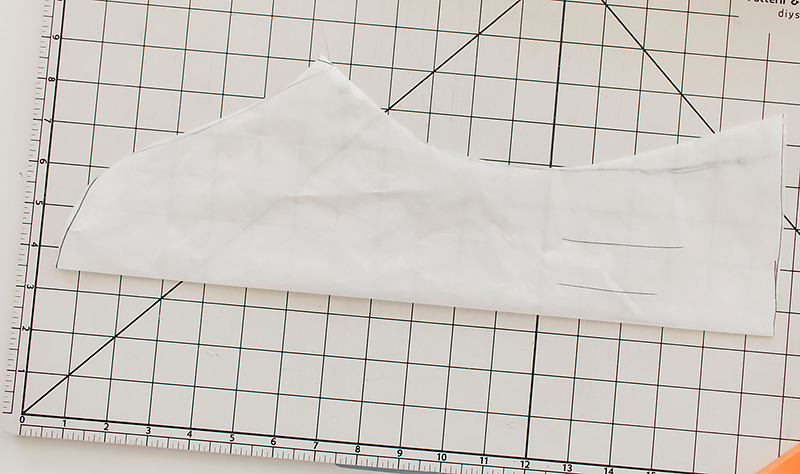 I also added about an inch to the bottom to account for length lost in the spread.
 Now cut the cuffs to gather in the bottom of the sleeve. Measure the bottom of your sleeve and then cut a cuff 70-80% of that width. My cuffs are 3” high. You can create a narrow or wide cuff.
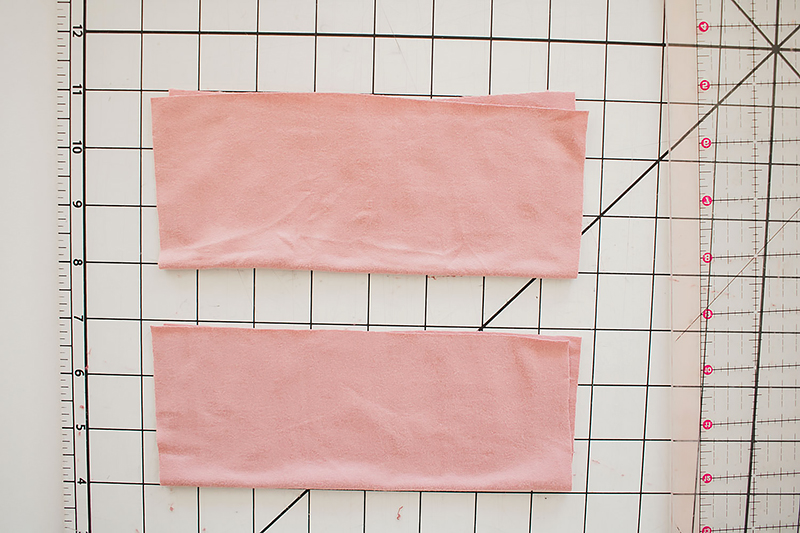 My sleeve bottom is ten inches wide and my cuff is almost eight inches wide.
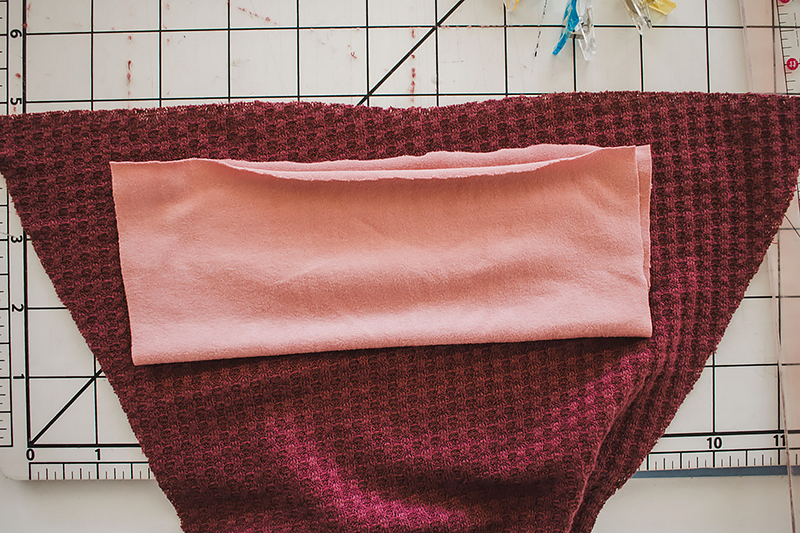 Stretch and either pin or clip the cuff to the bottom of the sleeve. {note: you can also sew the sleeve first and then add the cuff in the round, but I prefer to do it this way.}
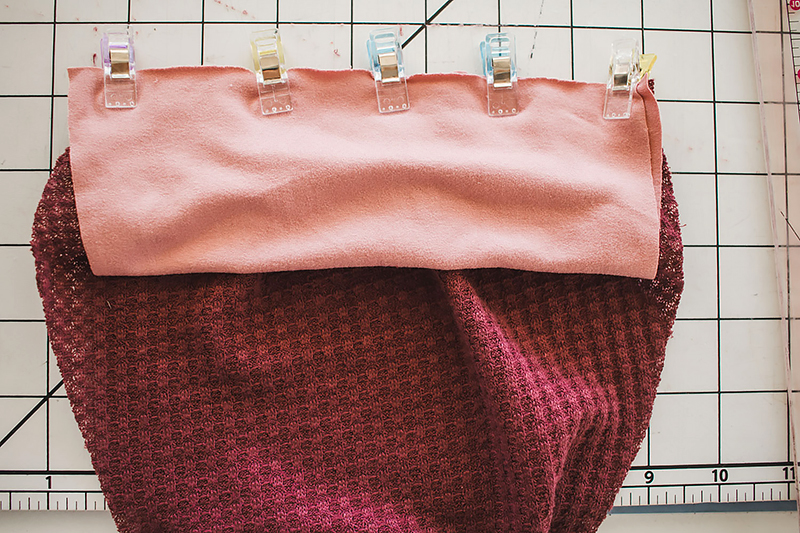 Stretch and sew the cuff to the sleeve end. Use your serger or a stretch stitch on a sewing machine.
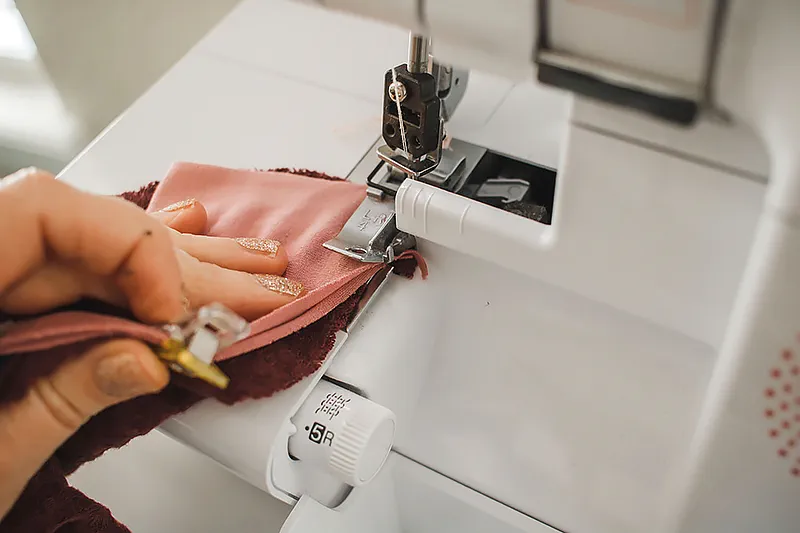
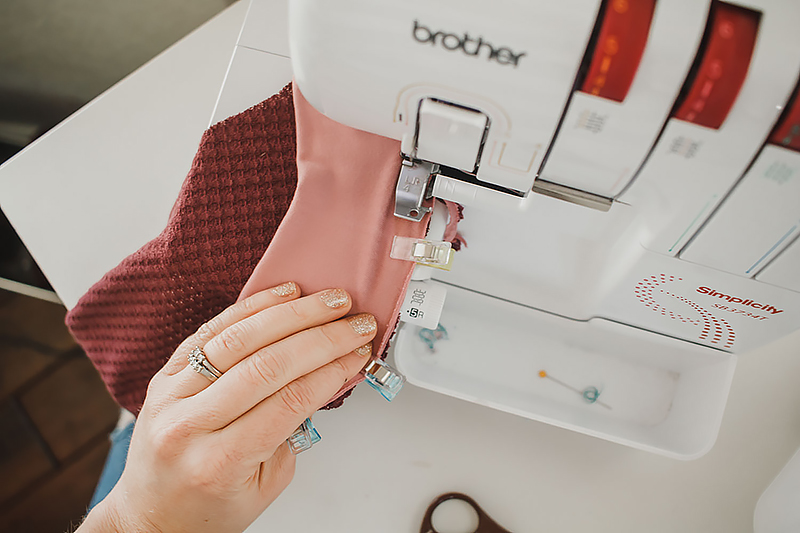 Now you have a pretty gathered sleeve end.
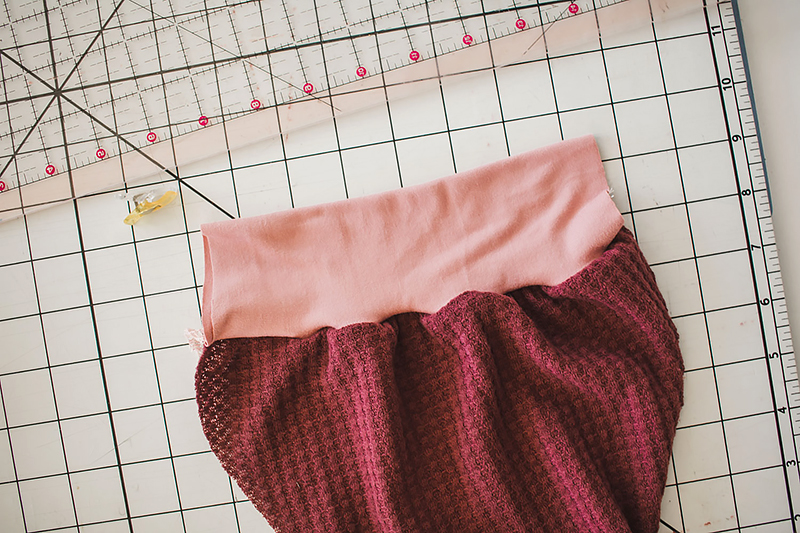 Next up is to gather the sleeve so it fits the shoulder cap.
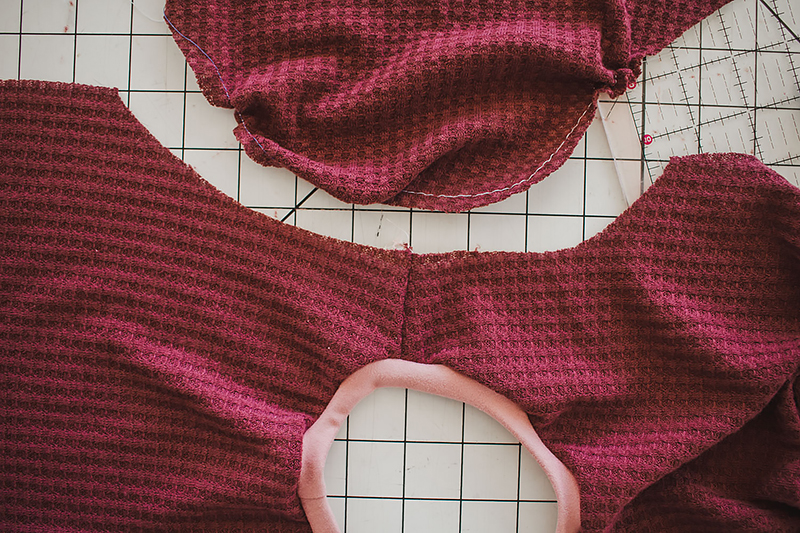 Run a gathering stitch around the curve of the sleeve top. I started and stopped about two inches from either end. A gathering stitch is just a long straight stitch, I have my stitch length set at five.

 Pull the bobbin thread to gather the sleeve until it matches the shoulder.
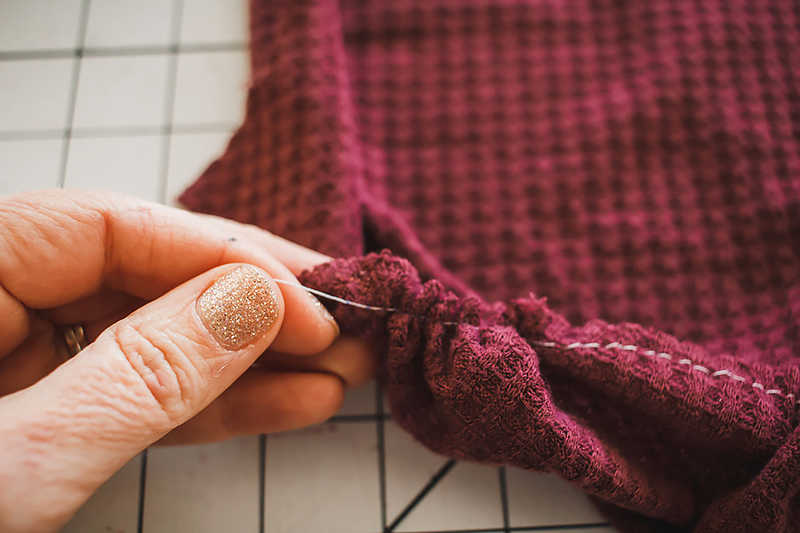 Pin or clip the sleeve to the shoulder. Matching the middle and ends and easing the rest to fit.
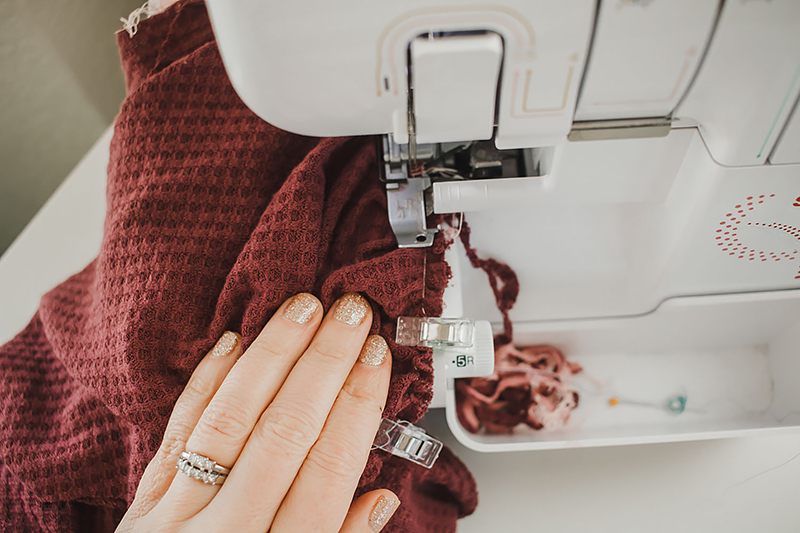
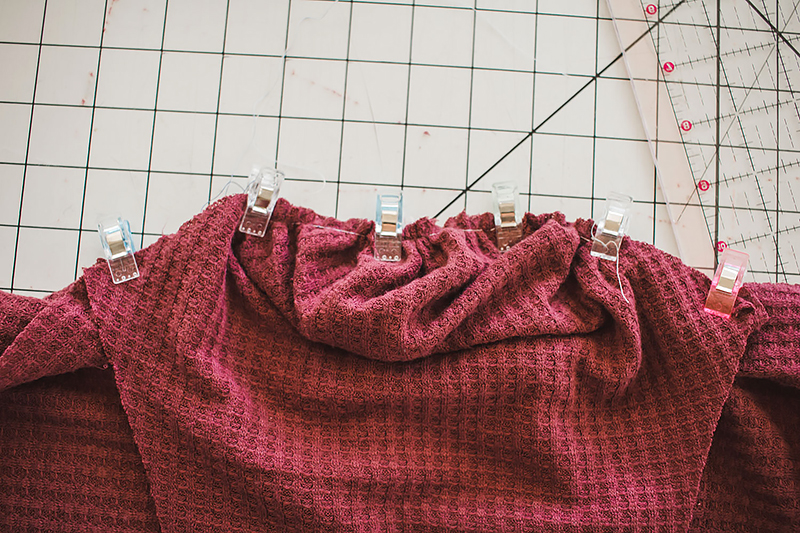 Stitch with a serger or zig-zag stitch to sew the sleeve in place.
 Now you have a beautiful sleeve top. I love this gathered full sleeve look.
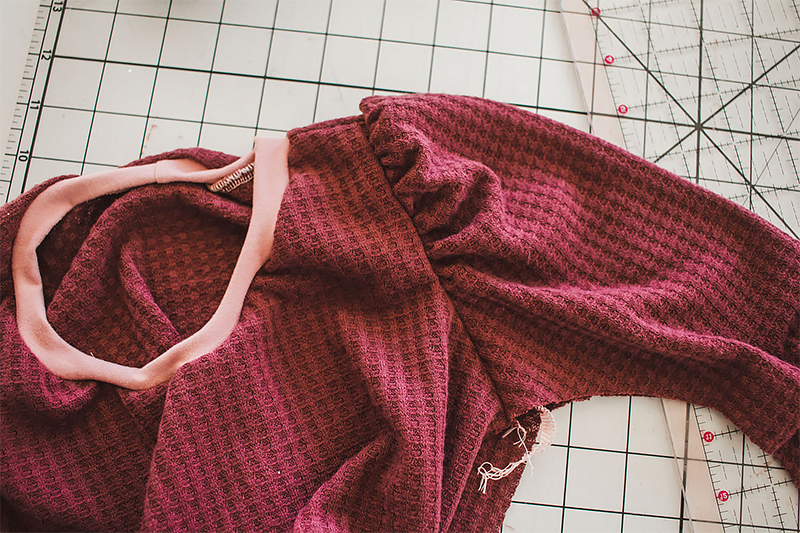 Finish sewing the rest of your shirt (Side seam, hem, etc…). Now you or your little one can enjoy this beautiful bell sleeve with your favorite shirt pattern.
 CLICK HERE FOR PDF!

