Chainstitch on Brother Coverstitch Machine
Have you ever used the chainstitch on one of the Brother coverstitch machines? This stitch is easy to set up and quick to sew. I have included a video showing how to thread the coverstitch machine for the chainstitch, how to stitch and chain off, and how to quickly tear out the stitches. The chainstitch is great for sewing, hemming, and decorative stitching!
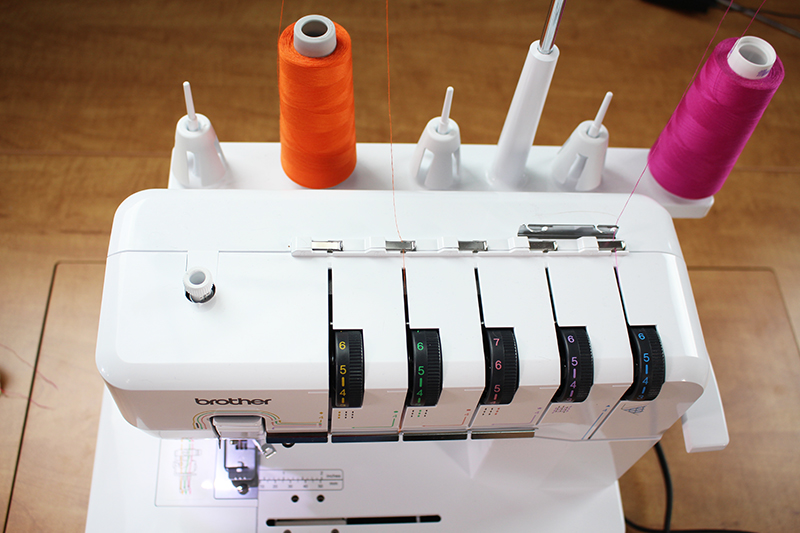
- The chainstitch uses the lower looper and center needle. I will thread mine with different color threads, so you can see where each thread ends up in the stitch.

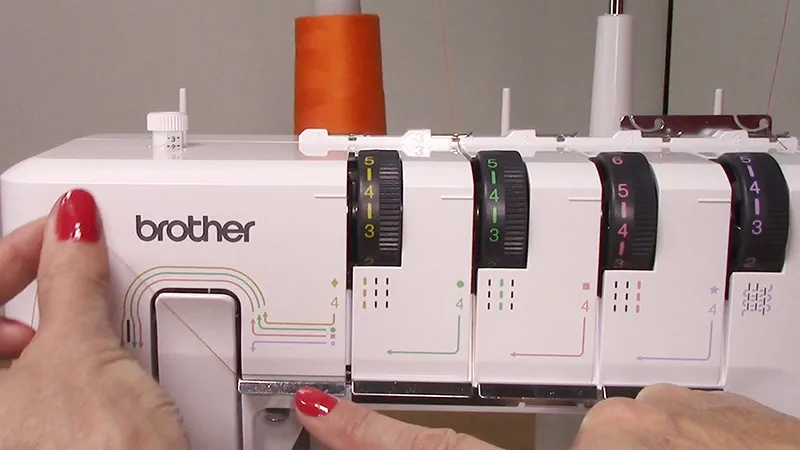
- Remove the tops coverstitch attachments. Remove the left and right needle. Be sure to tighten the needle screws back up to prevent them from falling out while stitching.
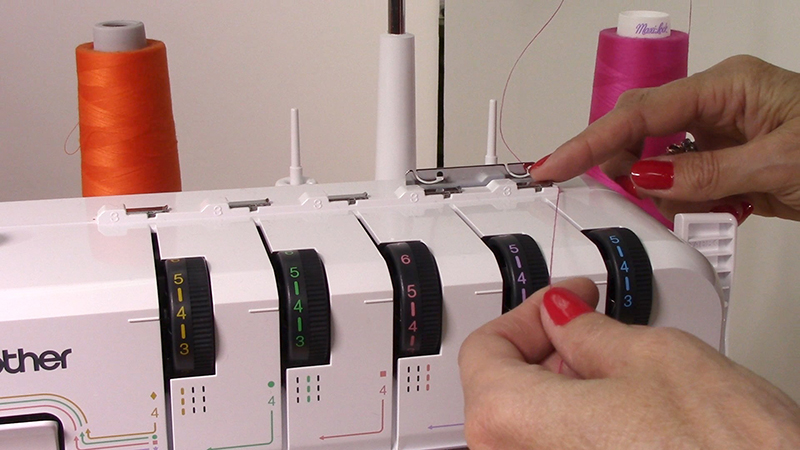
- Thread the lower looper first, following the guides as shown.
- Thread the center needle. That’s it! You are ready to stitch. Lift the presser foot and place your fabric under the foot. Lower the presser foot and press the foot pedal. When you get to the end of a seam, simply chain off. Be sure you don’t pull the threads, just chain off and cut the threads.
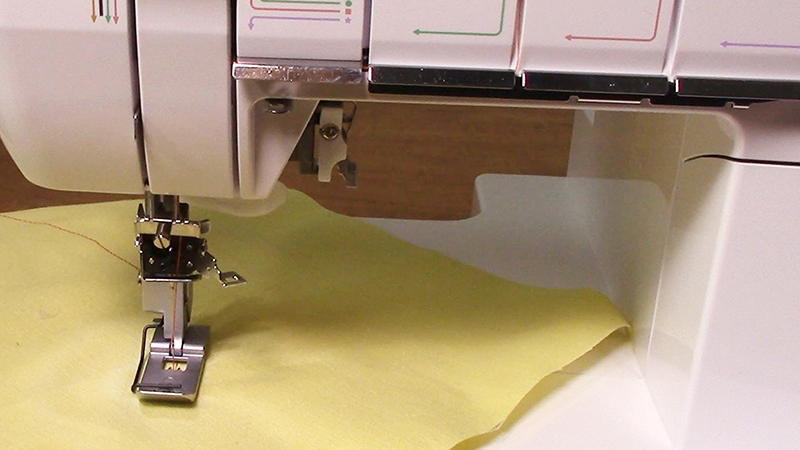
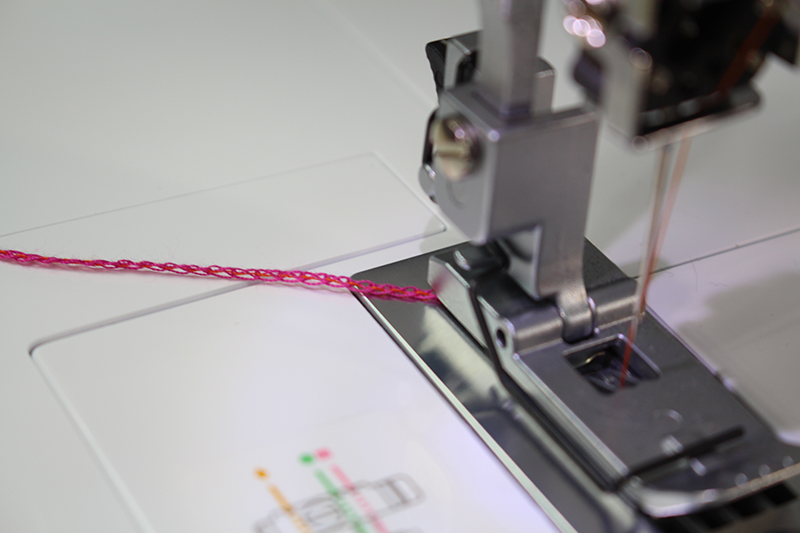
- Take a look at the stitch. There is a straight stitch along the topside of the fabric and the backside has a “chain” stitch. If you need to remove this stitch, turn to the back of the fabric. Use scissors or a seam ripper to cut into the chainstitch. Gently pull the thread until you see it start to unwind (it might take a few tries to get to the right thread). Then you pull away and the entire stitch comes out! Watch the video below for more details.
- This stitch can be used in many applications; you might recognize it in the seam of your jeans, securing the seam allowance on a t-shirt, or securing elastic in a waistband. The list goes on, but those are a few ideas to get you started chainstitching 😊

Related Projects
Stay Connected
* Required fields