Free Design: Homemade Square Basket
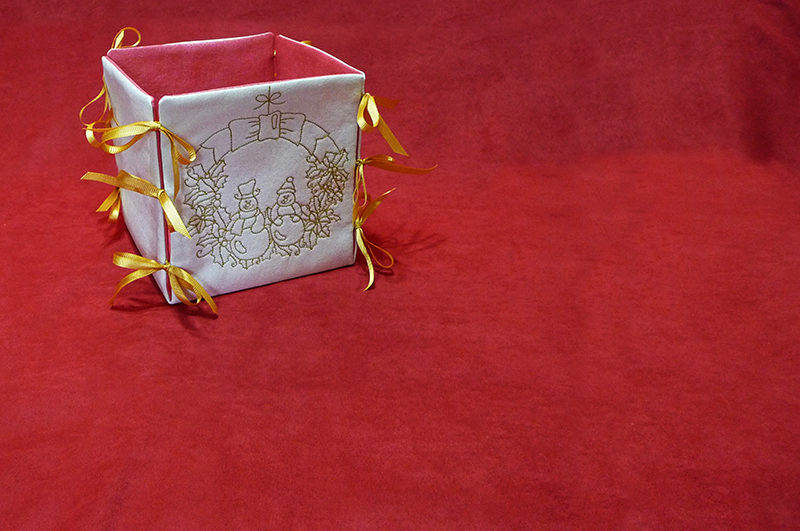
If gift giving time isn’t too far away, then gift making time must be now! Are you always on the hunt for heartfelt and handmade gifts that work for anyone and everyone? If the answer is yes, you’ll like the versatility of this square basket suited for everything from small gifts, to homemade goodies, to a pretty seasonal plant or floral arrangement for a tabletop centerpiece. Gather your supplies and let’s go sew!
Materials and Supplies
• BrotherSewing and Embroidery Machine with 5-inch by 7-inch or larger hoop capability. Note: This project features a combination design stitched in SA448,
the 6-inch square hoop. As an alternative you can use a 5” X 7” hoop. • Brother Embroidery Thread, Bobbin Thread, and size 11 embroidery needle for embroidering. • Fabric for basket: Two fat quarters of solid cotton fabric. Note: A fat quarter is a rectangle measuring 18” X 22.” This project features one piece of cream for outside of basket and one piece of red for inside of basket. In this example each piece of cotton fabric has a slight metallic sheen. • Thin fusible fleece for fusing to fabric pieces, two 18-inch squares. • Brother Free Design of the Month FD_November_2019.pes
• Basic sewing notions including thread, a small measuring tool, an instrument for pushing out corners, and a removable marker. • Optional ¼-inch wide fusible webbing for fusing opening closed. • 6-inch square template or quilting ruler for making basket pattern. • ¼-inch wide ribbon, 24 pieces measuring 8-inches long for closing sides of basket. • 18-inch square of paper or pattern transfer cloth for making pattern.
Brother Free Design of the Month:
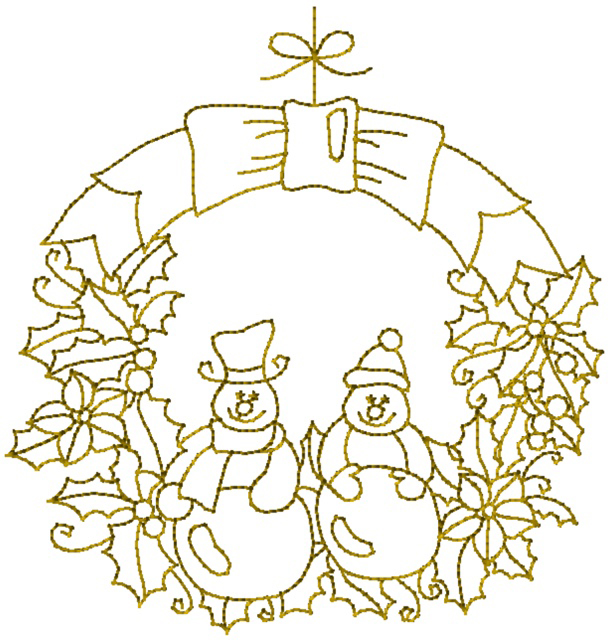 • 4.96” Wide X 5.21” High.

Steps to Create Basket
1. Using the 6-inch square template make a cross shaped pattern consisting of 6-inch squares linked together. See below: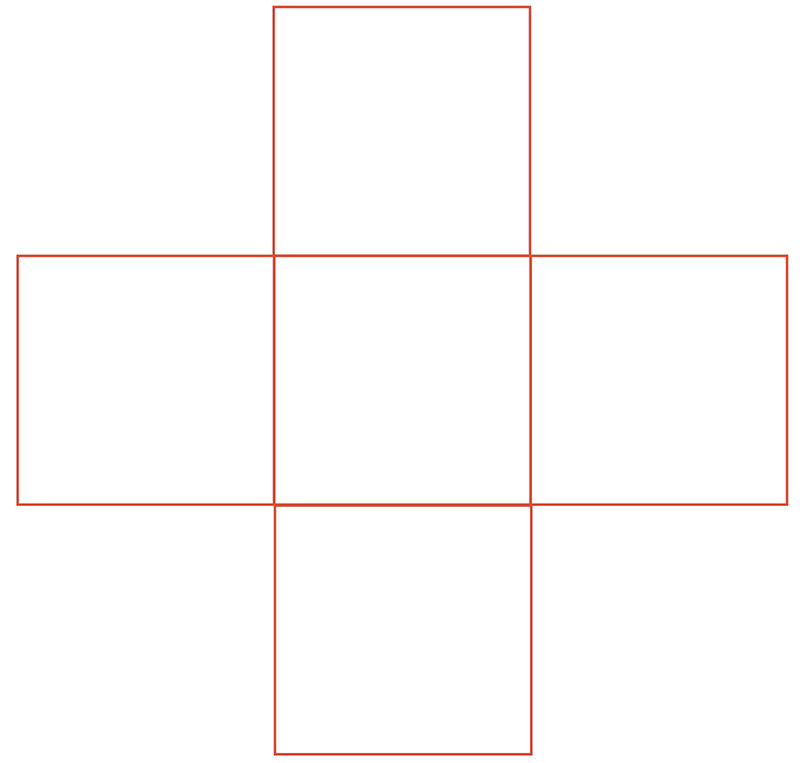 2. Place cross-shaped pattern on fusible fleece and cut two identical pieces.
3. Fuse one piece to the wrong side of each fat quarter, placing fusible on the piece with one edge toward the bottom so there is excess fabric at the opposite end. Designate the section with the excess fabric as the top square.
4. Select fabric chosen for the embroidered, outside basket piece. Set aside the second piece to use for inside basket. Mark the center point on the top square of the cross shaped piece. This is the area with excess fabric. See Figure #1.
[caption id="attachment_22326" align="aligncenter" width="800"]
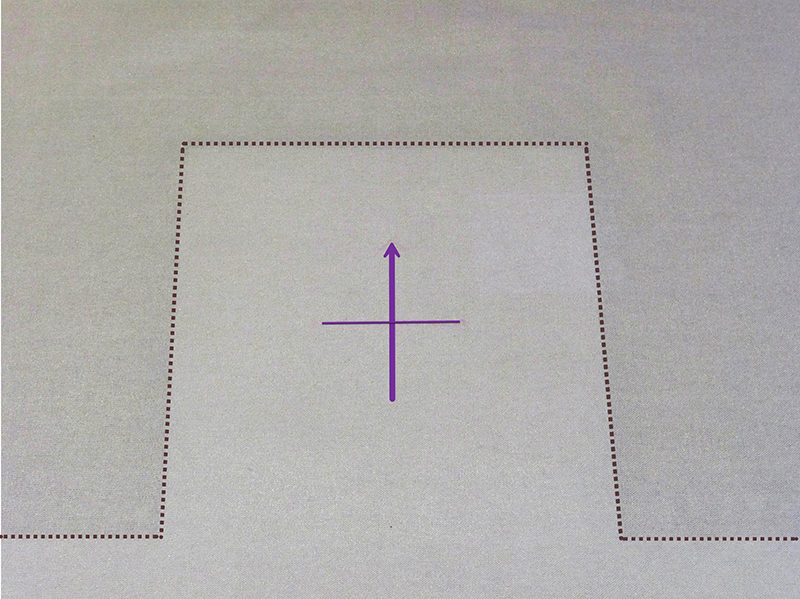 Figure #1[/caption]
Note that you’ll need to mark for embroidery on the right side of the fabric. If you can’t see the fusible shadowing through the fabric be sure to trace the cross shaped pattern on the right side. Hoop fabric with marking aligned in the center of the hoop. It’s important to have the hoop fully filled with fabric.
5. Transfer design to machine and embroider. See Figure #2.
[caption id="attachment_22327" align="aligncenter" width="800"]
 Figure #2[/caption]
6. Remove marking and press piece. Working from the wrong side, cut fabric, cutting directly along the edges of the fused fleece. See Figure #3.
[caption id="attachment_22328" align="aligncenter" width="800"]
 Figure #3[/caption]
Cut inside basket piece in the same manner. See Figure #4.
[caption id="attachment_22329" align="aligncenter" width="800"]
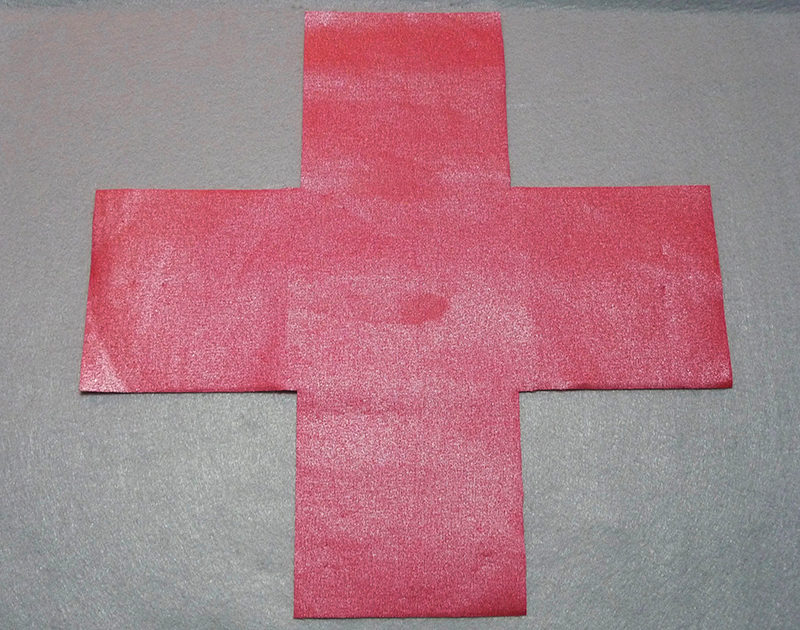 Figure #4[/caption]
7. Working from the right side, pin three evenly spaced pieces of ribbon along each edge, Pinning two ribbons 1-inch from each outside and inside corner, with third ribbon in the center. See example below:
 8. Set up machine for sewing. Baste ribbons, sewing ½-inch from the raw edge. See Figure #5.
[caption id="attachment_22330" align="aligncenter" width="800"]
 Figure #5[/caption]
9. Layer inside piece with embroidered basket piece and pin, having right sides together. See Figure #6a.
[caption id="attachment_22331" align="aligncenter" width="800"]
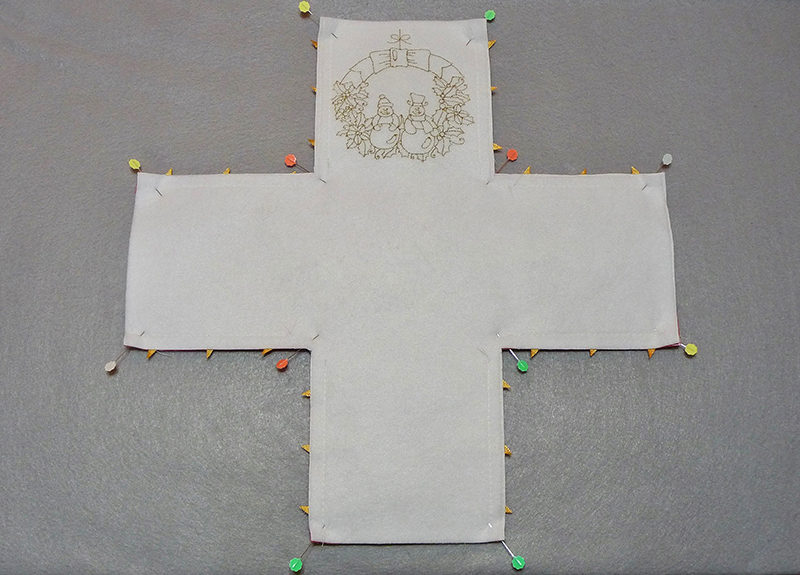 Figure #6a[/caption]
Stitch all around the cross-shaped piece using a ¼-inch seam allowance, leaving a 5-inch opening along the top edge of the section at the opposite end of the embroidered square. Remove pins as you stitch and be certain excess ribbon is not accidently caught in seams while stitching. See Figure #6b.
[caption id="attachment_22332" align="aligncenter" width="800"]
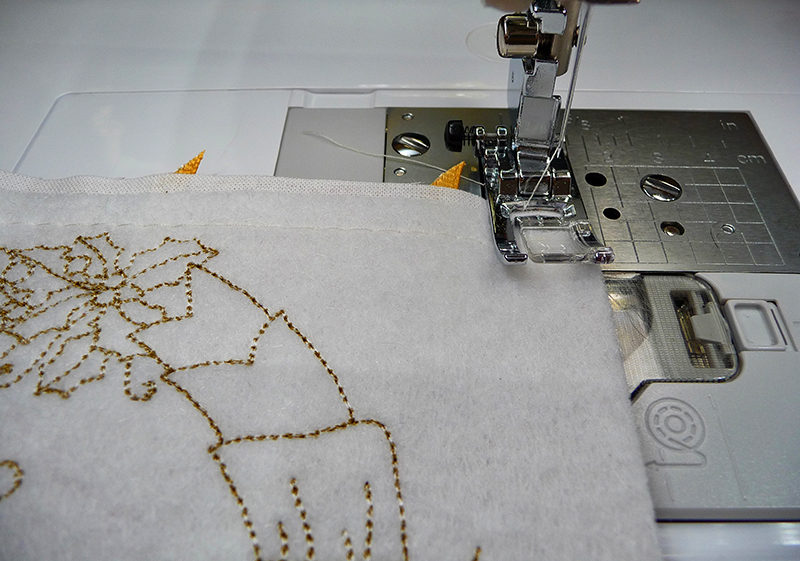 Figure #6b[/caption]
10. Clip each inside corner, clipping carefully up to but not through the stitching line. Trim each outside corner slightly to eliminate bulk. See Figure #7.
[caption id="attachment_22333" align="aligncenter" width="800"]
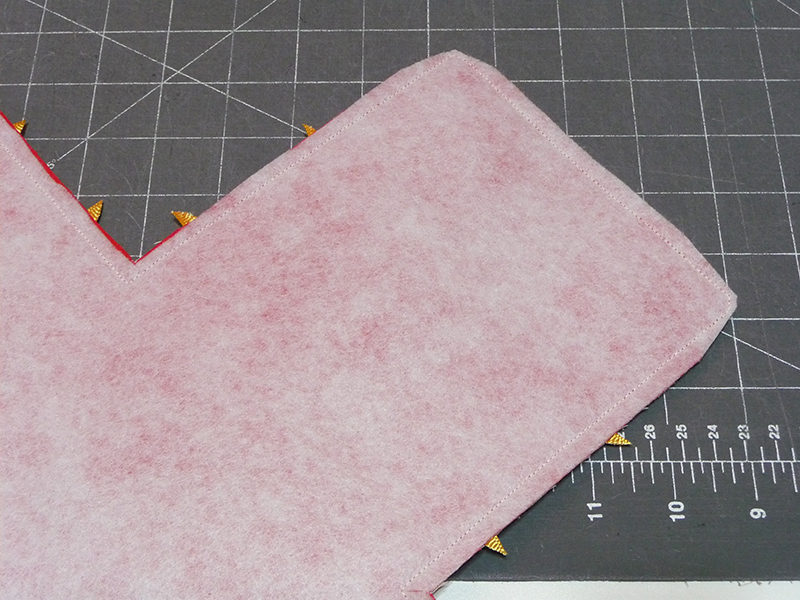 Figure #7[/caption]
11. Turn basket piece right side out by pulling fabric through open end. See Figure #8.
[caption id="attachment_22334" align="aligncenter" width="800"]
 Figure #8[/caption]
Fold and press under raw edges on open end. Close with small hand stitches or fuse opening closed with fusible webbing.
12. Remove basting stitches. Press basket, pressing each square to make crease lines for the box shape. See Figure #9.
[caption id="attachment_22335" align="aligncenter" width="800"]
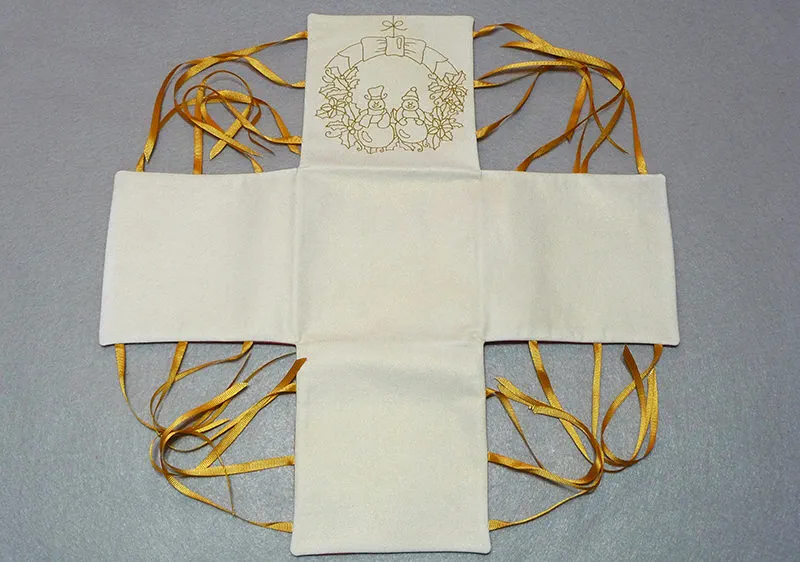 Figure #9[/caption]
Tightly tie ribbons together to close the side edges and form basket. Trim ends of ribbon to shorten slightly after tying.
You are finished! Fill your basket and enjoy!

Options and Ideas:
- Personalize the basket for gift giving by adding names or a greeting.
- Tie small bells or decorative beads to the ribbon ends for added embellishment.
- Fill with seasonal items for a center piece and then use the design on placemats or a table topper to coordinate with basket.

