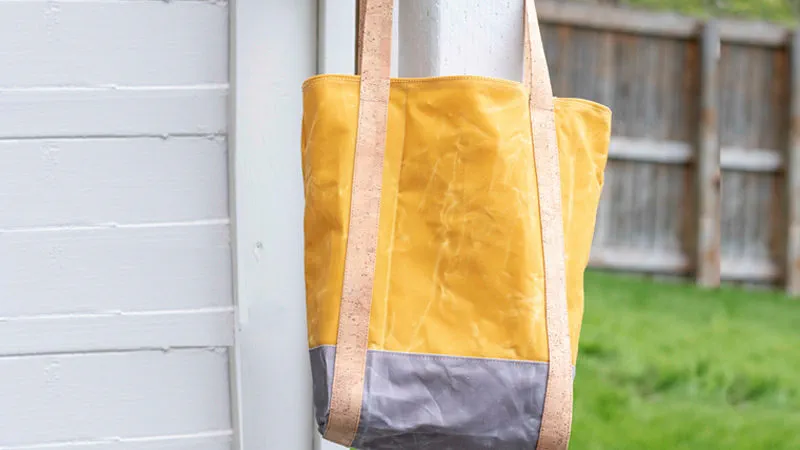
Handy Summertime Tote Bag
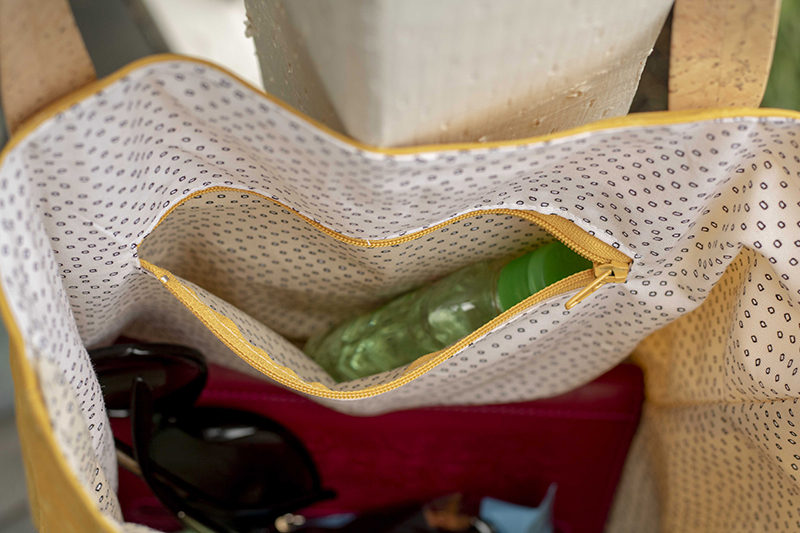
It’s summer, which means I need a new bag. And by need, I mean the “wintery” one I made last fall is now not new anymore. I’m a bit compulsive when it comes to having a new bag each season. Good thing I sew them, or my husband may not like my new bag habit so much. One of the things I love in my bags are good pockets and over the years I’ve made them lots of different ways, but there is nothing better than a good zipper pocket. Today I’m going to show you how to make an easy zipper pocket for bags/purses. You can use this method to add a pocket to either the inside or outside of a bag.
Let's get started!
First, start with a zipper and fabric to make the pocket. The fabric should be 2” wider than the zipper {or be willing to shorten the zipper} and about 2 times as long as the width. Here is my zipper and pocket fabric (this zipper will be trimmed).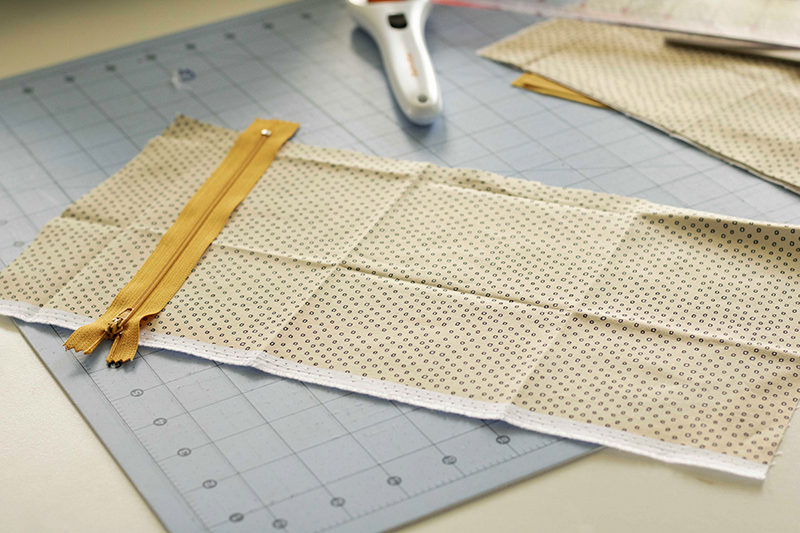 About 1.5” from the top of the fabric, draw a box with sewing friendly pen. The box should be ½” tall and stop 1” from either side of the fabric. Place this pocket fabric right sides together with either your bag lining or bag main fabric. Pin the box marking exactly where you want the zipper to be when finished. The pocket will be on the opposite side of the fabric from where it is pinned now.
 Sew around this box with your sewing machine {I used my Brother NS1750D
} with a stitch length of 2 for a close stitch.
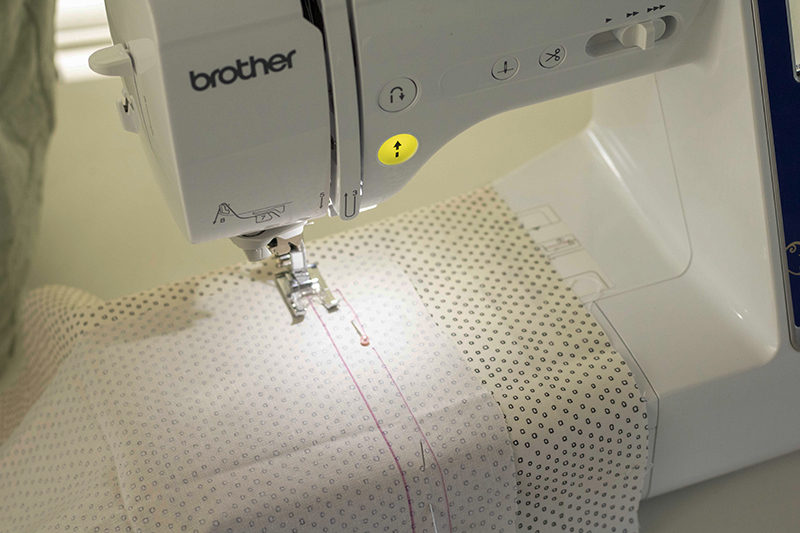 With scissors, cut down the center of the box, and then Y clip the corners as shown. Clip as close to the corners as you can without cutting the thread.
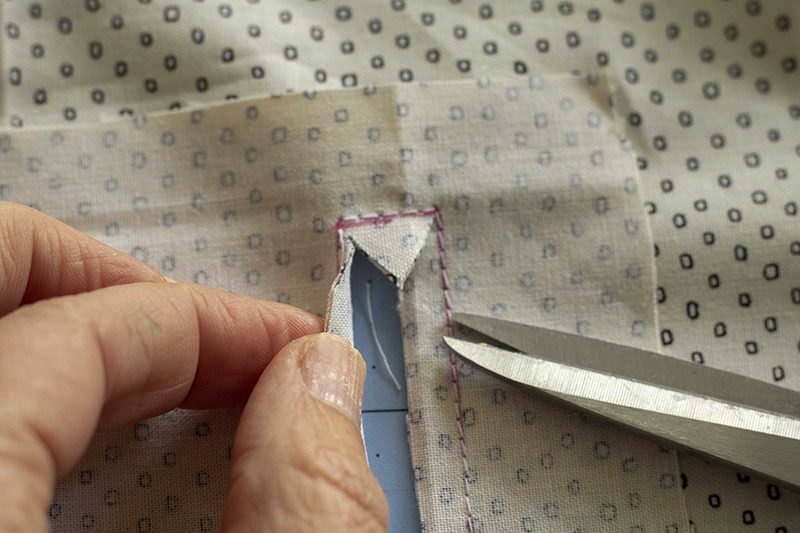 Pull the pocket fabric through this opening to the back side and press around opening.
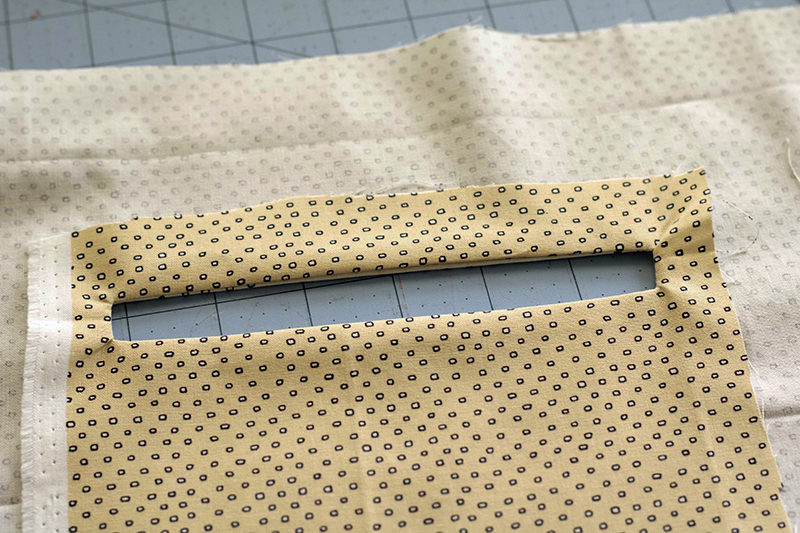 With the right side of the fabric facing you, place the zipper under the fabric. Position the zipper so the tab is at the edge and the zipper teeth are centered down the middle. Pin in place. Pins should be on the right side as you sew with this side up.
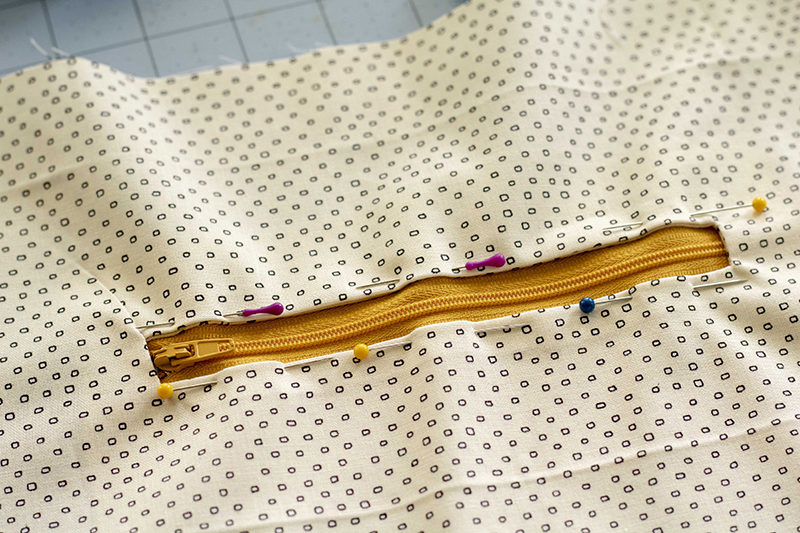 Stitch around the square, catching the two layers of fabric and the zipper. Stitch close to the edge of the fabric. Be careful stitching over the zipper teeth.
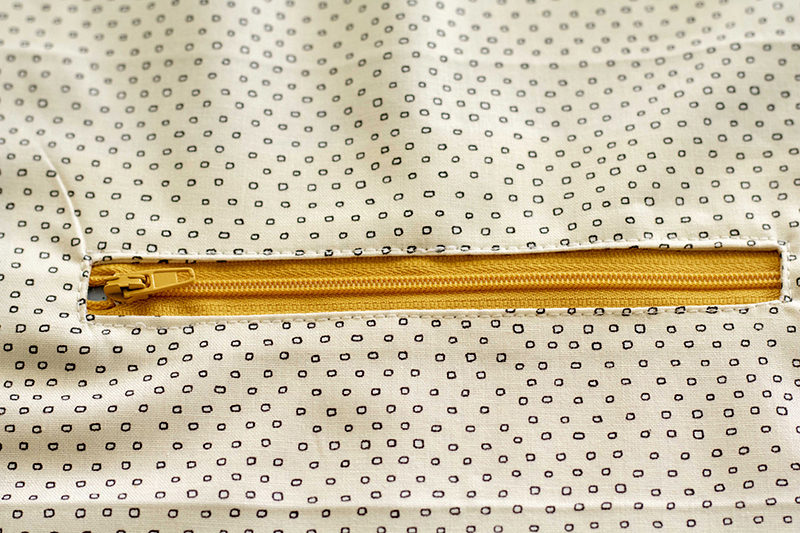 Flip the fabric over and trim the zipper if needed.
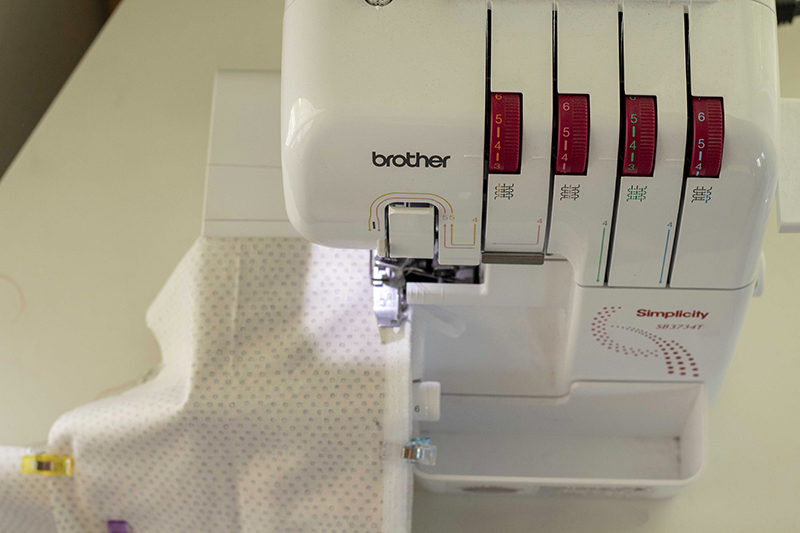
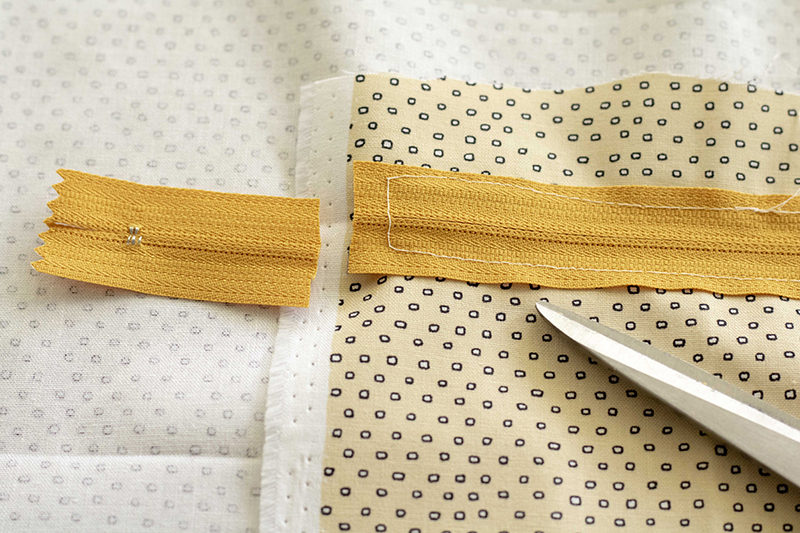 While looking at the back of the zipper, flip the bottom of the pocket fabric up to match the top (the zipper should be covered). Pin around to create the pocket. You now have three edges to sew. The sides and the top. Use a serger (I used my Brother Simplicity Limited Edition SB3734T Serger
) to sew and finish the raw edges.
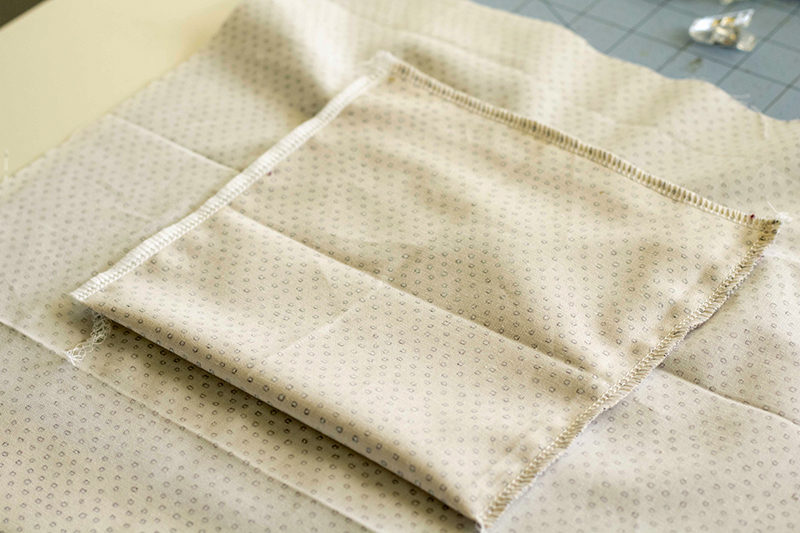 And that’s it!!! Now that you know how easy it is to add a zipper pocket you can add them to all your bags and totes. And why just add one? A bag is better with more pockets!!
