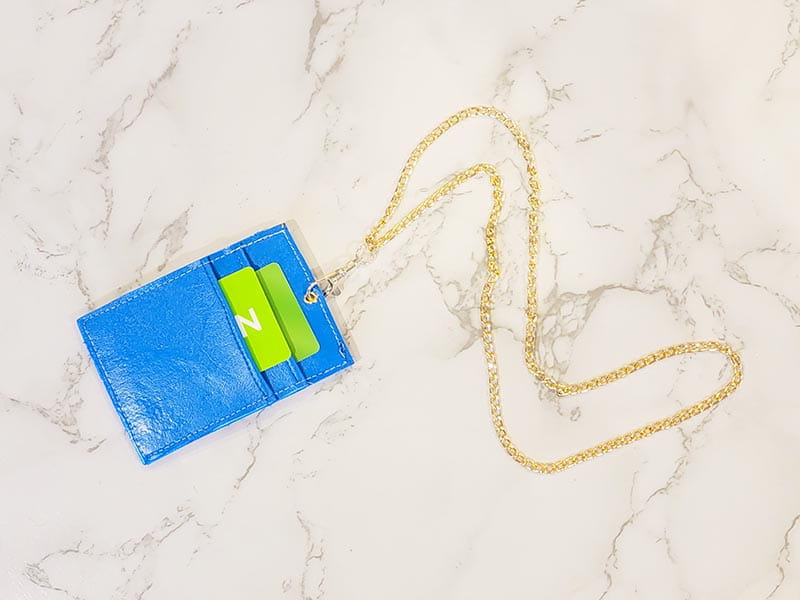
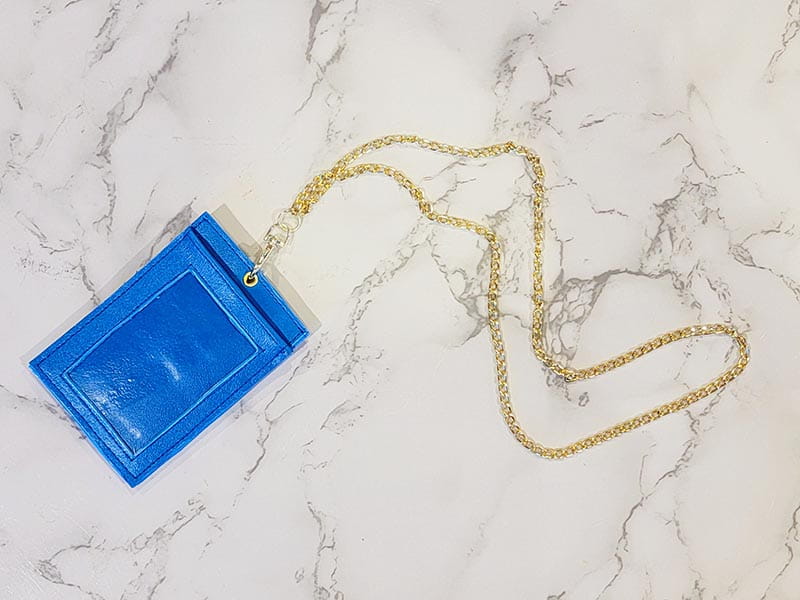
How to Make an ID Holder Lanyard
-Brother Stitching Sewcial
One of my favorite things to do is to travel the world with my husband and two kids. Exploring different cultures is such an eye-opening experience and a great opportunity to learn. I absolutely love that I’m able to expose my kids to other worlds outside of what they see every day. It keeps them open-minded, and it teaches them the beauty of diversity.

Traveling is great - we can all agree there, but can we talk about the packing and having to put together all of the paperwork and cards needed to travel overseas? Keeping everything organized and together is essential when traveling so I thought, why not create my very own ID holder?
When creating your custom ID holder, there are so many great ways to personalize it. To start, faux leather comes in so many different colors. Choose your favorite. If you want to use a cotton fabric, go for it! Just be sure to use a thick interfacing like buckram. Another fun way to customize your ID holder is through the lanyard. You can go for a simple chain like I did, or you can choose something really fun like a beaded necklace. I love that idea. (I think I need to go find some beads)
SUPPLIES & TOOLS
- Brother Stellaire Innovis XJ1 Sewing Machine
- Matching Thread
- Medium-Heavy Weight Clear Vinyl
- Paper + Pencil
- Faux Leather Fabric
- Buckram Interfacing
- Iron + Ironing Board
- Necklace Chain
- Clasp
- O- ring
- Rivet + Rivet Tool
- Hammer
- Paint Marker
- Jewelry tools
- Fabric Clips
- Pressing Cloth (Optional)
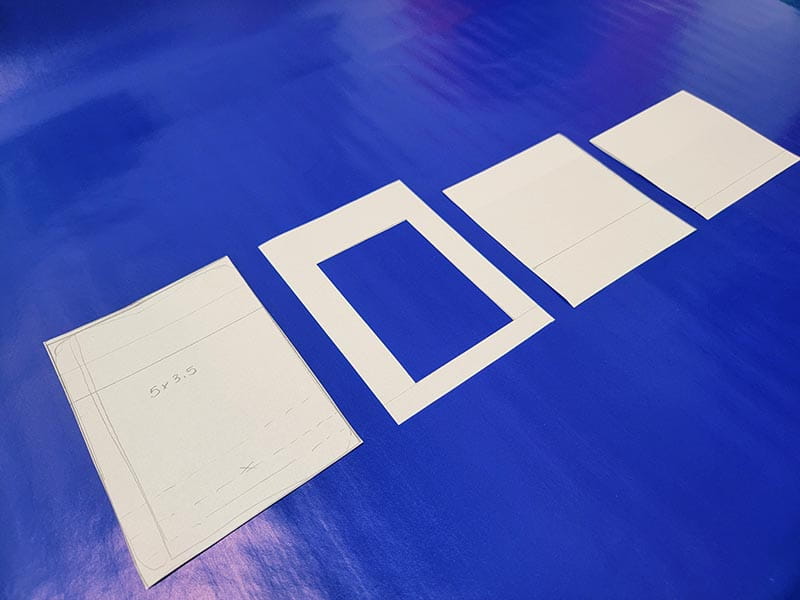
1. With pencil and paper, create the pattern. It's all quite simple because you're essentially creating different sized rectangles. Once you've created your pattern, use that to cut out your fabrics.
a. Cut one at 5” x 3.5” (Cut two from fabric, Cut two from interfacing Cut one from the clear vinyl)
b. Cut another with the same measurement with a rectangle the same size as your ID cut into the middle leaving more room at the top. (Cut one from fabric and Cut one from interfacing)
c. Cut one at 4.5” 3.5” (Cut one from fabric and Cut one from interfacing)
d. Cut one at 4” x 3.5” (Cut one from fabric and Cut one from interfacing)
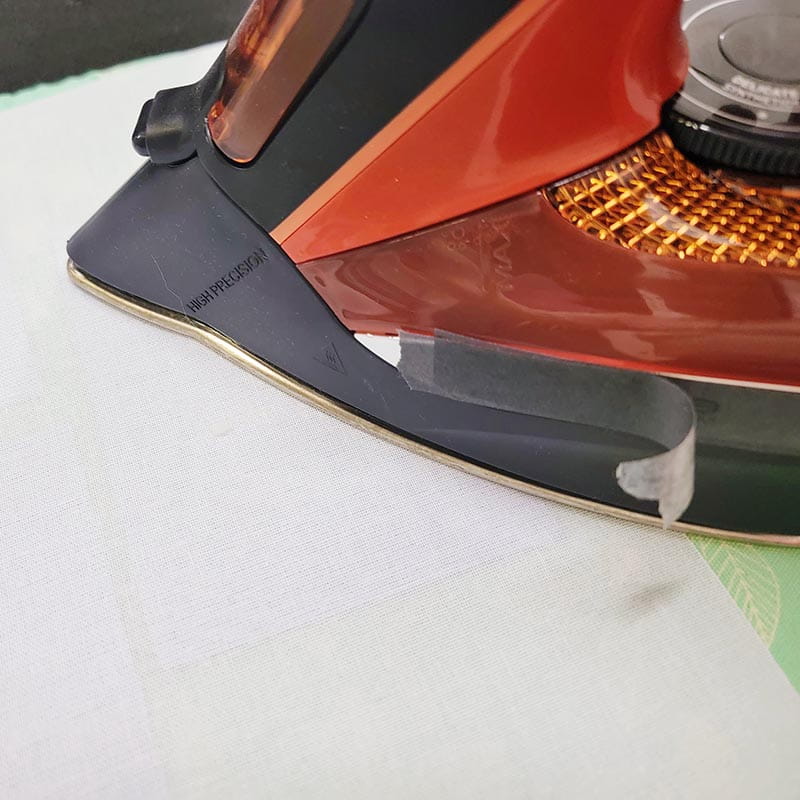
2. Press the buckram onto the back of the faux leather being careful not to melt the leather. Use a pressing cloth if need be.
3. Starting with the faux leather with window and clear vinyl, sew the pieces together by sewing along the edge of the window. Make sure that the vinyl is sewn behind the faux leather fabric.

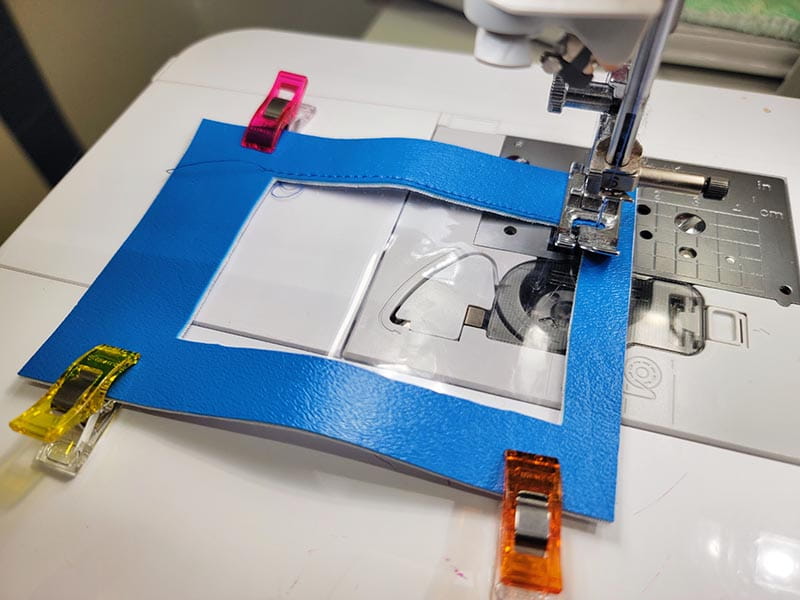
4. Fold down the top edge about ¼” and sew in place. Repeat this step on two other pocket pieces.
5. Let's start by assembling the front. Grab the window piece and one of the large rectangles. Set aside.

6. Let’s assemble the back. Grab the last large rectangle pieces and both pocket pieces.

7. Using the fabric clips, attach all of the pieces together making sure the back and front are facing the outside. Sew down all of the edges being careful not to go too fast.
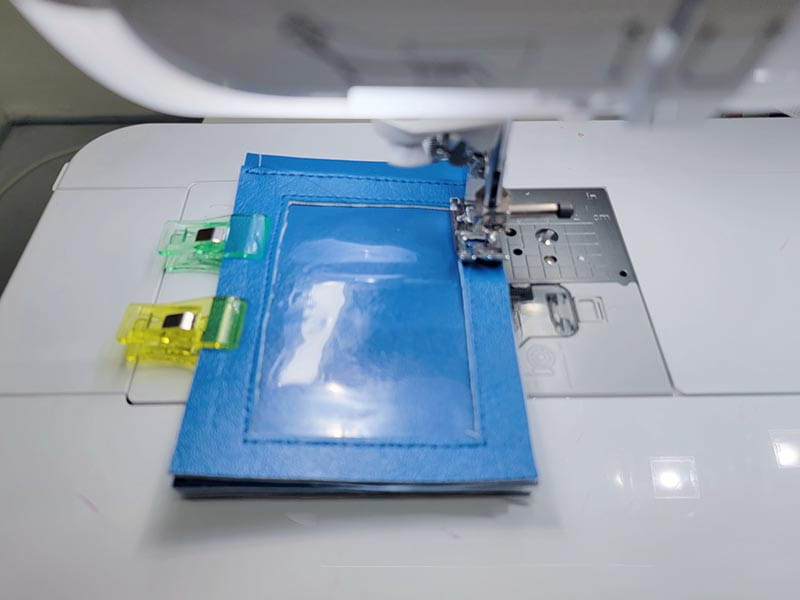
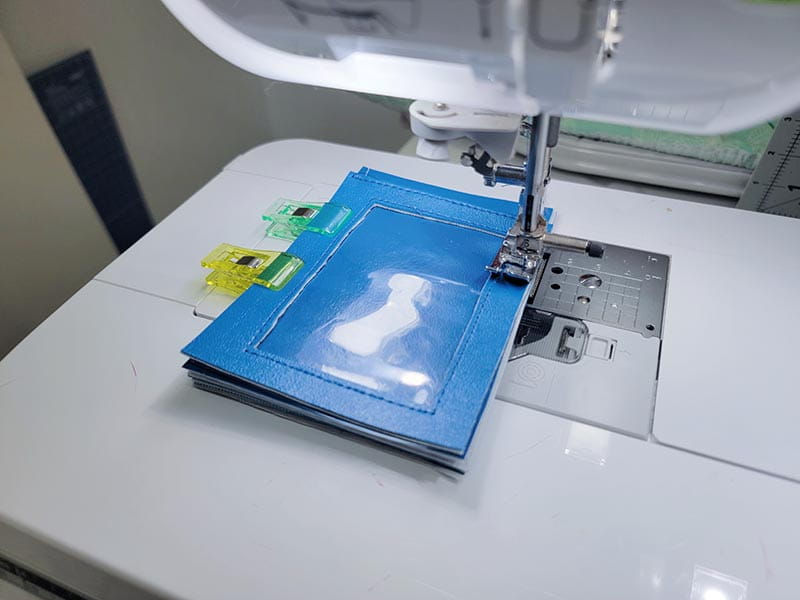
8. The edges of the id holder will have a white edge. Paint those edges with a paint marker. It gives it a soft suede appearance that looks beautiful.
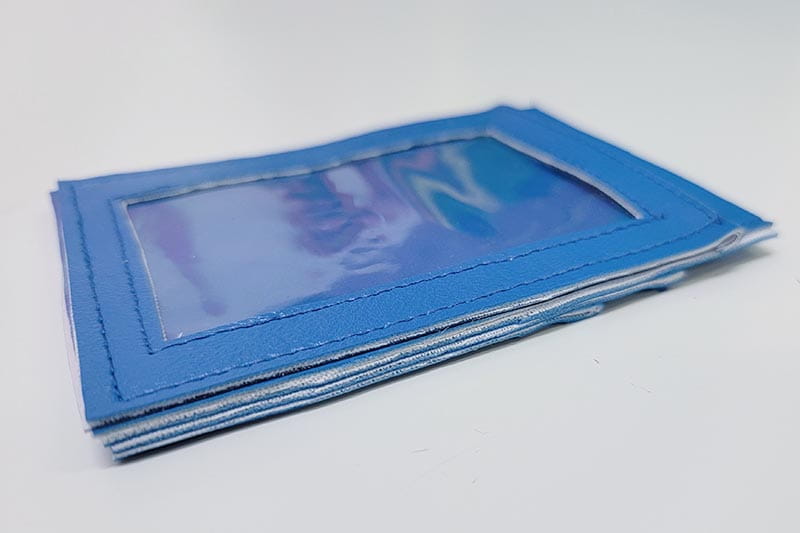

9. Punch hole at the top of the wallet using scissors and place a rivet inside. Attach using the rivet tool and hammer. Attach an O-ring within the rivet using the jewelry tools.

10. Create a lanyard by measuring the length of the chain. Be sure that you are able to take it on and off easily. Using the jewelry tools attach the chain to the clasp. Now attach the clasp to the O-ring. The clasp makes it easy to take on and off the wallet.

11. That’s it!
