Serging a Sporty Tank from a T shirt Pattern
In the last blog post I showed how to sew a tank using the coverstitch to finish the neckline and armholes. Now I will show another way to finish the edges with binding. Start with a simple t-shirt pattern; I am using my Ruched-T Pattern
again.
Supplies:
Here is a list of supplies if you are sewing the tank from scratch:- Brother Coverstitch Machine (CV3440
, CV3550
or 2340CV
) - Brother Serger / Overlock Machine (3234DT
, DZ1234
, 1134DW
, 5234 PRW
) - T-shirt or Tank Top Sewing Pattern – I am using the Angela Wolf Ruched-T Pattern
- Brother Sewing Machine
- 3 spools of serger/overlock thread
- Knit fabric
- Tailors Clapper
- Steam Iron
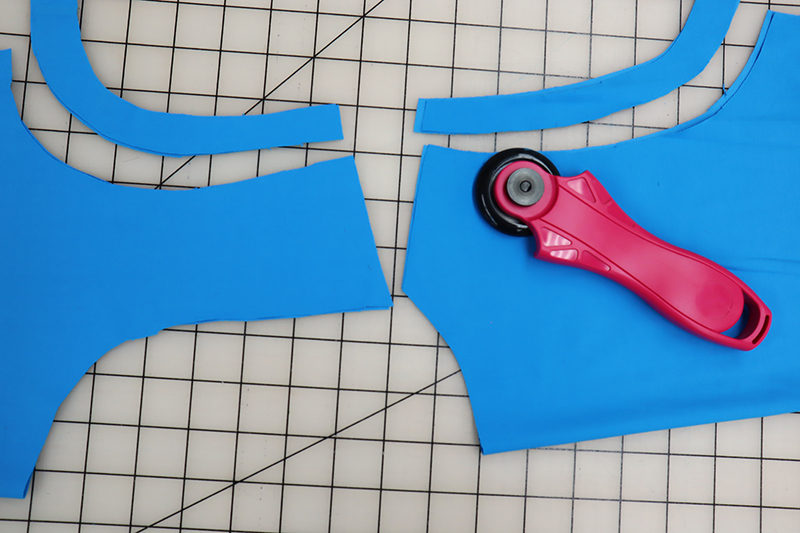 3. With right sides together, serge the shoulder and side seams.
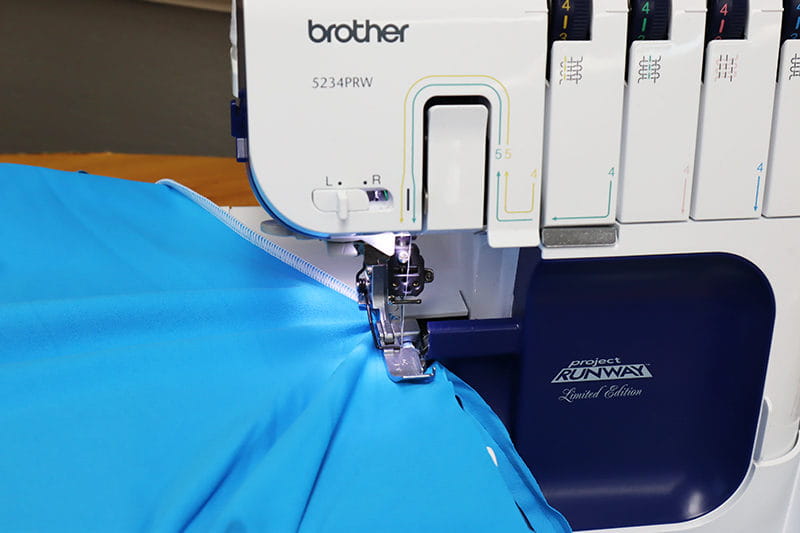 4. Measure the armholes and neckline, use that measurement as a base for the length of the ribbing. Cut 3 strips of fabric 2” wide along the crosswise grain or stretch of the fabric.
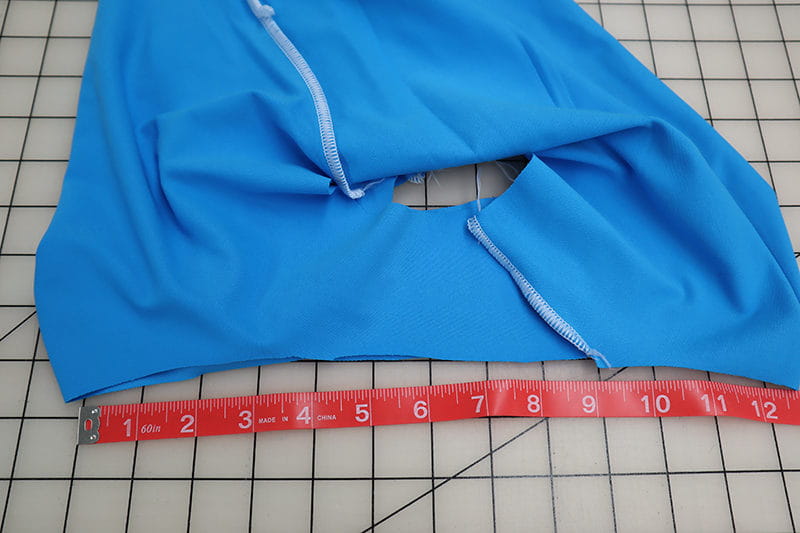
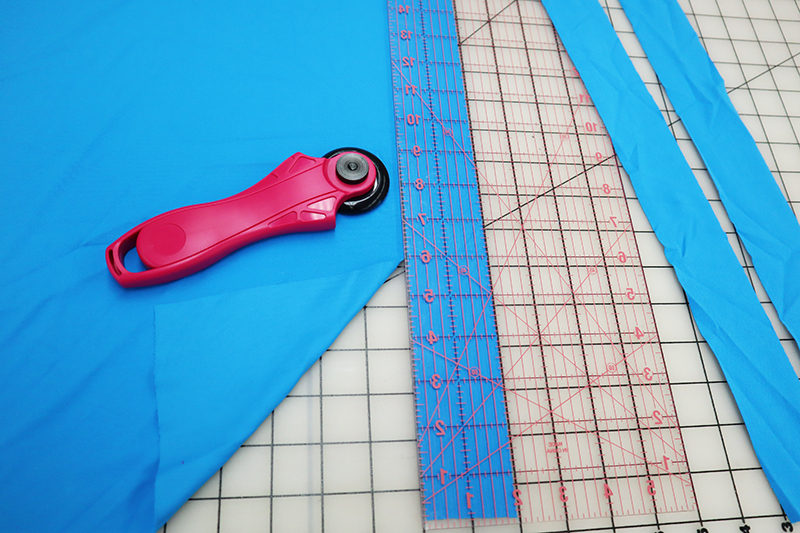 5. Press the ribbing in half with right sides facing out. Pressing the ribbing in half before attaching to the armscye and ribbing just makes it easier to attach 😊
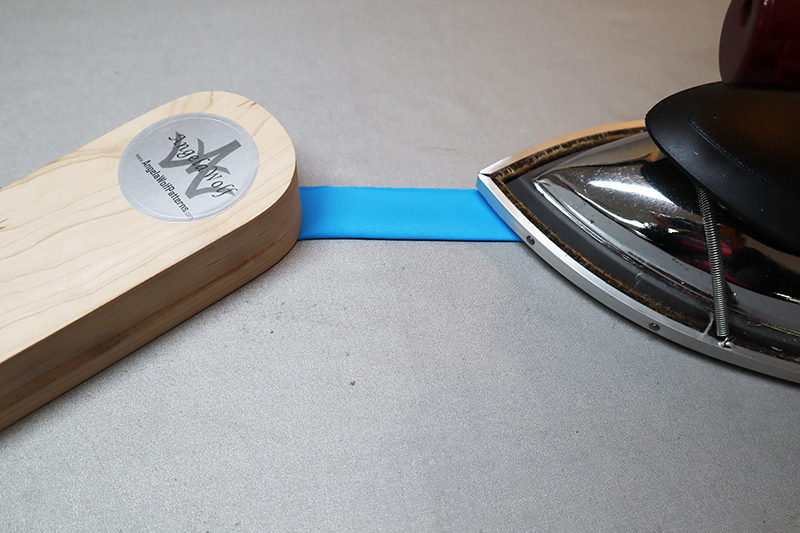
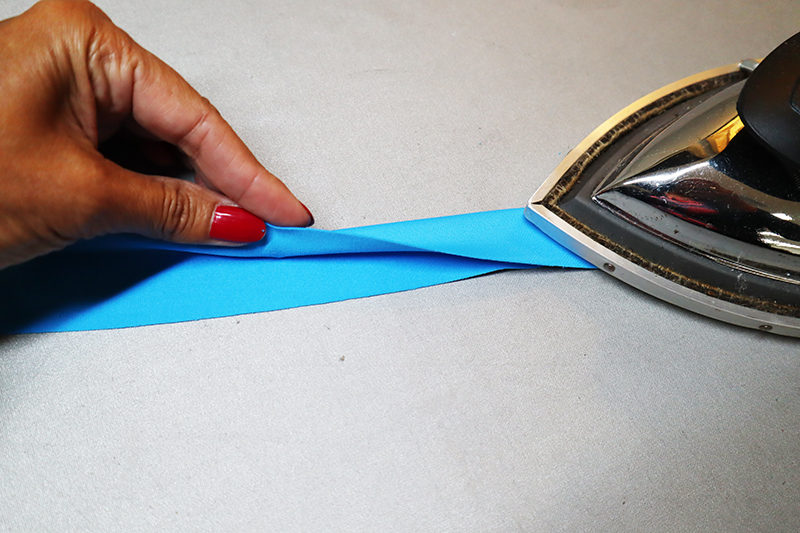 6. If the fabric is thin or difficult to work with, consider using a tailor’s clapper while pressing with steam to create a crease in the fabric.
 7. Prepare the binding. Use the measurements you took of the armhole and neckline; subtract 1 to 2 inches for the total circumference for the binding. The amount you subtract really depends on the amount of stretch of the fabric; the higher the stretch the more you subtract. The overall circumference for the binding will be less than the circumference on the armhole or neckline on the garment. Add ½” to the binding for a ¼” seam allowance.
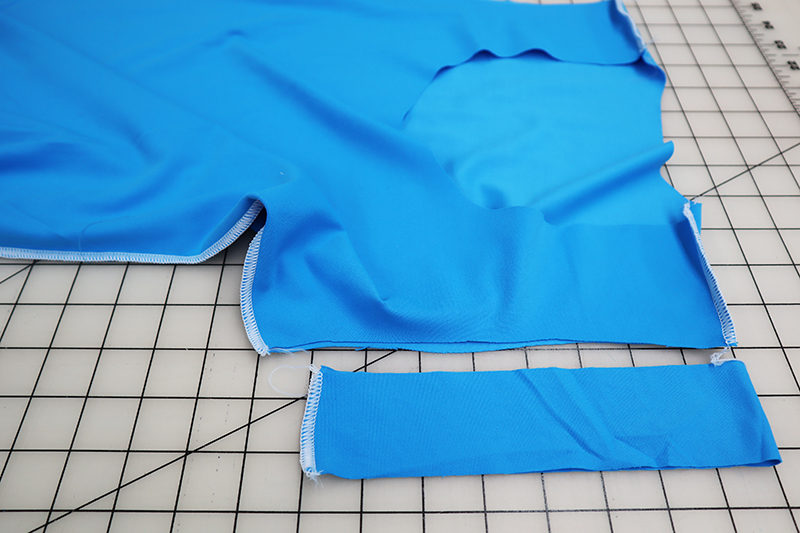 8. With right sides together, fold the binding in half and serge with a ¼” seam allowance.
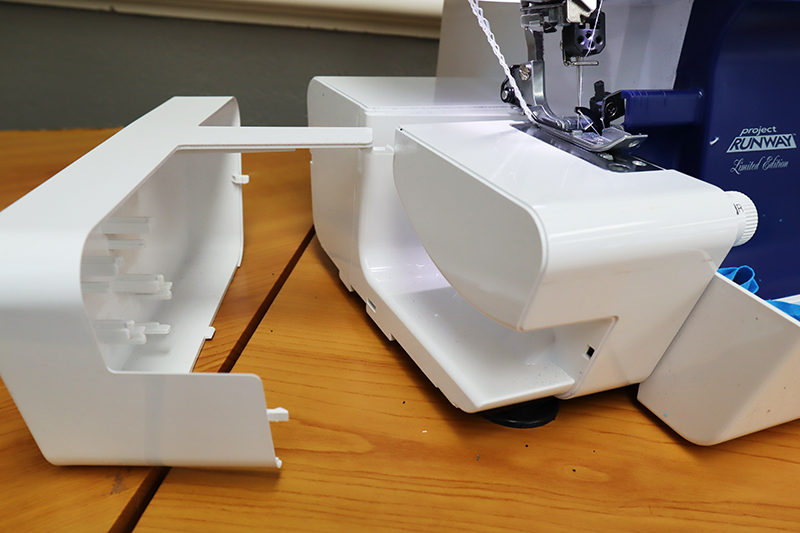
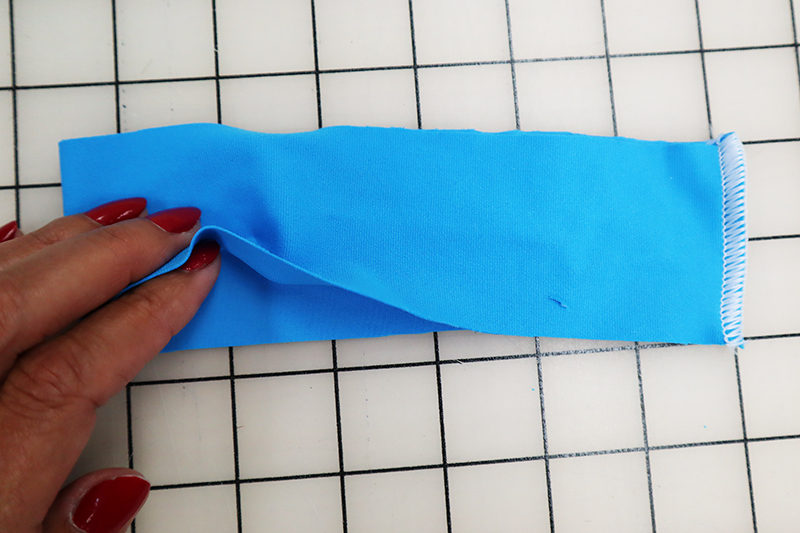 9. Remove the side panel on the serger to make it easier to serge the narrow area.
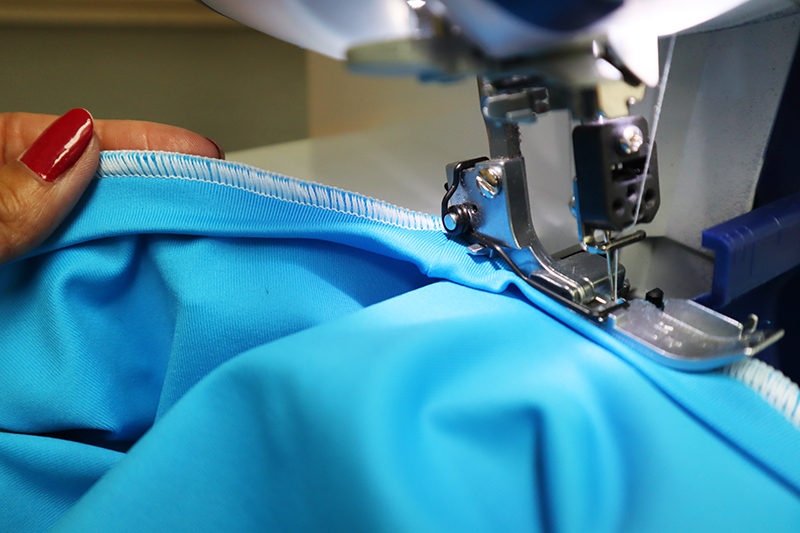
 10. Line up the raw edges of the folded binding to the right side of the garment at the armscye and pin. Stretch the binding at the underarm area to match up to the garment fabric. Serge with a ½” seam allowance.
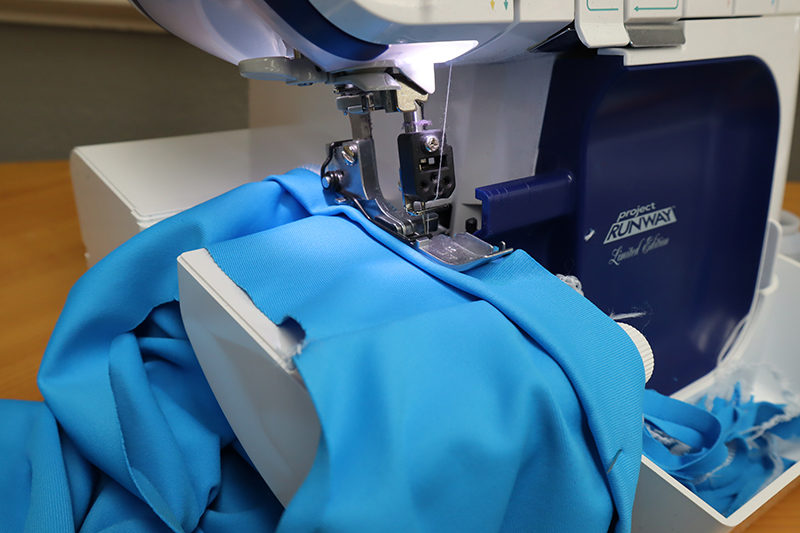
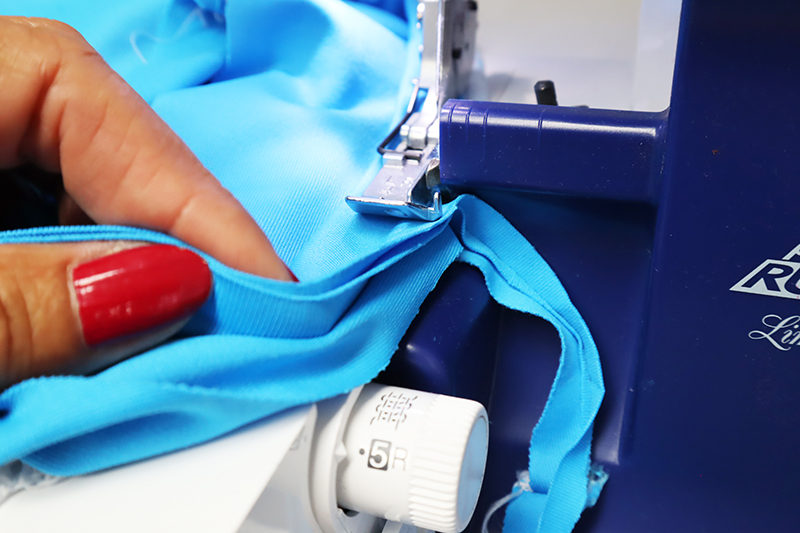
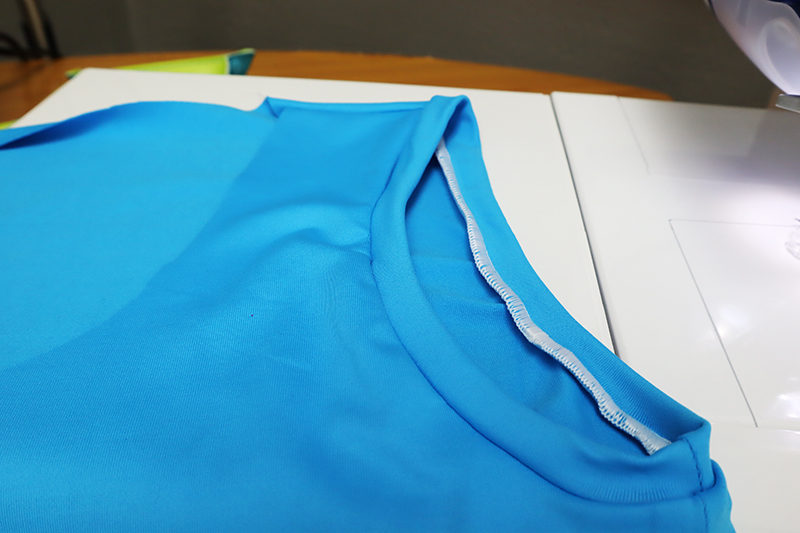 11. Follow the steps in #10 for the neckline, stretching the binding at the center front and center back.
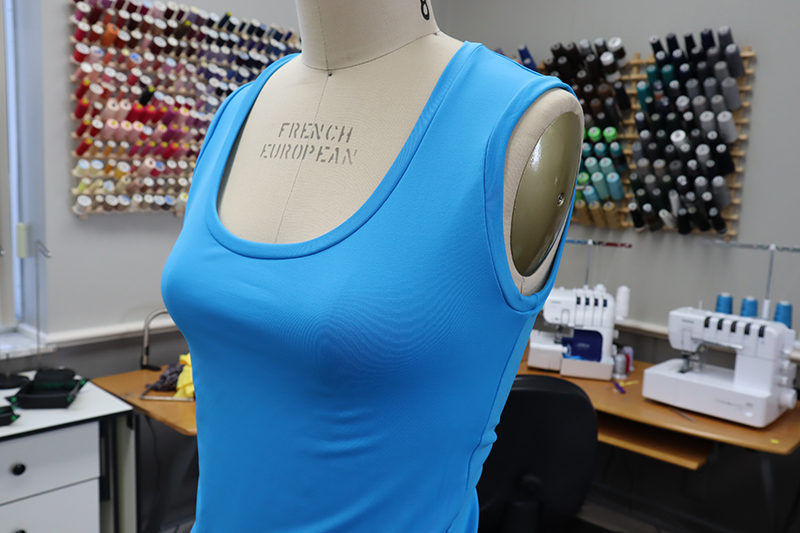
Disclaimer: Featured pattern is French European Inc Dress Forms and Brother International Corporation makes no representations or warranties regarding this product.
12. Hem the top with a coverstitch or double coverstitch (Refer back to the previous blog for hemming instructions). 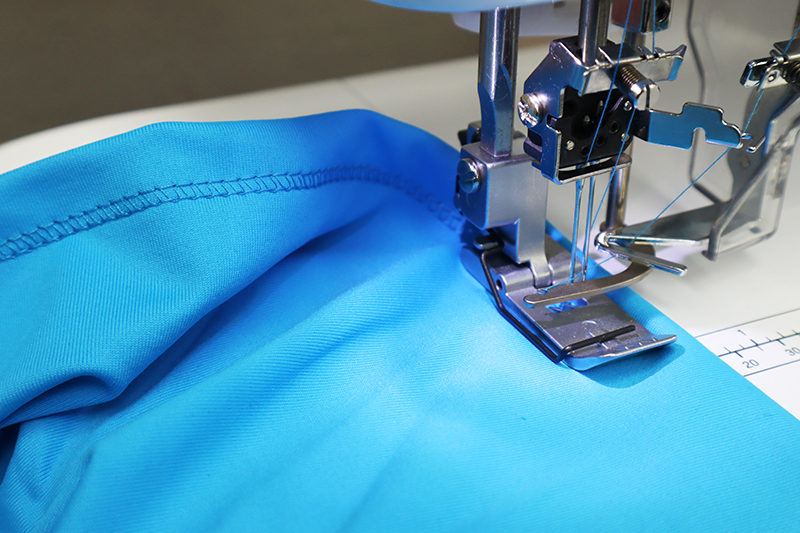
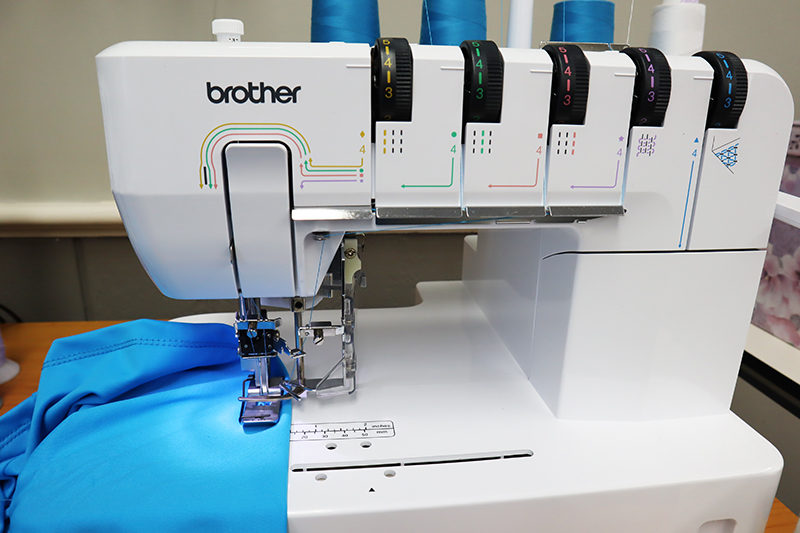
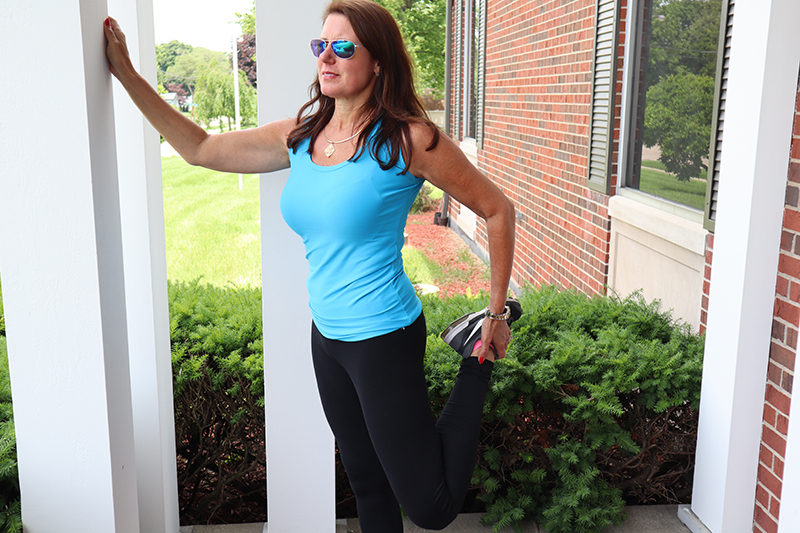 And you are ready to wear your tank out! Let me know in the comments below if which is your favorite technique for tanks so far … the coverstitch in the last blog post or the ribbing in this post?
I have one more favorite tank technique for the next post 😊
Happy Sewing!
Angela
