Sews & Crafts Crossover: Hello Summer! Banner
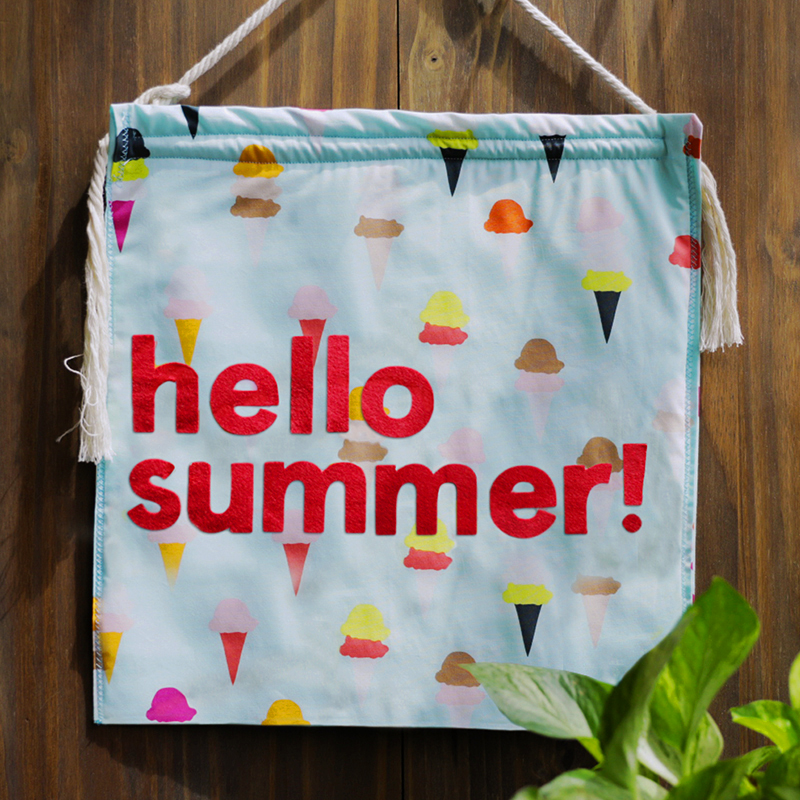
Sew your way to summer fun with this step-by-step DIY banner
Summer is here! Bright days, balmy evenings, and an explosion of color demand equally festive décor. Welcome the season of warmth and joy with a creative project that will add a splash of cheer to your home. This DIY Hello Summer banner is the perfect blend of sewing and crafting, designed with crafters, DIY enthusiasts, and beginners in mind.
Whether you're a seasoned sewist or exploring fabric crafts for the first time, this step-by-step sewing guide will walk you through creating this seasonal masterpiece. Grab your Brother sewing machine, Brother ScanNCut DX, some colorful fabric, and let's get started!
Here’s what you’ll need to get started
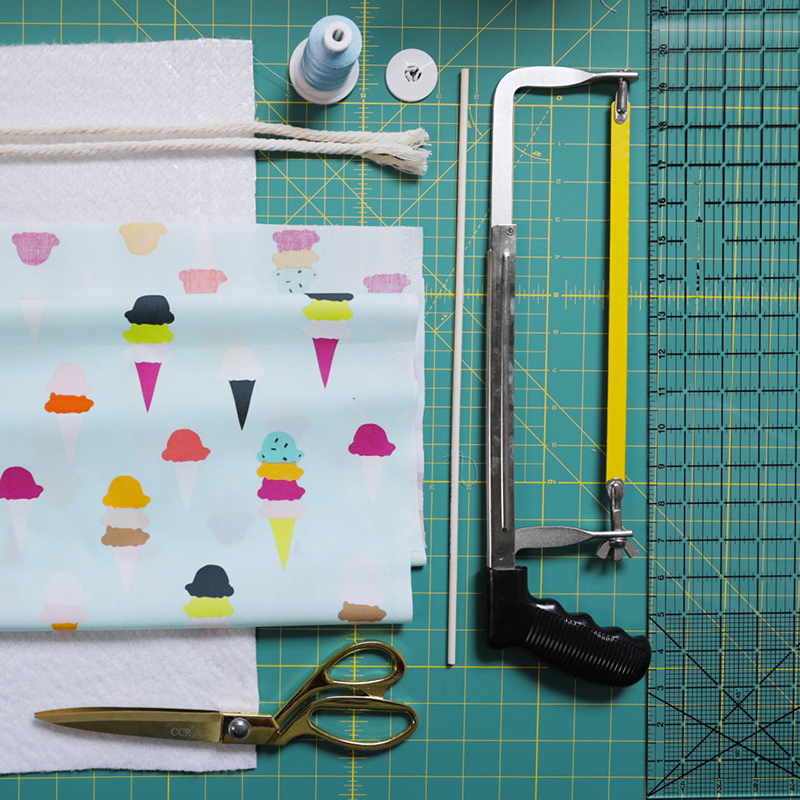
Supplies:
- Brother sewing machine
- Brother ScanNCut DX cuting machine
- Brother standard tack adhesive mat
- ~1 yard of colorful fabric
- Stiff felt, 12” x 12”
- Brother Iron On Fabric Applique Contact Sheet (CASTBL1)
- Thread to match your fabric
- Quilt batting, 12” x 12”
- 0.25” wooden dowel at least 12” long
- Yarn, twine, or decorative cording for hanging
- Iron and pressing mat
- Scissors
- Ruler or tape measure
- Press cloth (optional)
- Pattern: SummerBanner.fcm
9 steps to create a festive summer banner with your sewing machine and cutting machine
1. Cut your fabric base
Measure and cut a 14” wide x 25” long rectangle from your fabric. This measurement includes enough fabric for the front and back of the banner and includes 1” seam allowance on three sides.
Iron the fabric to remove any wrinkles. Then, with the wrong side facing up,fold in a 1” seam along the two long sides and one short side and press in place. Finally, fold the short edge up 12” and press a crease along the fold.
2. Add quilt batting
Cut a 12” x 12” square from the quilt batting. Make sure that the right side of the fabric pocket is facing out, then place the batting piece inside the pocket, tucking it under the folded edges and ensuring it fits snugly.
3. Stitch the banner
Use a zigzag or decorative stitch on your sewing machine to secure the two vertical sides of the 12” x 12” square. Sew just inside the folded edges on the right side of the fabric.
Be sure to backstitch at the beginning and the end of each line of stitches for durability.
4. Create the dowel pocket
Cut a 12” wide x 1.5” long strip from the leftover fabric. Fold in 0.25” on all edges and press in place. The strip should now measure 11.5” wide x 1” long.
Flip your banner over to the backside and position the strip along the top edge, pin in place. The two lines of stitching should be perpendicular to the strip. Use a straight stitch to attach the strip to the banner. Topstitch along the top and bottom edges of the strip, approximately 0.125” in from the edge. Leave enough space (about 0.5”) between the stitches for easy dowel insertion.
5. Attach the dowel
Push the dowel through the channel and trim it if necessary so it aligns with the edges of the banner. Tie yarn or rope to the dowel ends as a way to hang your banner.
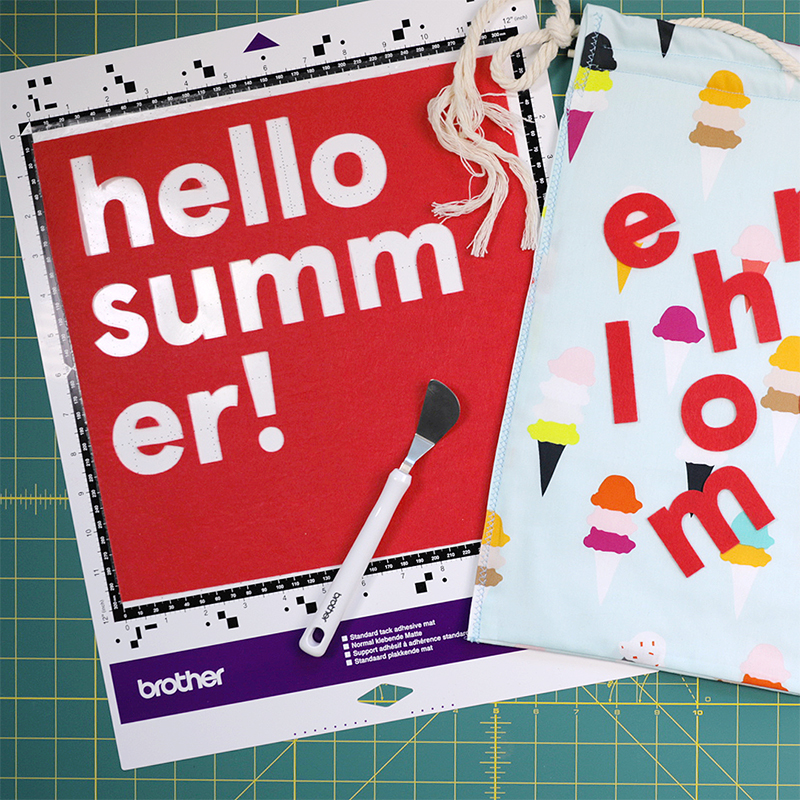
6. Cut the letters
Download the SummerBanner.fcm file to your Brother ScanNCut DX. Use the Brother Iron-On Fabric Appliqué Contact Sheets to prepare the stiff felt, adhering the sheets to the felt as directed.
7. Cut and assemble the “Hello Summer” banner
Upload the pattern to the machine and cut out the letters from the felt. Ensure the adhesive backing stays intact while peeling each letter.
8. Iron-on your appliqué
Arrange your letters on the banner. Cover them with a press cloth or scrap of fabric and press lightly with an iron on a low setting to secure the letters.
9. Finish
Hang your completed banner using the tied rope or yarn and admire your festive ‘Hello Summer!’ creation.
Sewing and crafting your way to summer vibes with this banner tutorial
Making a “Hello Summer!” banner is a festive way to infuse your space with the joy and vibrance of summer. It’s also the perfect opportunity to develop new sewing and crafting skills while creating something unique to your style. Interested in exploring more sewing projects? Learn how to embellish a cool sunglasses case this summer, or learn how to make outdoor throw pillows.
FAQs
Q: Can beginners make this project?
A: Absolutely! This project is perfect for all skill levels. Whether you’re new to sewing or an experienced crafter, the clear steps and tools make it easy to follow along. If you want more inspiration, check out these DIY summer shoes or this beginner-friendly summer tote bag.
Q: Can I customize the banner?
A: Yes! Feel free to experiment with different fabrics, colors, or appliqué designs. Add your personal touch to make the banner yours.
Q: How long does this project take?
A: Depending on your sewing experience, this project should take approximately 2–3 hours.
Q: What other projects can I make with a Brother ScanNCut?
A: With the Brother ScanNCut, you can create custom decals, fabric quilt pieces, greeting cards, stencils, and more. Check out the Brother Crafts blog for more inspiration, like this cork wallet created with a ScanNCut or this
Related Projects
Stay Connected
* Required fields