Tutorial: How to add a Sporty Coverstitch
MACHINES USED:
MATERIALS & SUPPLIES:
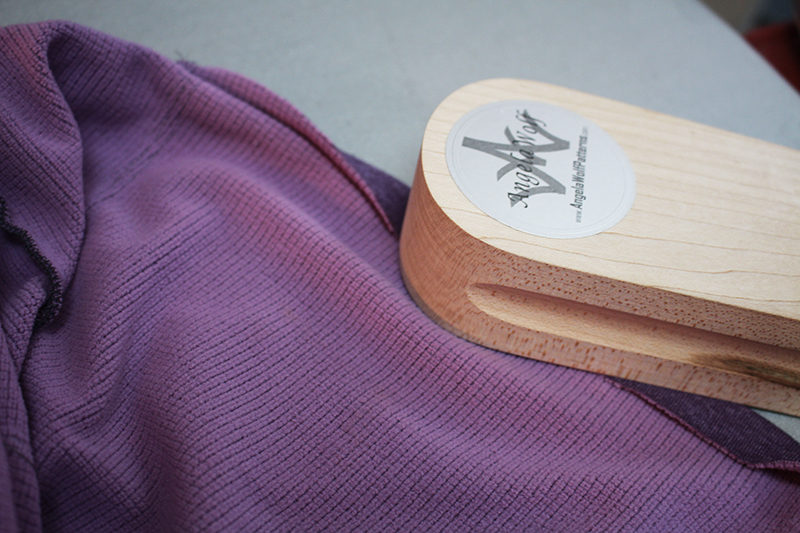
- T-SHIRT PATTERN - I am using the Ruched-T from the Angela Wolf Pattern Collection™. Here is a link to the paper version
and a link to the PDF file
and get 20% off with coupon code BROTHER20 - Stretch fleece fabric
- 4 spools of serger thread
- Tailors chalk
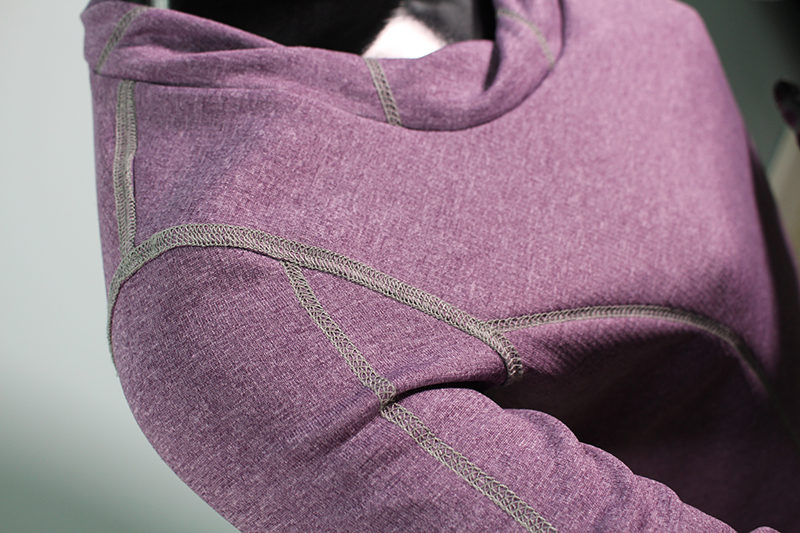
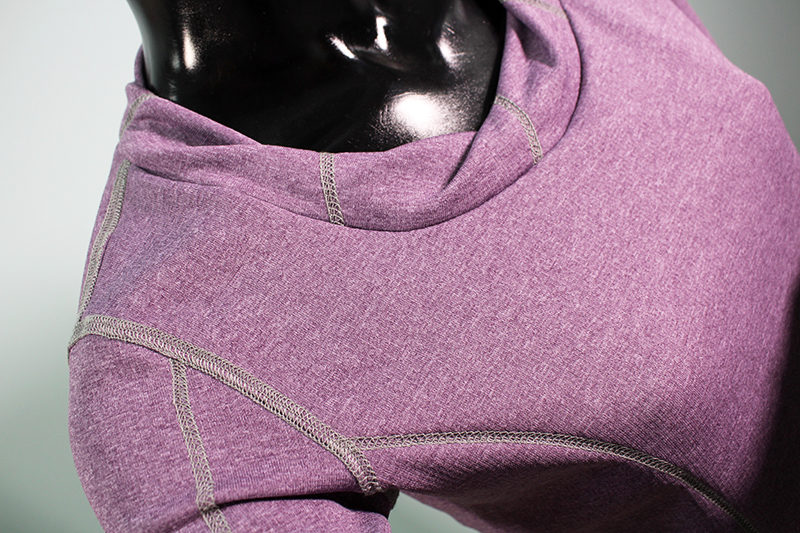
for hemming. If you have used the Coverstitch before you will notice the back side of the coverstitch has a sporty look, similar to what we see in sportswear. For this tutorial, I am going to show you how to utilize the 3-thread Coverstitch to create this fashionable look! Let’s get started:
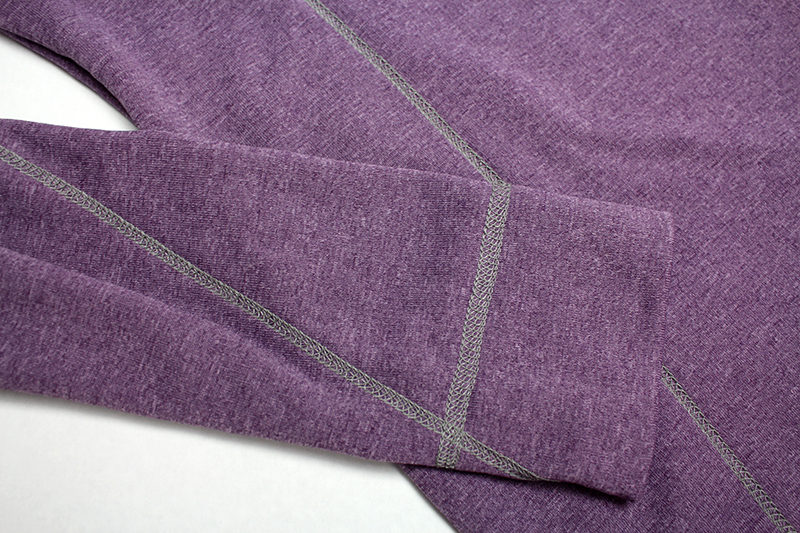
DESIGNING THE SPORTY STITCHES:
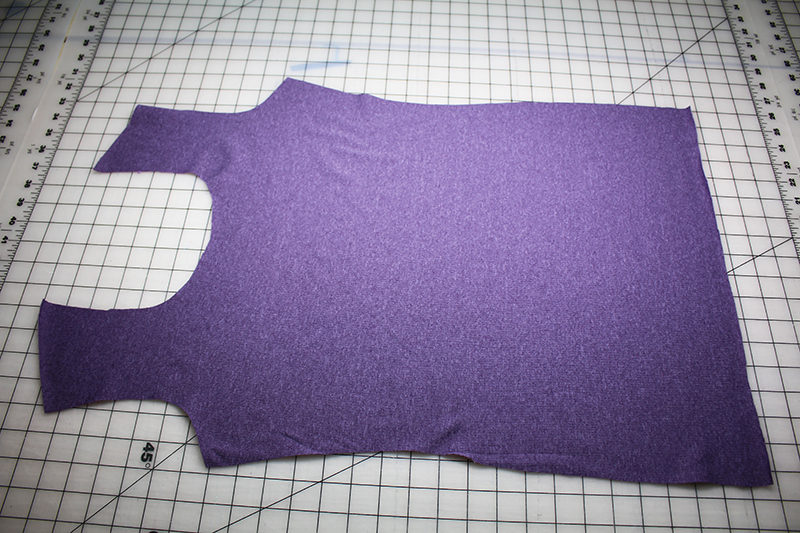
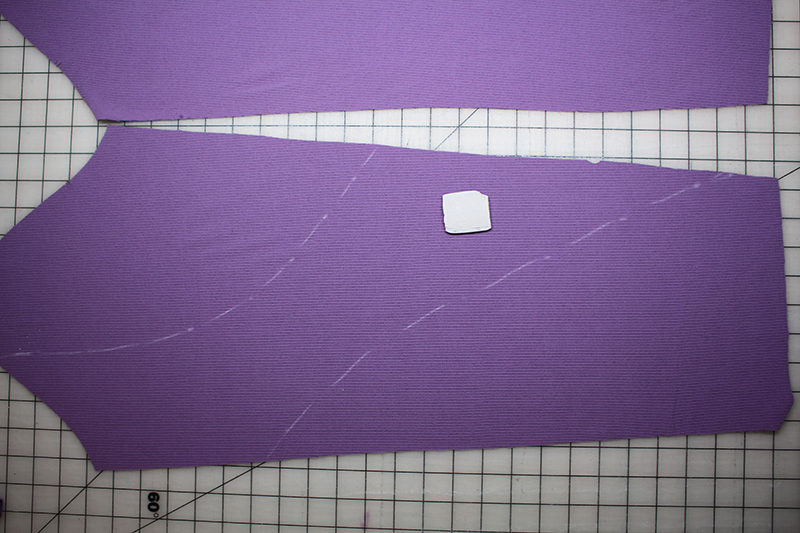
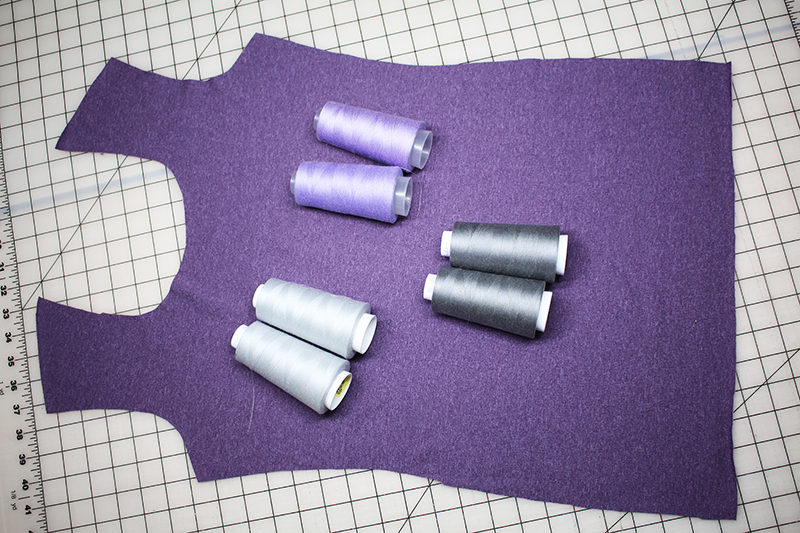
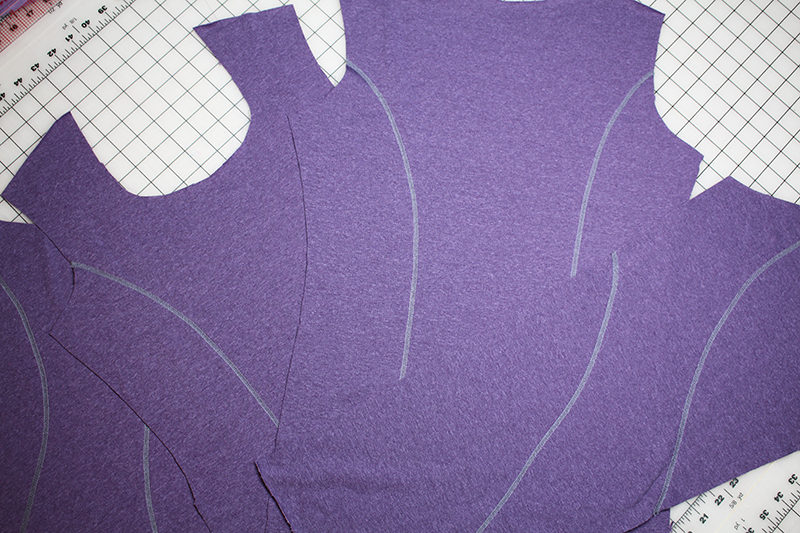
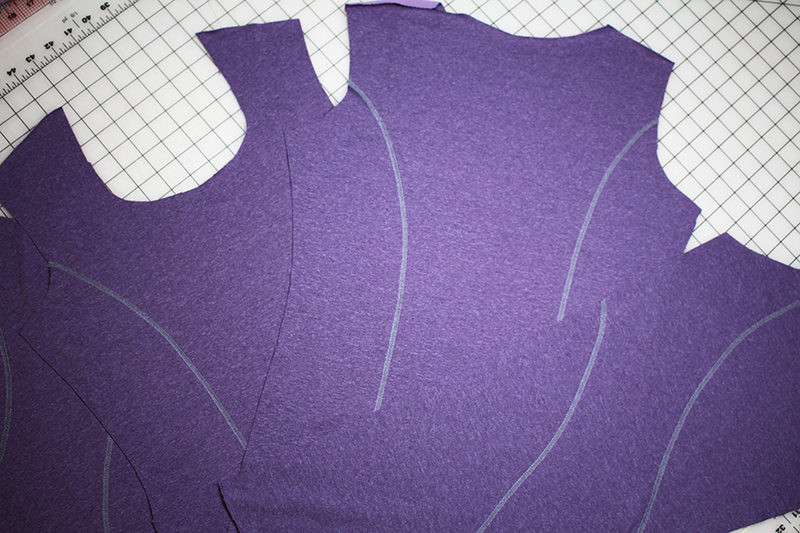
- Cut out the pattern. My T-shirt pattern pieces consist of 1 Front, 1 Back, 2 Sleeves, and 1 Collar.
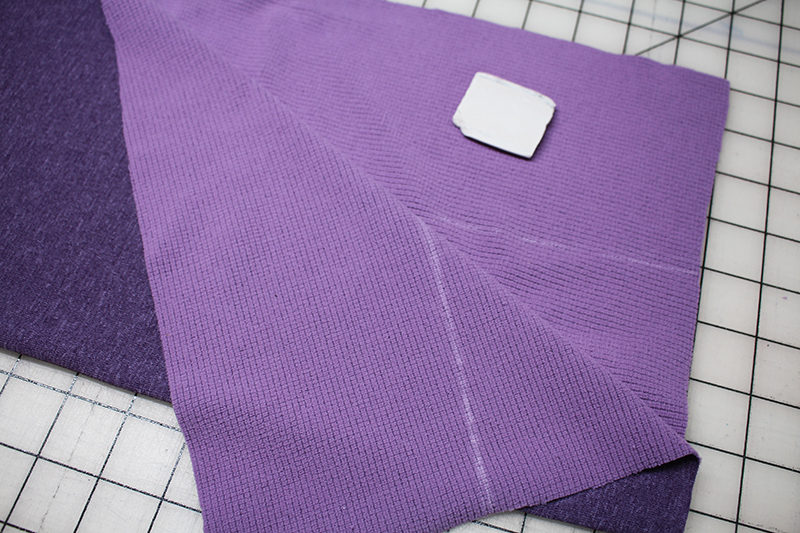
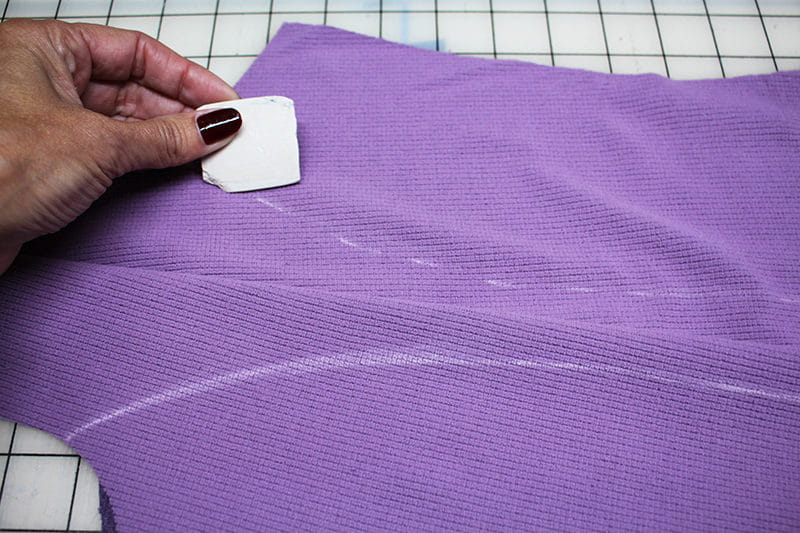
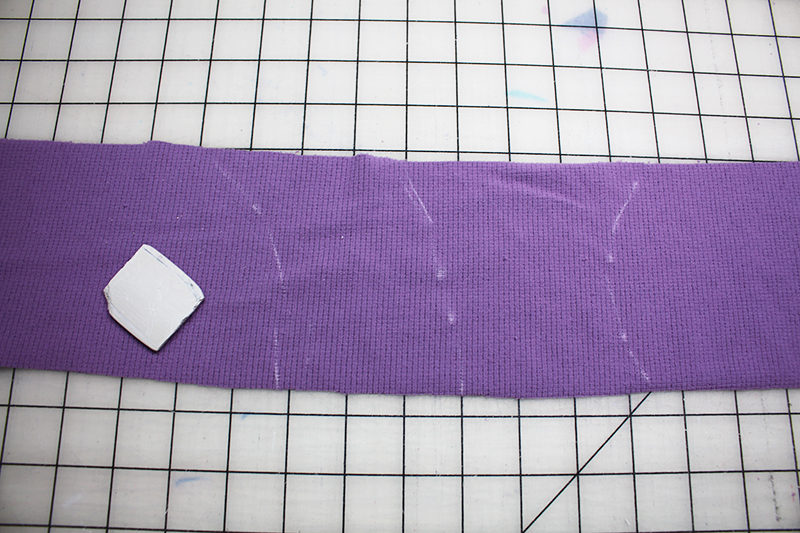
- There are not princess seams, but I want to add the illusion there are princess seams. Starting with the front pattern, on the wrong side of the fabric, draw a line from the armscye to the hem. Use a curved ruler if you need help drawing the curve.


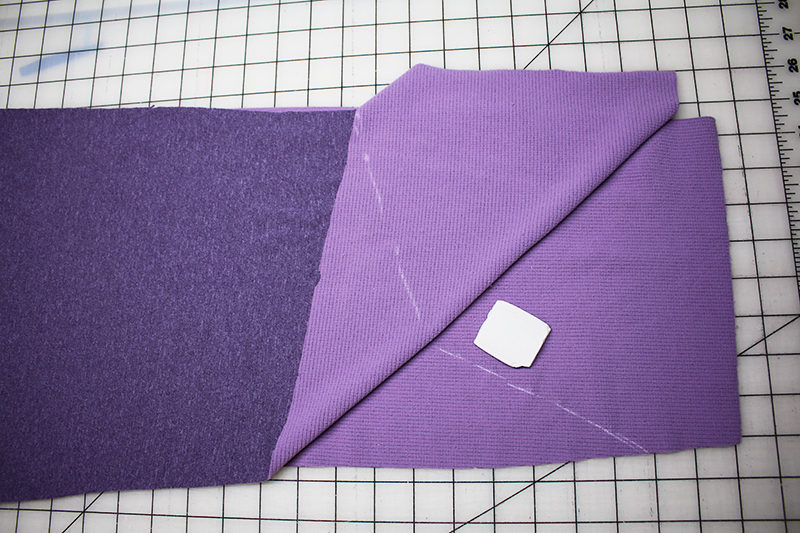
- Fold the fabric in half and use your hand to brush the fabric. This will trace the chalk mark to the other side of the fabric.
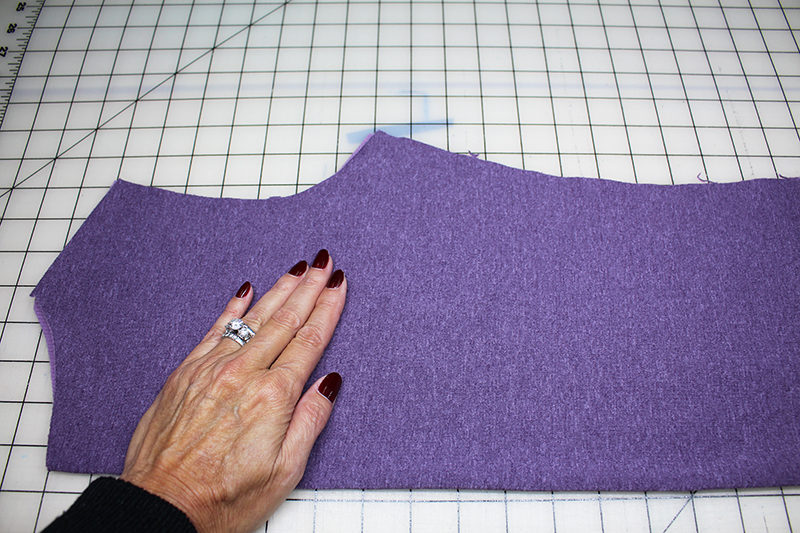
- Open the fabric back up and you should see a faint line from the first chalk marking. Use the chalk to trace over this line, making it darker and easier to see.
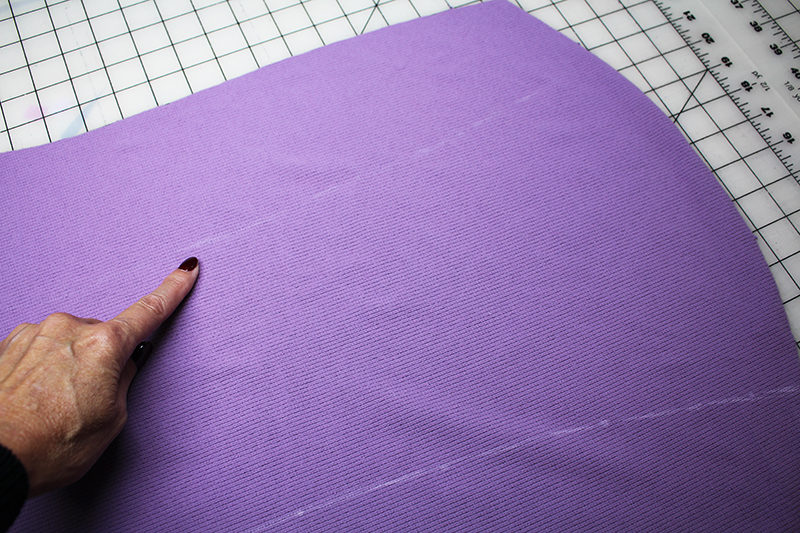
- If for some reason the chalk doesn’t brush to the other side, fold the fabric back slowly and trace.
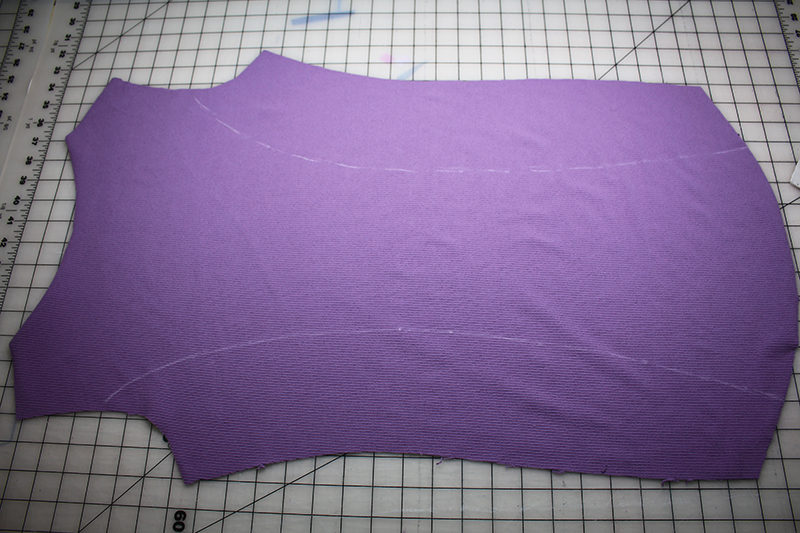
- Follow steps 2 – 5 for the back piece.
- For the sleeves, draw a couple of lines. The placement really doesn’t matter, it’s sewer’s choice.
- Layer the other sleeve and rub the chalk to the other piece.
- The collar for my top is going to be a twisted collar. To add a little more decoration, I will draw a few lines along the collar as shown.
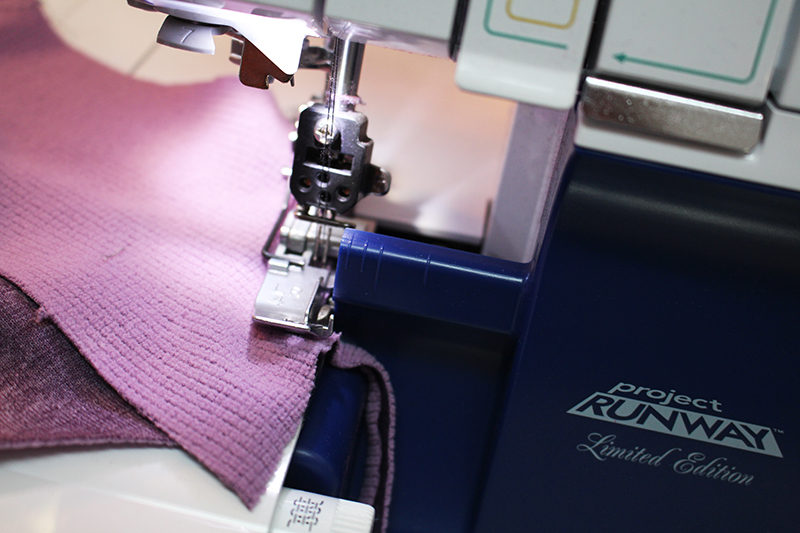
SET UP THE COVERSTITCH MACHINE
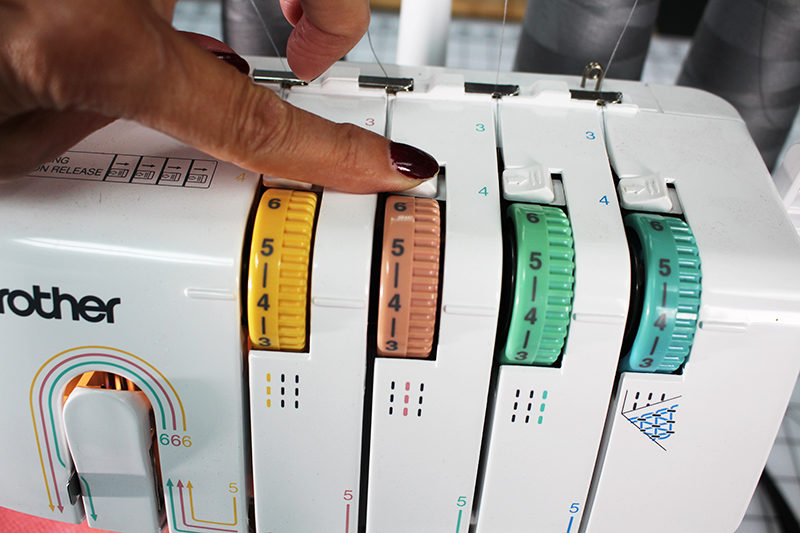
- Choose the color of thread for the decorative stitch. Ideally the color should be in the same color family as the right side of the fabric, but enough of a contrast that you can see the stitches.
- Decide which stitch looks the best on your fabric:
- Stitch a swatch of fabric with a wide coverstitch (using the left and right needle)
- Stitch a sample with the triple coverstitch.
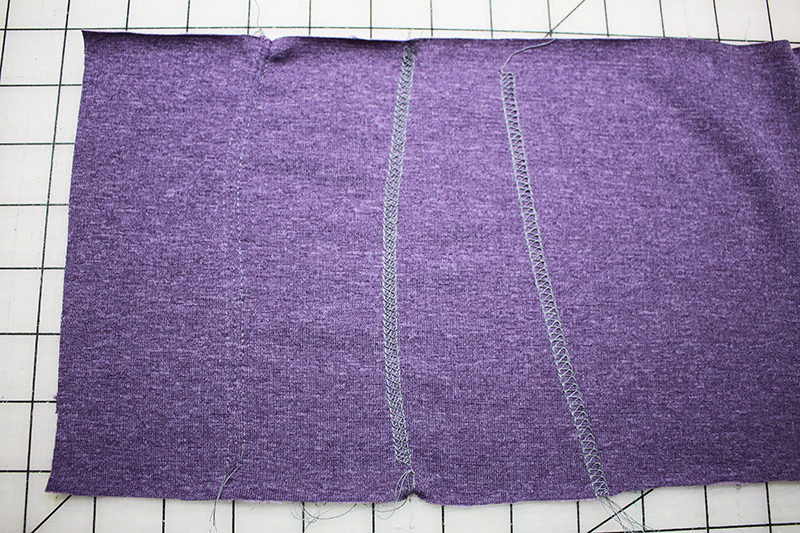
- Keep in mind you will be stitching with the wrong side of the fabric facing up. Check the look of the stitch on both sides.
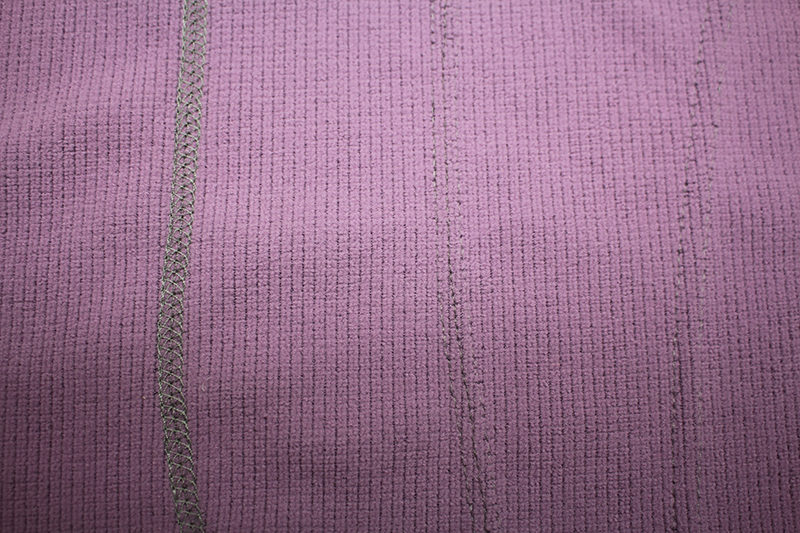
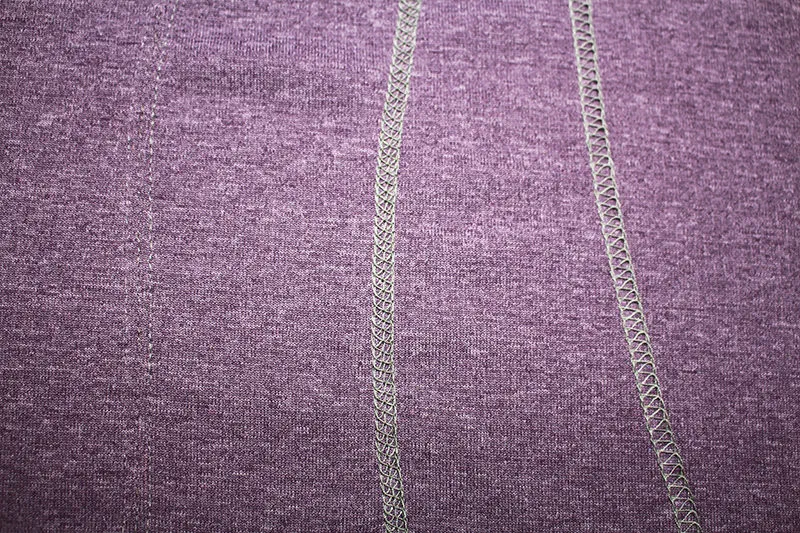
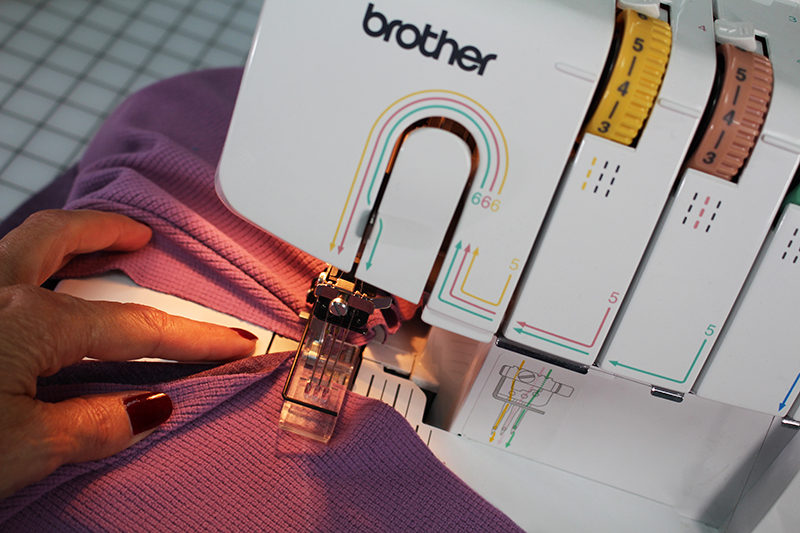
- I prefer the triple coverstitch on my fabric, so I will set up the coverstitch machine with all three needles using 4 spools of thread.
DESIGNER TIP: There are tension releases, located just above the tension dials. When you are finished stitching, slide the tension releases to the right to pull the threat out.
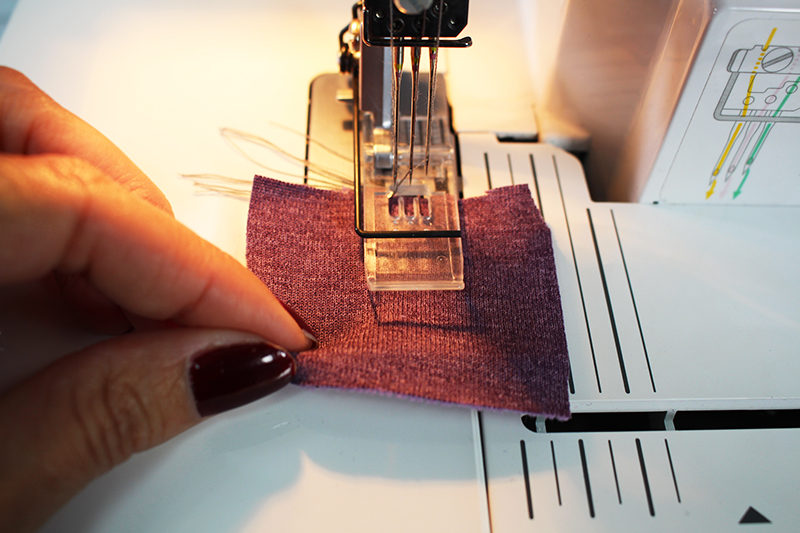
 I find it easier to stitch from piece to piece. Start stitching on a scrap of fabric and then add another piece of fabric. This allows me to check my stitch quality and I won’t have to worry about threads falling off at the beginning or end of my garment pieces.
STITCH THE DECORATIVE STITCHES
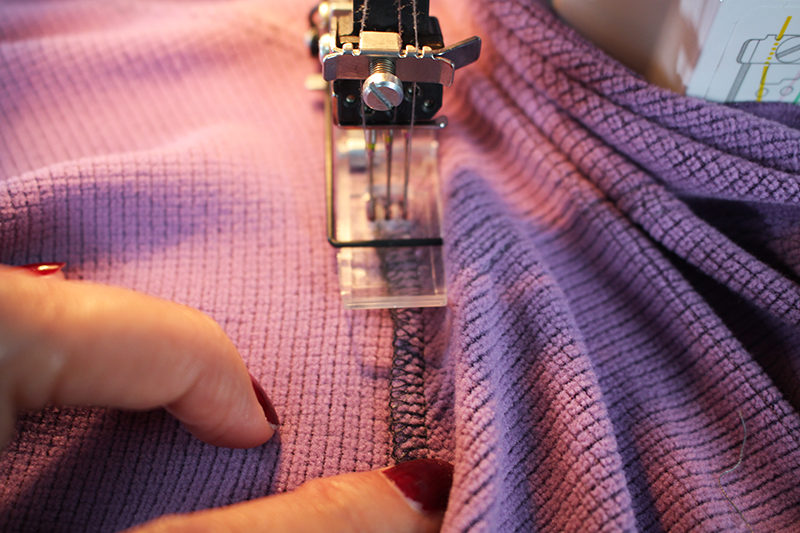
- Starting with the wrong side of the fabric, slide the fabric under the presser foot. Stitch along the chalked marking.
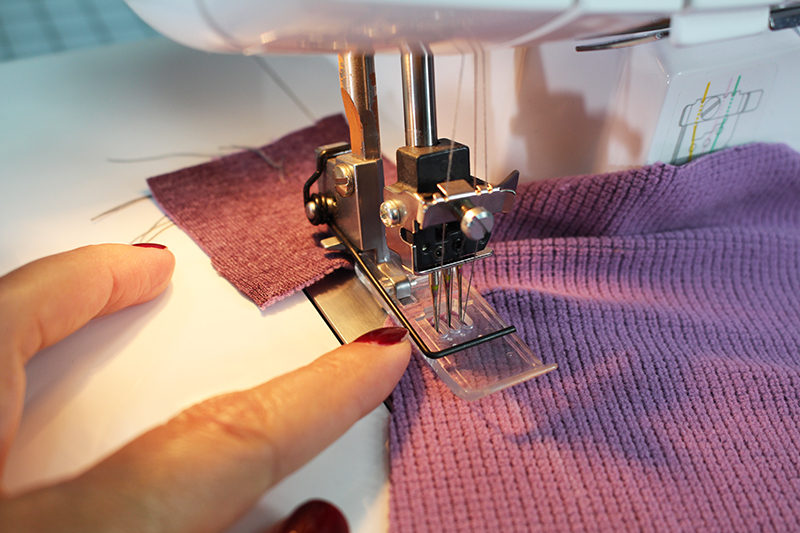
- When you get to the end of the first piece of fabric, slide another piece of fabric under the foot and continue stitching.
- Continue to stitch from piece to piece, stitching along the chalked markings.
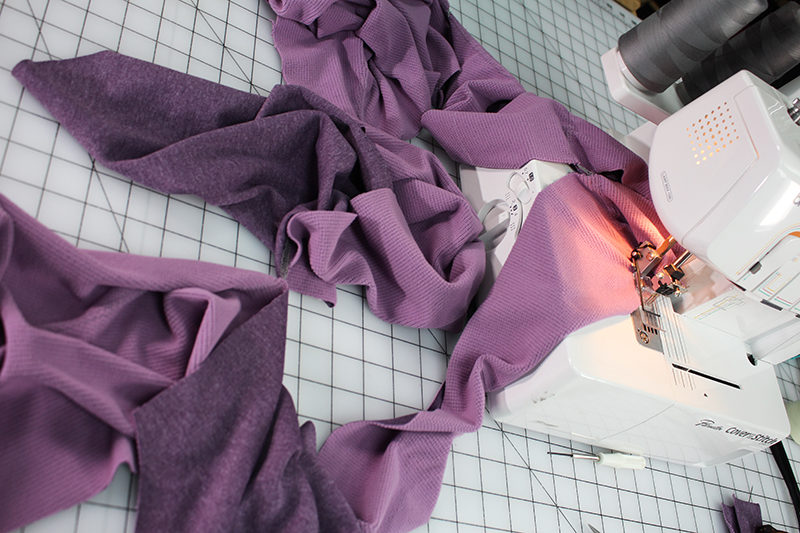
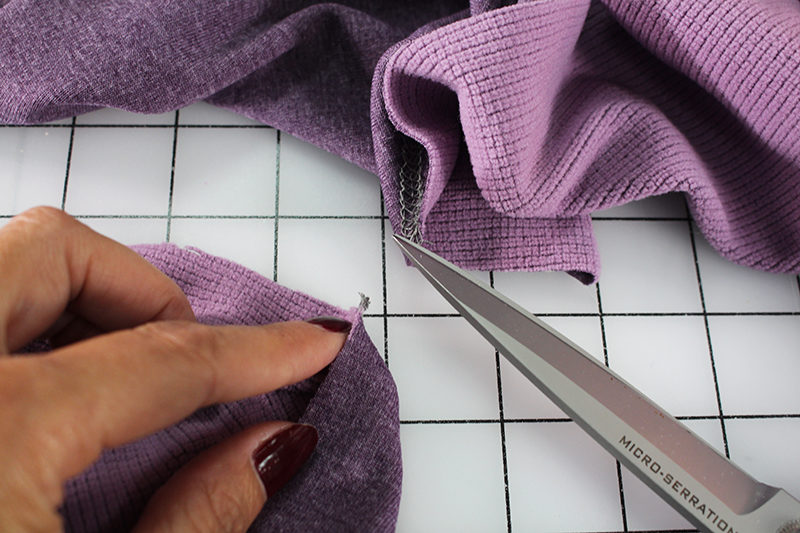
- When you run out of pieces, trim the stitches holding them together.
- Continue stitching until all the chalked markings are covered.
SEWING THE TOP TOGETHER:
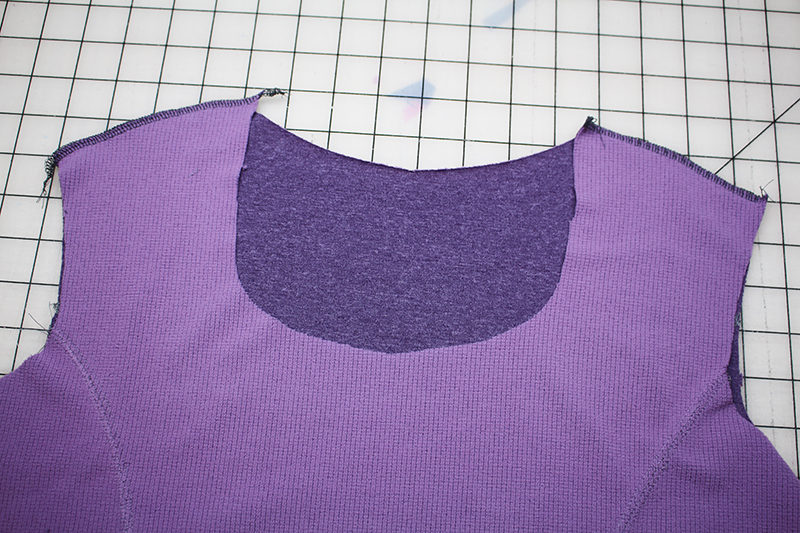
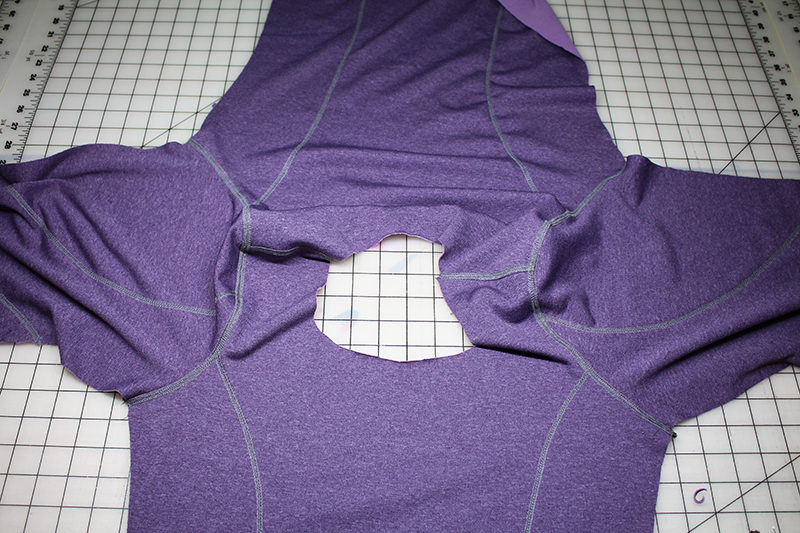
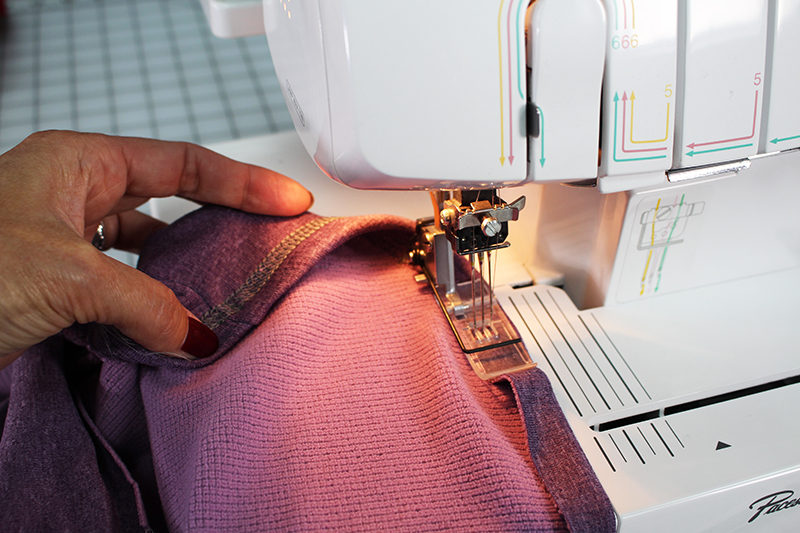
- Set up the Brother 5234PRW Serger
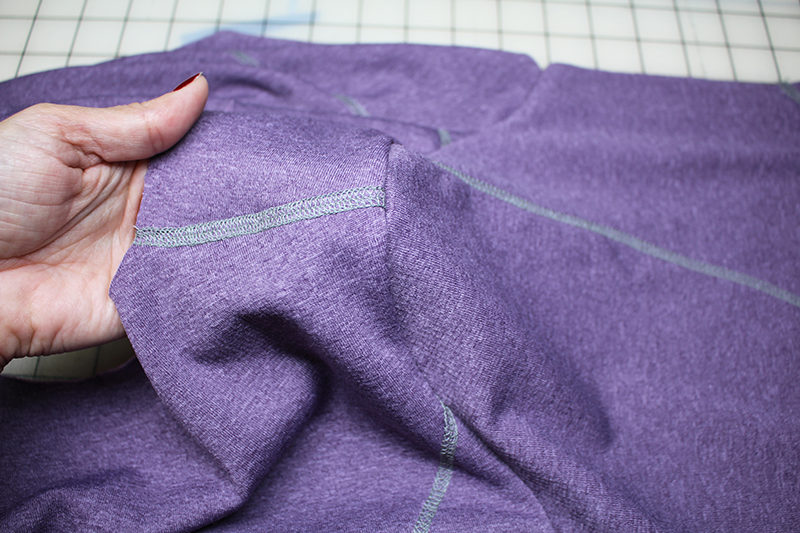
to a 4-thread overlock stitch. With right sides together, serge the shoulder seams.
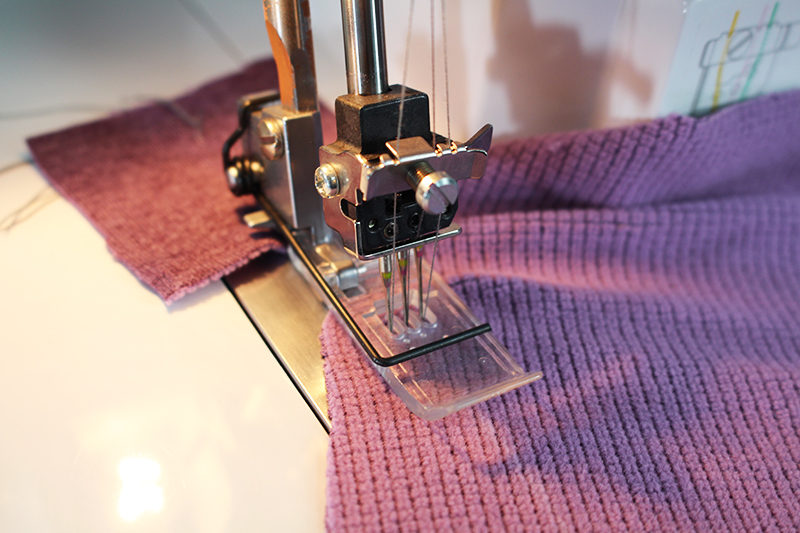
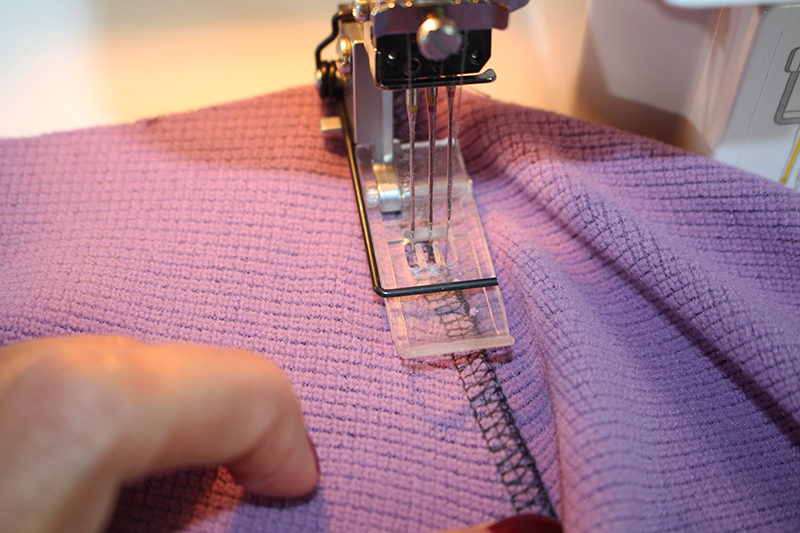
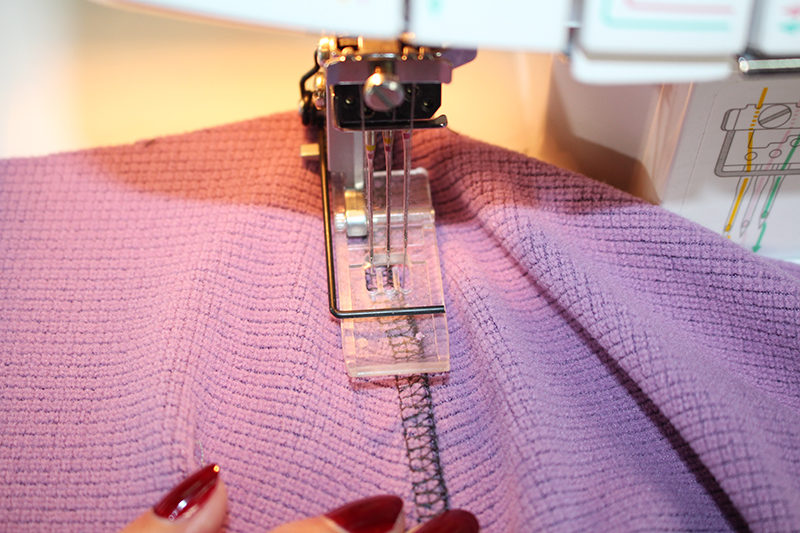
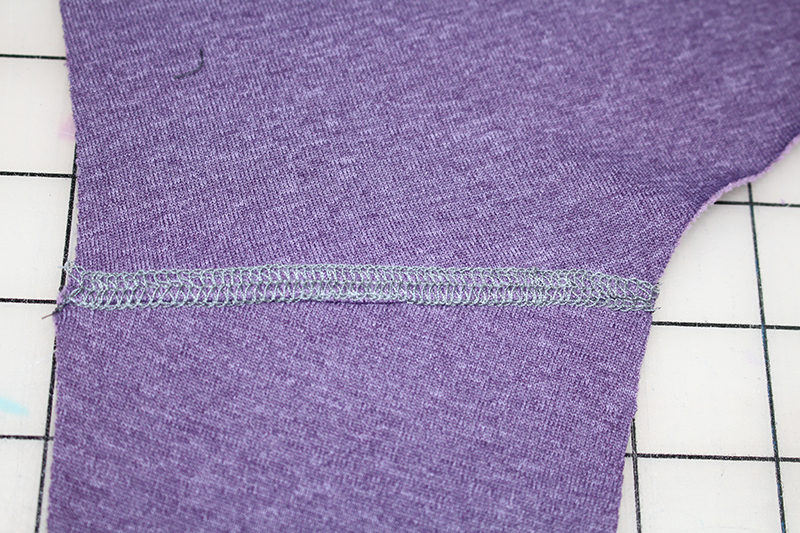
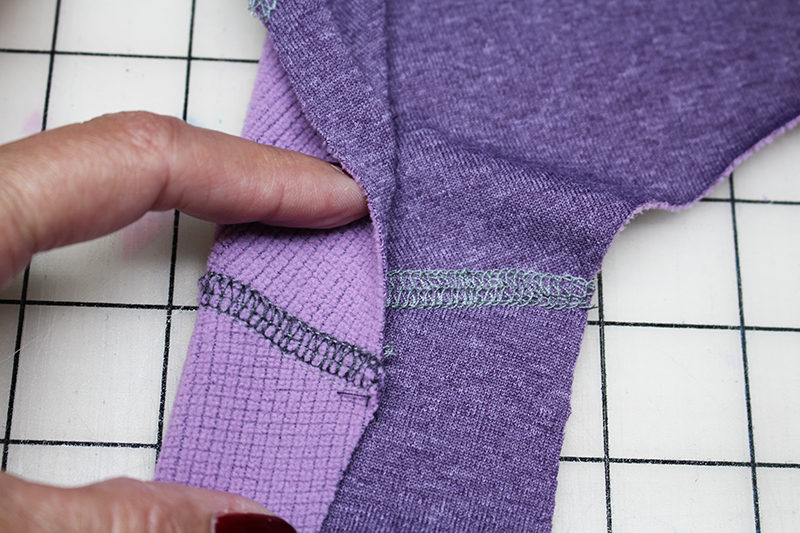
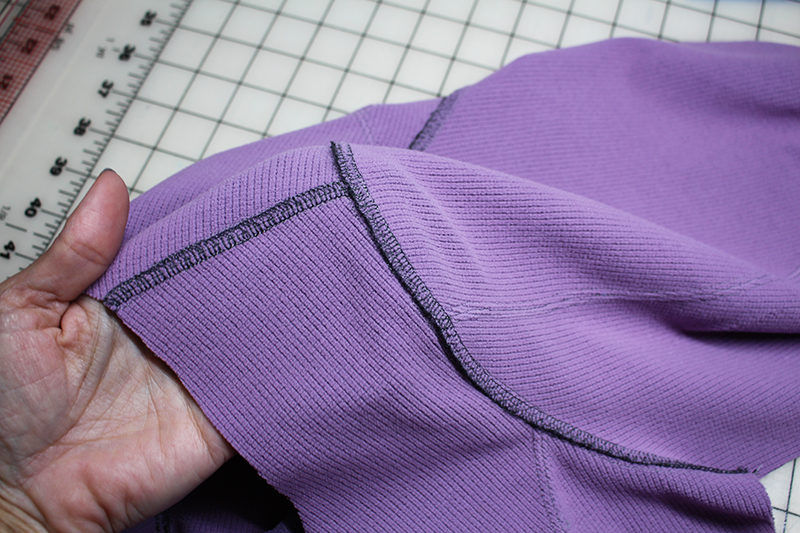
- Brother coverstitch machine: Push the seam allowance to the back of the garment, line up the seam with the 3 needles and stitch.
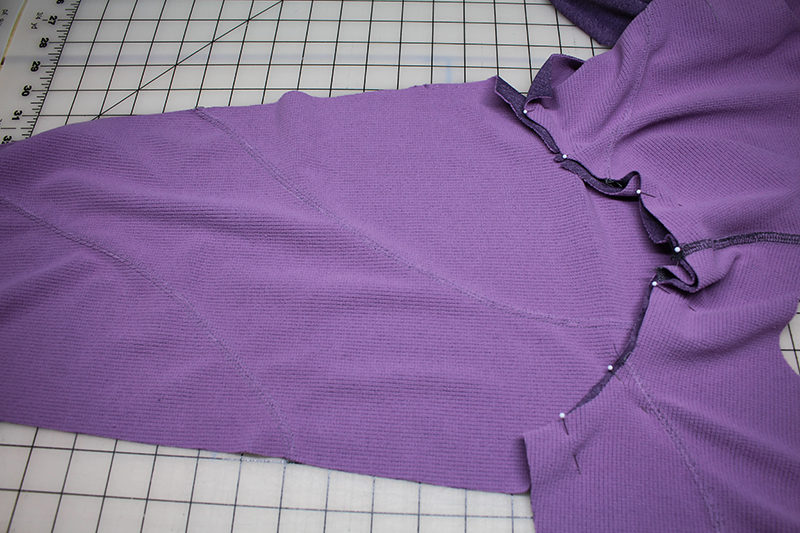
- With right sides together, pin the sleeves to the armscye.
- Brother Serger: Serger the armscye seam.
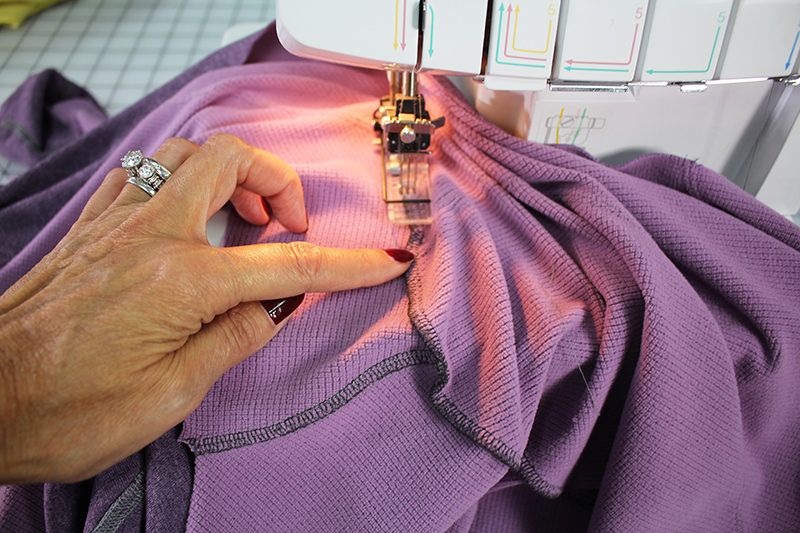
- Brother Coverstitch Machine: Push the seam allowance toward the garment body and stitch along the seam allowance.
- Brother Serger: with right sides together stitch the entire side seam from sleeve hem to body hem.
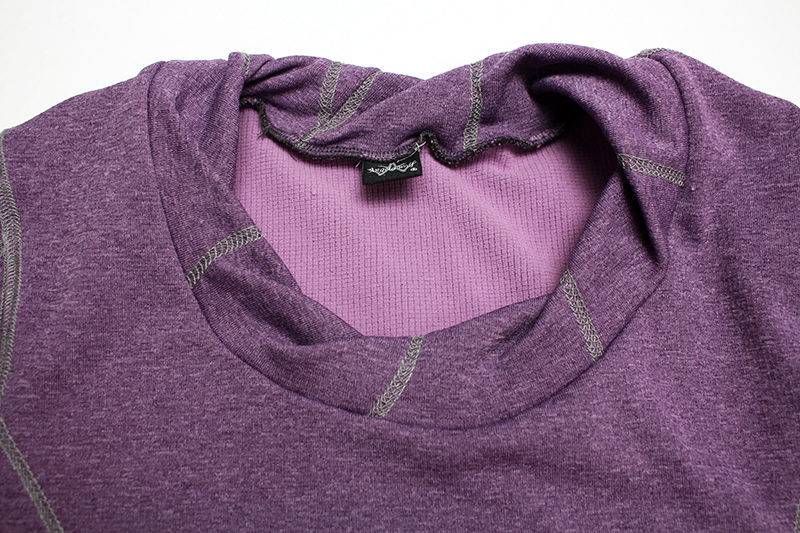
- Serge the collar or binding.
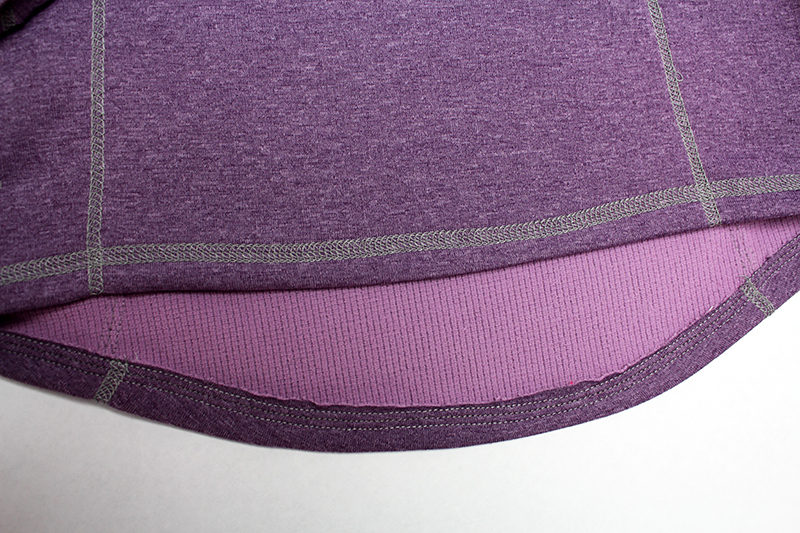
HEMMING
- Press up the garment hem and sleeve hem.
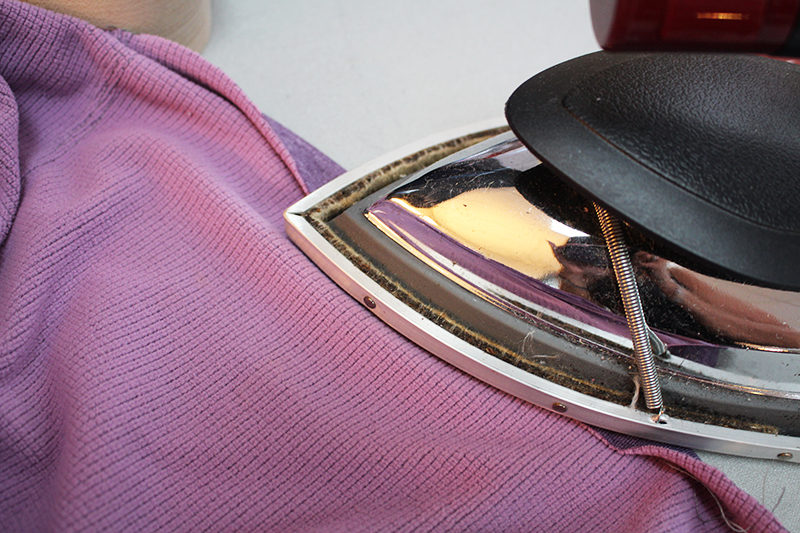
DESIGNER TIP: Use steam and a tailor’s clapper to create a crease. This makes it super easy to run through the Brother coverstitch machine
- Brother Coverstitch machine: From the wrong side of the fabric, stitch along the edge of the hem allowance.
- To get inside of narrow areas like the sleeve hem, turn the garment to the right side out. Slide the sleeve hem allowance into the coverstitch machine and stitch.

 That’s it! Be sure to share photos and tag them with #StitchingSewcial and #BrotherSews on Facebook
and Instagram
and do leave comments here with any questions! Happy Sewing! Angela

-
The Ruched-T is an Angela Wolf Pattern Collection™ product and Brother International Corporation makes no representations or warranties regarding such product.
Related Projects
Stay Connected
* Required fields