How To Sew Felt Candy Hearts for Valentine’s Day
-Brother Sews Blogger
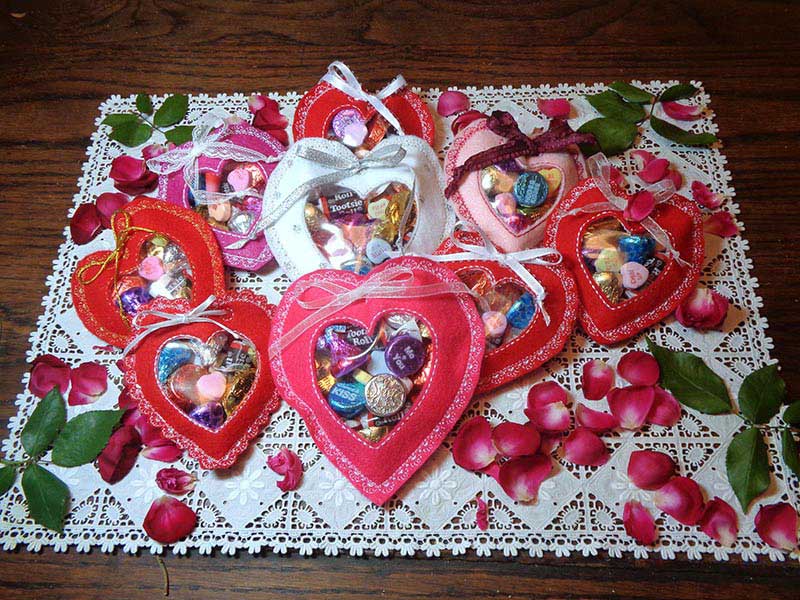
These sweet in-the-hoop felt hearts will delight children and bring a smile to everyone with a soft spot for Valentine’s Day. With your Brother embroidery machine, you can quickly stitch enough candy-filled hearts to charm your children, their classmates or any young family members (not to mention any adult with a sweet tooth). Mail a few to your grandchildren, deliver some to nursing home residents or donate some to your local shelter. You will have a grand time stitching these, especially while thinking about the happiness they will bring. It’s hard to stop with just one. A few of my hearts are mixed in with the directions. Though February is known as the season of love, why not spread your love year-round? These handmade felt Valentine’s Day hearts are always welcome gifts.
WARNING: These can be addictive to make!
Supplies:
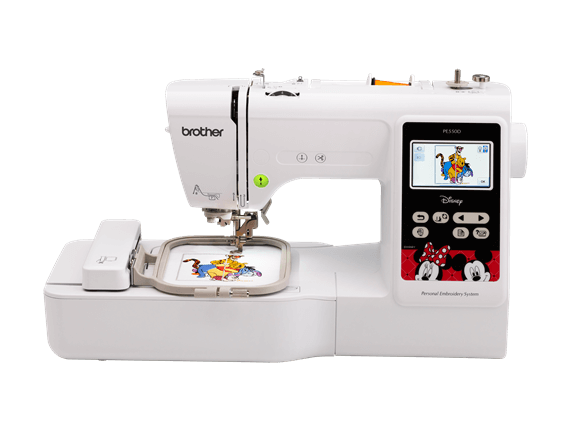
• Brother embroidery machine
• (2) 5” felt squares for 4x4 frame
• Or (2) 6” squares for 5x7 frame
• 3-4” circle of clear vinyl TIP: The plastic/vinyl from a zippered bag in which new linen or garments arrive is a good substitute.
• Tearaway stabilizer
• small, colorful, individually wrapped candy
• Notions: 18” ribbon or embroidery floss, large tapestry needle, painters masking tape, OPTIONAL: tissue paper
• Thread: embroidery thread
• Downloads: MAShearttreatbag4x4.pes, MAShearttreatbag5x7.pes
TIPS:
A. It is imperative that you follow the steps detailed below in the exact sequence. It is very helpful to print out these instructions and check them off as your stitch.
B. While all the examples shown are stitched in one color, do not color sort or select “mono color” if you have that option on your machine. The color stops are necessary.
C. “Stiff” felt adds stability when used for the backing. I could only find it on-line. Using it on the heart front makes it very hard to trim around the vinyl window, but it can be done.
D. INSTRUCTIONS:
1. Hoop tearaway stabilizer.
2. COLOR STOP #1 stitches placement line for felt and window stitched on stabilizer.
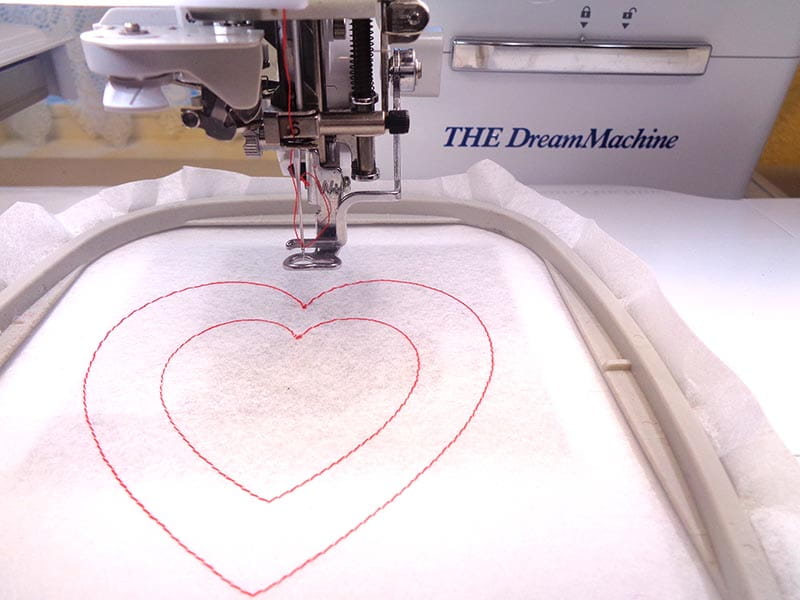
3. Place felt over the outer heart outline. Tape or pin felt in place.
COLOR STOP #2 embroiders running stitch around the outer heart and holds the felt it in place.

4. Remove frame from machine. DO NOT REMOVE FELT AND STABILIZER FROM THE HOOP. Place vinyl under frame BEHIND window heart outline. Tape or pin vinyl to stabilizer outside the stitching area.
TIP: The vinyl I used refused to progress with the design, sticking to the bed of the machine. Ultimately, it was necessary to place tissue paper under the vinyl to make it cooperate to be stitched in place. I suggest you try your vinyl on a separate piece of stabilizer to determine if tissue is required.


5.COLOR STOP #3 works a triple straight stitch over the inner heart window outline.
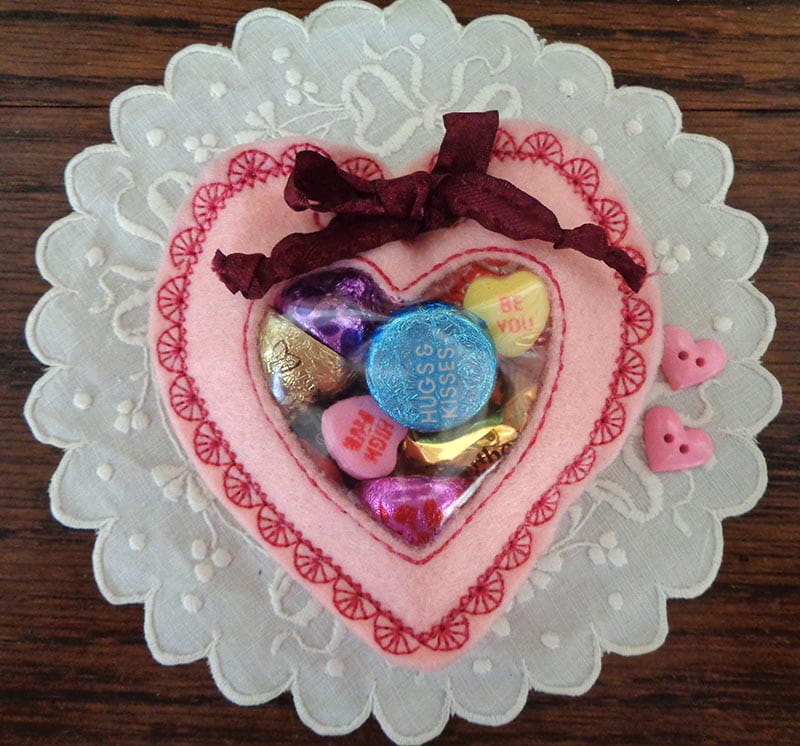
This ribbon was a little too heavy to tie a nice bow.
6. Remove frame from machine but DO NOT remove piece from frame. Turn frame over and from the underside trim vinyl a scant 1/4” outside the heart stitching line. This is most important at the top of the heart, where the eyelets will be embroidered. If tissue was used, leave it covering the trimmed vinyl.

7. Reattach frame. The inner heart vinyl window remains covered. Now the fun begins! Rapid progress is shown in the next image.
8. COLOR STOP #4 stitches two eyelets above the heart window, through the front felt only. Upon completion a scissor point will punch through the front and the backing after all stitching is done.
9. COLOR STOP #5 embroiders the lace border at the top of the heart, through the top layer of felt only, since the backing is not yet in place. 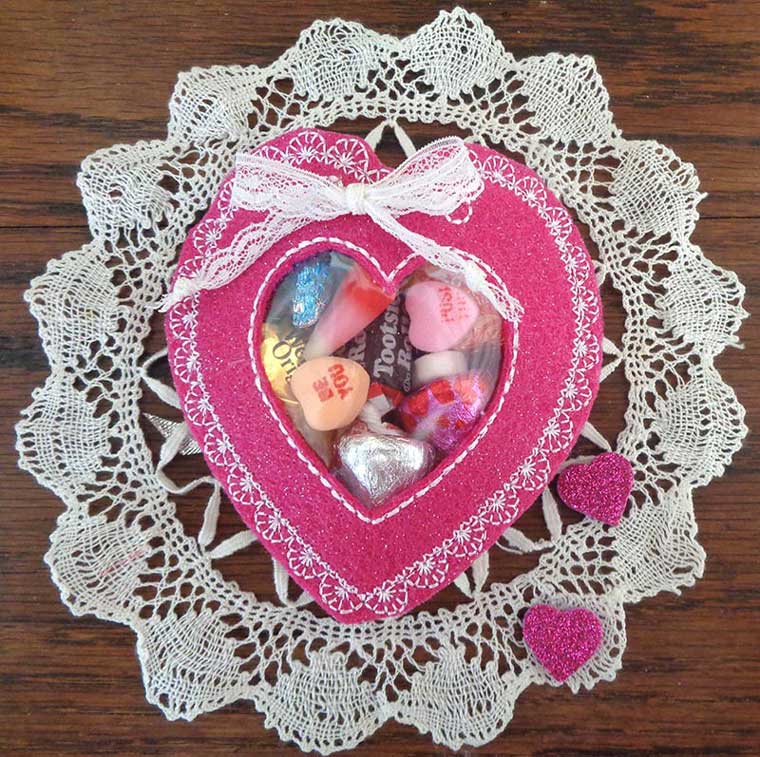
Glittery felt adds a nice touch.
10. Remove frame from machine but leave felt in place. Trim felt from inner heart close to stitching. TIP: Curved snips work well, though the felt dulls them. Tear or cut away inner heart stabilizer. Take care no thread tails show through window.

11. Tape backing felt very securely to underside of frame, taking care to center it over the placement lines.
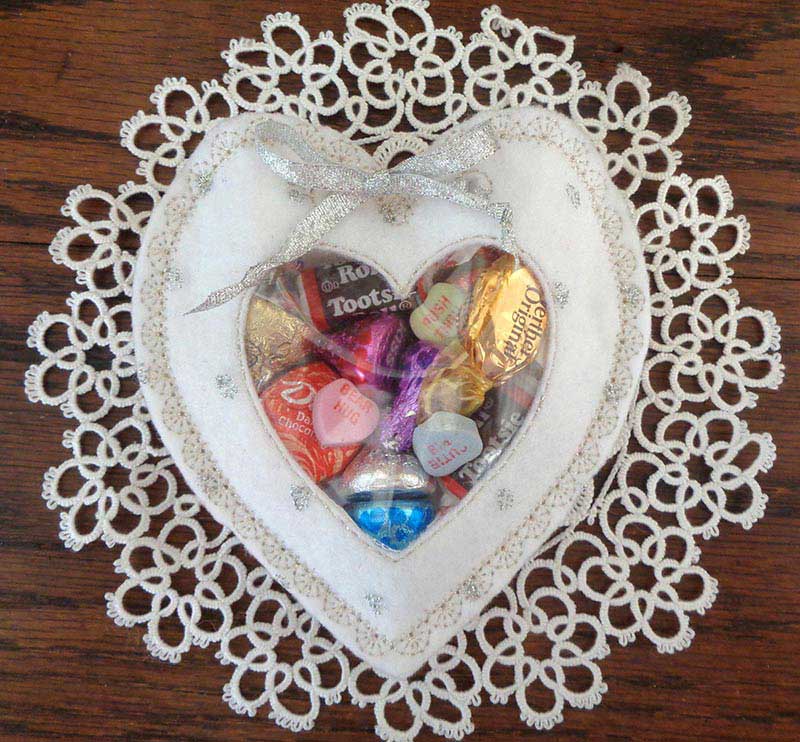
The 5x7 size as shown gives room for more candy.
12. Reattach frame. COLOR STOP #6 tacks down backing felt with lace stitch to bottom of heart. This completes the design.


13. Carefully pierce eyelets with sharp point of scissors. Remove piece from frame.
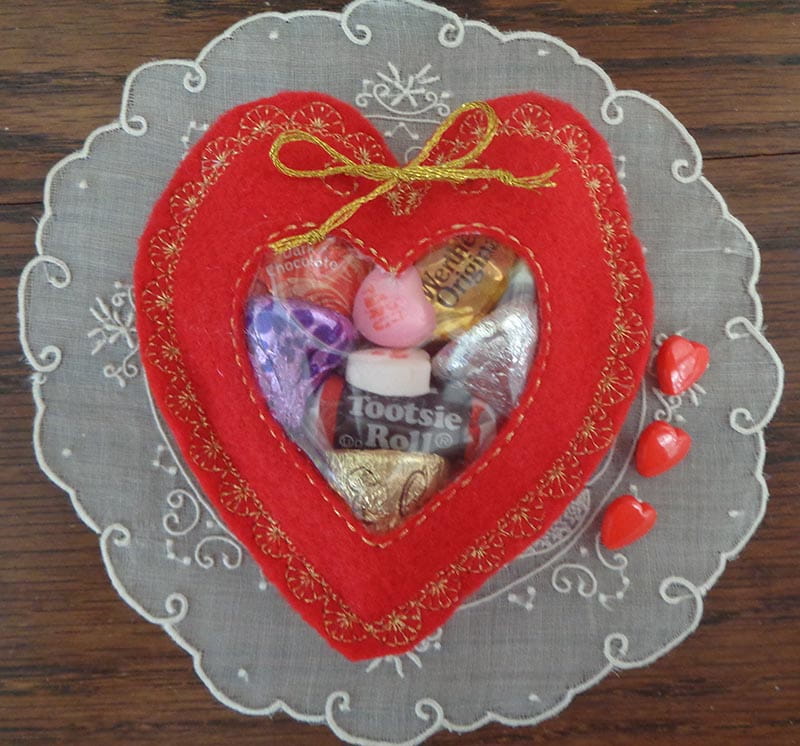
The use of metallic thread is matched by metallic embroidery floss for the bow. Floss is an easy coordinate for tying the heart bag.
14. STOP! Before you trim around the edge, tear away the stabilizer. This is much easier to do when the entire piece of stabilizer is intact. Once the lace edge is trimmed it is tedious to remove with tweezers.
15. Carefully trim around lace edge, then stuff with candy. Thread ribbon or floss through eyelets and tie into a bow.
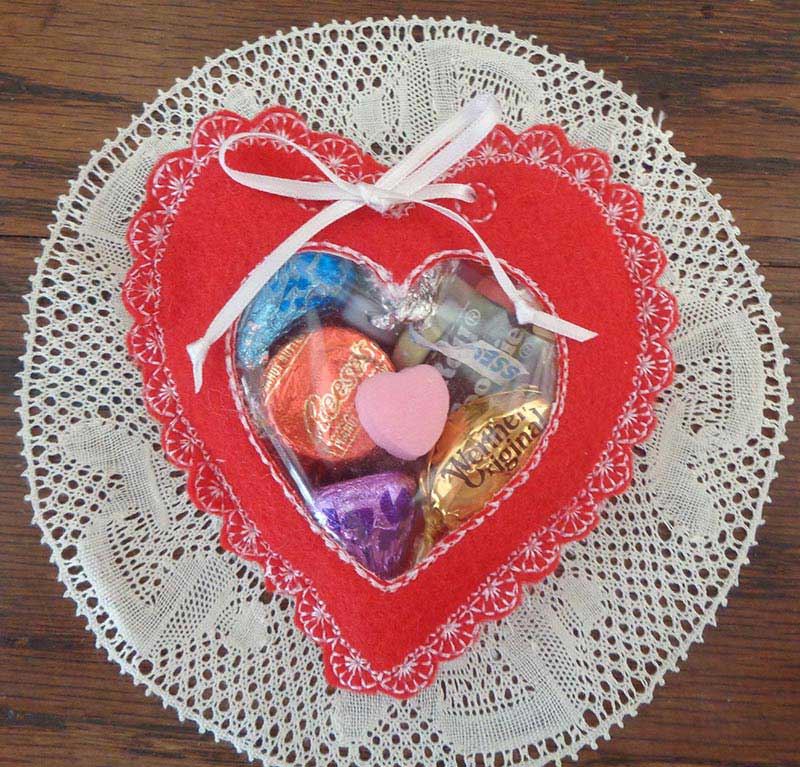
If you have lots of patience and time, trimming around the scallops gives a pretty edge.
Remember all those you want to shower with love on this Valentine’s Day, and all year long. Time to start stitching!


