How To Create A Custom Cut File
Learn how to make a custom cut file and craft yourself a cool bat candle in time for Halloween!
Supplies:
- CanvasWorkspace Online
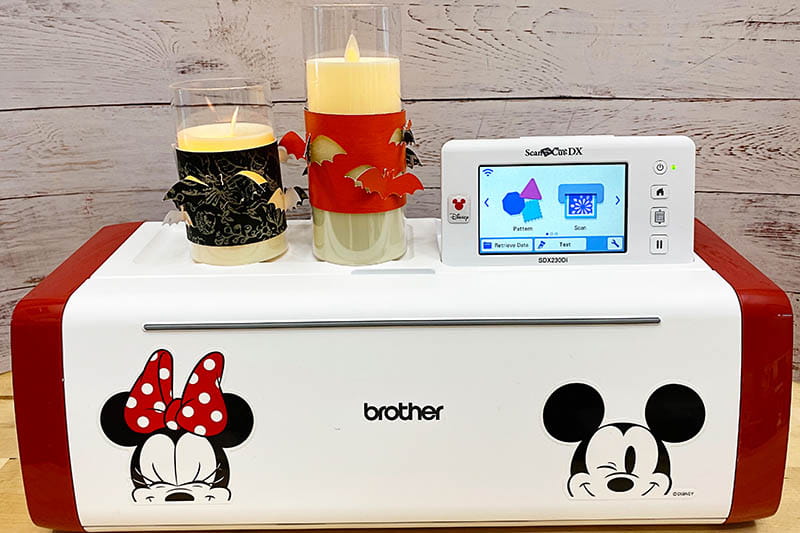
- Brother ScanNCut
- Auto Blade
- Standard Tack Mat
- Paper
- Fake Candle
- Adhesive
If you think creating custom cut files is something best left to the experts, think again! CanvasWorkspace makes it quick and easy for everybody to be a designer. Today I’m going to share how you can take an existing cut file -- this is a free cut file that you can find in CanvasWorkspace…

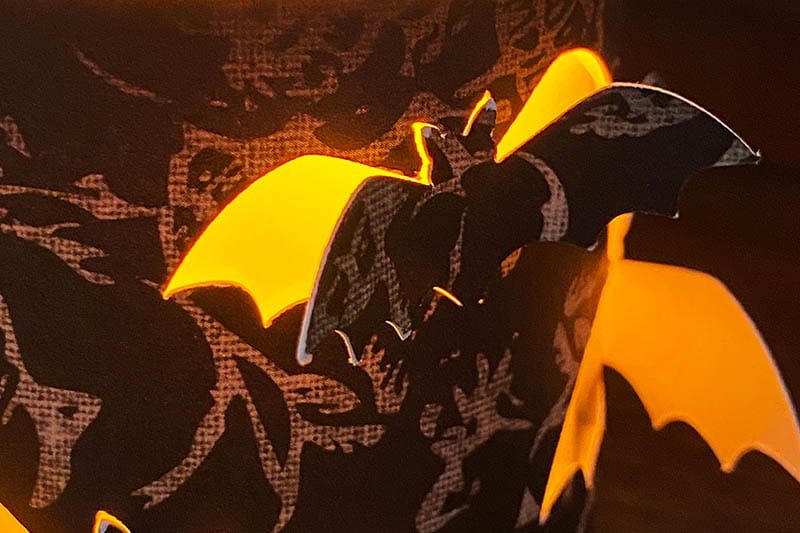
…and transform it to fit the project you’ve imagined, like these spooky candle wraps.
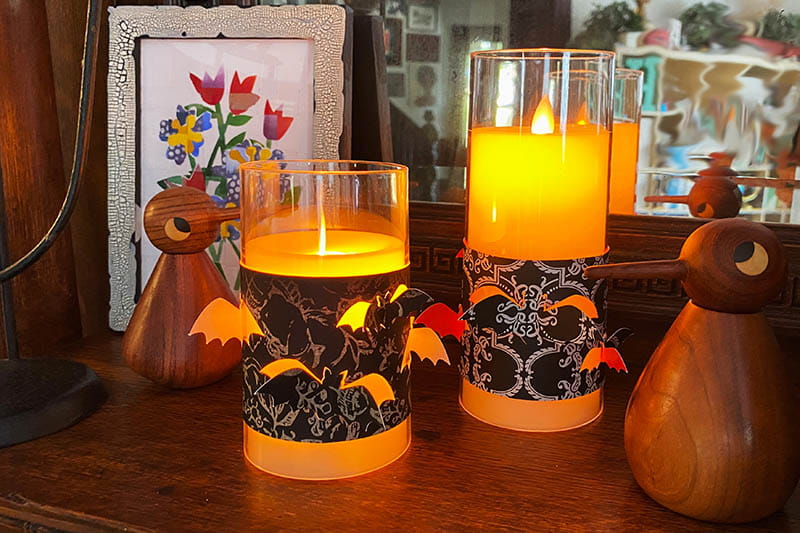
Please note that these are fake candles. Don’t wrap paper decorations around real candles.
So how do you begin? I’m so glad you asked!
CanvasWorkspace is a 100% free file editing and creation program. You can use it on your computer or mobile device in a browser (CanvasWorkspace Online). You can also download it to your computer (CanvasWorkspace for Mac and CanvasWorkspace for PC). There are some small differences between the various versions of CanvasWorkspace – mainly where functions are located on the screen -- but for the most part, the process will be the same no matter which version you use.
You will use three notable functions in CanvasWorkspace to transform your bats.
The first is “Ungrouping.”
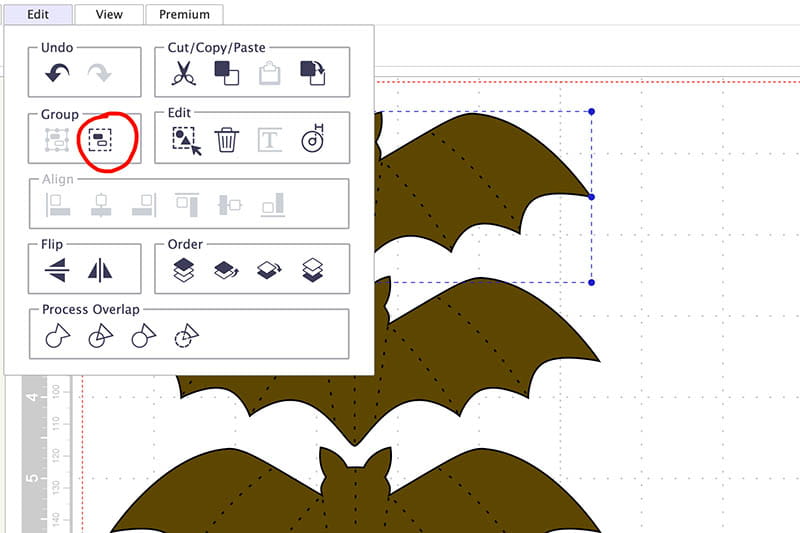
This allows you to remove the perforation lines from the bat cut file.
The second is “Remove Overlapped.”
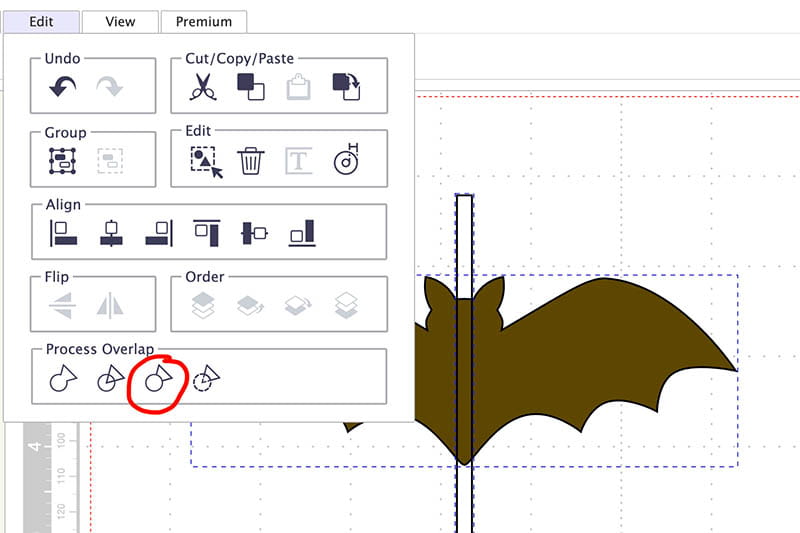
It’s worth noting that you could also use the “Subtract” function to do this.
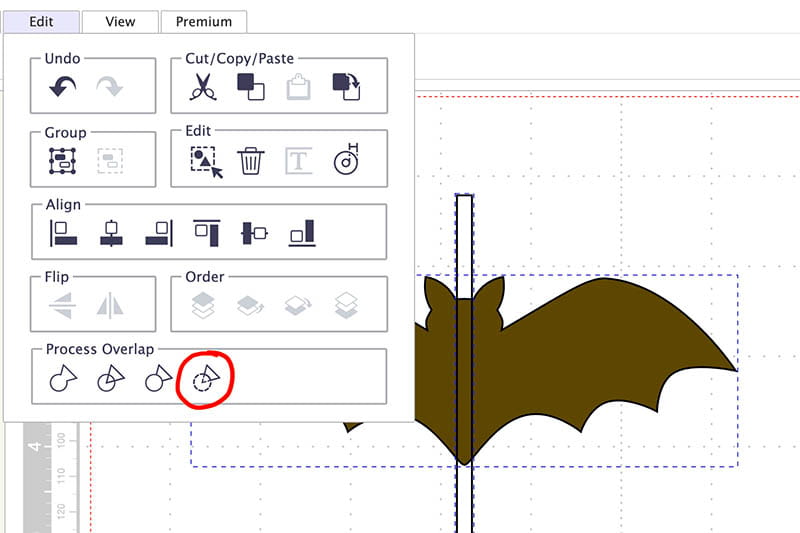
And that is one of the great things about CanvasWorkspace and ScanNCut DX. There are many different ways to accomplish what you want!
And the third notable function is “Open Outline.”
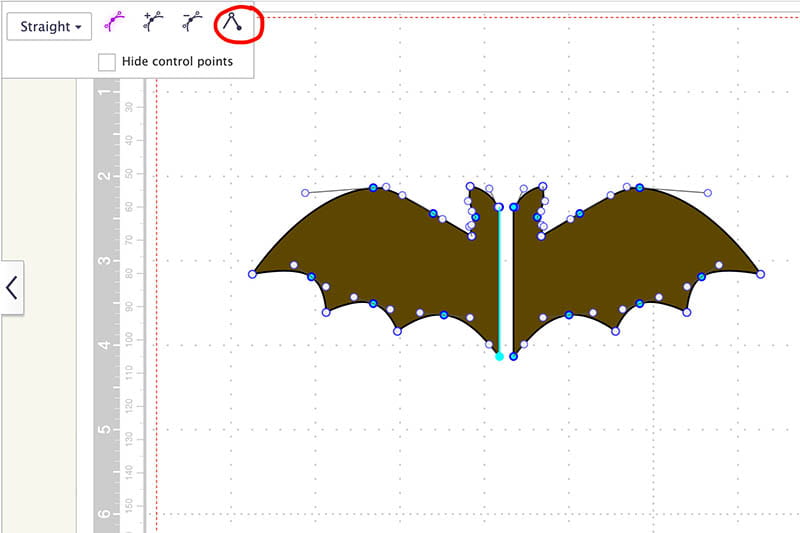
This function allows you to essentially disconnect one node from the next. This is what ensures that your bat’s body remains attached to the paper, while the wings are free.
You can watch the video to see just how easy the process is:
I hope you enjoyed this tutorial and will continue to use the ScanNCut DX to make your imagination come to life!
Tags
Shop this Project
No ScanNCut DX? No problem! Shop our full line of cutting products and get crafting!
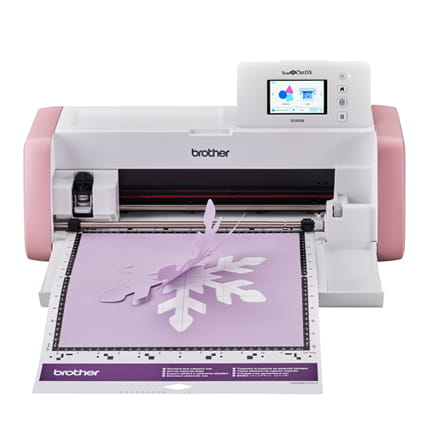
Brother ScanNCut DX
- 251 Built in Designs
- True Auto Blade, no manually adjusting blade pressure settings
- 600 DPI built-in scanner with on screen editing
Related Projects
Stay Connected
* Required fields