Fabric Cutting Basics
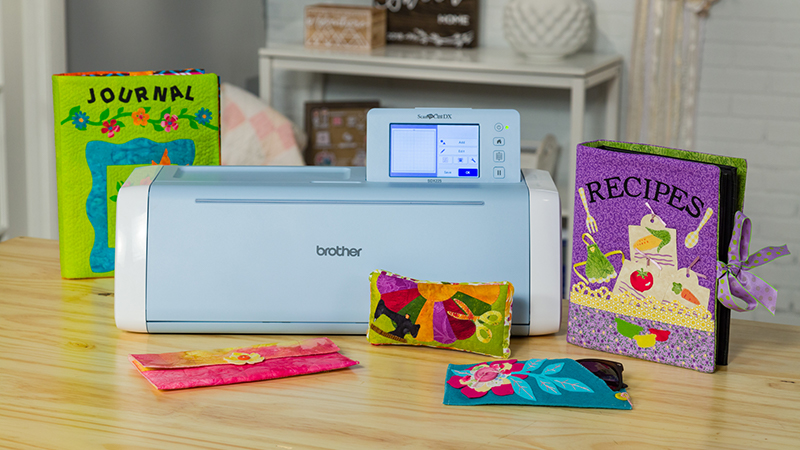
Incorporate fabric into your crafting sessions to add new textures to your next project with these simple, easy-to-follow steps and tips.
To start, determine what kind of cutting you would like to do. Appliqués are ideal if you do not want your edges to fray or want fabric with a heavy nap. Alternatively, quilting is great if you want to cut fabric with a seam allowance or frayed edges.
After you determine what kind of project you will craft, grab your mat, fabric, appropriate support sheet and begin.
Tip: The type of support sheet you use will depend on your desired project. If you create appliqués, be sure to use the Iron-On Fabric Appliqué Contact Sheet as it easily secures fabric to your mat. If you create quilting projects, use the High Tack Adhesive Support Sheet to increase the strength of the adhesive.
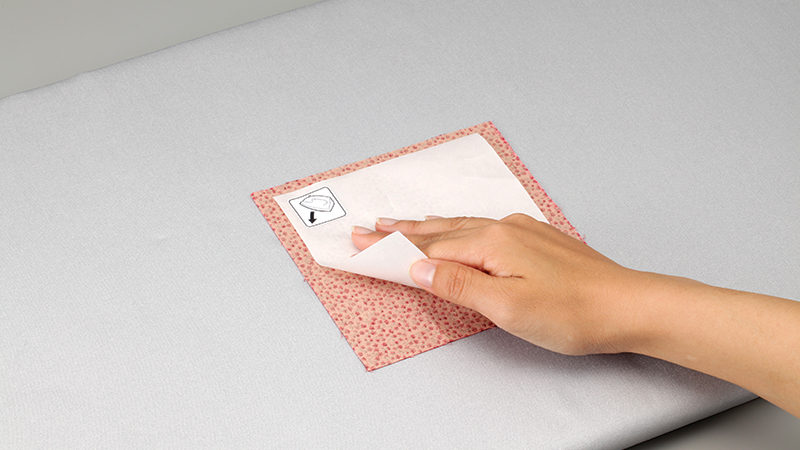
For Appliqués:
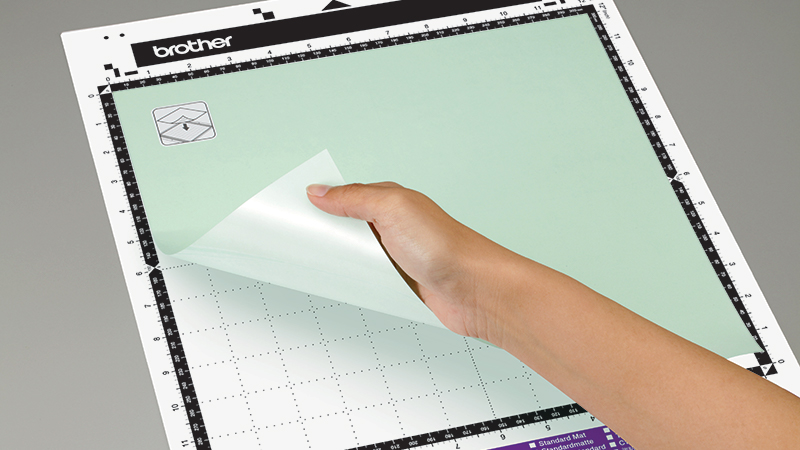
• Start by attaching fabric to the Iron-On Fabric Appliqué Contact sheet (CASTBL1) and ironing out all wrinkles.

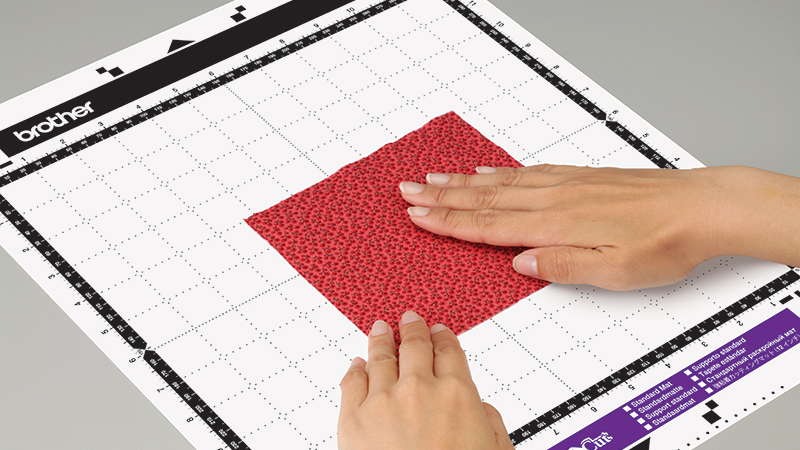
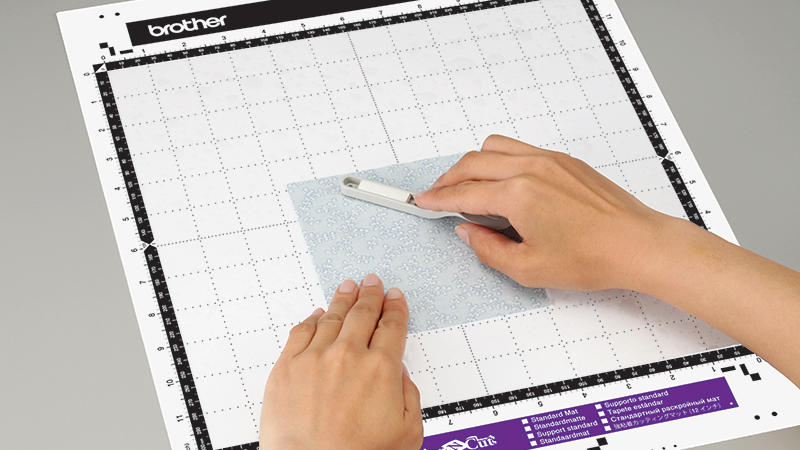
• Ensure fabrics are properly and cleanly adhered to the mat. Select your desired cut pattern on your ScanNCut, and feed your mat.
• Fabric requires more cut pressure than paper. Be sure to perform test cuts starting on the auto setting and gradually increasing until you find the right setting for your fabric. Always perform a trial cut first to confirm a successful cut.
• Once you machine has finished cutting, carefully remove your cutout from the mat.
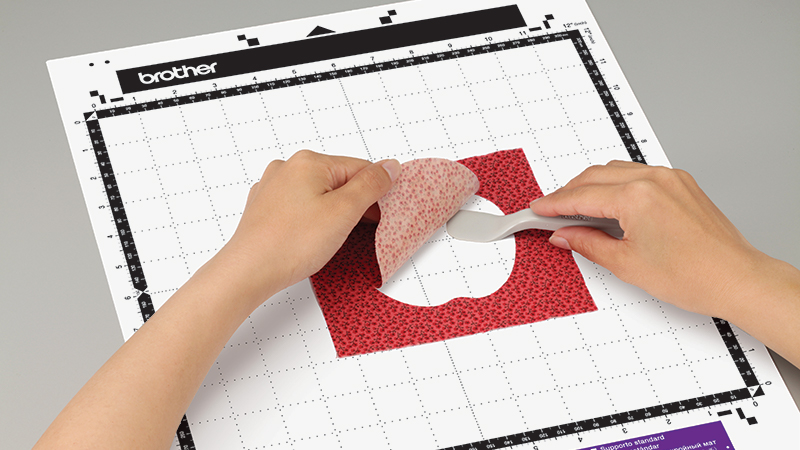
• In order to avoid ripping or tearing your fabric, remove the cutout slowly from your mat using the spatula. Gently inset the spatula at points along your design to separate from the mat.
• If the blade does not penetrate your fabric or part of the design is not cut out, double check you have selected adequate cut pressure and used a mat with sufficient adhesive strength.
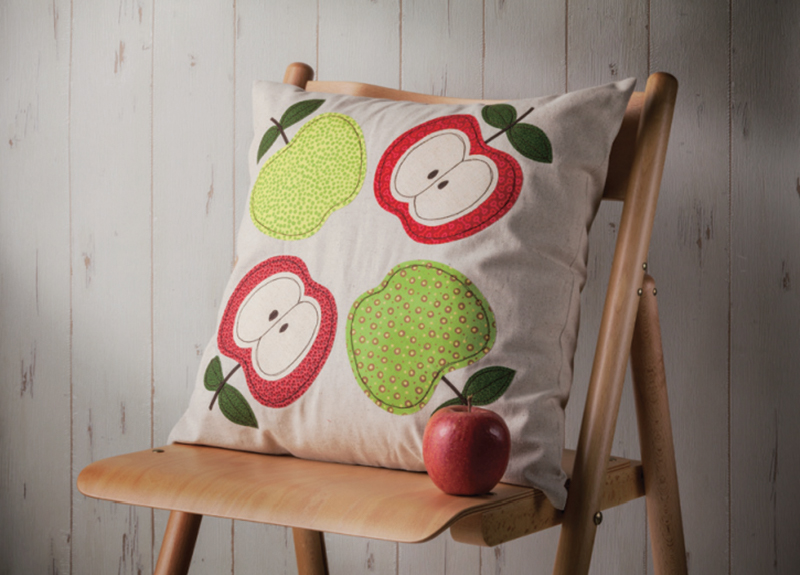
Enjoy your design!
For Quilting:
• Attach your High Tack adhesive fabric support sheet (CASTBL2) to your cutting mat and then adhere your fabric for quilting.
• Ensure fabrics are properly and cleanly adhered to the mat. You may use your spatula to smooth any bubbles or wrinkles in your fabric and ensure an even bond.
• Select your desired cut pattern on your ScanNCut, and feed your mat.
• Fabric requires more cut pressure than paper. Be sure to perform test cuts starting on the auto setting and gradually increasing until you find the right setting for your fabric. Always perform a trial cut first to confirm a successful cut.
• Once you machine has finished cutting, gently remove the cutout from your mat.
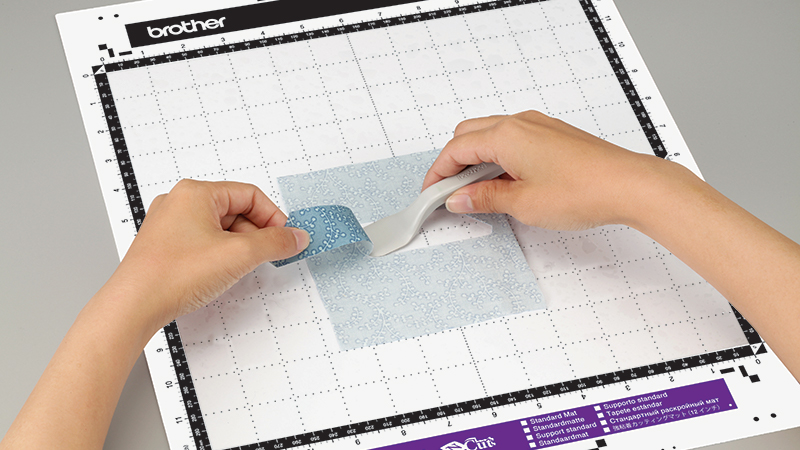
• In order to avoid ripping or tearing your fabric, remove the cutout slowly from your mat using the spatula. Gently inset the spatula at points along your design to separate from the mat.
• If the blade does not penetrate your fabric or part of the design is not cut out, double check you have selected adequate cut pressure and used a mat with sufficient adhesive strength.
Enjoy your design!
Related Projects
Stay Connected
* Required fields