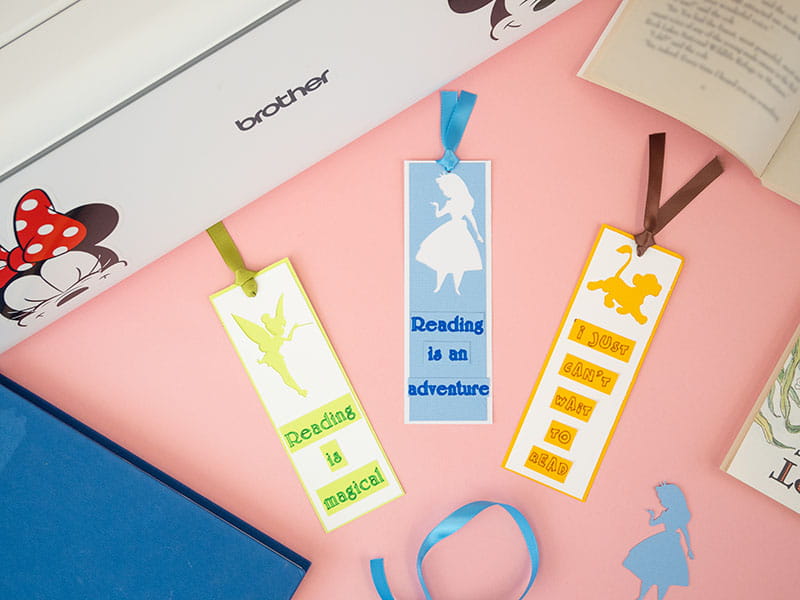
Disney Bookmarks
Never lose your place in your book with these adorable bookmarks featuring Disney characters! This easy project would be perfect for your favorite teacher, student, or any bookworm.
Supplies & Tools:
- Brother Disney ScanNCut DX SDX230Di
- Brother ScanNCut Low Tack Adhesive Mat
- Cardstock
- Ribbon
- Paper trimmer
- Scissors
- Hole punch
- Adhesive

Directions:
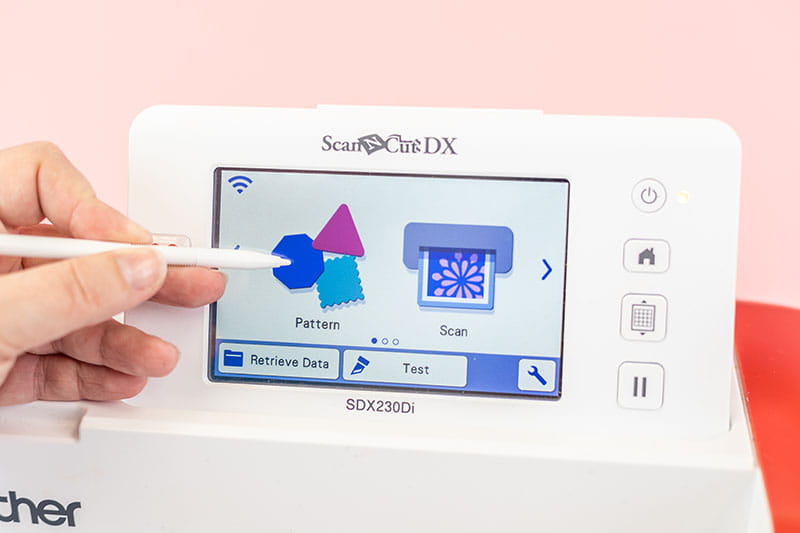
- Place paper onto the Low Tack mat and load the mat into the machine. On the home screen, select “pattern” and then choose the Disney content icon.
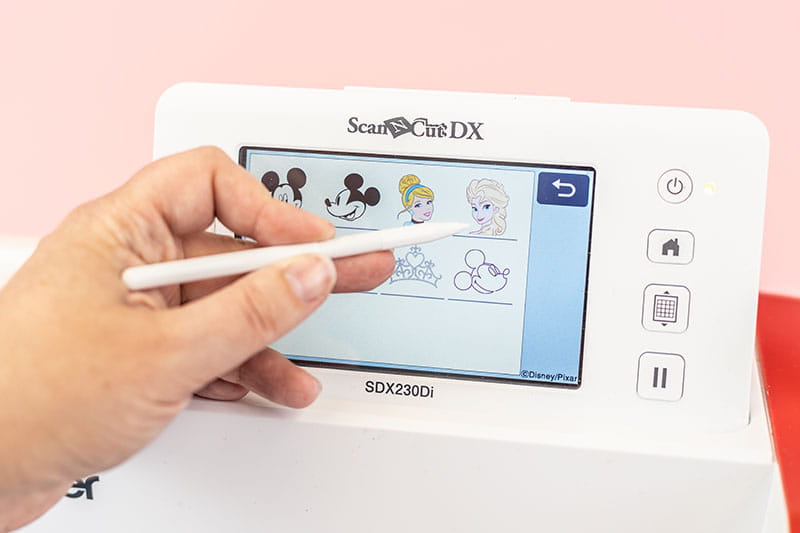
- Choose the “Elsa” icon and then scroll down to find the silhouette of Alice (or use any of the character silhouettes!).
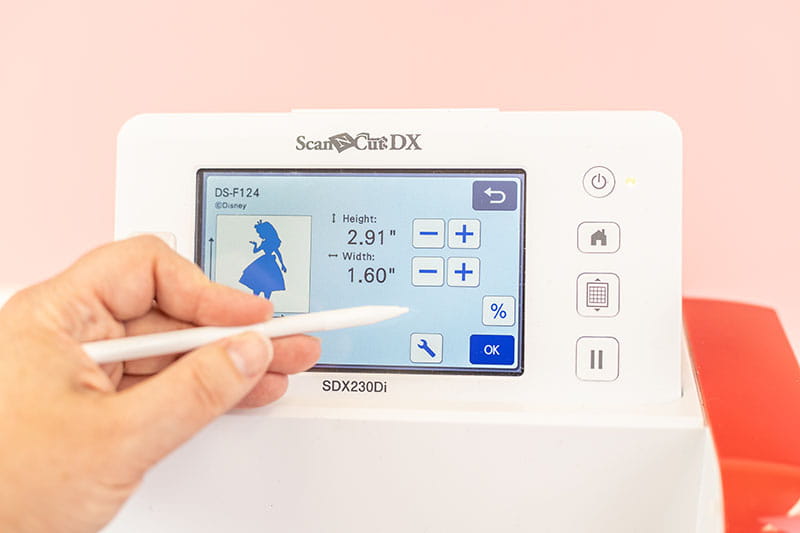
- Change the size of the image so that the width is 1.6” and then cut the image.
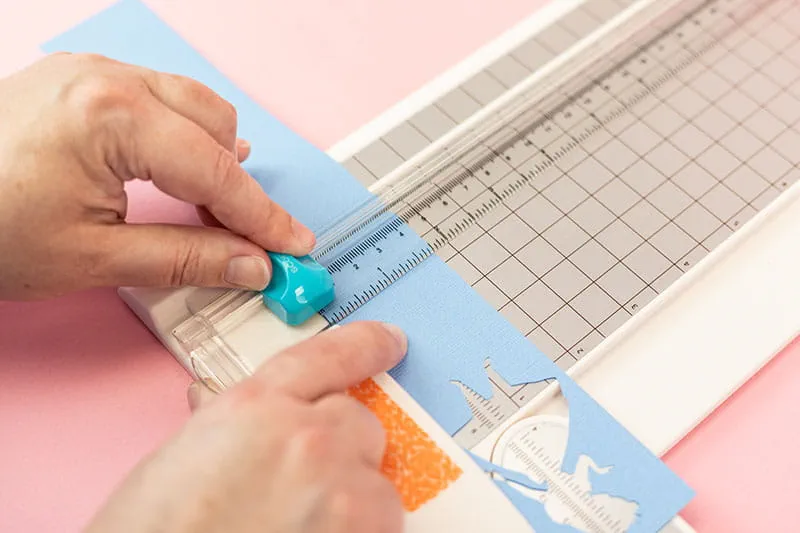
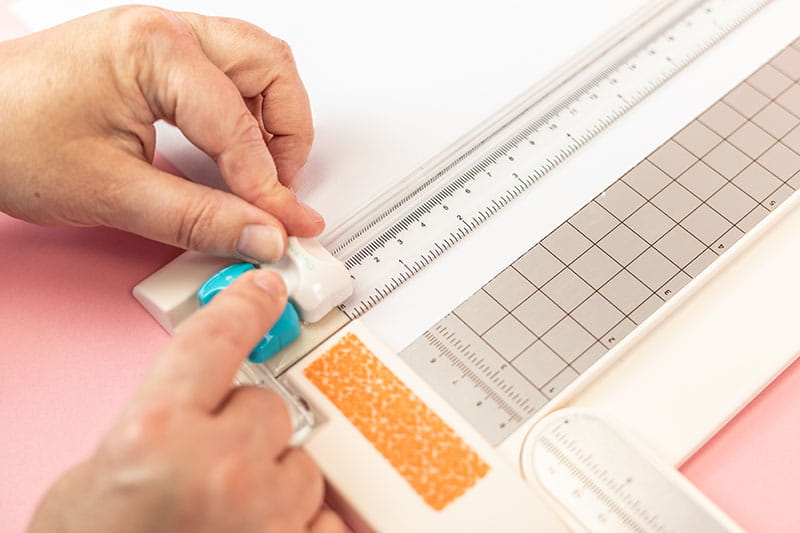
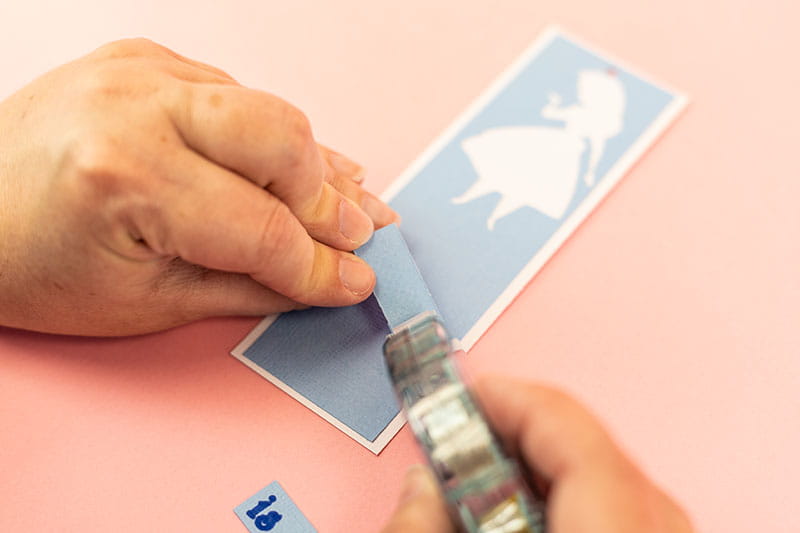
- After cutting the image, cut the paper down to 1.75” by 5.75” using a paper trimmer. This will form the front of the bookmark.
- Use the paper trimmer to trim another piece of cardstock to 2” x 6”. This will be the base of the bookmark.
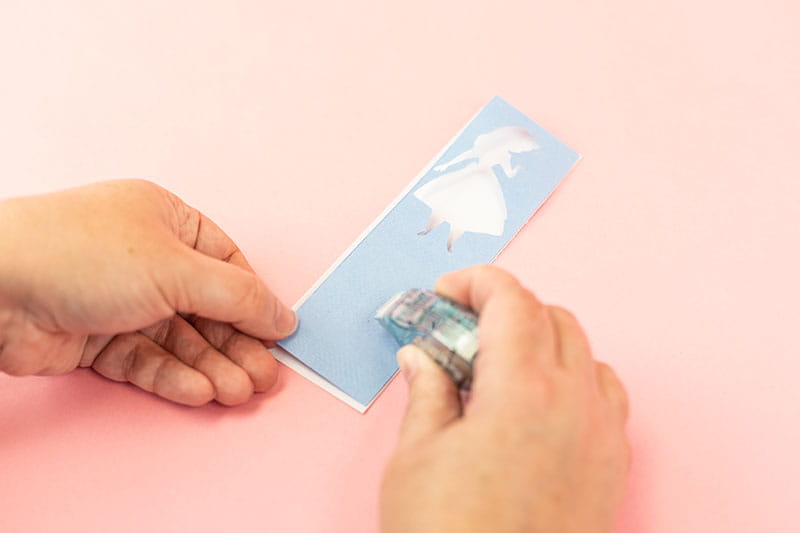
- Attach the bookmark front (with the image cut out) to the base with adhesive.
- Insert the blue ScanNCut pen into the pen holder, then replace the blade housing in the ScanNCut machine with the pen holder.
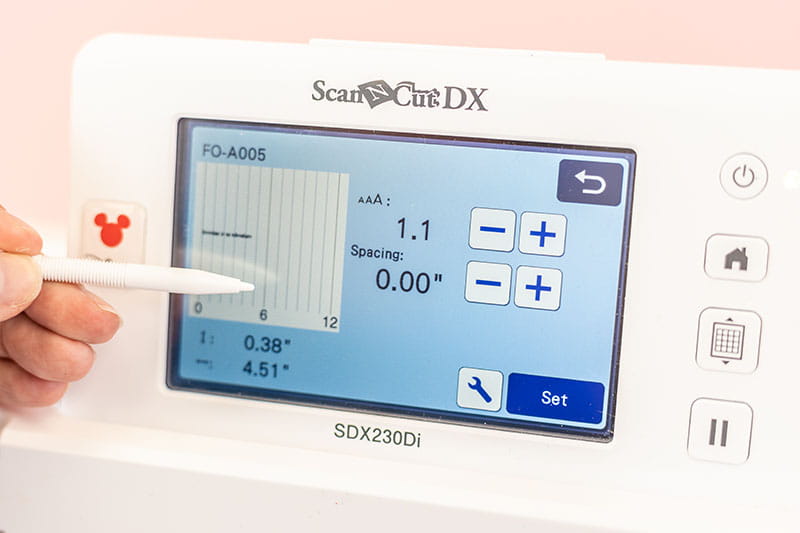
- Place paper onto the Low Tack mat and load the mat into the machine. On the home screen, select “pattern” and then choose the lettering icon.
- Choose a font and type the message.
- Resize the lettering to 1.2 and then draw the lettering.
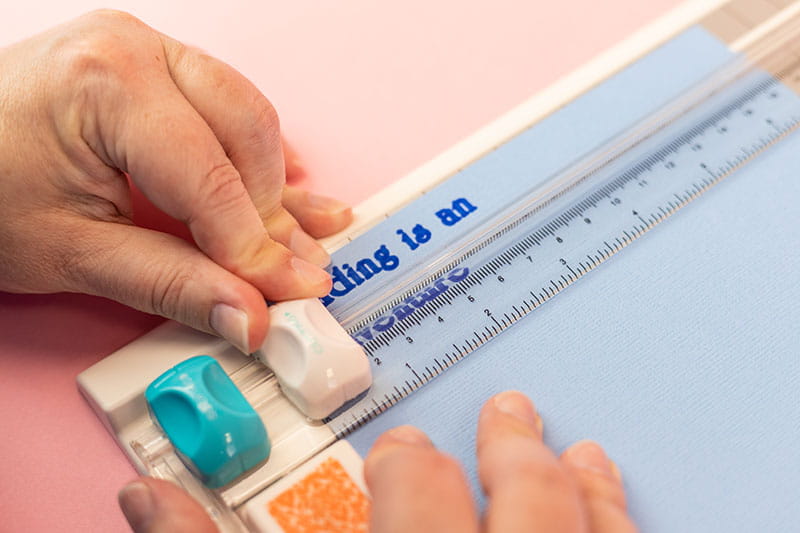
- Using the paper trimmer, cut out the lettering in small rectangles around the words.
- Adhere words to the bookmark.
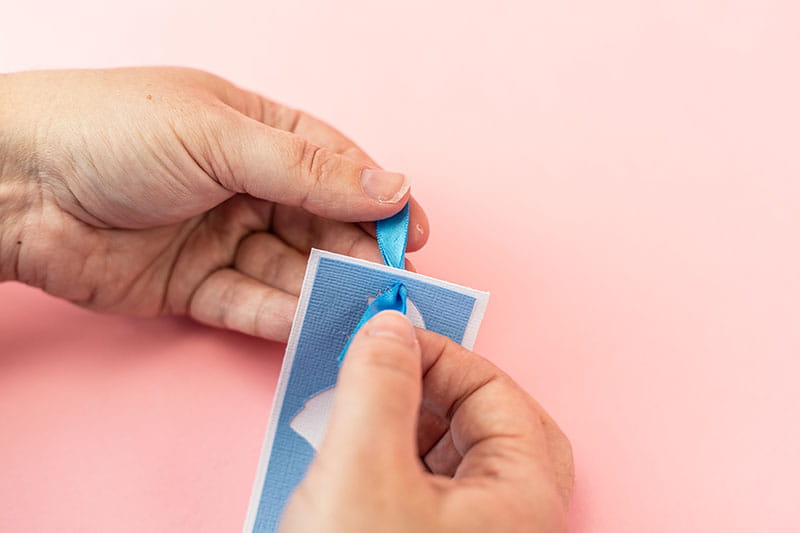
- Punch a hole in the top of the bookmark and insert the ribbon for a tassel


Related Projects
Stay Connected
* Required fields