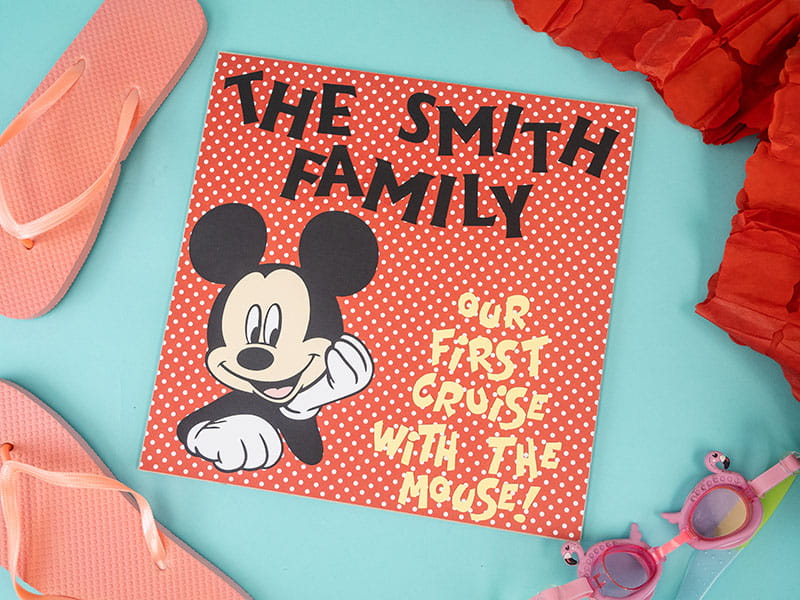
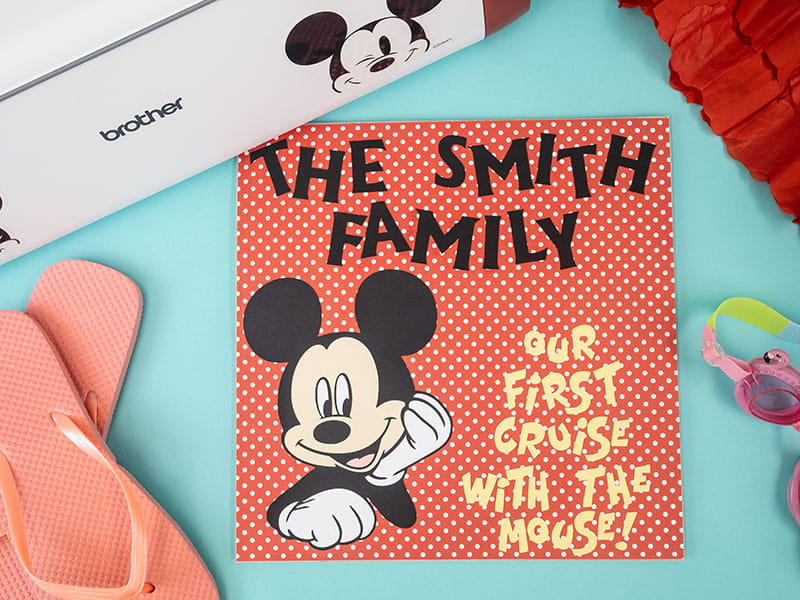
ScanNCut Disney Cruise Ship Sign
A big trend in cruising is cabin door decorating! Cruisers love to decorate the doors to their cabins to show their names, how many cruises they have taken, and even if they are celebrating a special occasion. Plus, it makes it easier to identify your cabin on those long hallways!
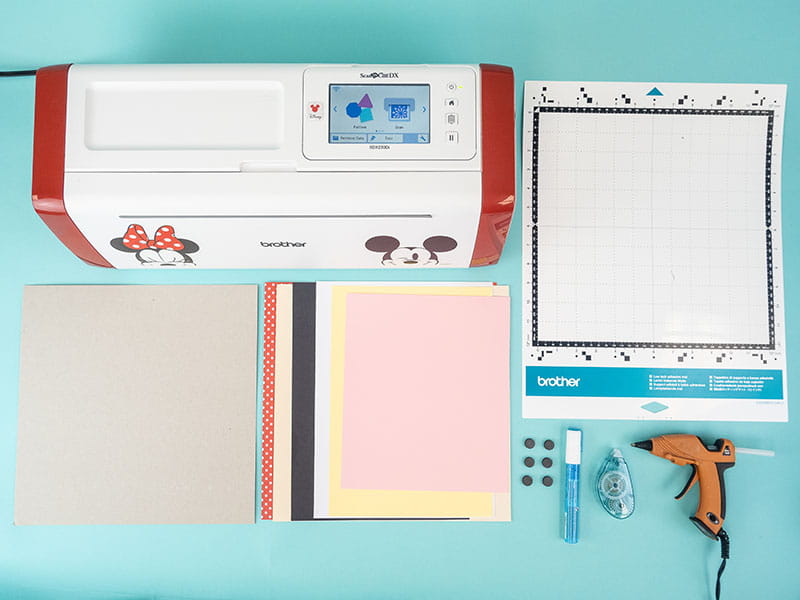
Supplies & Tools:
- Brother Disney ScanNCut DX SDX230Di
- Brother ScanNCut Low Tack Adhesive Mat
- Cardstock (black, beige, white, pink, yellow)
- 12” x 12” patterned paper
- 12” x 12” chipboard/thin cardboard
- Adhesive
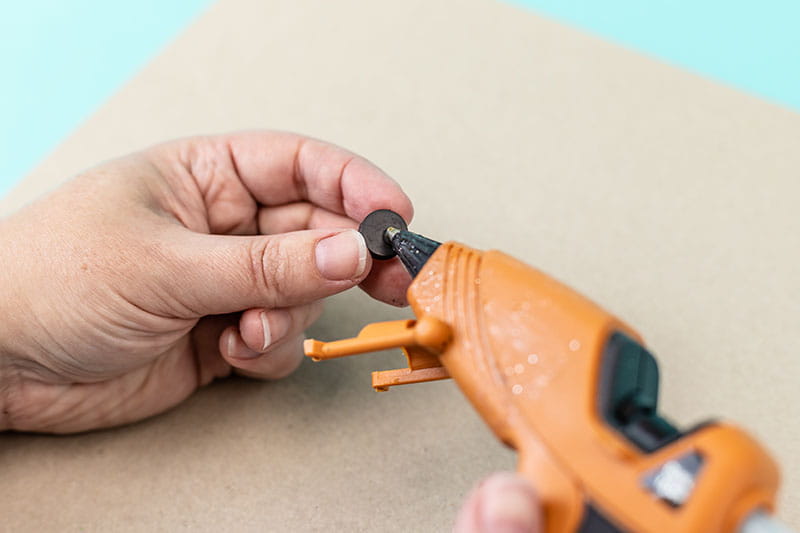
- Small magnets
- Hot glue gun
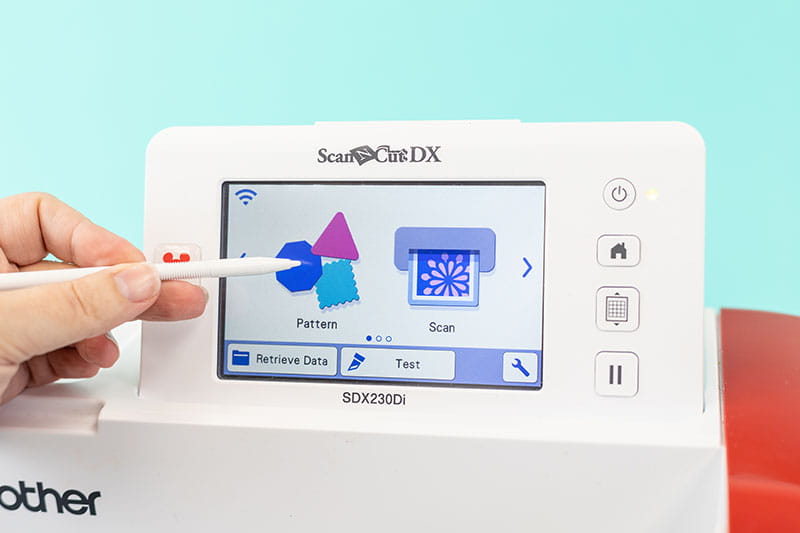
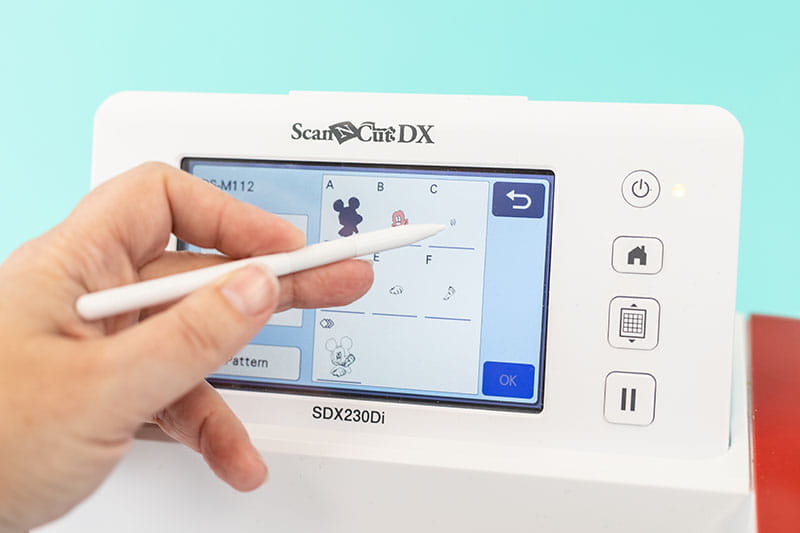
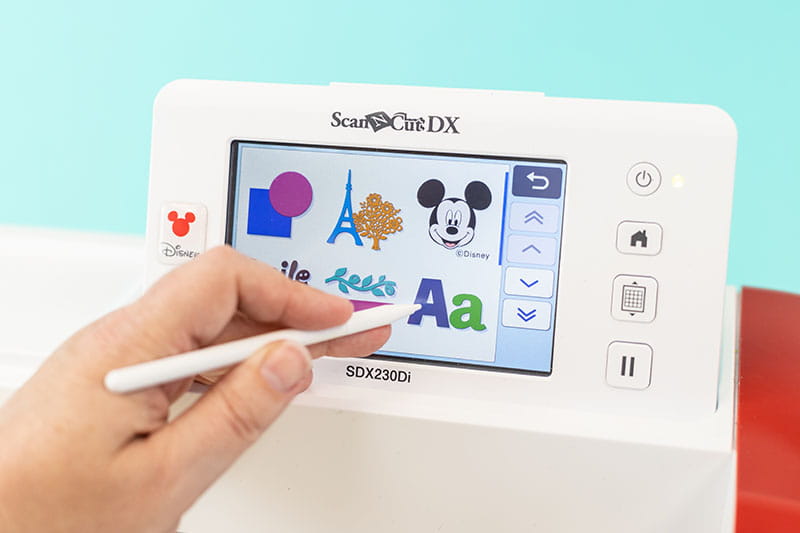
- Place black cardstock onto the Low Tack mat and load the mat into the machine. On the home screen, select “pattern” and then choose the Disney content icon.
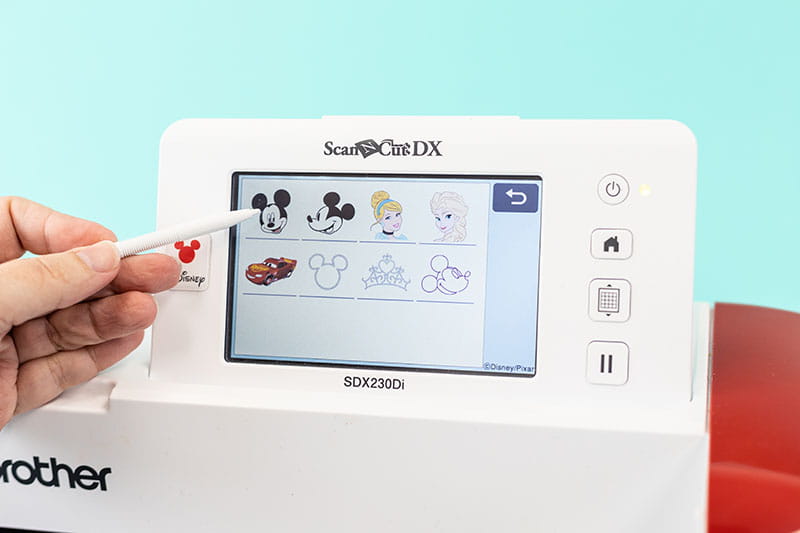
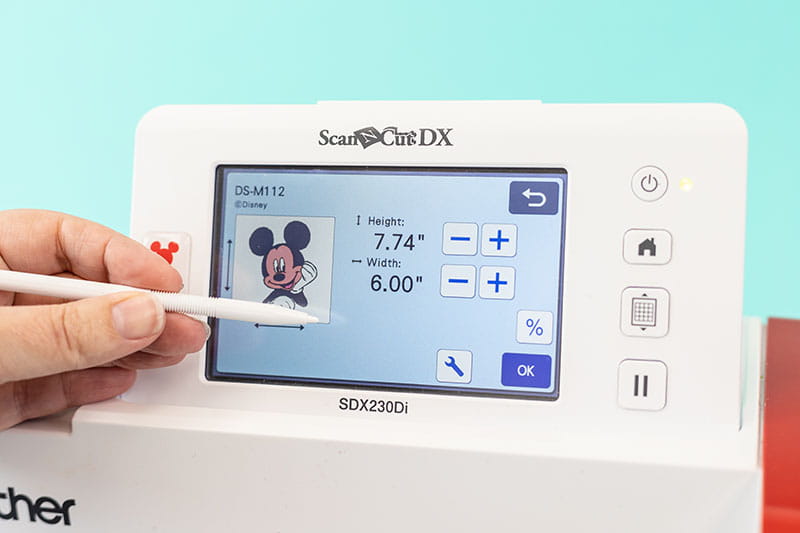
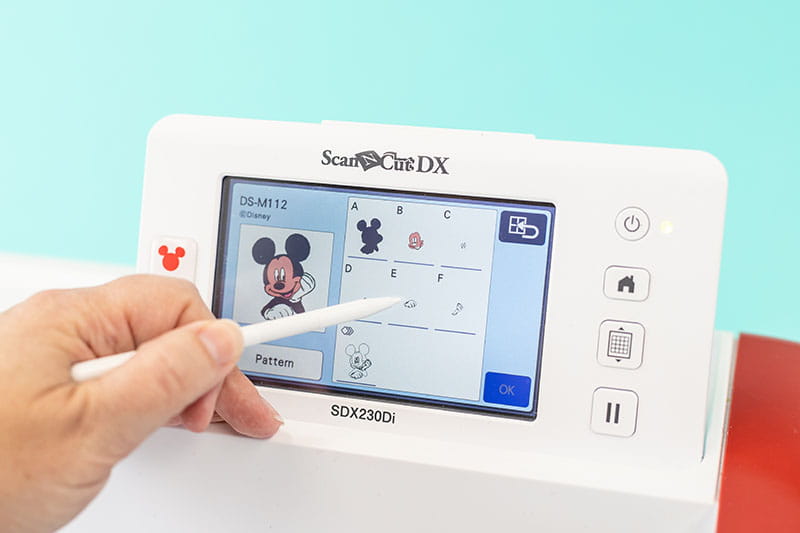
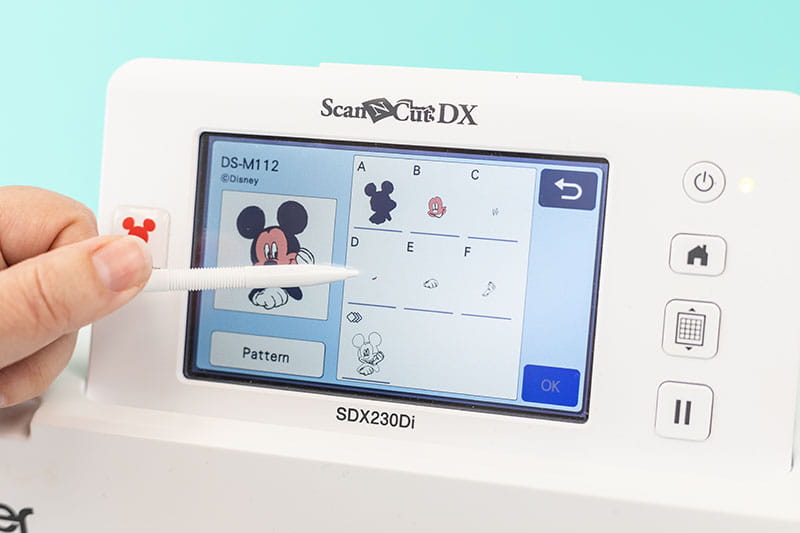
- Choose the “Modern Mickey” icon and then scroll down to the layered Disney’s Mickey Mouse image (DS-M112).
- Use the default measurements for the image.
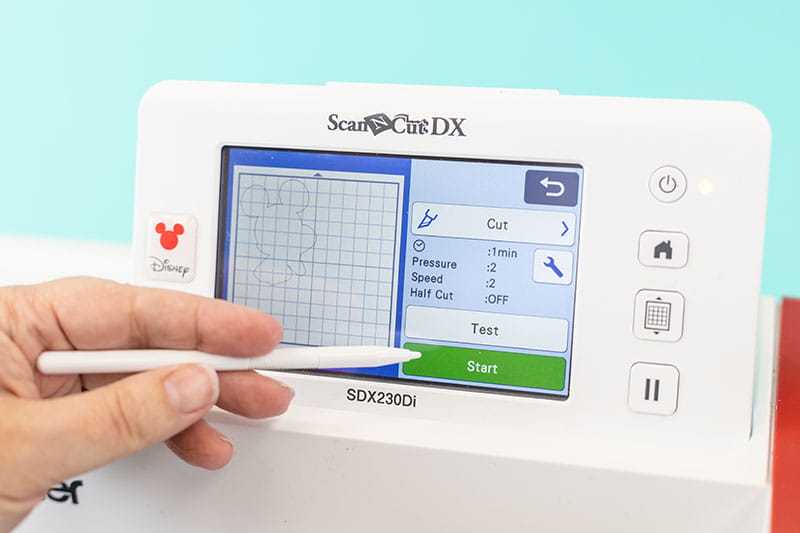
- Select part A and cut.
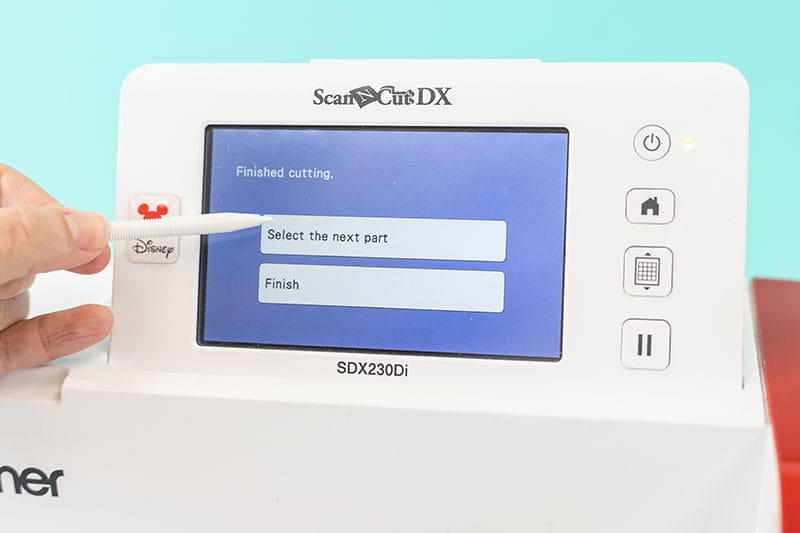
- Once the image is cut, unload the mat and remove the paper. On the screen, choose “Select the next part”.
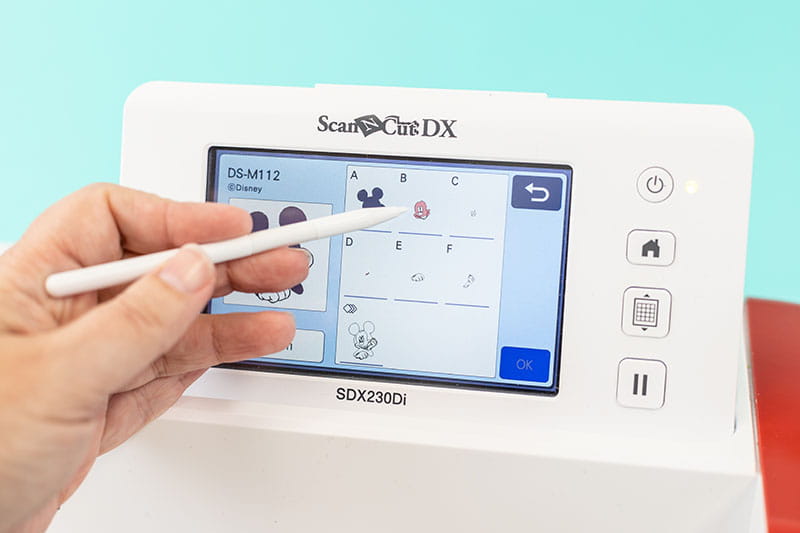
- Choose Part B of the image (face). Place beige cardstock onto the Low Tack mat and load the mat into the machine. Cut out Part B.
- Once the image is cut, repeat step 5.
- Select Part C (eyes). Place white cardstock onto the Low Tack mat and load the mat into the machine. Then press “Add”. This will take you back to the screen with all the parts so that you can add the next feature. This allows you to cut all the parts that are the same color at one time!
- Select Part E (glove) Add it to the mat screen, then go back and add Part F (glove).
- Place pink cardstock onto the Low Tack mat and load the mat into the machine. Cut Part D (tongue).
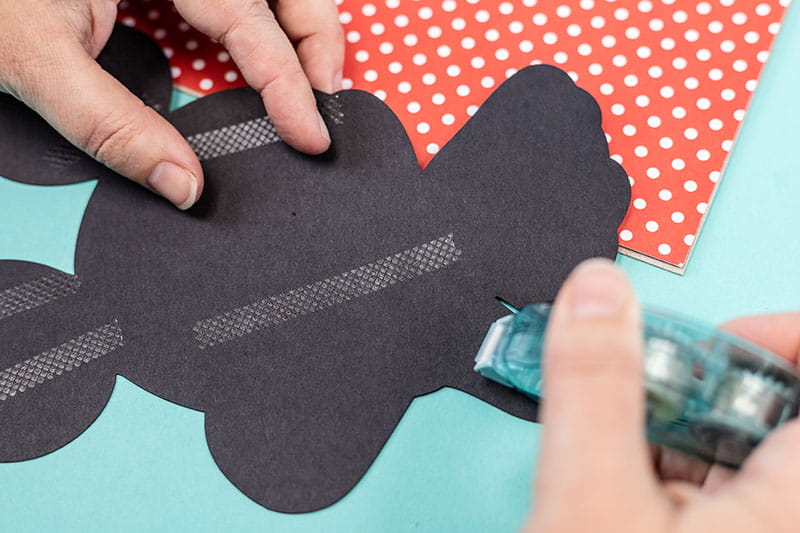
- Adhere all parts together using adhesive.
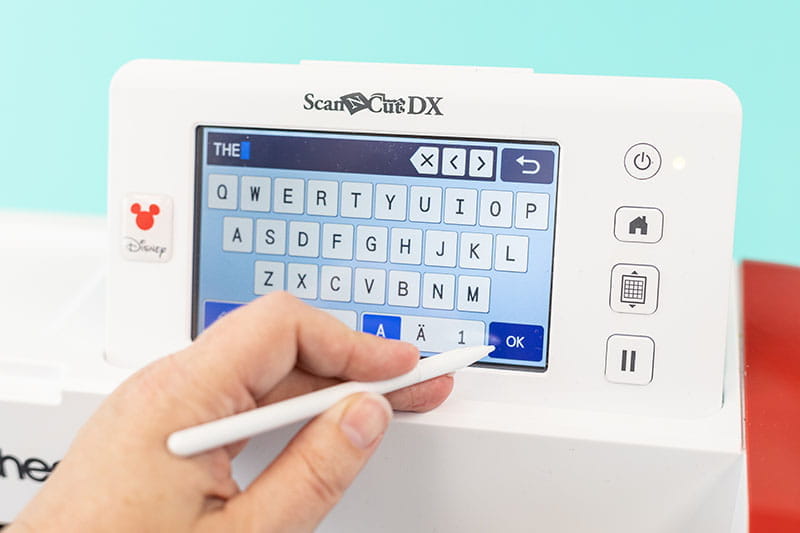
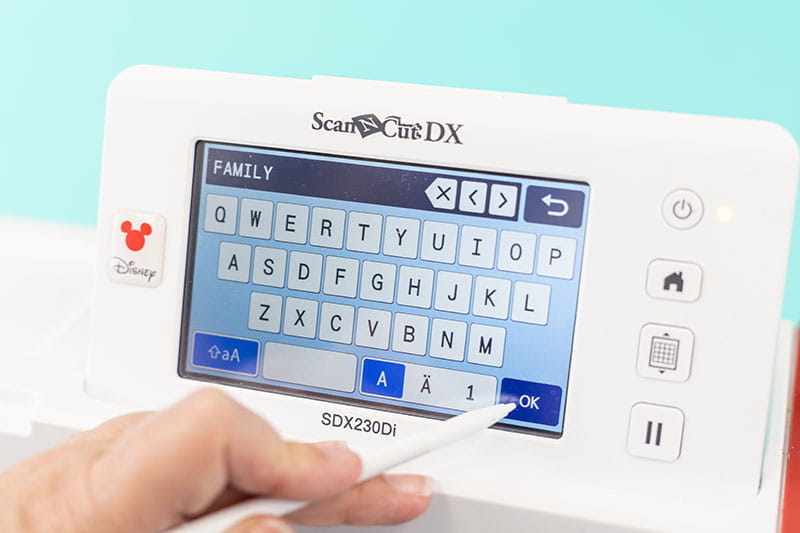
- Place black cardstock onto the Low Tack mat and load the mat into the machine. On the home screen, select “pattern” and then choose the lettering icon.
- Choose a font for the family name (we used FO-A013).
- Type in “THE” and set it (we will edit size later).
- Choose “Add” and type in the family’s last name.
- Choose “Add” and type “Family”.
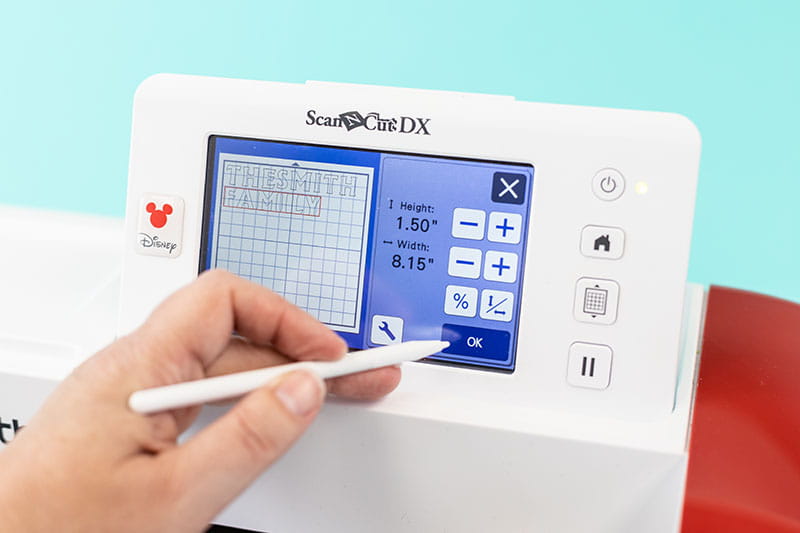
- Edit each word so that the letters are 1.5” high”. Cut out the words.
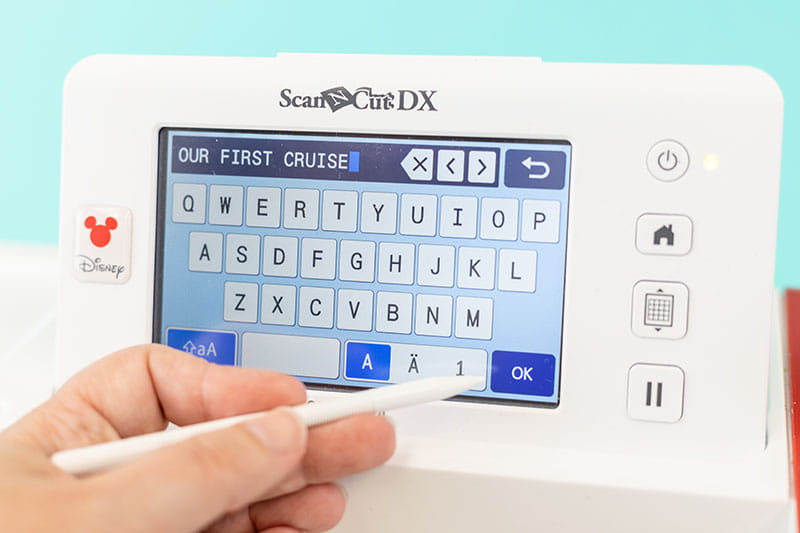
- Repeat Step 12 but use yellow cardstock.
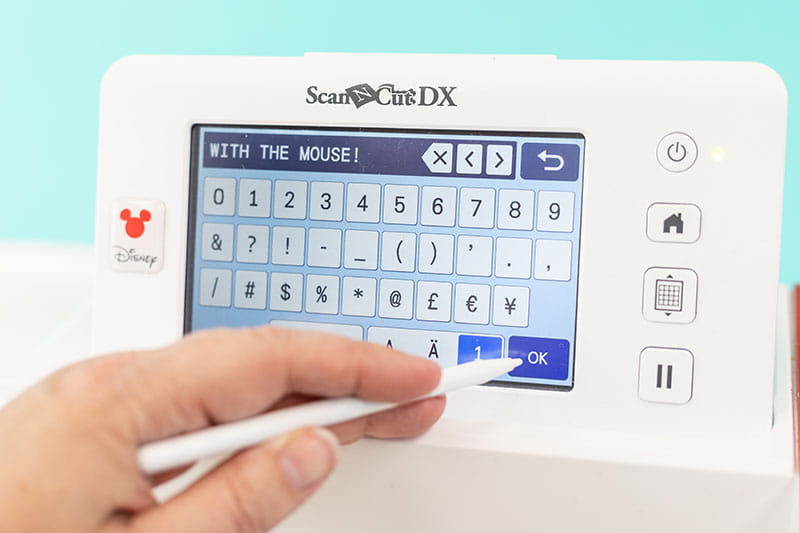
- Choose Font FO-A102.
- Type “Our first cruise” and set it (we will edit size later).
- Choose “Add” and type “with the mouse!”
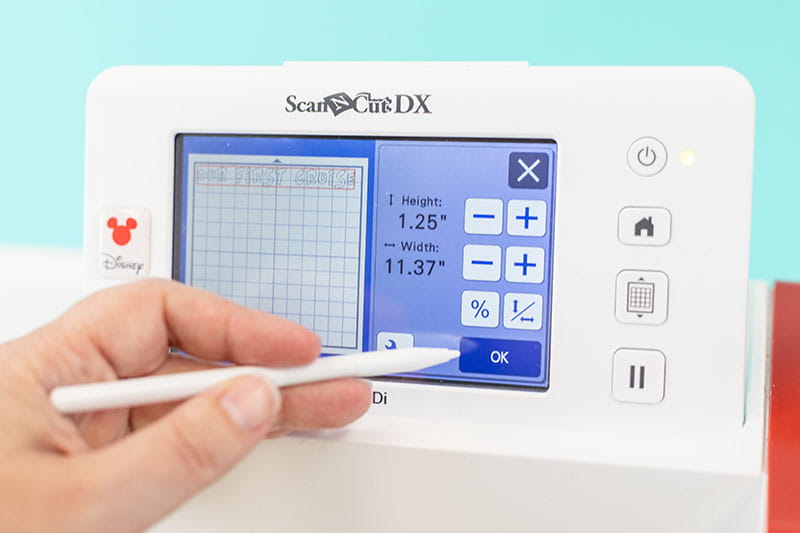
- Edit each phrase so that the letters are 1.25” high. Cut out the words.
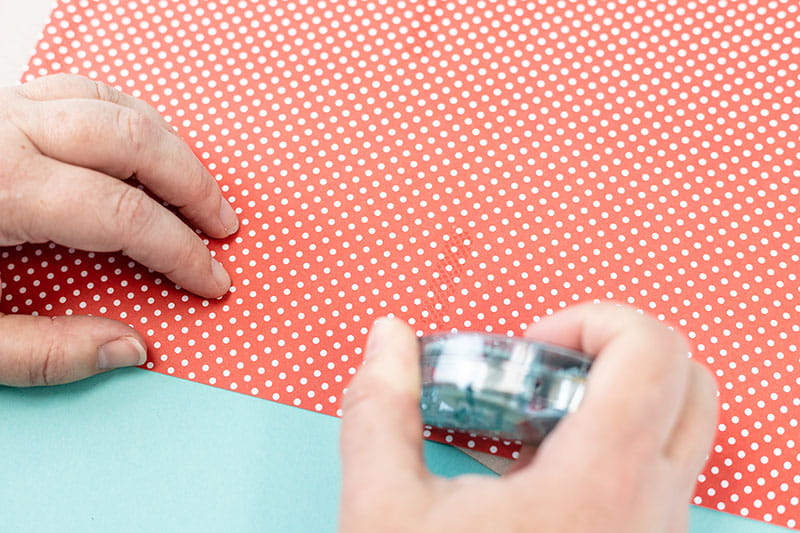
- Adhere patterned paper to chipboard/thin cardboard.
- Adhere Mickey to the bottom left corner.
- Adhere “The ___ Family” across the top.
- Adhere “Our first cruise with the mouse” to the bottom right corner.
- Use hot glue to adhere magnets to the back of the chipboard.


Related Projects
Stay Connected
* Required fields