Binding Attachment for Cover Stitch 3550
I sew a ton of kid’s clothes and have tried a lot of ways to create great necklines and bindings. I recently tried the Brother Dual Function Fold Binder attachment
for my Brother CV3550 Double-Sided Cover Stitch
and it’s a great way to add a binding to your neck and arm openings.
 You can check out the video I made for all the details, but here are the basic steps for using a binding attachment.
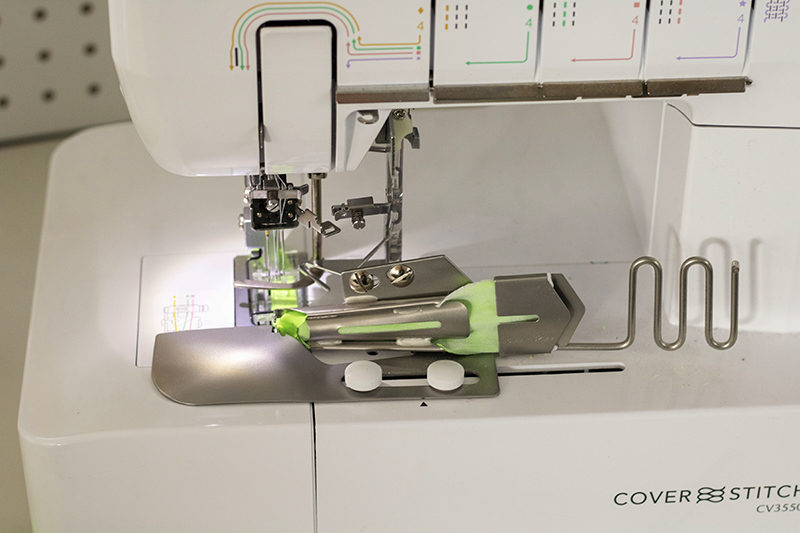 Use the little screws that came with your machine to attach the binding foot to the front of your machine. Cut your knit or woven binding fabric about 1 ⅓” wide. Place the wrong side of the fabric facing you and then push the fabric through the foot guides. When it comes out the smallest end you will see it start to look like a binding. Pull it back and under the machine foot {use the clear one}. Sew a few stitches to make sure your needles are hitting the binding and adjust right and left as needed. Leave your neckline or arm open at one side so you can start and stop without having a full circle.
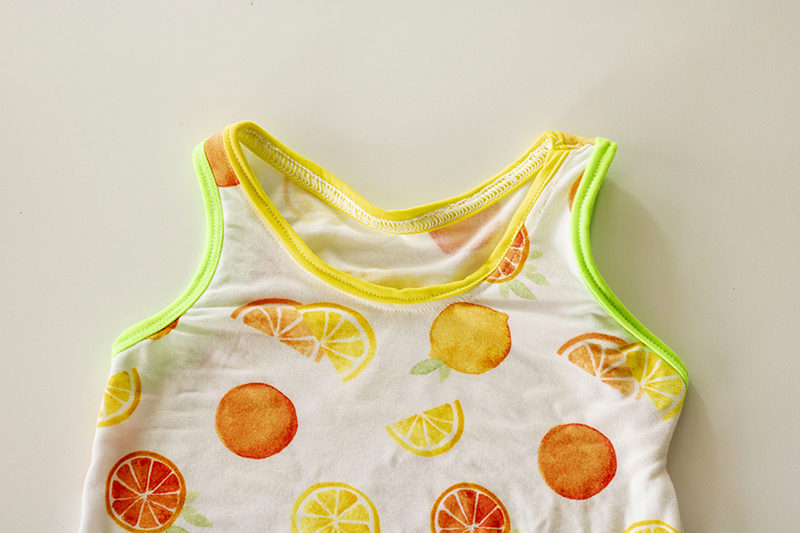
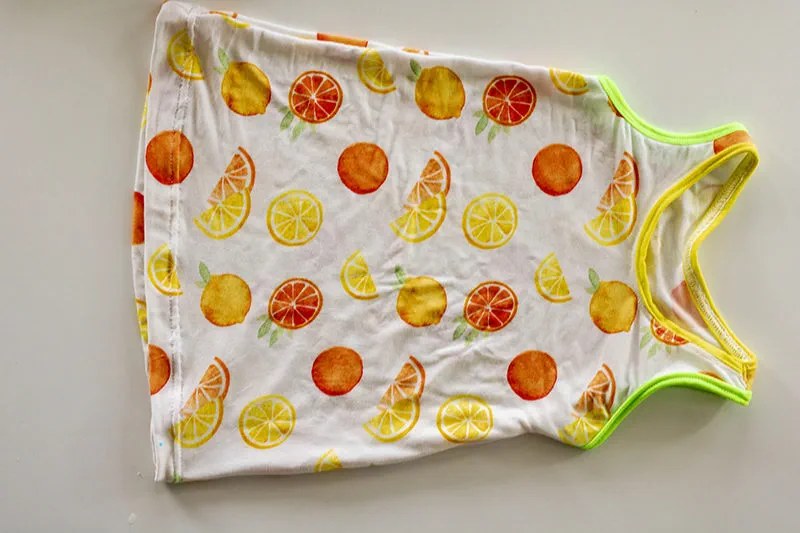
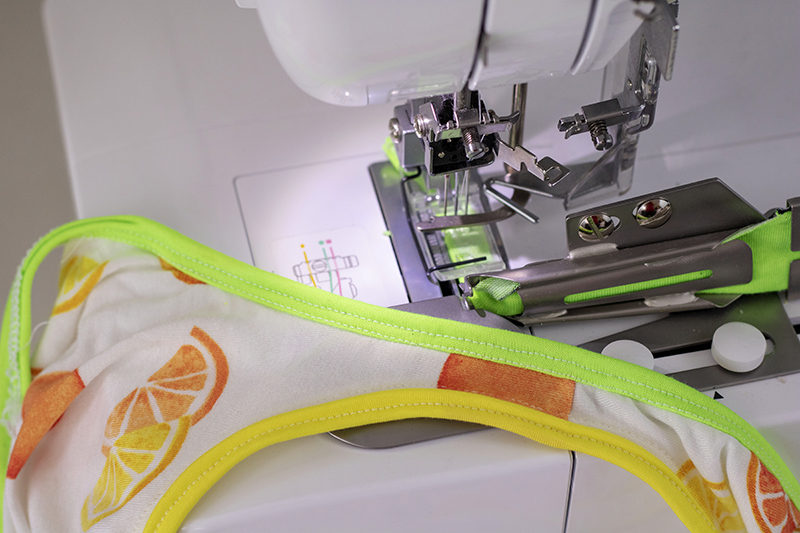 Place your shirt {or whatever you are making} right side up and push it into the binding fold coming out of the attachment. Keep the binding fabric flat and through the guides to the right of the machine. You do not have to stretch the binding; the foot will guide it though at the right tension. When you get to the end of your neckline, sew all the way off and then cut the binding to free your shirt from the cover stitch. Now you have an easy way to add perfectly fit bindings to your clothes.
 [youtube id="3XHxRuGJAzA"]
Related Projects
Stay Connected
* Required fields