A Fun Egg Collecting Half Apron
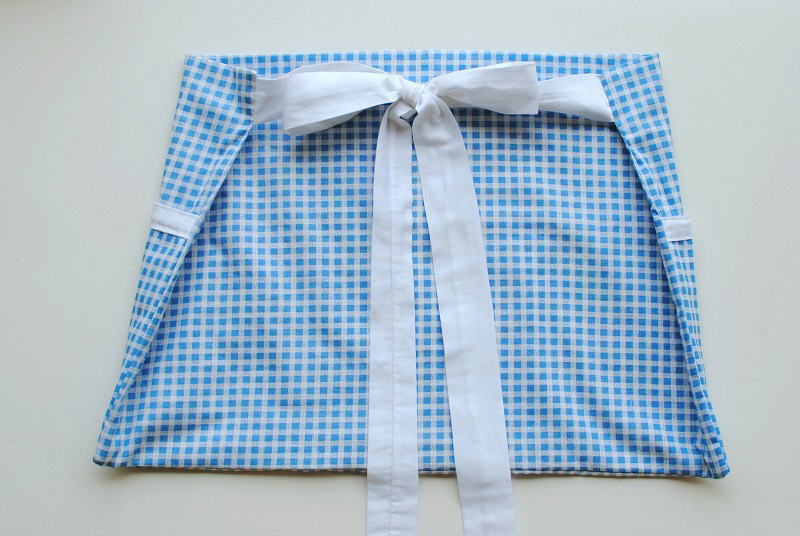
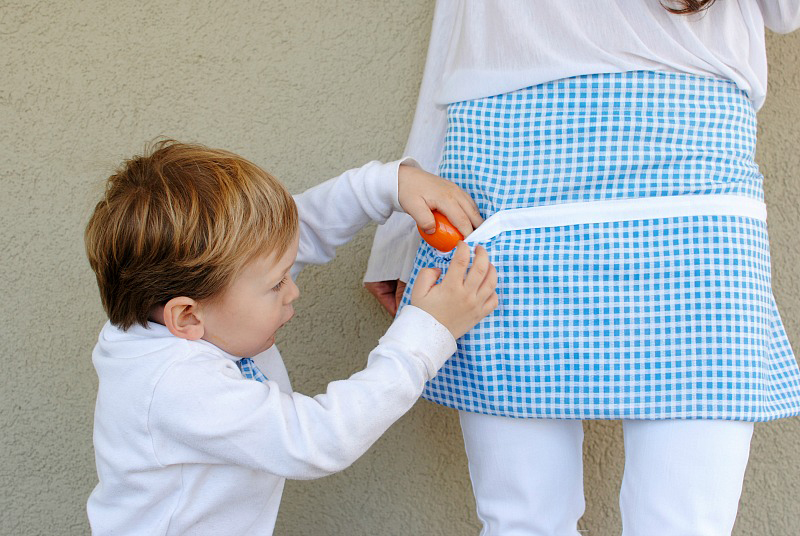
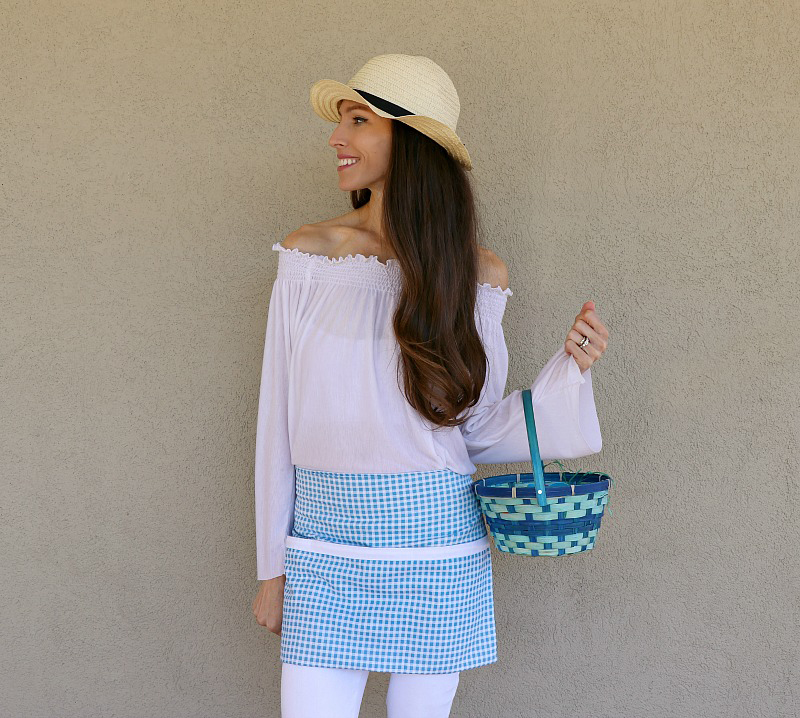
Once the weather begins to warm up, I get inspired to start my Spring sewing. For me, I like to make projects that take me outdoors! We love to be outside this time of year gardening, barbecuing and visiting my sister’s farm. This half apron with front pockets is the perfect project to kick-start your Spring sewing. It’s a versatile pattern that can be used for all activities and simple to make. I made this gingham-one specifically for the upcoming Easter Egg hunt. With three little ones, it means I will have my hands full, so I don’t have to worry about a dozen eggs (literally) to carry. I also like that it looks like a skirt and ties into a perfect bow in the back. My son opted to place each egg in the pockets, so no need for a basket to hold him back.
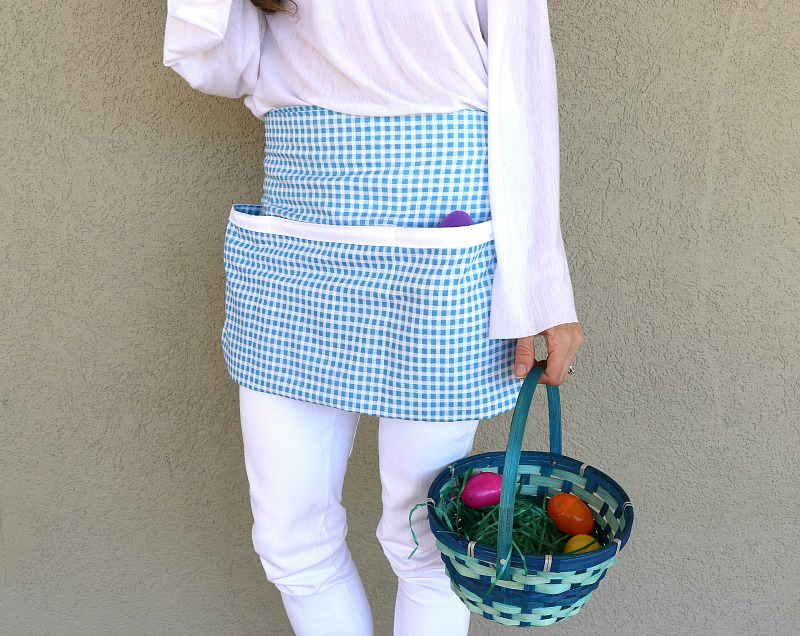 See the details below on how to make your own half apron with pockets!
Supplies:
- Brother SE625 Sewing and Embroidery Machine
- 1.5 yards of fabric
- General sewing supplies
- Loop turner
Fabric:
- Any type of medium weight woven fabric will work for this. I used a gingham print Cotton.
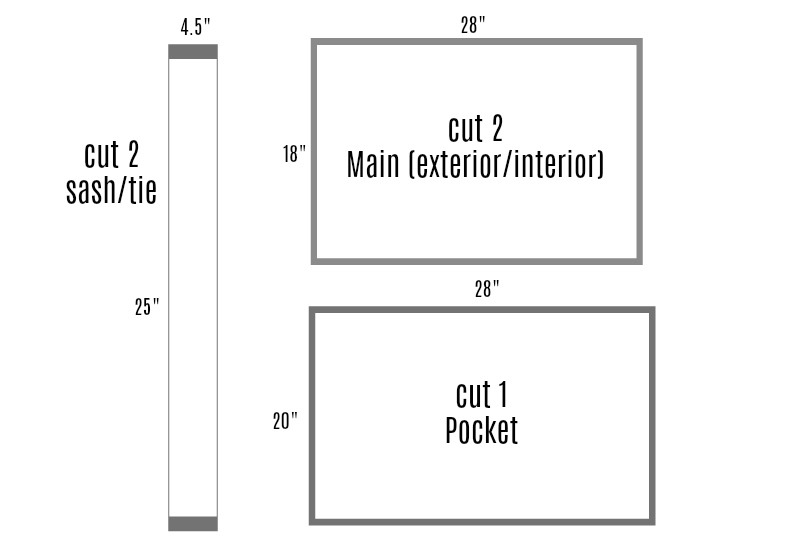
Cutting/Pattern Layout:
- Use either scissors or rotary cutters to cut the pattern out.
- You will have 5 rectangles to cut out with different measurements.
Note: Above is the template I used and the measurements. You will want 2 pieces for the main apron. You can use 2 different fabrics for this. I wanted a full gingham-look for Easter, but you can have fun with this and alternate the front and back fabrics.
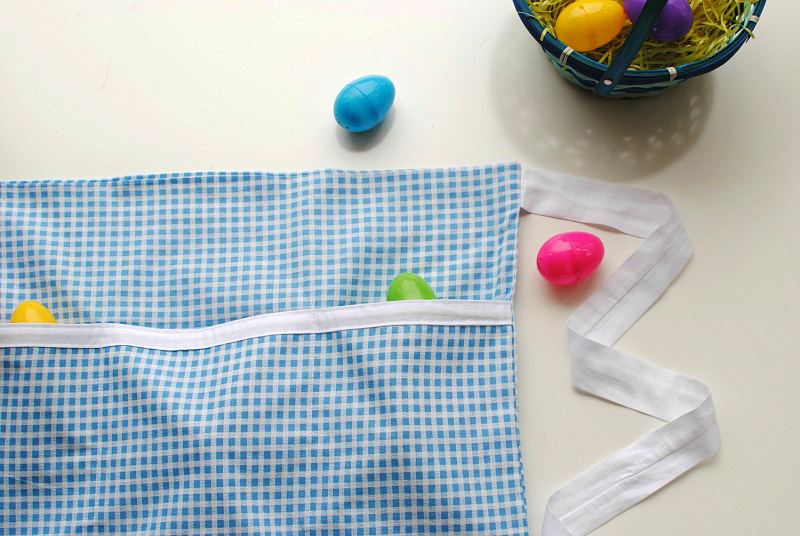
- For the pocket, you will want it to be slightly larger in width as we will be folding it in half.
- The sashes to tie the apron are just strips of white cotton.
- Sewing
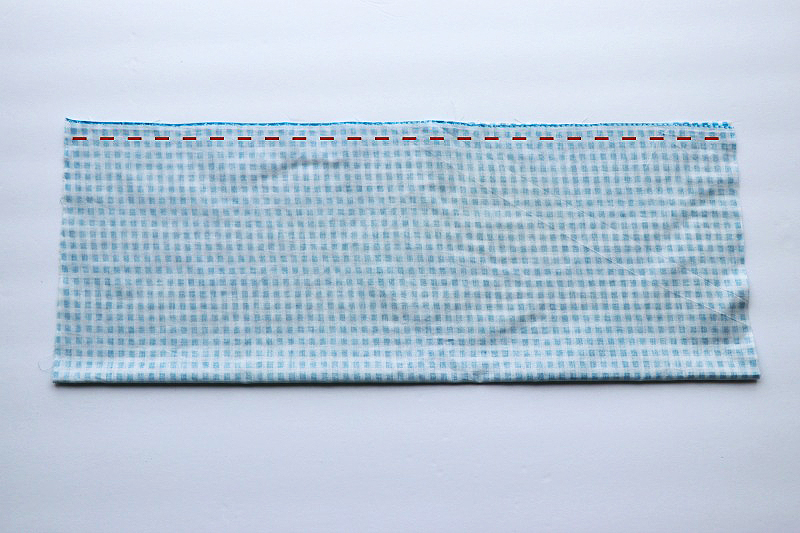 Starting with the Pocket
- Fold the pocket in half right sides together and sew ¼” seam allowance.
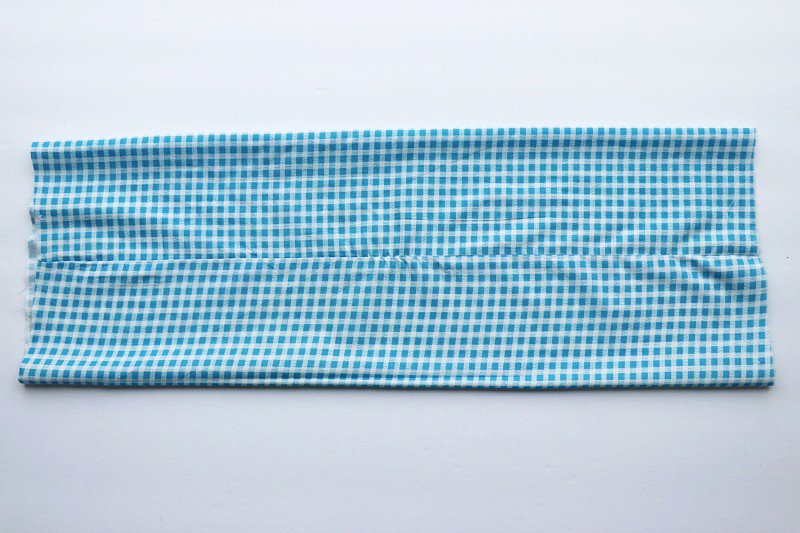
- Turn right side out and press, so the seam is in the center back.
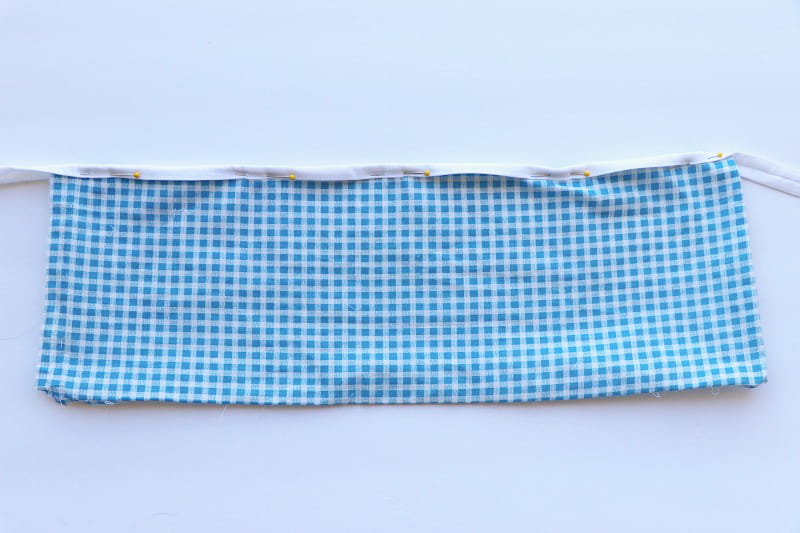
Optional: Because I’m using 1 print, I added bias tape along the top edge of my pocket for contrast.
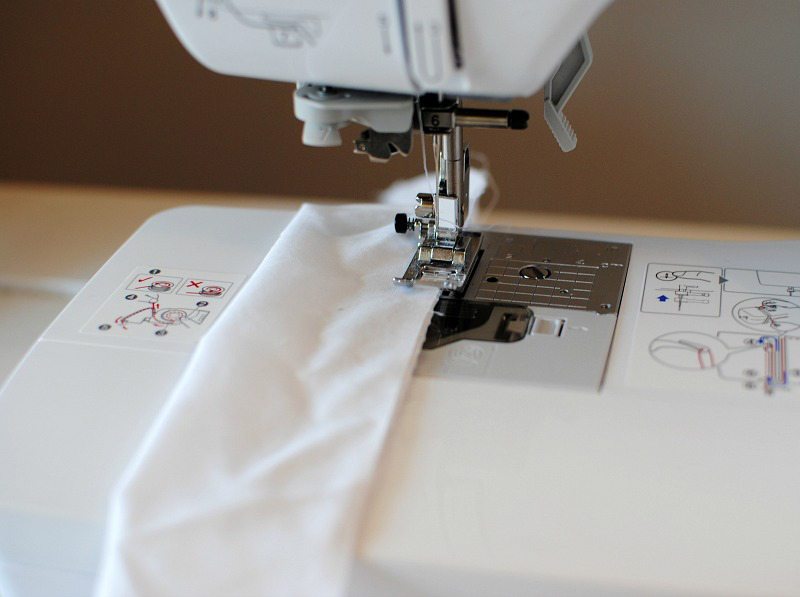
- Create Your Sashes
- Fold the strips right sides together and sew ¼” seam allowance.
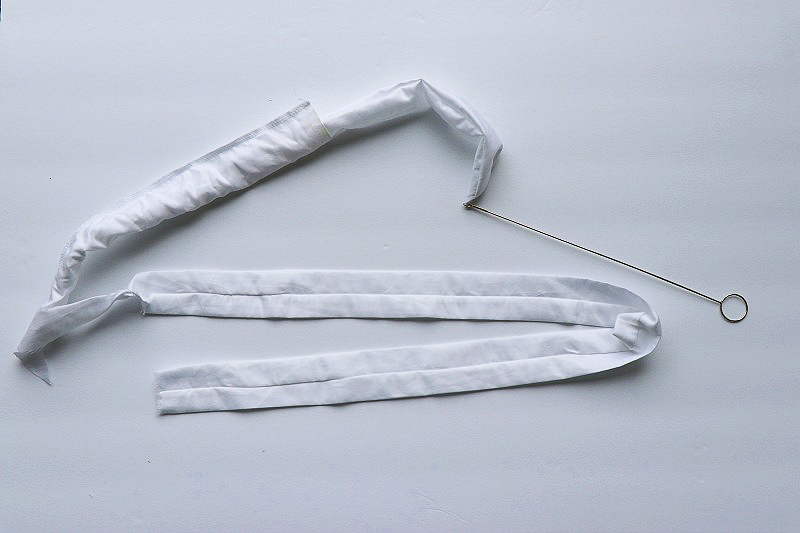
- Pull right side out with a loop turner.
- Press so the seam is in the center back.
- Fold in one outer edge, towards the wrong side and edge stitch.
- Save for later.
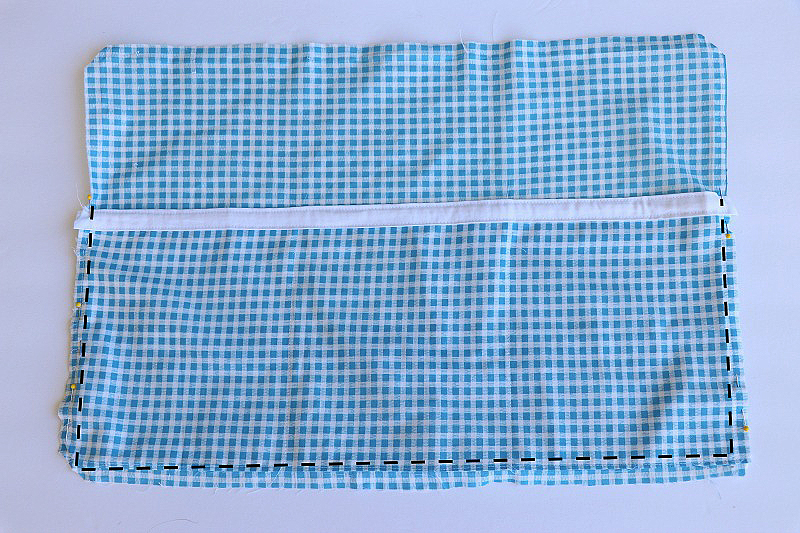
- Place the pocket on the top main piece about 1/4” up from the bottom edge.
- Pin into place and edge stitch into place.
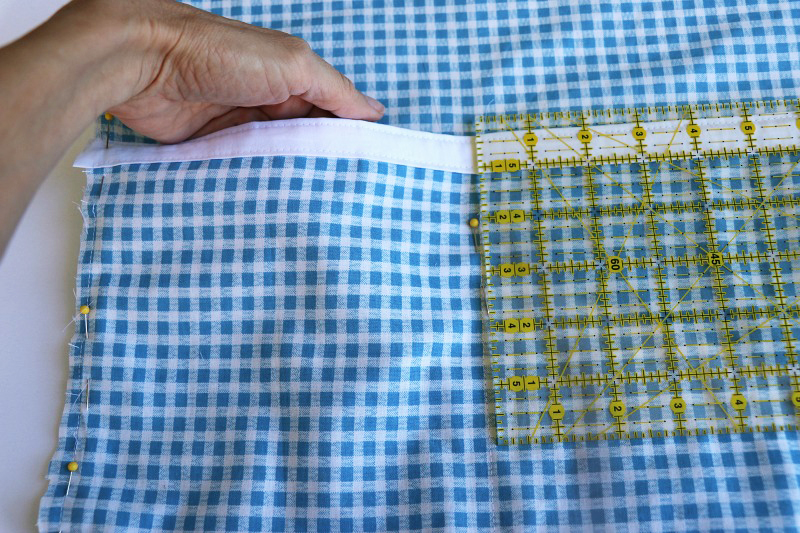
- Pockets
- Use a ruler and mark out where you want your pockets to be with a fabric marking tool or pins.
- I did 3 even pockets about 9” apart. You can customize this however you’d like. Maybe you just want 2 large pockets so just mark directly down the center.
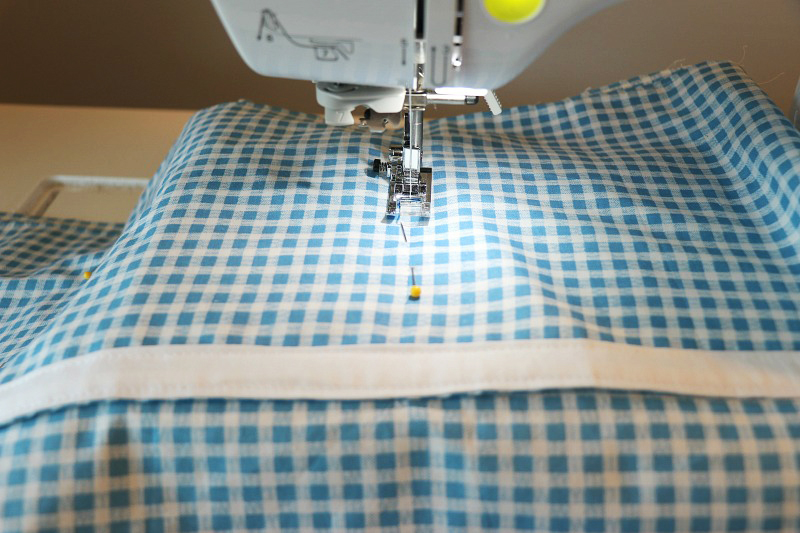
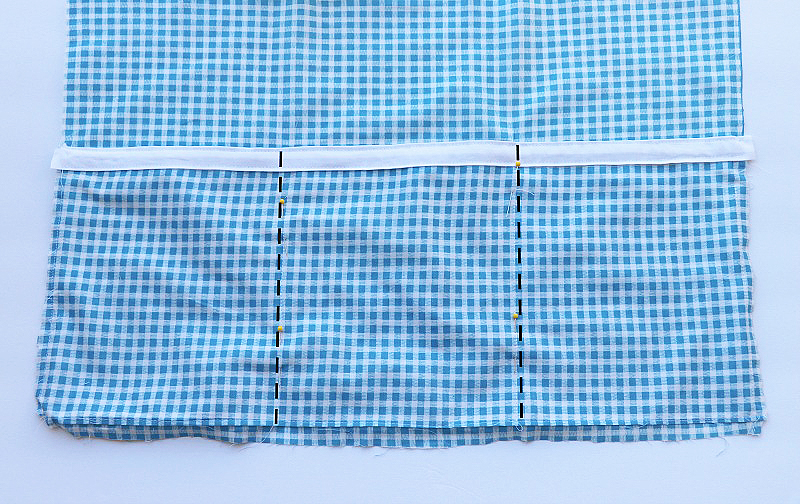
- Top stitch the pockets into place.
- Start at the bottom of the pocket, backstitch, and sew to the top edge of the pocket and make sure to do a secure with a back stitch.
- Repeat for the remaining pockets.
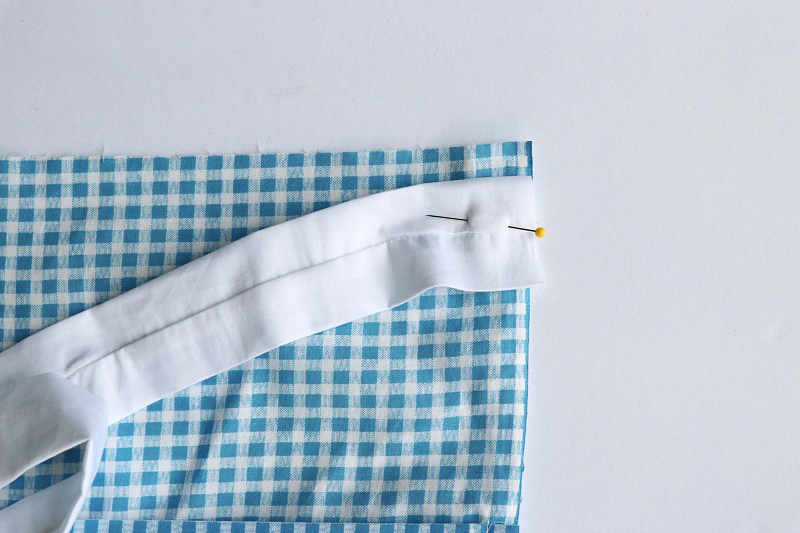
- Place the sashes just a little over ½” down from the top; side edges so right sides are together. Pin and baste stitch into place.
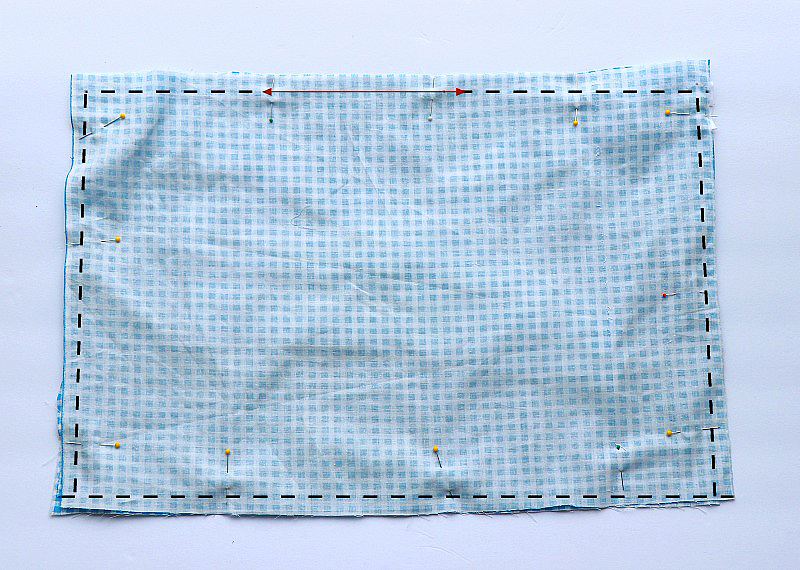
- Place the back main piece over the top main piece so right sides are facing and the sashes are tucked inside. Pin into place.
- Mark a 5” gap along the center top edge with pins or marking tool.
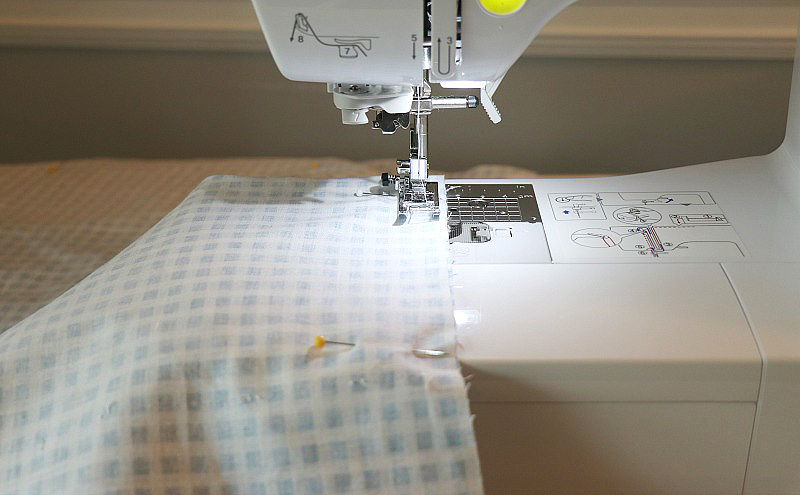
- Sew right sides together with a ½” seam allowance leaving the top gap open.
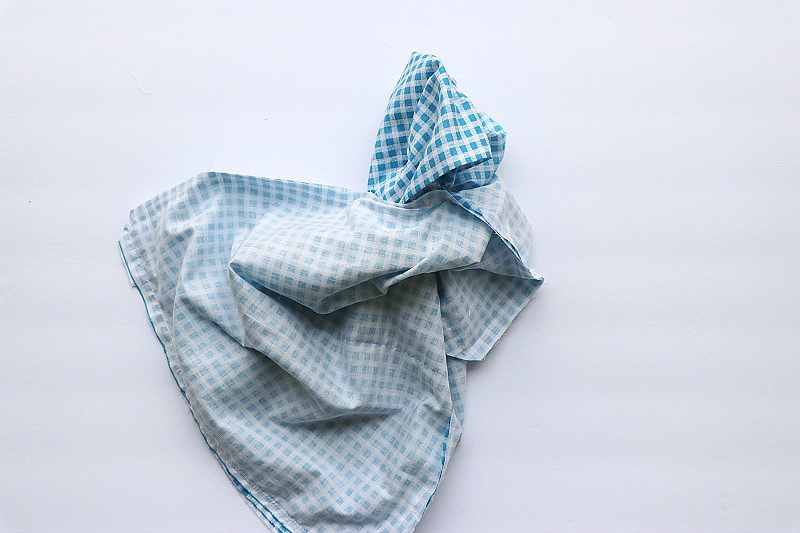
- Pull right sides out through the top opening.
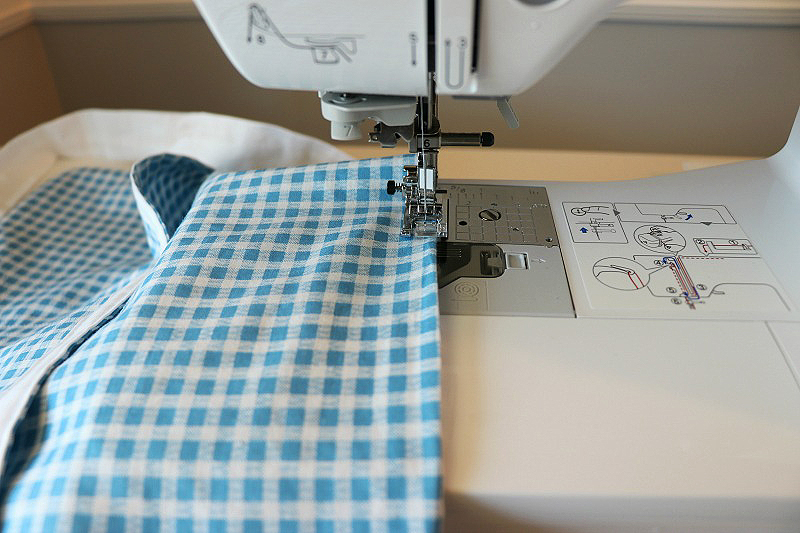
- Top stitch the top edge closing the opening.
