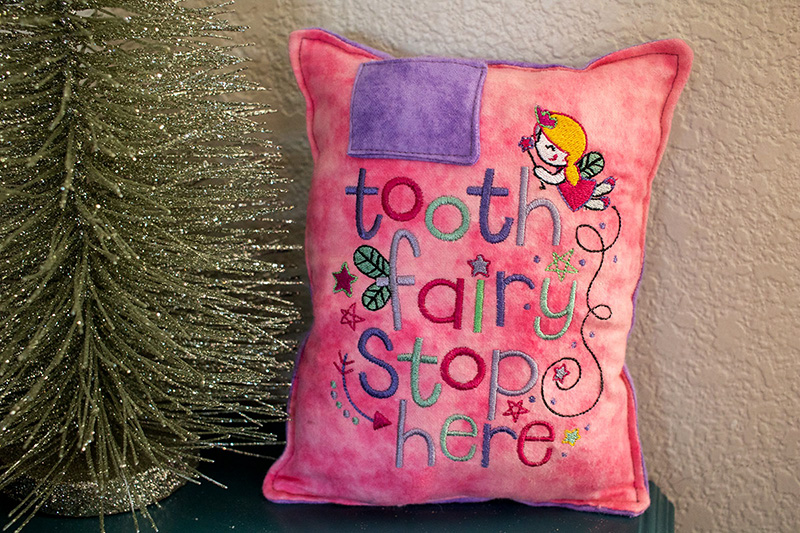
Adorable Tooth Fairy Pillow
My daughter has her first loose tooth. She is over the moon about the thought of losing a tooth and has been waiting for what seems like forever for this to happen. I thought I would celebrate this life changing event with a cute little tooth pillow and today I’m going to share the tutorial so you can make one too!
You will need:
- Flannel or other soft fabric (fat quarters or small scraps)
- Embroidery design of your choice (any PES file of your choosing - I found this adorable tooth fairy design on Etsy)
- Embroidery Thread
- Embroidery Stabilizer
- Stuffing for pillow
- Machines used LB5000M,
and Essence Innov-ís VM5200
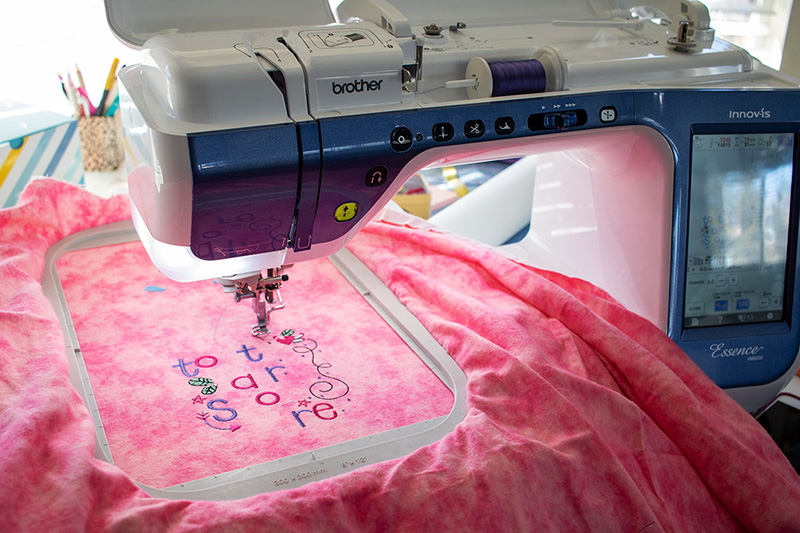
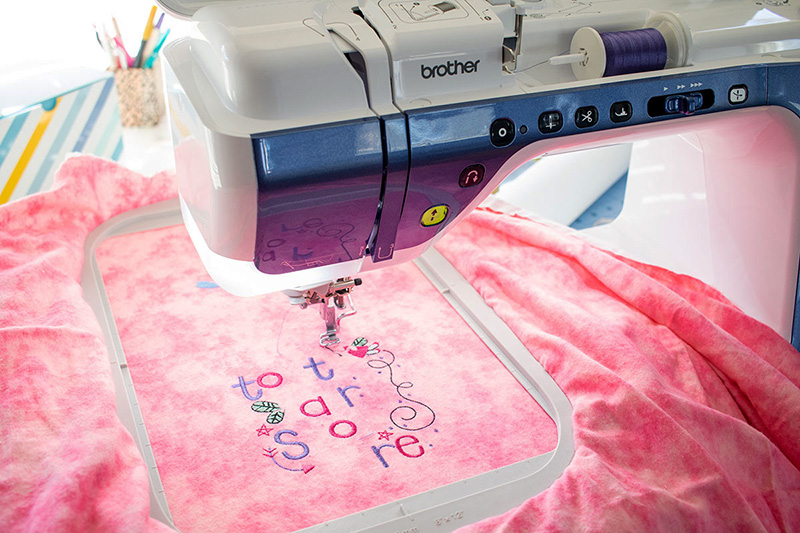 If possible, I like to embroider before I cut my fabric to size. So, begin by embroidering your design to the flannel leaving a few inches on all sides of the design.
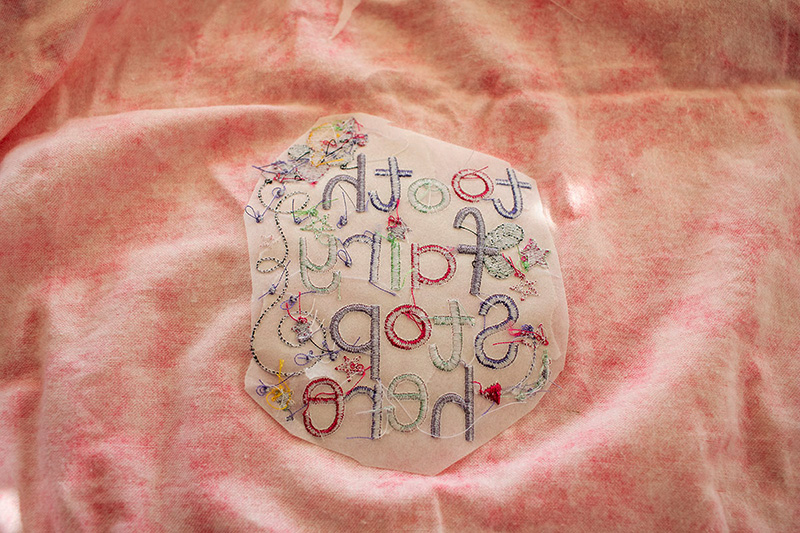
 After the design is finished, trim the stabilizer on the back side to remove the extra.
 Cut a front and back pillow 7.5 x 9” (or whatever size you want your pillow to be.) I used two different colors of flannel for a cute, soft pillow to cuddle. Cut one more piece 2 x 4” for the tiny tooth pocket.
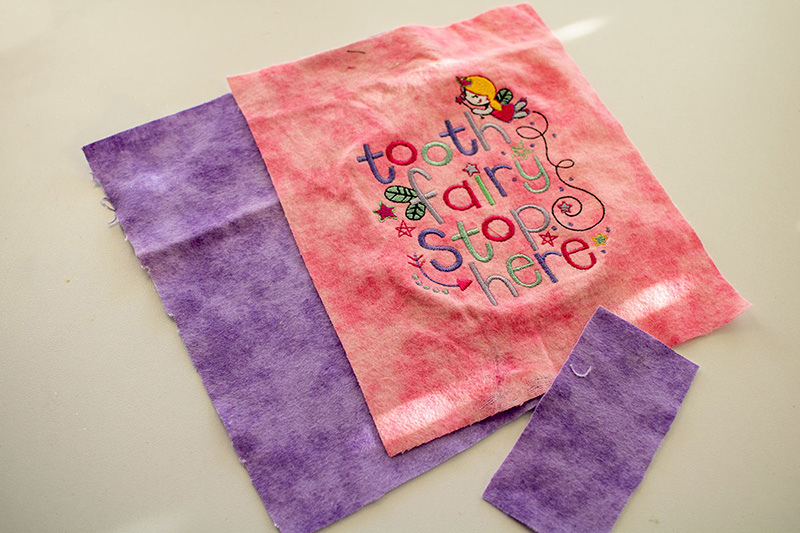 With right sides together fold the tooth pocket piece in half and stitch almost all the way around the raw edges. Leave a small opening to turn right side out. Sew with a ¼” seam allowance. You should have a tiny square.
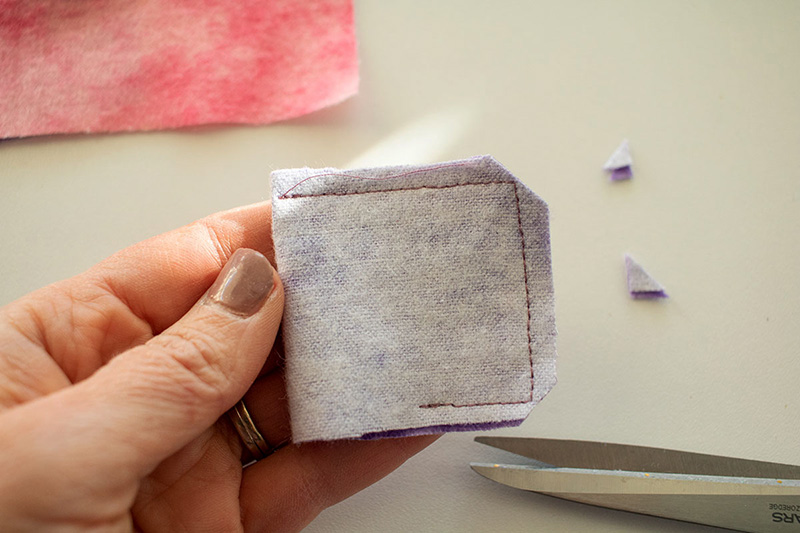 Turn right side out after clipping the corner and press flat. Fold the seam allowance inside the turning opening and stitch shut.
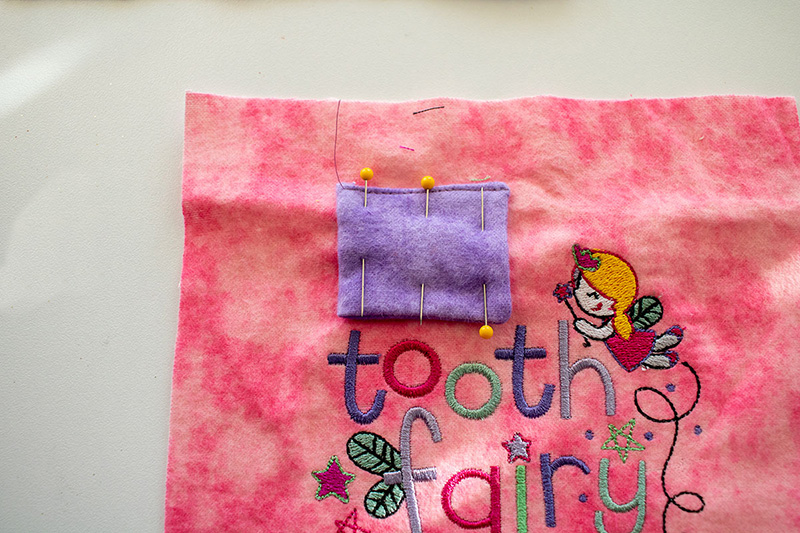
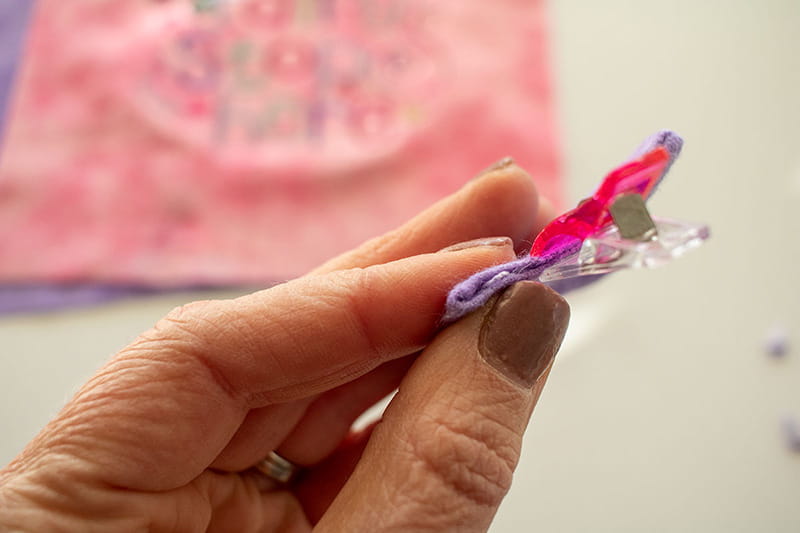 Pin and sew the tooth pocket somewhere on the front side of your tooth pillow main piece. I put mine in the upper left corner. Stitch around the sides and bottom of pocket to attach to the pillow front.
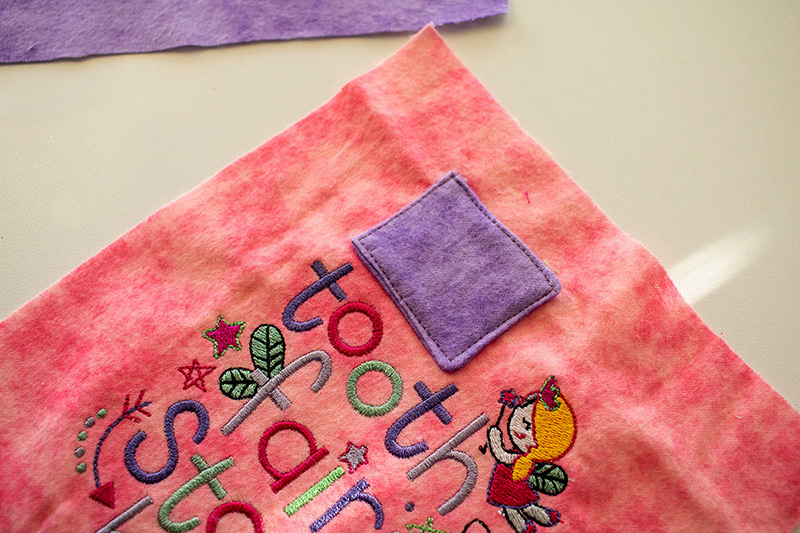 With right sides together place the pillow front and back together.
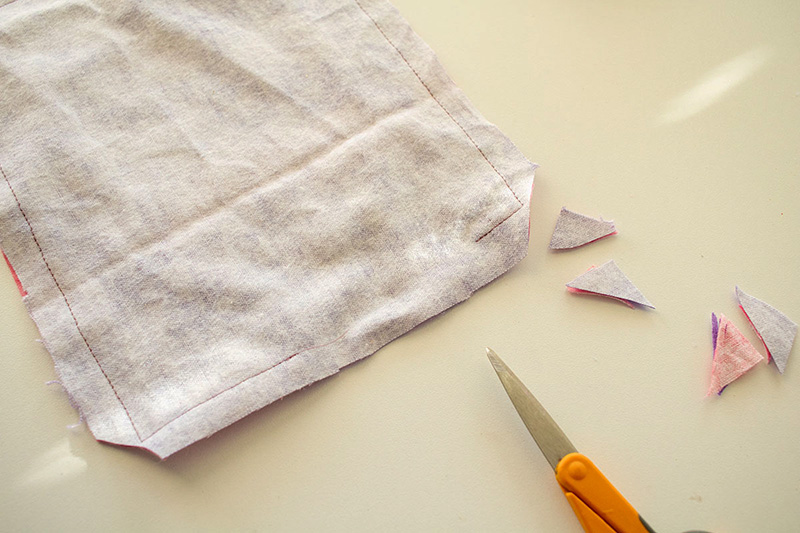
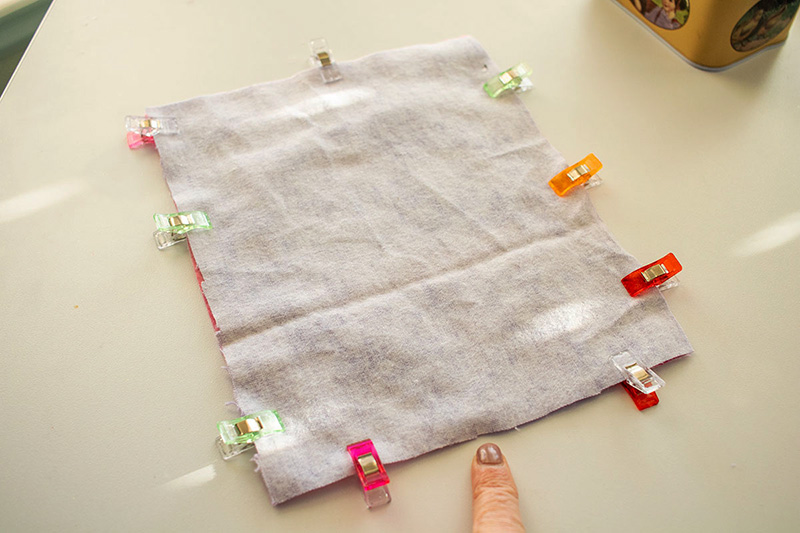 Sew with a ⅜” around the edge of the pillow. Leave a 3” opening to turn the pillow right side out. Clip the corners before turning.
 Use stuffing to fill the pillow to your liking. You can make it really fluffy or more flat, whatever you wish.
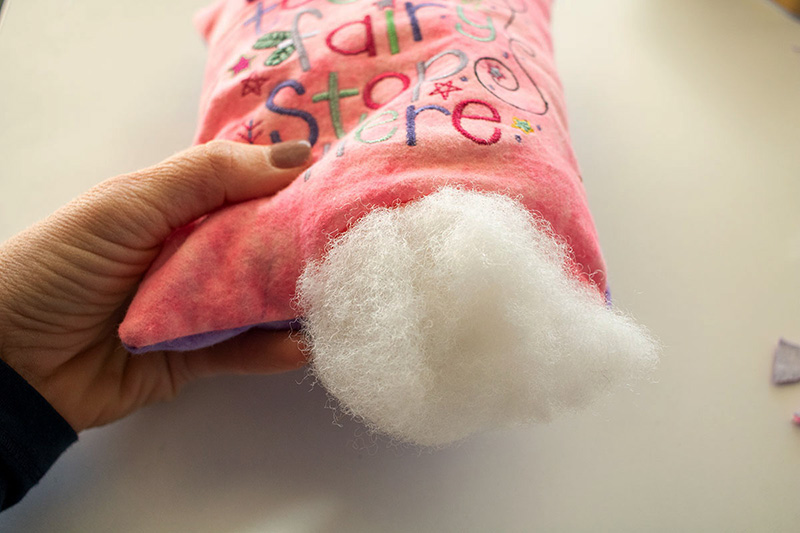 Once again turn the seam allowance of the turning hole inside the pillow. Pin the opening close and either hand stitch closed or sew closed with your machine. I chose to top-stitch all the way around my pillow.
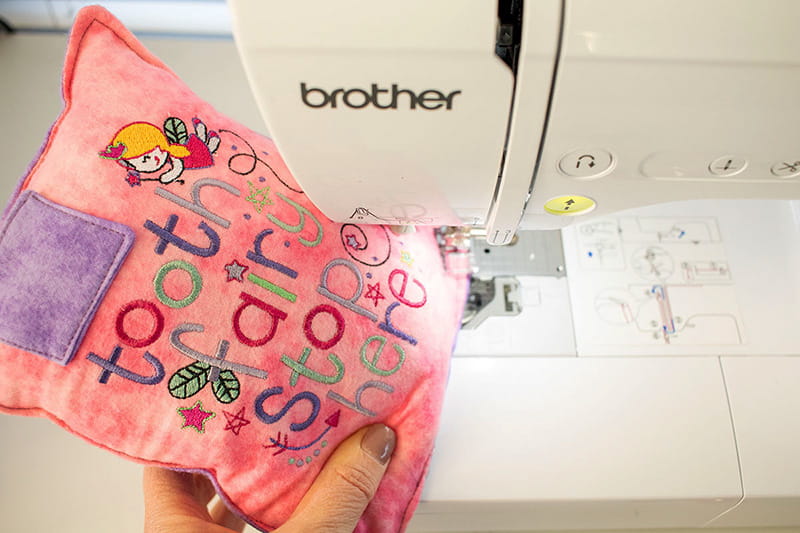 Now you have a super adorable tooth pillow! This makes a great gift for anyone loosing a first tooth. We don’t even really do the tooth fairy with our kids, but they LOVE putting their teeth under the pillow and waking up to some coins in its place. This is a great way to keep the tooth in a safe place and also for the money you are putting in exchange for the tooth.
