Applique Star: Ornament or Coaster Project
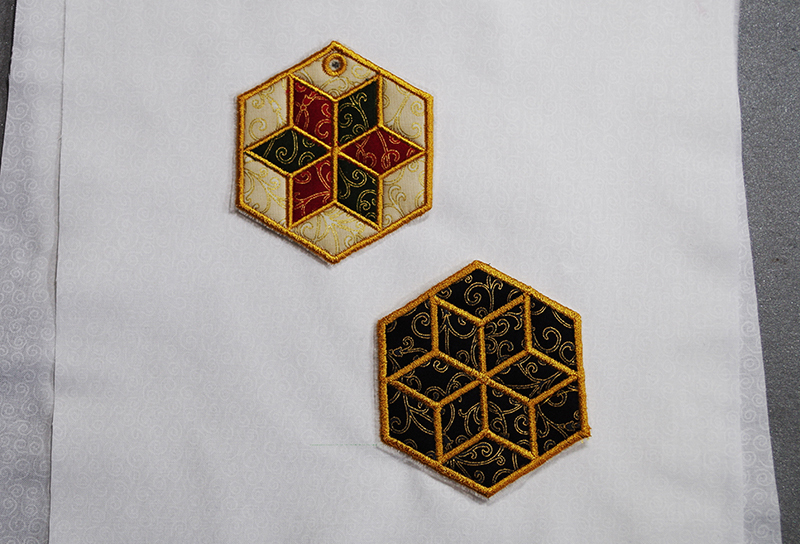
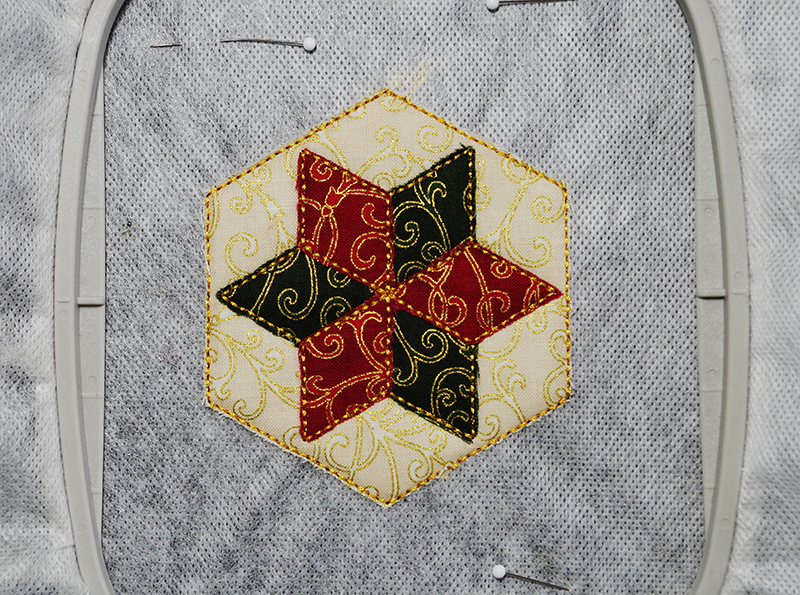
Create as many great little Free Standing Applique Star ornaments or coasters as you want with this free design. It looks good on both the front and back sides. This is achieved by using the same thread color in the bobbin and top thread. It’s a great little design that fits within a 4” x 4” hoop.
Materials:
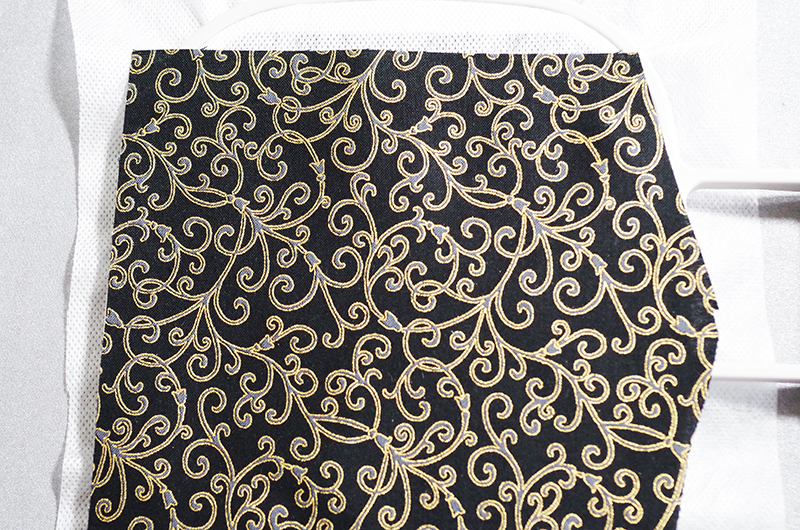
- 5” x 5” Each for Background fabric, Star fabric 1, Star fabric 2 and backing fabric (Total of 4 fabrics)
- 5” x 5” Batting or fleece
- Stabilizer – Wash Away Stabilizer
- Thread – One color thread to complement the fabric
- 4” x 4” embroidery hoop
- Free Standing Star_V5.pes
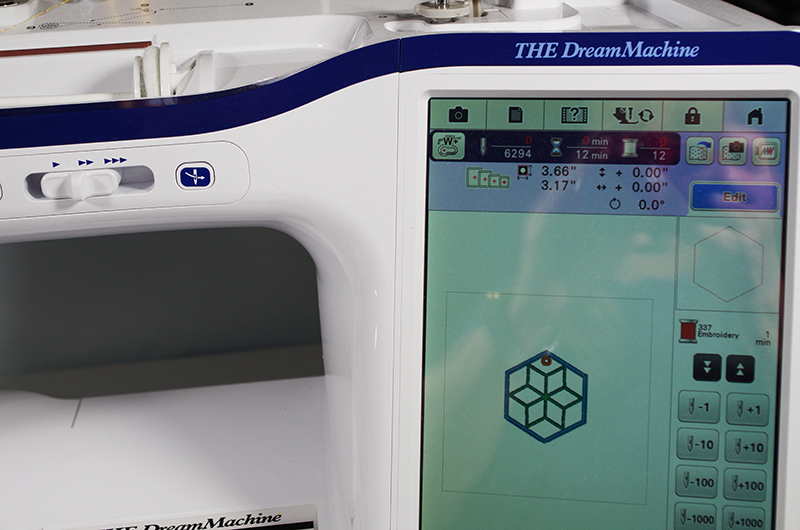
- THE Dream Machine
Embroidery Directions:
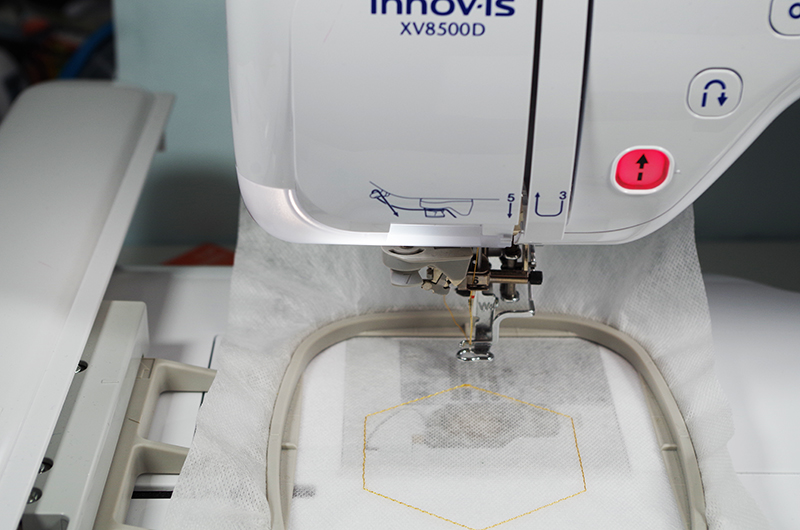
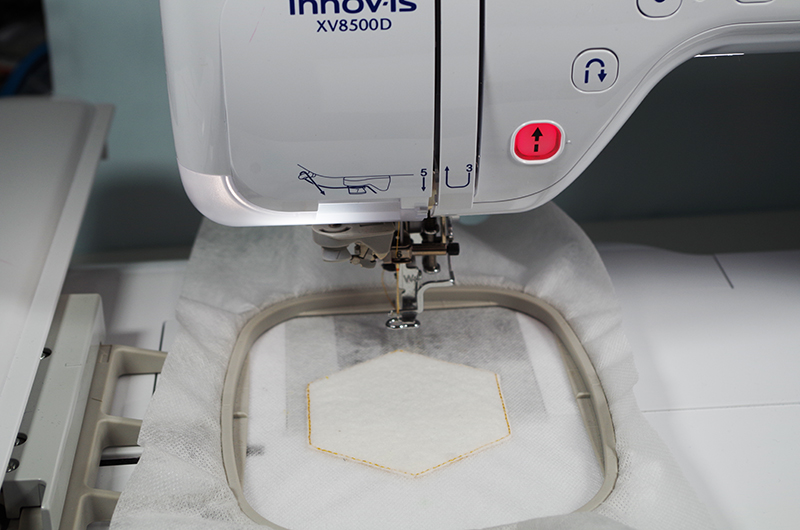
- Hoop the Wash Away stabilizer in the 4” x 4” hoop.
- Transfer the Free Standing Star Design to the machine.
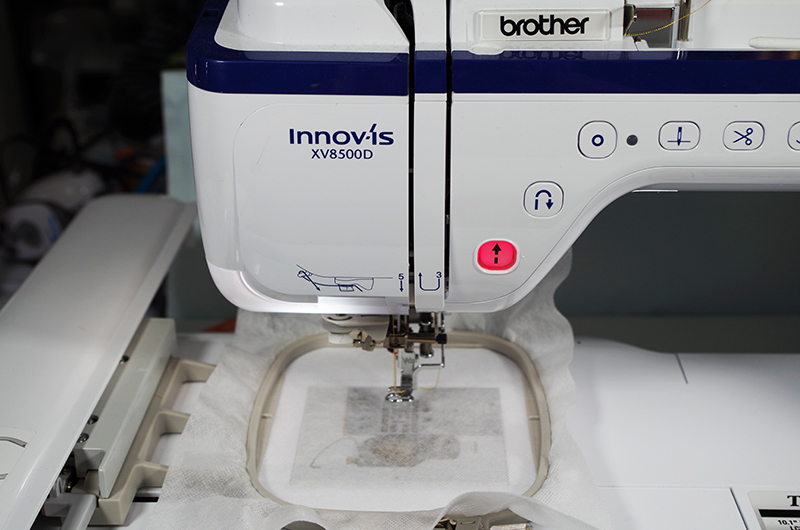
- Attach the hoop to the embroidery machine.
- Stitch out Placement stitches onto the Wash Away Stabilizer.
- Place the Fleece or batting on top of Placement Stitches. Secure the Fleece or Batting by stitching out the Tack Down Stitch, color change 2. Remove the hoop from the embroidery machine, place on a flat surface and trim the outside edge of the Fleece or Batting. Return the hoop to the embroidery unit.
- Place Background fabric on top of the trimmed Fleece/batting. Secure it with Step 3 (color change 3) which is the Tack Down Stitch.
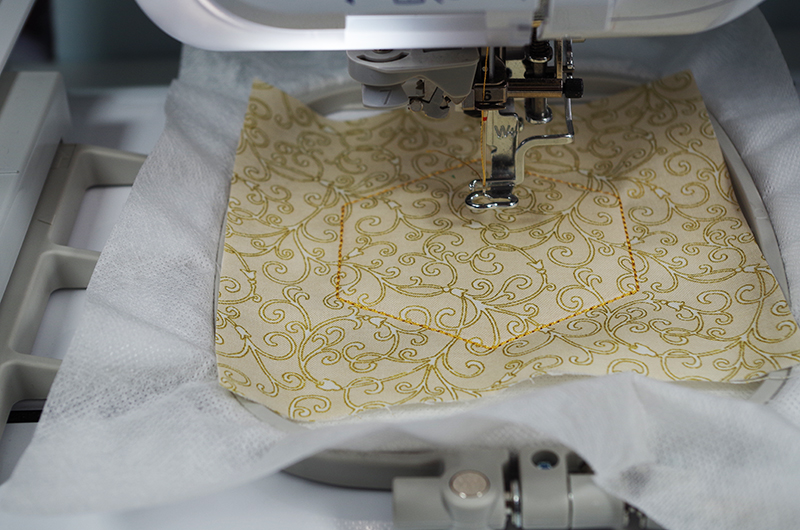
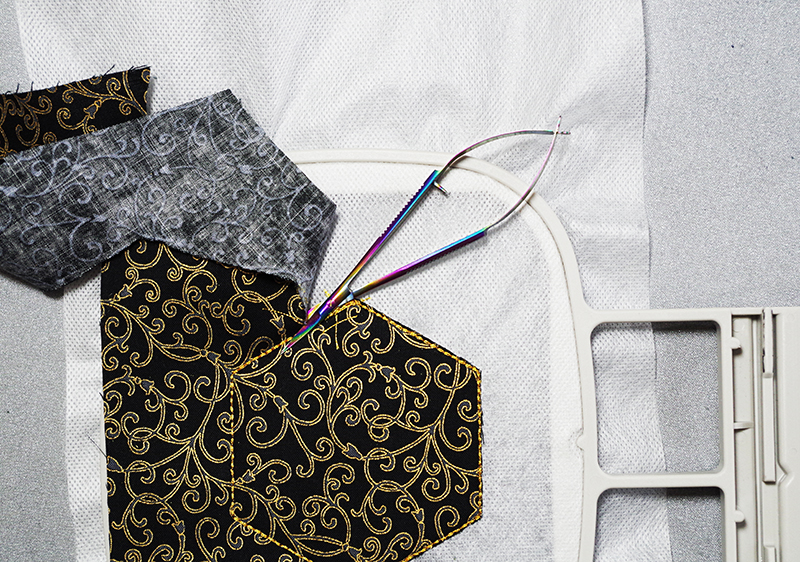
- Remove the hoop from the embroidery unit, place it on a flat surface. Trim the excess fabric and return the hoop to the embroidery unit.
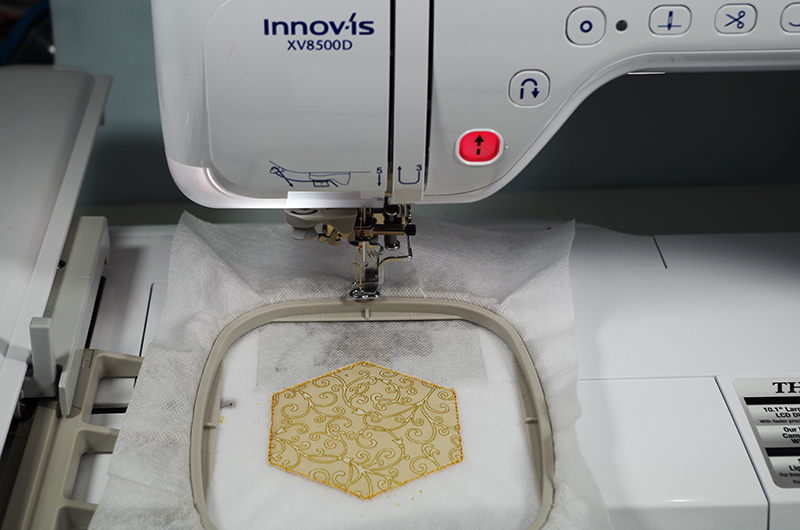
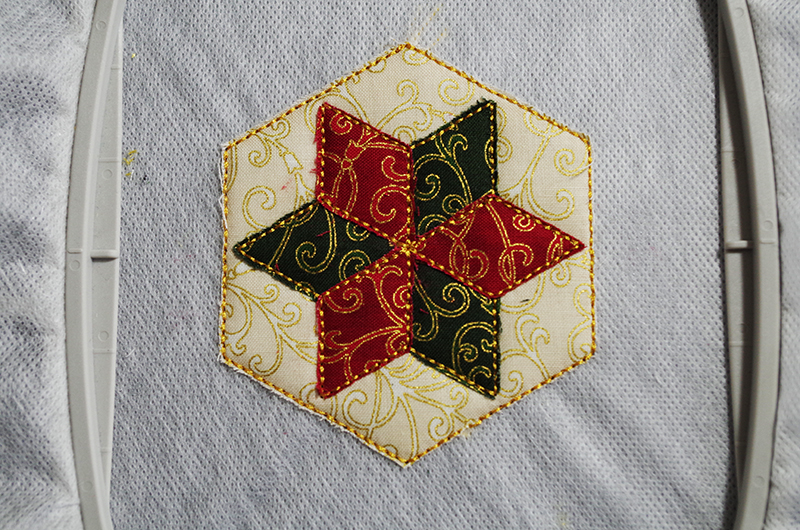
- Repeat the Tack Down and Trim steps for the 2 colors in the Star.

- Remove the hoop from the embroidery unit and turn it upside down. Place the backing fabric on the back of the hoop. Turn over the hoop right side up and pin the backing fabric in the 4 corners. Return the hoop to the embroidery unit.
- Thread color 8 is a tack down stitch, which will secure the backing fabric. After the Tack Down stitch, remove the hoop from the embroidery unit, place it on a flat surface. Turn over the hoop and trim the backing fabric.
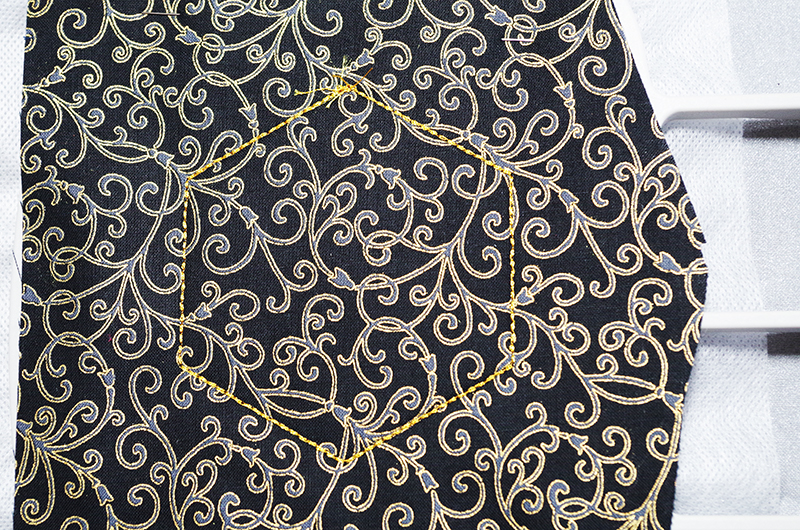
- The next two steps are the satin stitches for the inside Star and outer edge.
Note: This would be the time to change the bobbin thread to match the top thread to get a pretty finish on the backside of the Star ornament or coaster.

- You are finished making a coaster. If you wish to make the ornament, complete the last 2 steps. The first one is the placement stitch for the circle at the top of the ornament. Poke a hole in the center of this circle before the final satin stitch.
- Remove the design from the hoop. Trim the excess wash away stabilizer from the design. Rinse the edges of the design to remove any remaining wash away stabilizer.
Related Projects
Stay Connected
* Required fields