Create a Fun Circular Bag
There are so many ways to embellish fabric with a sewing machine including free motion embroidery, couching, and decorative stitching to name a few. Why not combine all of these! In this blog post, I showed how to use the circular attachment which adapts to various Brother sewing machines. Now, what to do with this new fabric – we can never have too many zippered bags (😊)
Supplies:
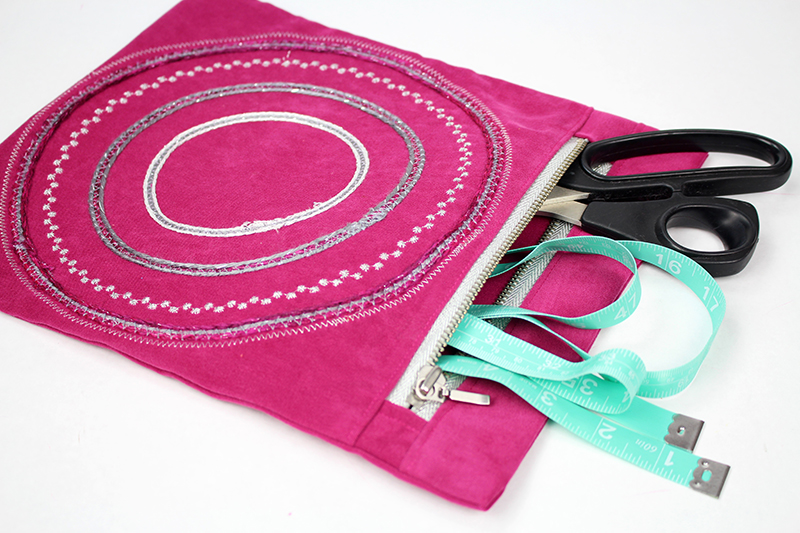
- Brother Circular Attachment, Yarn, metallic thread, tearaway or cutaway embroidery stabilizer or fusible interfacing 10 ½” x 10 ½”, 7” zipper
Fabric
- Faux suede, cotton, linen, tweed
- Zipper Tabs: 2” by 5” (cut 2)
- Front A: 10 ½” x 10 ½” (cut 1)
- Front B: 10 ½” x 3” (cut 1)
- Back: 10 ½” x 13” (cut 1)
- Fusible interfacing: 1” by 10 ½” (cut 2)
- Machine Used: Brother Dreamweaver XE VM6200D
with SACIRC1 Circular Attachment
Design the fabric using the Brother Circular attachment:
- Stabilize the fabric before using the circular attachment.
- A couple of options are to use a cutaway or tearaway stabilizer attached to the wrong side of the fabric with a temporary adhesive spray or use fusible interfacing for a permanent fix.
- If using the fusible interfacing, after the fabric is designed you are ready to go. Otherwise tearaway or cutaway the embroidery stabilizer.
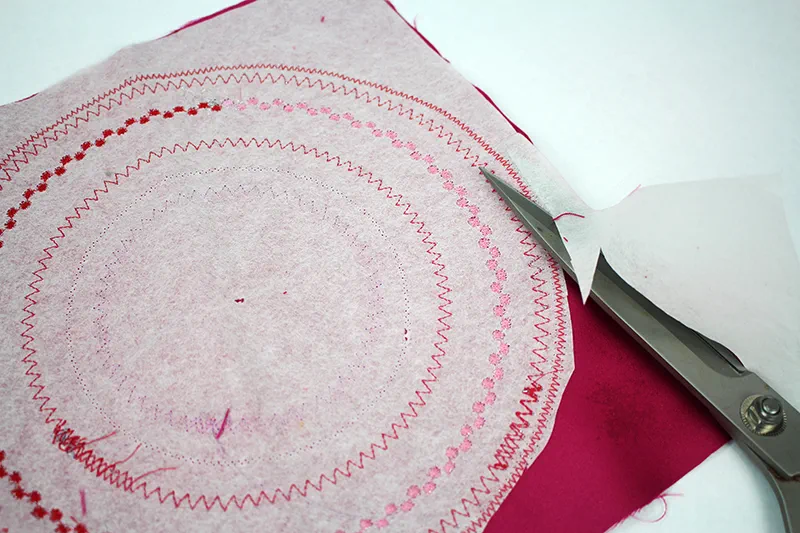
Prep Zipper
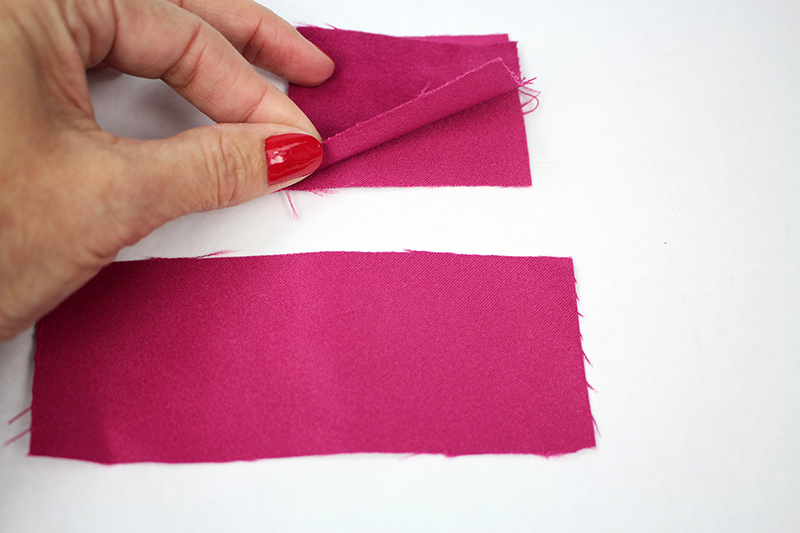
- Press the fabric zipper tabs in half.
Note: If the fabric is thin, stabilize the wrong side of the fabric with fusible interfacing.
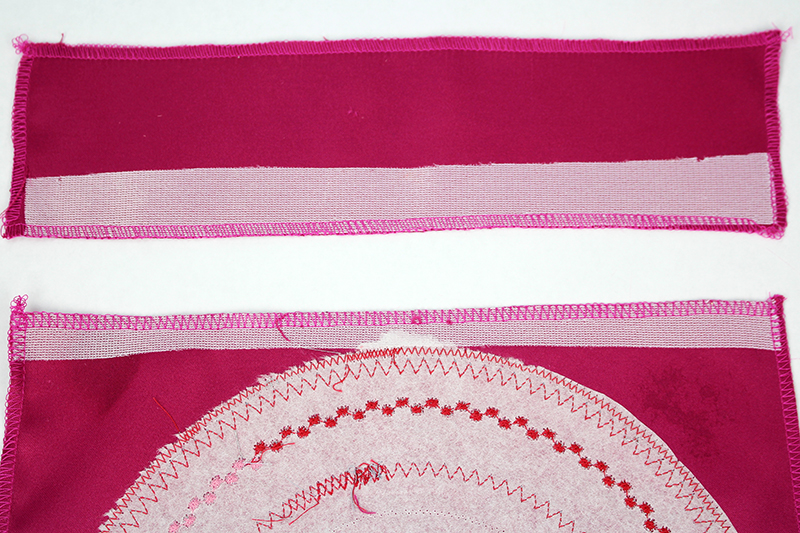
- Press fusible interfacing to the wrong side of fabric pieces front A and B along the zipper opening. If the fabric frays, finish the edges. Use an overlock or zigzag stitch on the sewing machine or serge with a 3-thread wide overlock stitch.
- Place the fabric zipper tabs, with folded edge toward the zipper teeth, at each end of the zipper tape. Stitch as shown below.
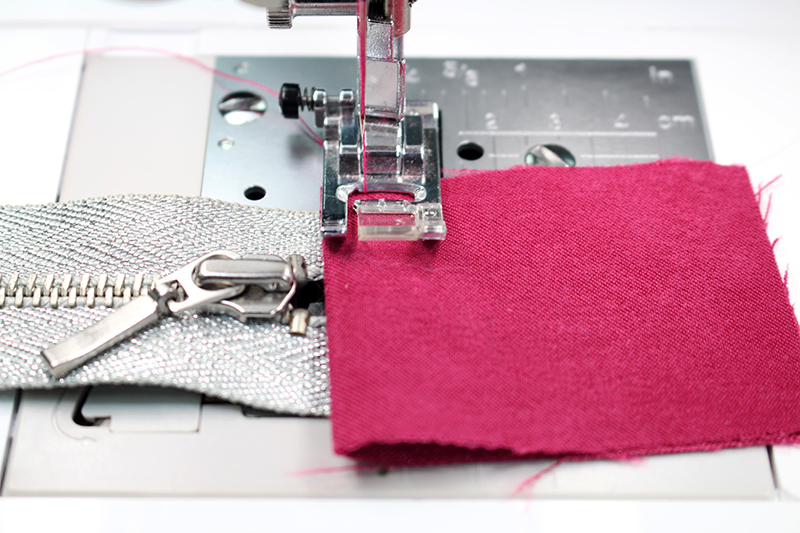
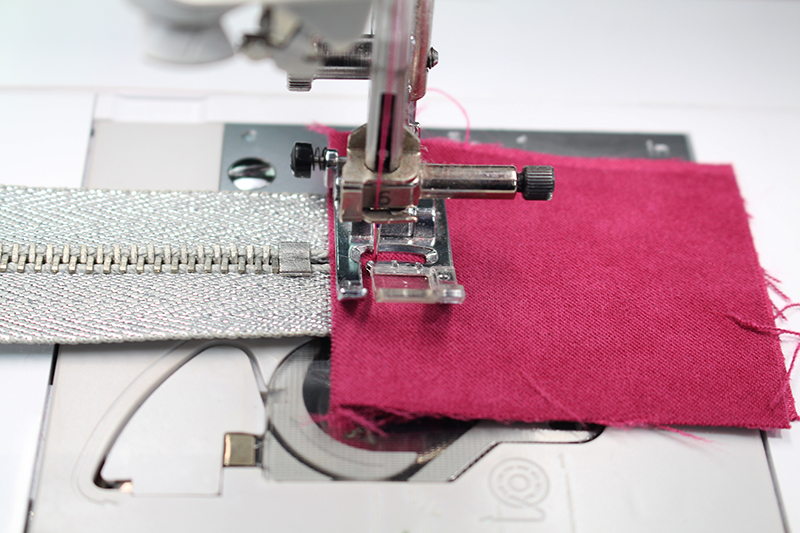
- The zipper is ready for the bag. My fabric is fraying like crazy, so I went ahead and serged the raw edges.
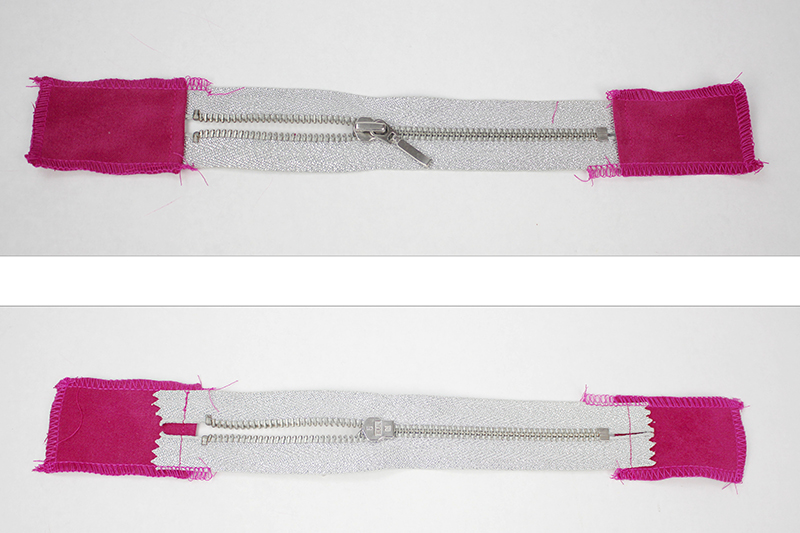
Insert Zipper
- Center the zipper between fabric pieces front A & B
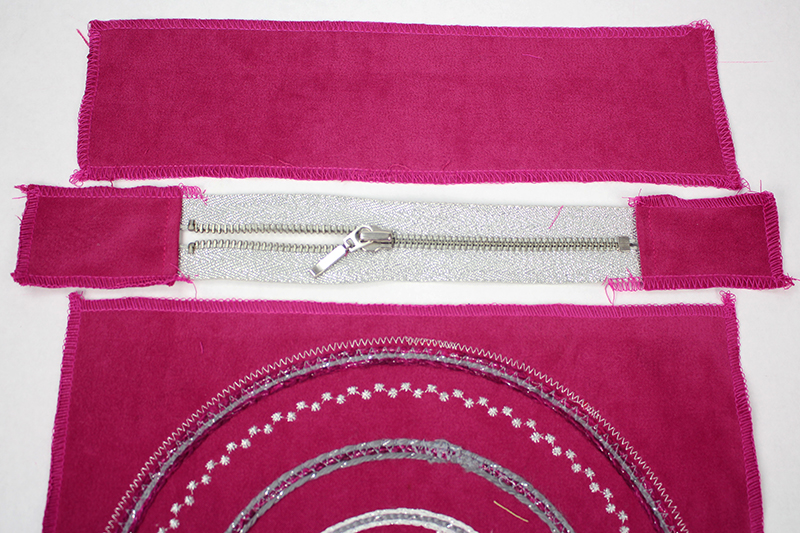
- With right sides together, fold the zipper over Fabric piece front A as shown. Pin.
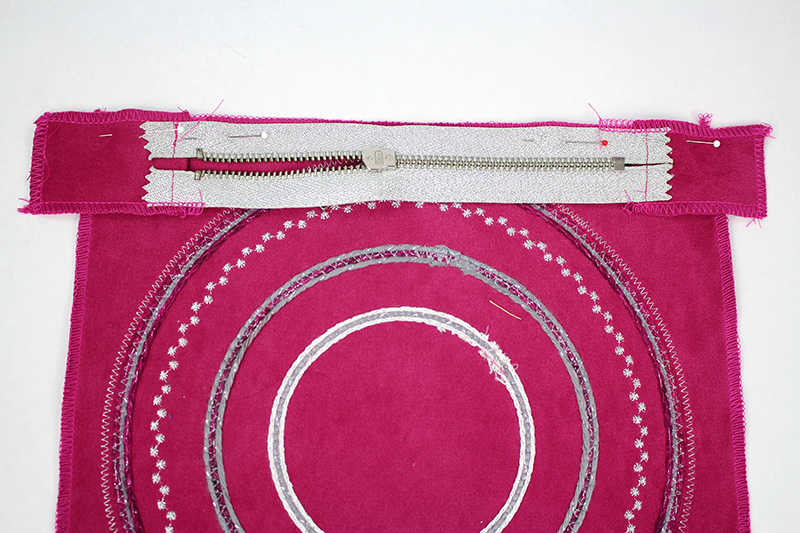
- Change to a zipper foot. Stitch.
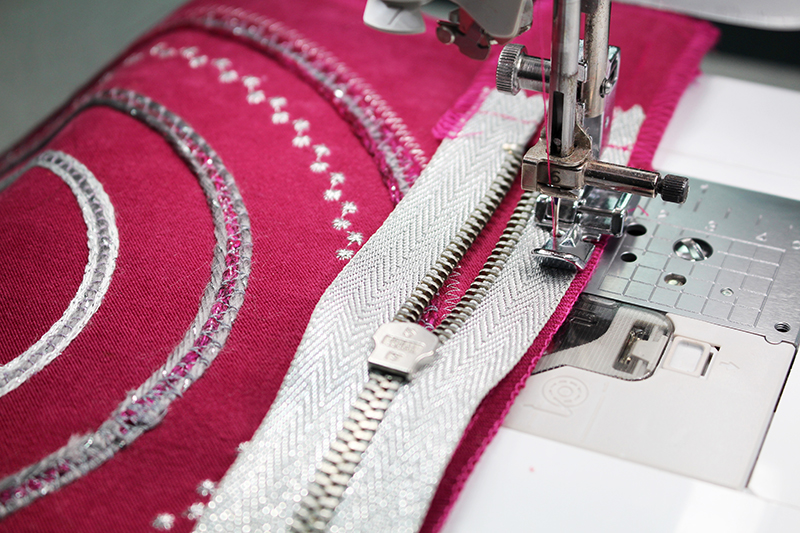
- Press the seam allowance toward the fabric and topstitch.
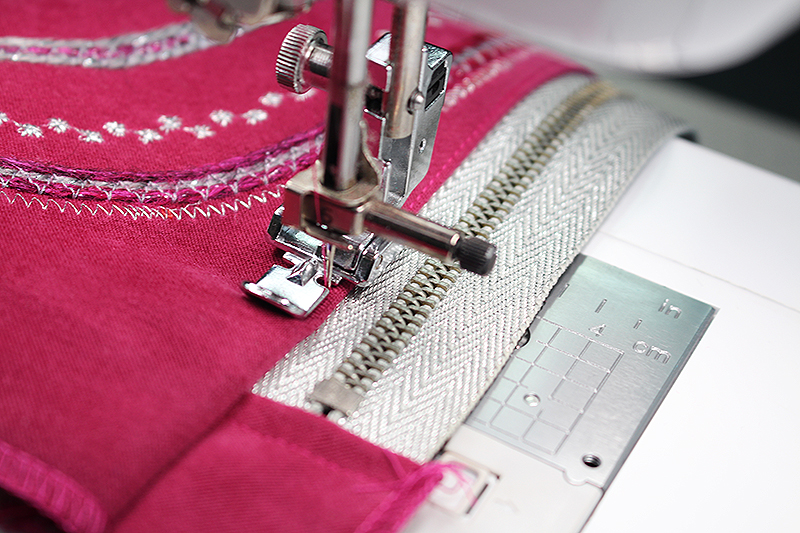
- With right sides together, pin layer fabric piece front B with the zipper tape.
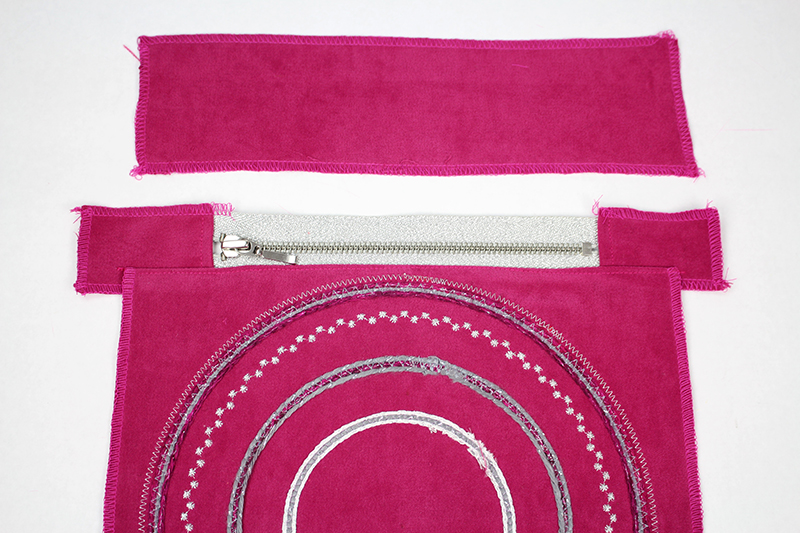
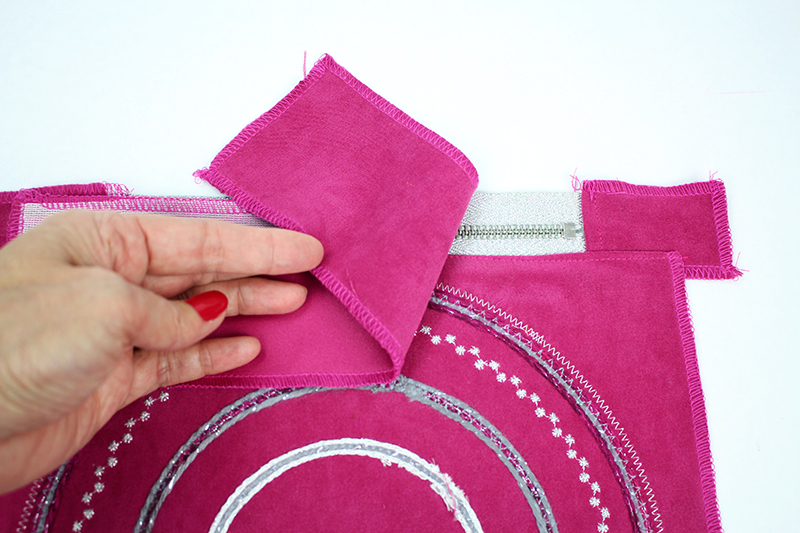
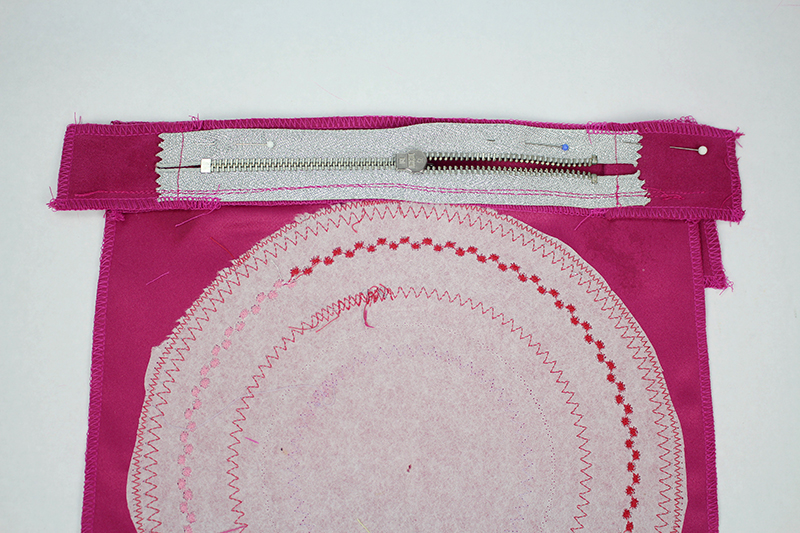
- Stitch.
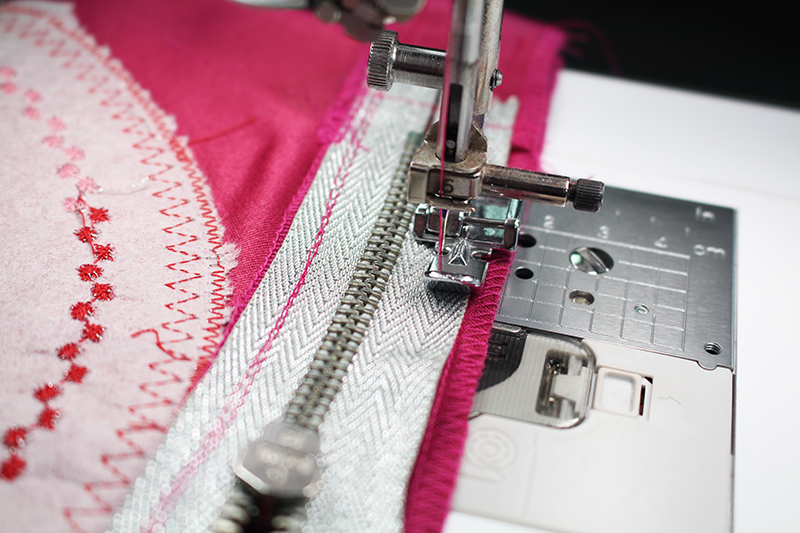
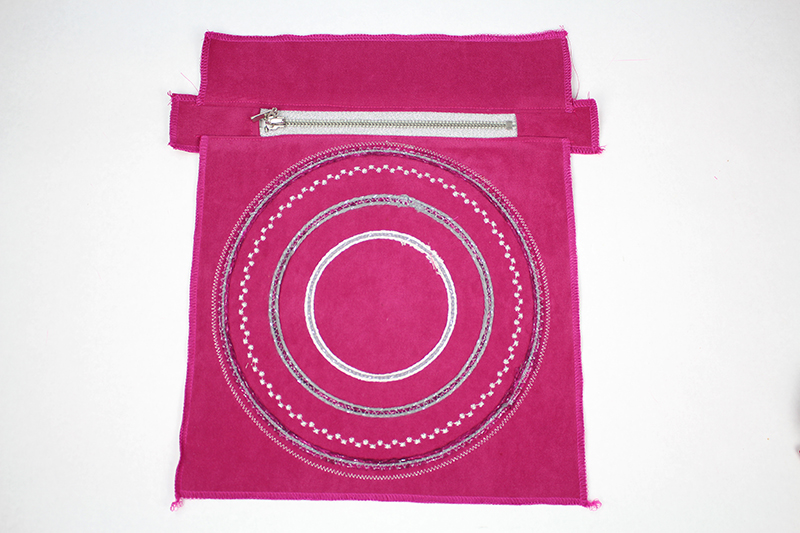
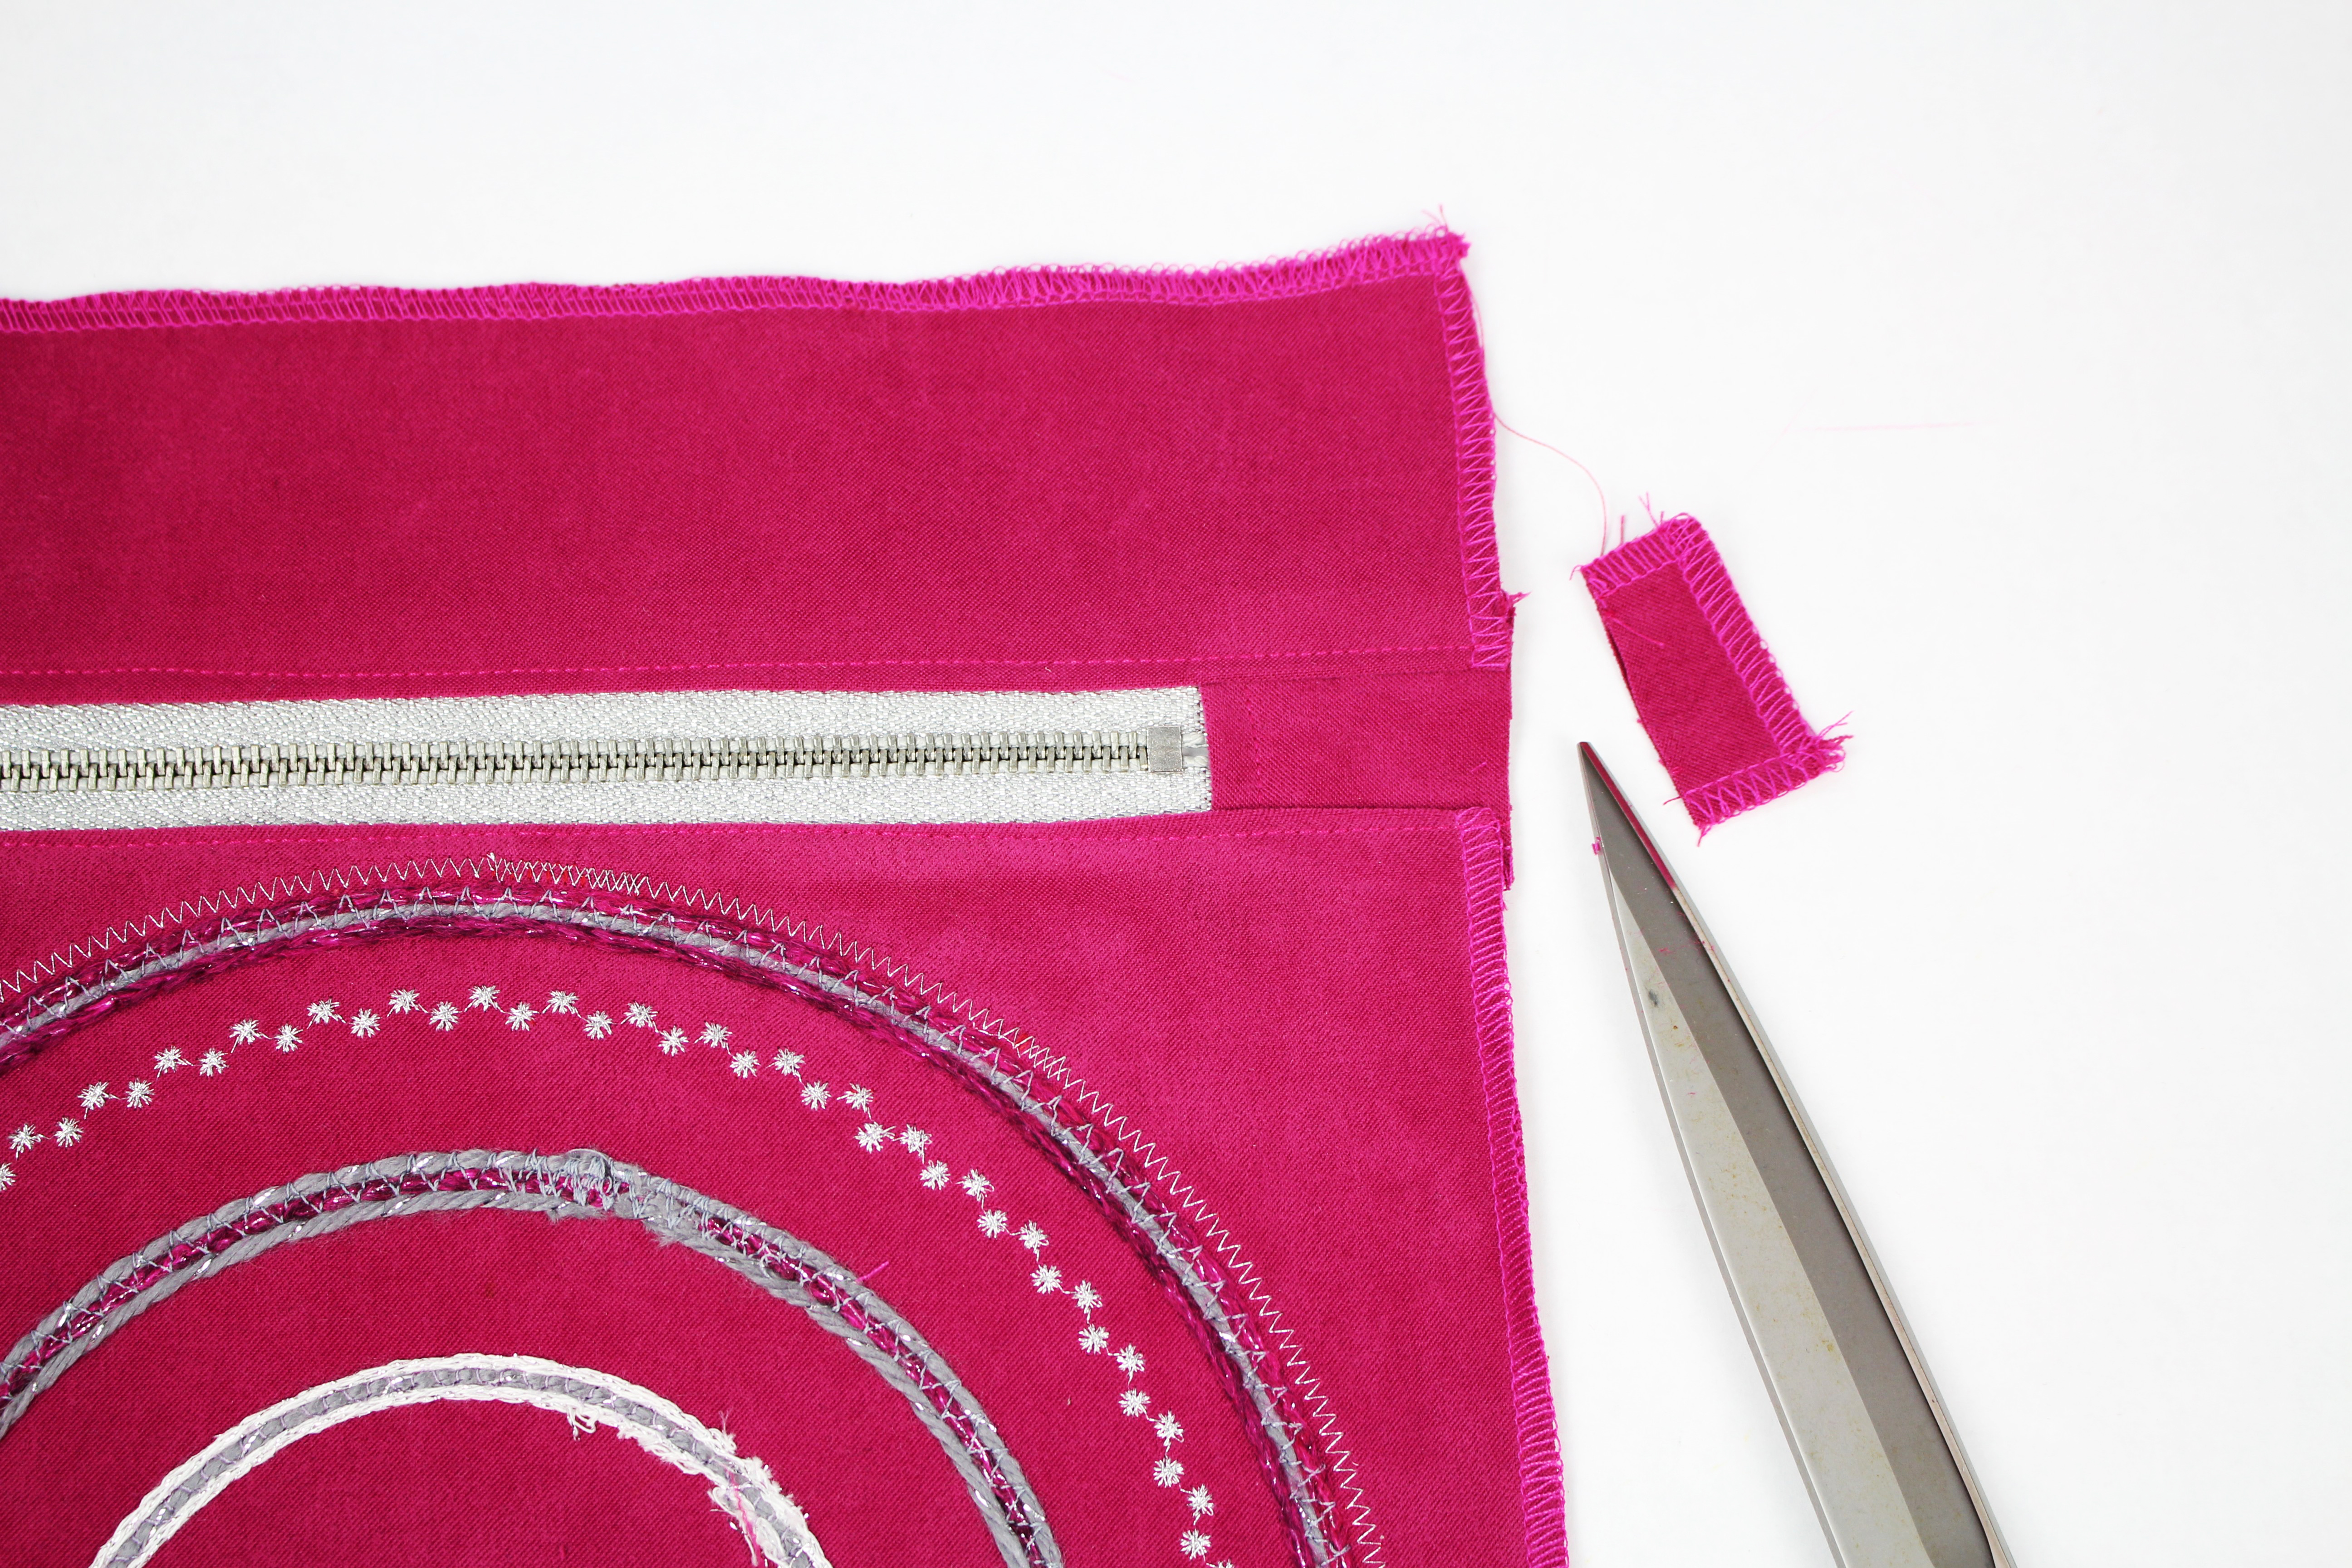
- The front of the bag is finished. Trim off the excess fabric at each end of the zipper.
Sew the Bag
- Open the zipper half way. With right sides together, pin the front and back of the bag together.
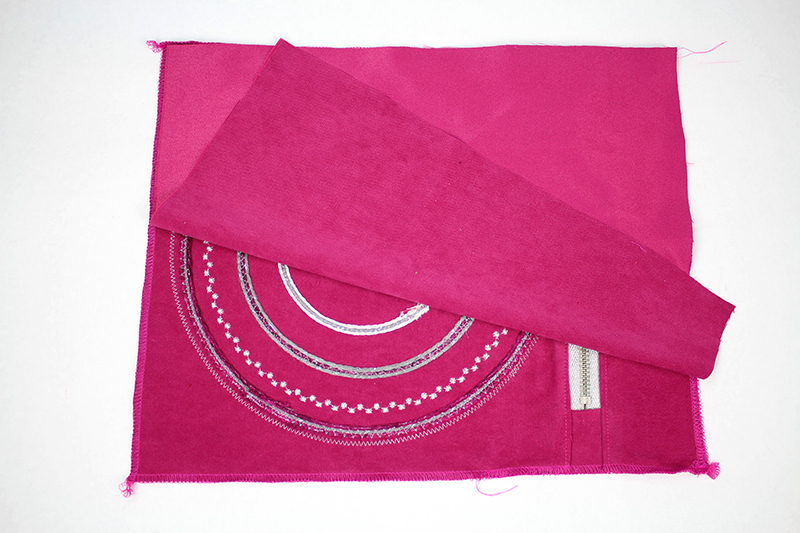
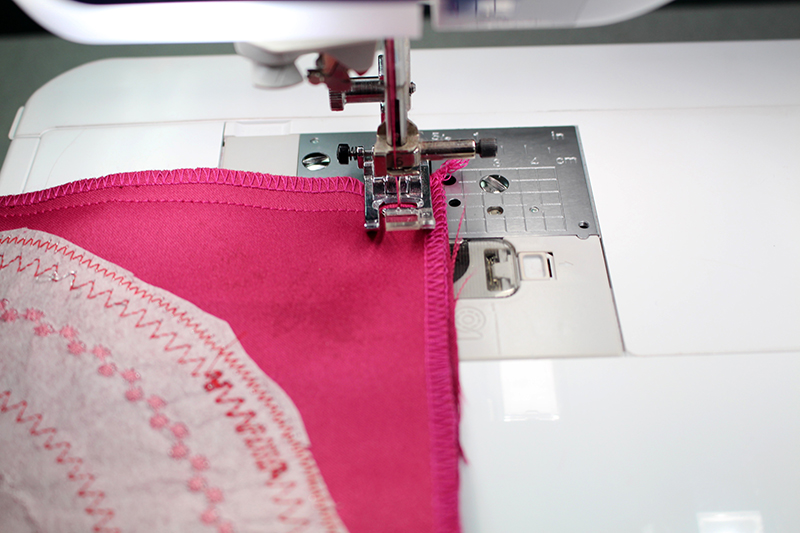
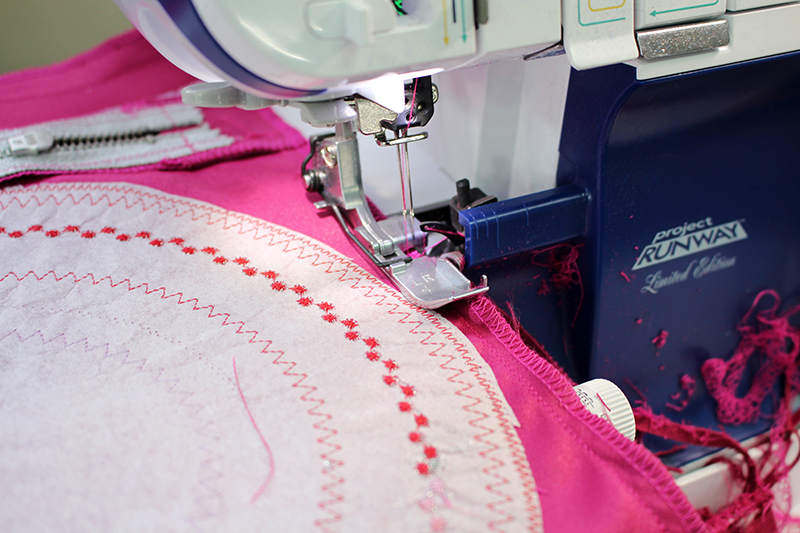
- Stitch along the outside of the bag with a ½” seam allowance. Serge or finish the edges.
- Turn bag right side out. Press.
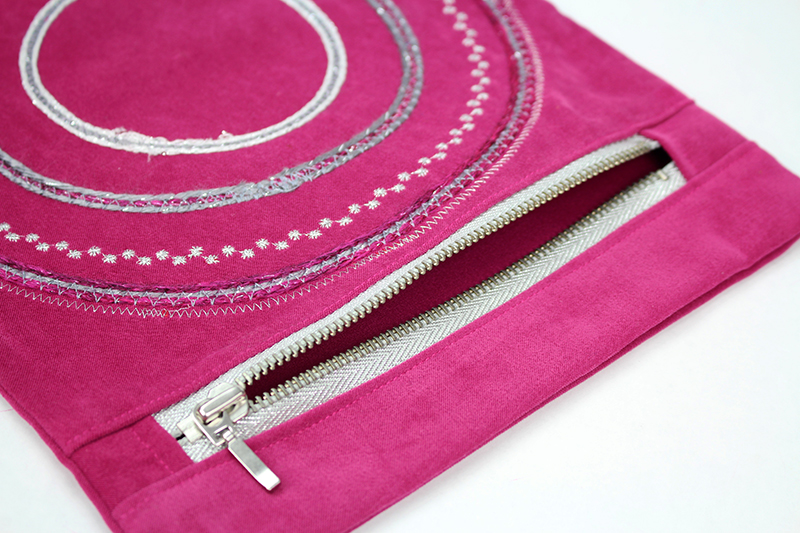
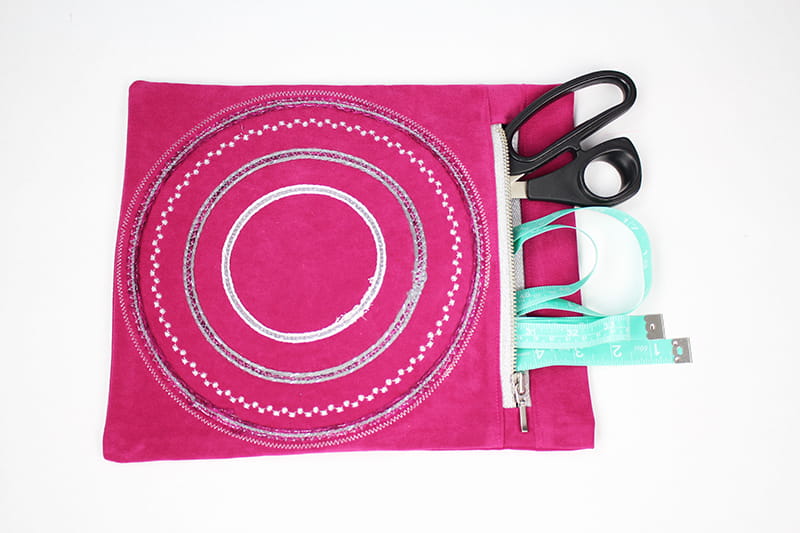 The bag is finished (😊) Of course, you could also line the bag, but this is a quick easy project to get started. Be sure to share photos of your zippered bag using hashtag #angelawolf #brothersews
Cheers,
Angela


