Free Design of the Month for December - Quick & Easy Embroidered In-the-Hoop Mini Gift Bag
-Brother Sews Blogger
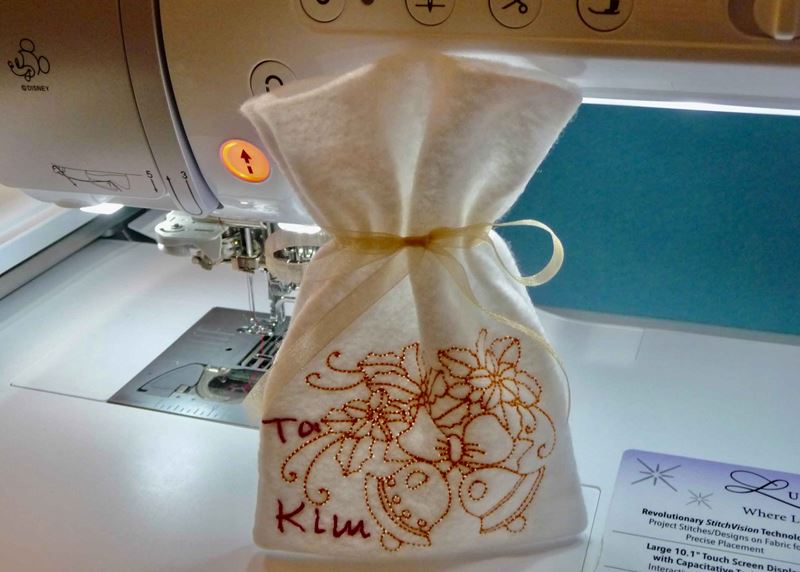
Good things come in small packages, especially when those small packages are custom embroidered with a holiday design! The Brother free design this month is a red-work style design with seasonal bells and holly. This free embroidery design ideal for decorating the front of this quick to stitch in-the-hoop gift bag. Use your handmade gift bag to hold small gift items such as gift cards, candy, jewelry, & more! Are you ready? Let’s go sew!

Materials and Supplies for Embroidered In-the-Hoop Gift Bag:
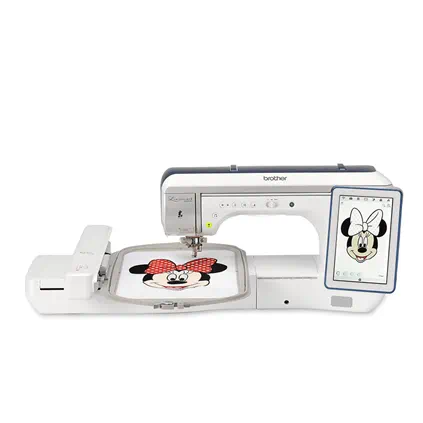
• Any Brother sewing and embroidery machine with 5-inch X 7-inch hoop capability. This project was created using the Brother Luminaire.
• Embroidery thread and embroidery needle.
• Low tack tape for securing pieces in hoop.
• Two 9-inch X 12” sheets of ordinary craft felt.
• ½-yard of ¼-inch wide ribbon.
• Brother Free Design of the month, Bells and Holly. See image in Figure #1a below.
• Bonus Free design for creating In-The-Hoop Gift bag. See image in Figure #1b below.
Figure #1a

Figure #1b

Please read through all instructions before beginning this project. Basic steps are as follows:
• Embroider front of bag with Bells & Holly motif and bag outline.
• Cut bag front out along stitched outline.
• Embroidery outline for back of bag.
• Add ribbon with tack down stitch.
• Place pieces right sides together and stitch final outline.
Tip: This low-density design doesn’t require stabilizer when stitched on the craft felt.
All Steps to Create Gift Bag:
1. Download free design along with free bonus design for in-the-hoop bag. File names are as follows:
Brother FD_12_2021_Bells & Holly.pes
Brother FD_12_2021_Bonus in the hoop bag.pes
Note: Color stops for the bonus design are generic. Feel free to stitch these segments in any thread color you choose. You may wish to stitch the final thread color to match the bag.
2. Transfer designs to your machine. Create a combination design beginning with the free bells and holly design, then add the in-the-hoop bag design. Move the bells and holly design so it will stitch near the bottom of the green rectangle. See combination design layout in Figure #2.
Figure #2

3. Gather your supplies. See Figure #3.
Figure #3

4. To create bag front, hoop first piece of felt. Embroider bells and holly motif. See Figure #4.
Figure #4

5. Next, embroider the red outline. Stop and remove felt from hoop. Cut bag front piece just outside the red outline. See Figure #5.
Figure #5

6. Hoop second piece of felt for bag back. Embroider blue outline. Embroider ribbon placement stitch, the pink line. Select the ribbon piece and place center point of ribbon directly over the pink placement line. Tape in place. Embroider star shaped tack down stitch for ribbon. See Figure #6.
Figure #6

7. Pull ribbon towards top edge and tape in place temporarily to keep it away from side edges. See Figure #7.
Figure #7

8. Next, select bag front piece and place right side down over bag back, matching outlines. Temporarily tape top and bottom edge of front piece, taping close to the edge on the bottom to avoid stitching through tape. See Figure #8. Tip: Before taping, put tape on scrap fabric, picking up lint to make tape a bit less tacky.
Figure #8

If desired, thread top and bottom with thread to match felt. Stitch final seam for bag. See Figure #9.
Figure #9

9. Remove from hoop and trim sides and bottom outside the stitching line, leaving approximately 1/8-inch for seam allowance. Remove remaining basting stitches. See Figure #10.
Figure #10

10. Turn right side out and carefully trim top edge of bag back so it’s even with front. Insert your gift, and tie ribbon in a bow. You are finished! Enjoy!
Options and Ideas:
• Add the name of your gift recipient to the bag front for a fun personalized gift package! See Figure #11.
Figure #11

• Use embroidered bags for party treats for your next holiday gathering.
• Add small bells or beads to the ribbon ends for a fun and festive touch!


