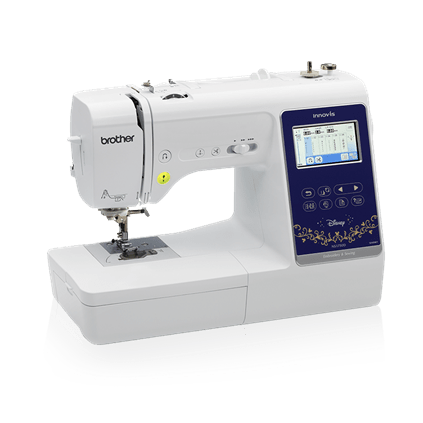
Disney's Encanto Inspired Embroidery Patches
-Brother Sews Blogger
Creating patches are one of our favorite ways to add embroidery to thick or difficult to embroider items. They are quick and easy and can be done with any Brother embroidery machine! Best of all, they can be adhered to most all garments to add personalization.

Hoop a piece of fabric with tearaway stabilizer in a 4 x 4 hoop.

Embroider the design onto the fabric of your choosing. Here, we are creating a unique patch using the Disney’s Encanto embroidery file collection from Brother. This one is Mirabel, how cute! The design should be no larger than 3.69 inches in height in order to make a patch for our handbag. Once the embroidery is complete, don’t remove from the hoop or the machine just yet.

At the embroidery machine, return to the home screen and touch the shapes menu.

Select a shape- I selected an octagon shape as it allowed the height and width for the design that I needed.

After selecting the Octagon shape, you can then select a style and choose Set. I selected style 011.

Touch Size. Increase the size proportionally until it is as large as it will go and then touch OK.


Embroider the Octagon and then remove the project from the machine and the hoop. Trim closely around the outer edge of the octagon (be careful not to snip the threads.

Cut a piece of Brother Iron-On Fabric Appliqué Contact Sheet to fit the shape and then adhere to the back with an iron.

Determine the location on your project to place the patch, cover with a pressing cloth and press the patch into place.

Go ahead and try your hand at creating your own patches with our new Disney’s Encanto collection or any of the designs from Brother’s iBroidery.com!


