DIY Makeup Bag Easy Sewing Project
-Brother Sews Blogger
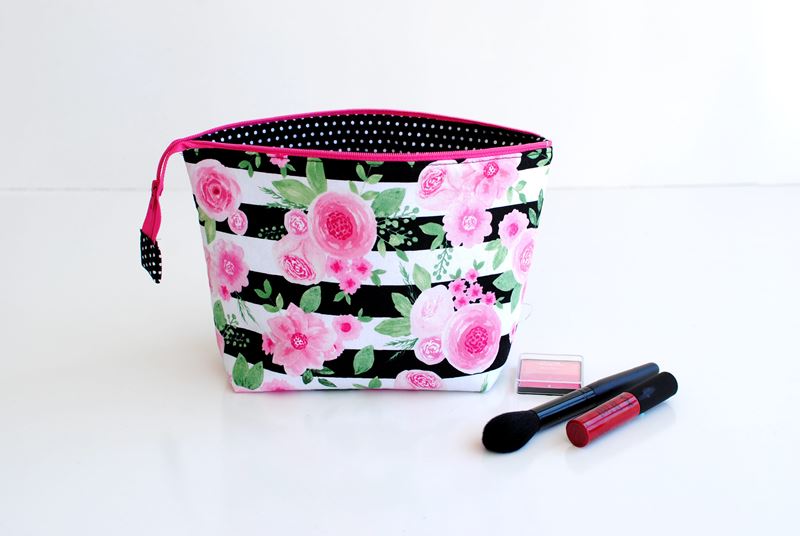
Sew your own DIY makeup bag with this simple step by step tutorial. The flat bottom and long zipper make this a great DIY cosmetic case for busy beauty mavens on the go. These tips and tricks will show you how to make a makeup bag that opens wide enough to see all the products inside. These bags are great to make for yourself and as gifts for anyone with a collection of cosmetics. Get the DIY makeup bag tutorial below on how to sew a custom cosmetic case.
Supplies:
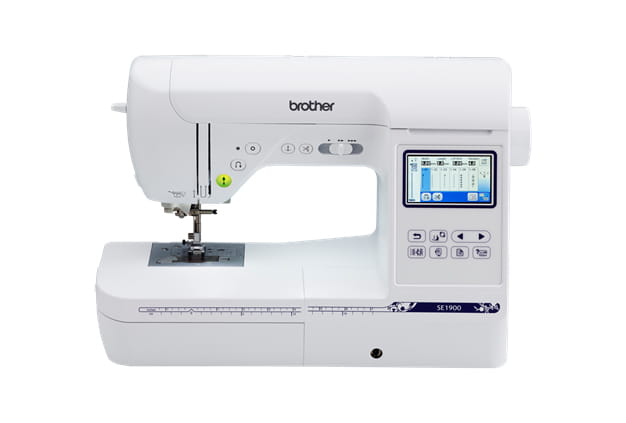
-Brother SE1900 Sewing Machine
-Zipper foot
-14” zipper
-1/4 yd. cotton for exterior
-1/4 yd. cotton for liner
-1/4 yd. fusible fleece
-general sewing and cutting supplies

Cutting:
-2 Main: 9 x 12”
-2 Liner: 9 x 12”
-2 fusible fleece interfacing: 9 x 12”
-1 tab that measures: 3 x 2”
Step 1
Fuse the interfacing to the wrong side of the main fabric pieces.
Use a grid ruler and mark off 2” squares on the bottom corners of both main/liner pieces and cut.
Step 2
They should appear like this.
Step 3
With the main fabric right side up, place the zipper right side down along the top edge. The top tab ends should align with the side edge of the fabric. Pull the zipper pull tab down 3” so you can sew the first section. You don’t want it to get caught in the seam allowance.
Place the liner over the main piece. All top edges should be together. The remaining zipper will hang over a bit. Pin or clip into place.
Step 4
Use your zipper foot and begin to stitch from the top end down to just before the pull tab. (Sew a ¼” seam allowance).
Once you get to the pull tab, stop sewing, cut the thread, and pull the tab closed. Then continue to sew till you reach ¾” from the edge. Do not sew all the way to the end.
Step 5
It should look like this when done.
Step 6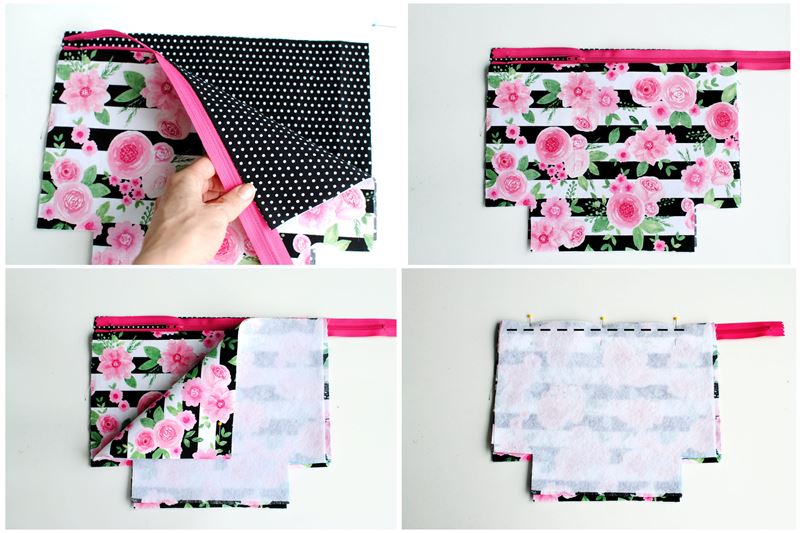
Place the other liner down right side up.
Place the just sewn piece with liner facing liner (right sides together).
Now place the unsewn main piece over the sewn main piece so the right sides are facing.
Clip or pin into place and repeat the sewing steps above to sew this side of the zipper. Remember to leave the ¾’ unsewn edge at the end on this side too.
Step 7
Step 8
It should like this.
Now flip the layers so the right sides are facing on both main and liner.
Step 9
For the zipper sides of your DIY cosmetic bag, make sure the zipper tape is folded toward the lining fabric.
The other end the remaining zipper piece should be tucked inside the layers. You will need to stitch this side in separate sections, because we will want the zipper end to be out. As shown in the image with the dashed lines, stitch down starting about 1/2” from the edge.
Step 10
Sew with a ½” seam allowance bottom edges and side edges. You will need to leave a 3” opening along the liner bottom edge as shown in the diagram. Also be mindful of the side with the zipper tucked in, and sew those edges separately. This will help to keep that small gap for the zipper.
Step 11
Fold the corners together on all edges, then clip or pin and sew (1/4” seam allowance). Don’t forget the liner corners of your DIY makeup bag, too.
Step 12

Pull the right side out through the liner opening.
Step 13
It will look like this.
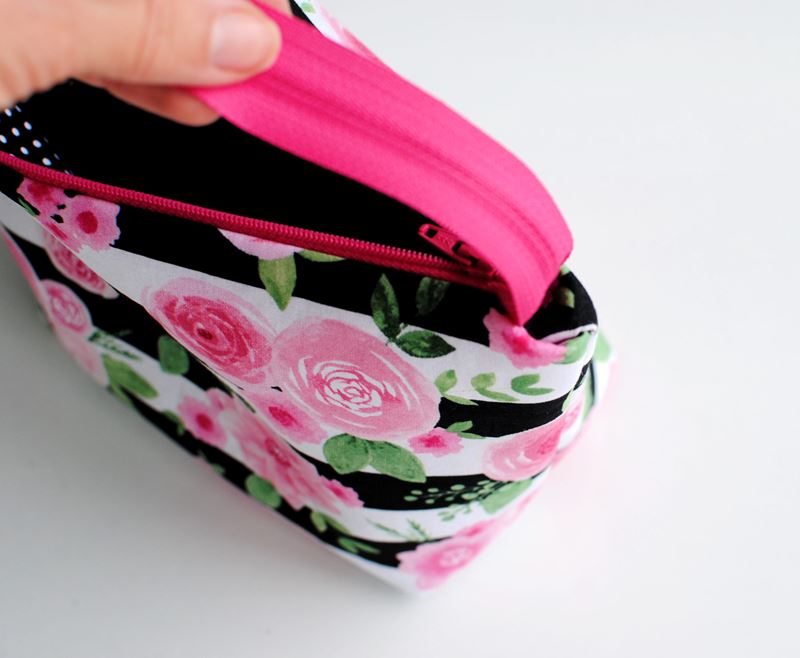
Tuck in the remaining seam allowance near the end of the zipper.
Step 14
Step 15
Topstitch just 1/8” from the edge all the way around the top of the bag. I like to start at the top end of the zipper and stitch around.
Step 16
Sew the liner opening closed.
Step 17
For the tab:
Fold the sides in ¼” and press.
Place just over the zipper stop so right sides are together.
Stitch just along the ¼” fold.
Flip over so the edges align on the back side.
Topstitch the layers together. You can also topstitch the sides and bottom (like a square) if you’d like.
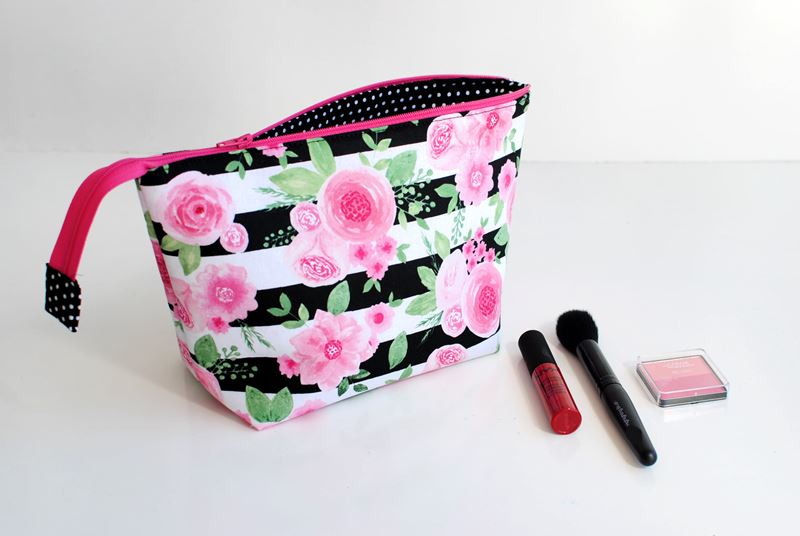
Now you have your own DIY makeup bag. Once you sew the first one you can zoom right through these, making all sorts of unique DIY cosmetic bags. I like the long zipper and how wide it opens so you can see all the products inside. I typically use a darker print on the inside because these handmade makeup bags can get kind of messy, but they’re washable too! Use the steps in this makeup bag tutorial to customize the dimensions to be larger or smaller as needed.


