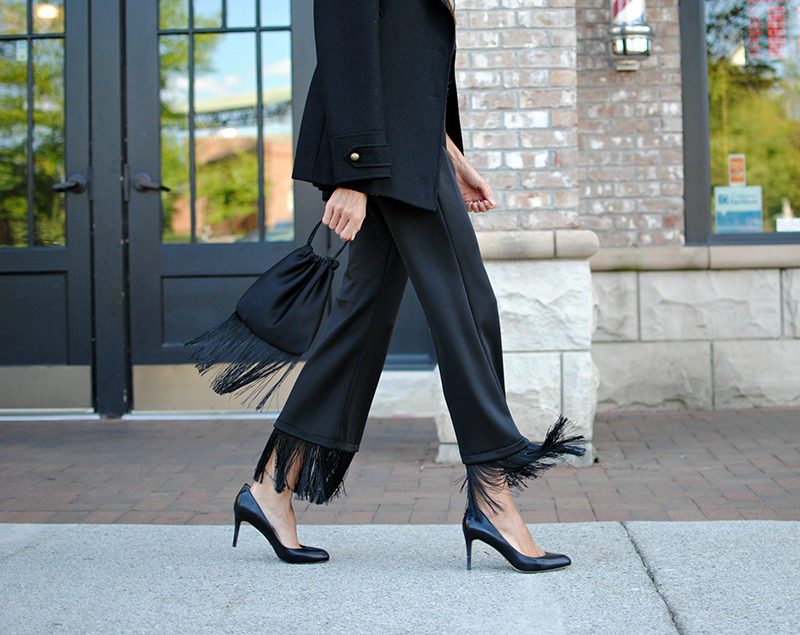
Get Stylin'! Fringed and Flowy Jumpsuit for NY Fashion Week
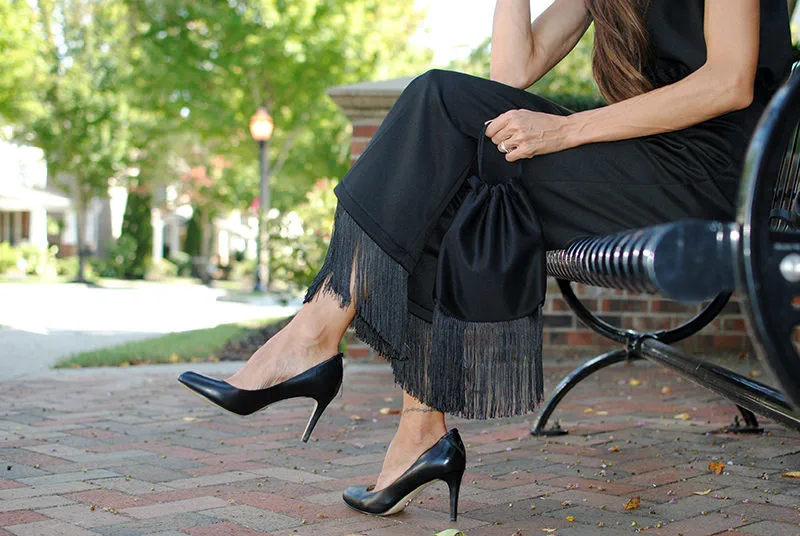
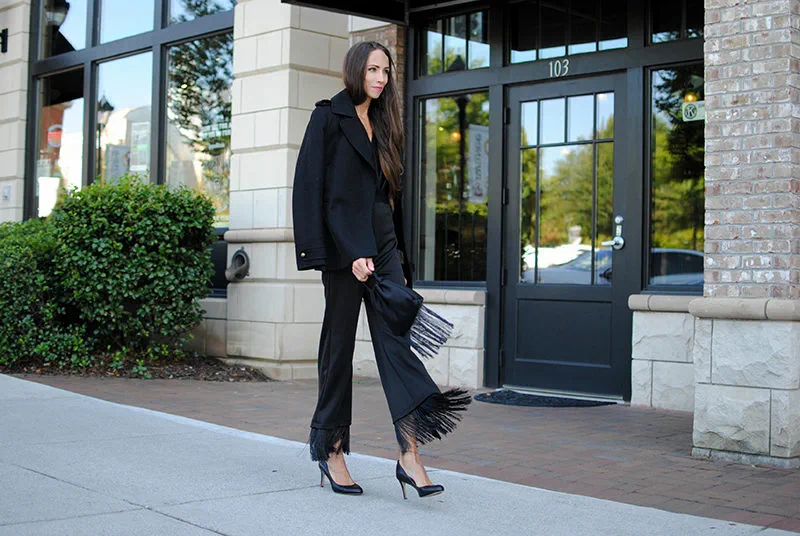 NY Fashion Week is here, and I always look forward to seeing what other designers are creating, from the prints and colors to the details and silhouettes. It inspires me to create my own fashion-forward look that fits into my lifestyle. One of the advantages of being able to sew your own garments is you can make things based on trends and styles without having to forecast 12 months in advance.
I have been seeing jumpsuits a lot lately and thought it would be a fun one to sew. A jumpsuit is basically a long bodysuit so I wanted a neutral color to wear through fall and winter but add some edgy details like a cropped hem with fringe trim.
When picking out the fabric for my jumpsuit I wanted a flowy fabric with stretch to be able to slide the jumpsuit on with ease and as well as move comfortably. A jersey rayon knit is a good choice, but a bit too casual for what I was going for so I found this Techno Fabric from Stylish Fabric that had the right texture and the stretch I needed. Check out the steps below to see how it all came together and hopefully this inspires you to sew your own fashion-forward look.
Disclaimer: Featured fabric is a product from the Stylish Fabric Company and Brother International Corporation makes no representations or warranties regarding this product.
Step 1
- Pick out a pattern or draft your own: I used a ready to wear wide leg pant for my silhouette and traced it directly onto the fabric with tailor’s chalk.
- For the bodice I used a top of a dress pattern that had a wrap detail and edited it to be more fitting. So many options here so pick what works best for you. I like to be as resourceful as possible and use patterns/silhouettes I already have on hand.
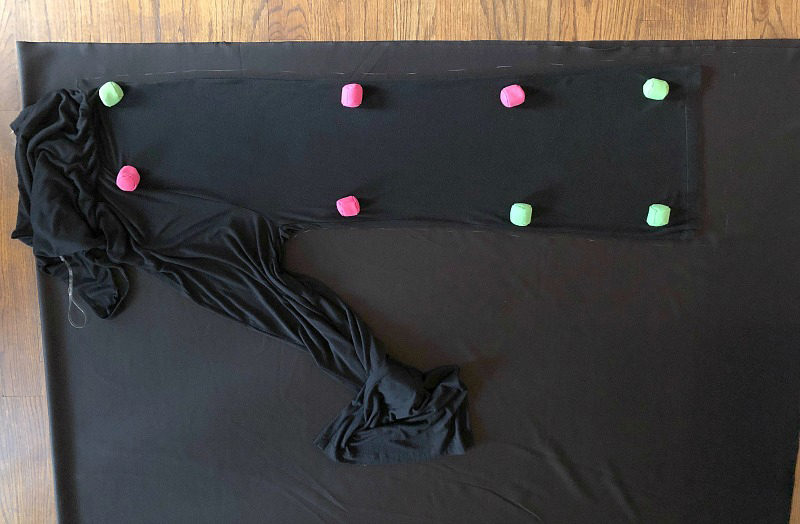
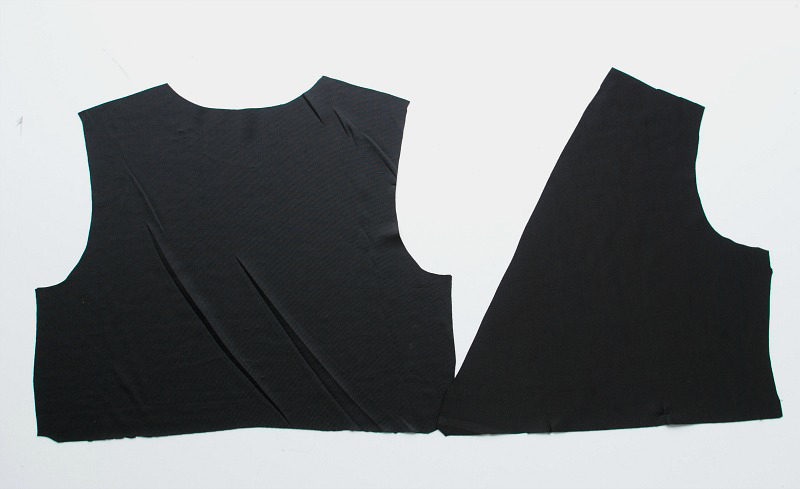 Step 2
- Cut out the pattern
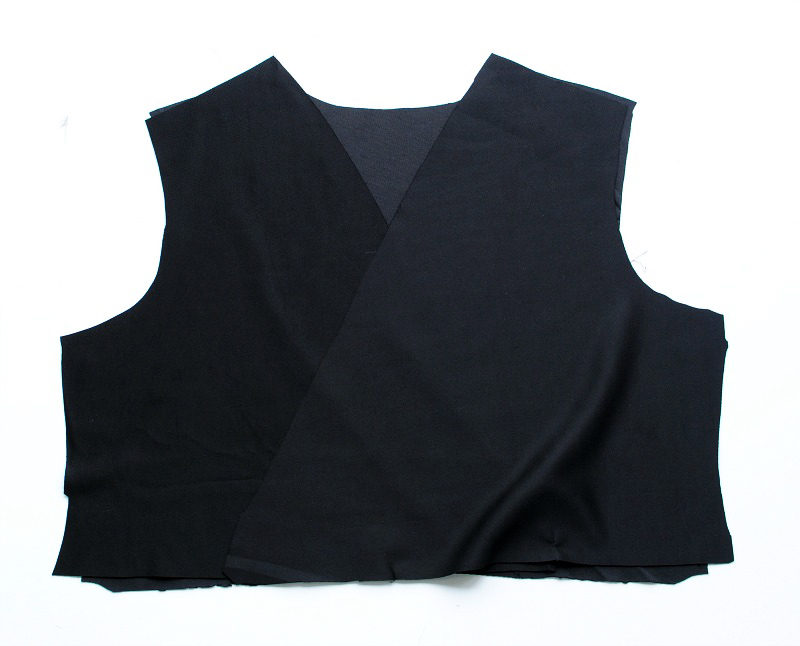
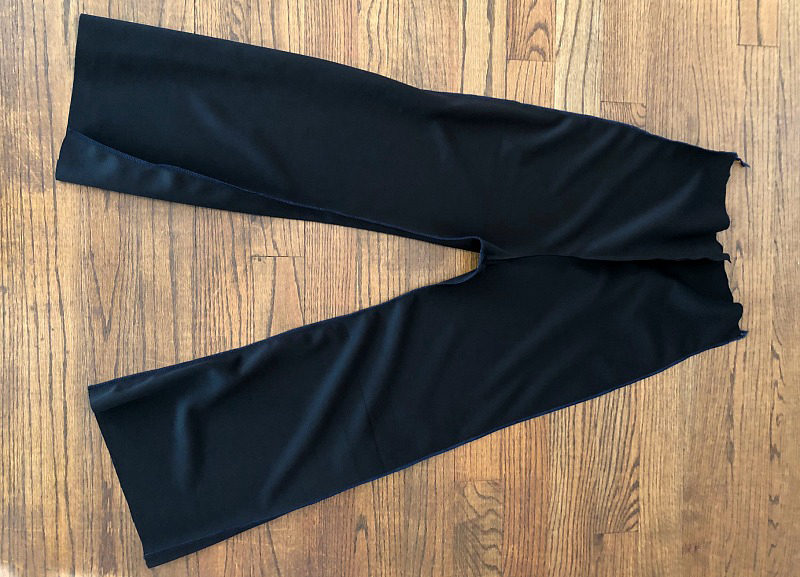 Step 3
- Sew the pants.
- Sew the top.
Tip: For stretchy materials use a slight zigzag stitch (2.5/2.0) for additional stretch.
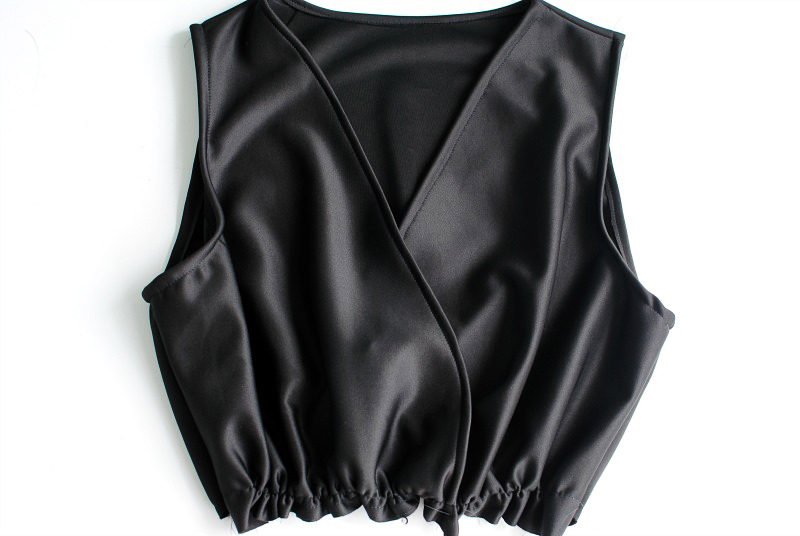
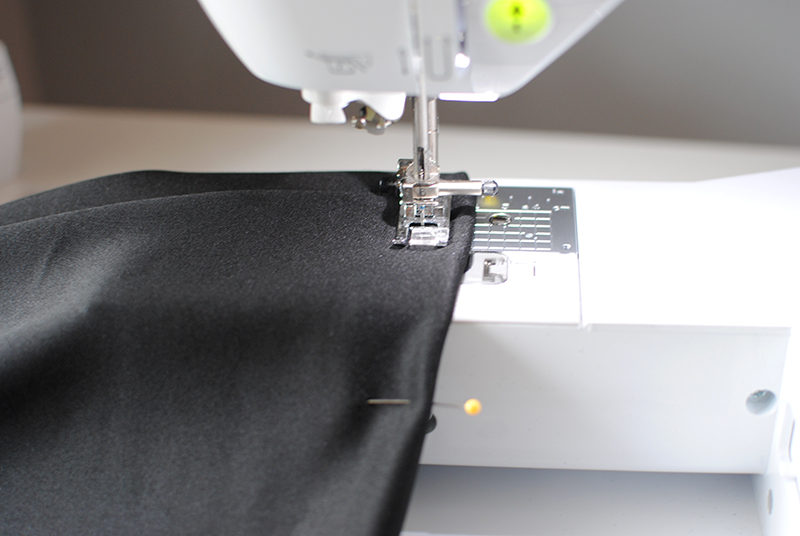 Step 4
- Finish the edges of the top and pants.
- I also finished the seam allowances with my serger.
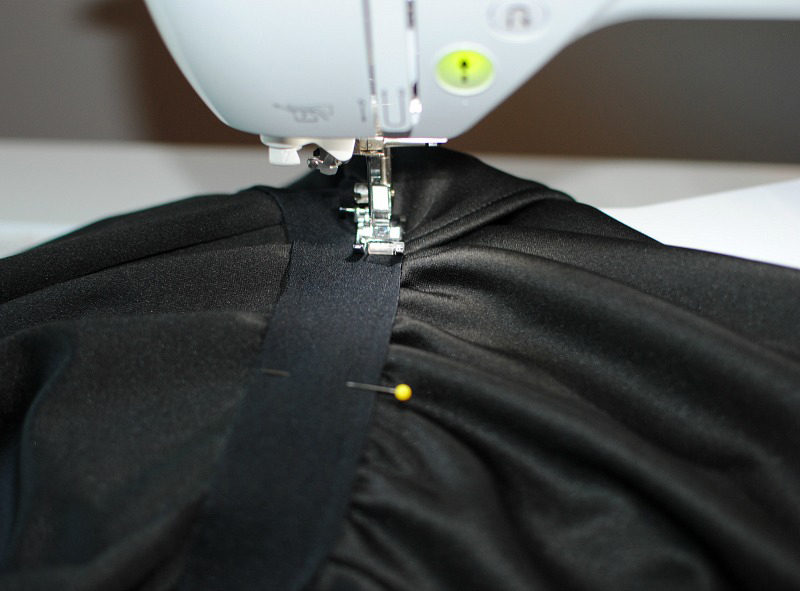 Step 5
- For the waist I used a Dritz 1-1/2” Soft Waistband. Sew 1.5” elastic waistband fit to your waist on the pants.
Disclaimer: Featured waistband is a product from Dritz and Brother International Corporation makes no representations or warranties regarding this product.
- Pin and topstitch the elastic directly onto the pant, then add the top and repeat for the top.
- Topstitch the fringe trim onto the hem. I used a 6” chainette fringe trim (about 2 yards).
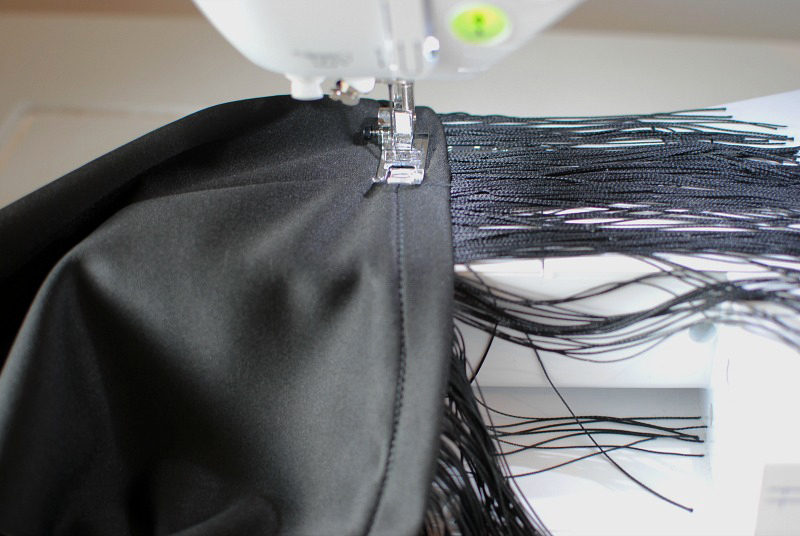 Now, get ready to show off your latest fashion forward outfit!
