Embossed Lettering with BES4 Dream Edition
I had another project planned for this month, but I was playing with my software the other day and made a discovery… I could create embossed lettering with the BES4 Dream Edition Software with the Power Pack Add-On!
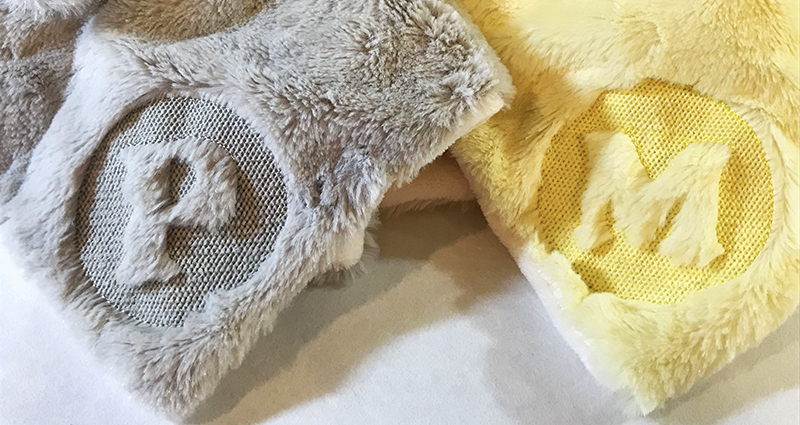
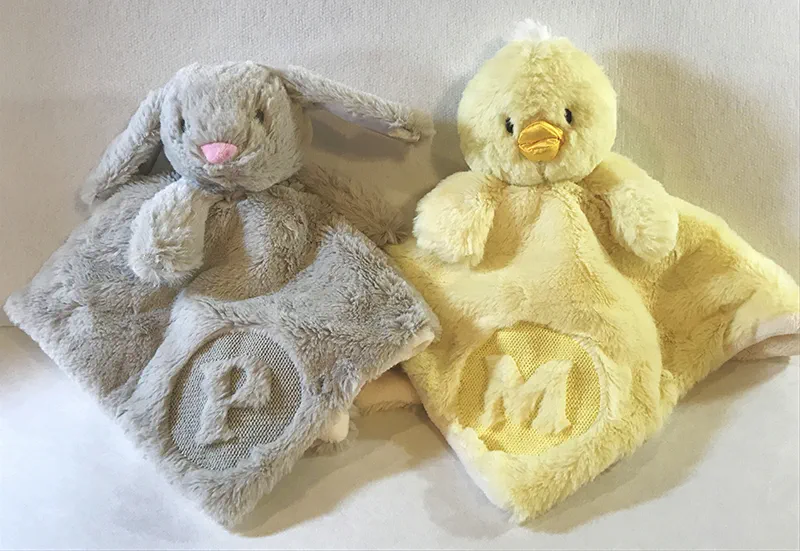
I had tried a lot of options before trying to make this happen and it just wasn't working. Enter Nap Control, TTFonts and Convert to Decorative Fills, and Remove Overlaps. With these four tools at my fingertips, I was able to create embossed lettering for blankets, towels, or my cute little critters featured above. I was ecstatic and had to call someone immediately and tell them about it… yes, I was that excited! So, the blog post I had planned for this month was immediately changed to this one. I hope you enjoy it and are as excited about the functionality the Power Pack brings to the software as I am!
For this project you will need:
- BES4 Dream Edition Software with Power Pack Add-On (SABES4UG1)
- Hoop to fit your project. I used the 4x4 hoop
- Brother Adhesive Water-Soluble Stabilizer (SA5906)
- Brother Water-Soluble topping (SA520)
Let's Start!
Note: Once you activate the Power Pack, it should automatically open the software with the Power Pack.
- Press New Design on the opening screen.
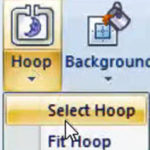
- Press the Hoop down arrow and choose Select Hoop.
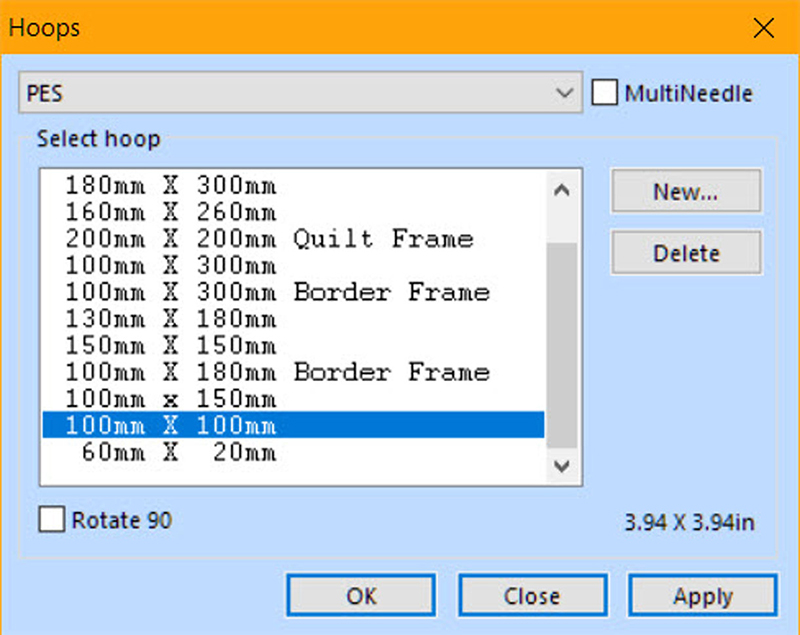
- Choose the 100 x 100 mm hoop (4 x4 hoop) and then press OK.
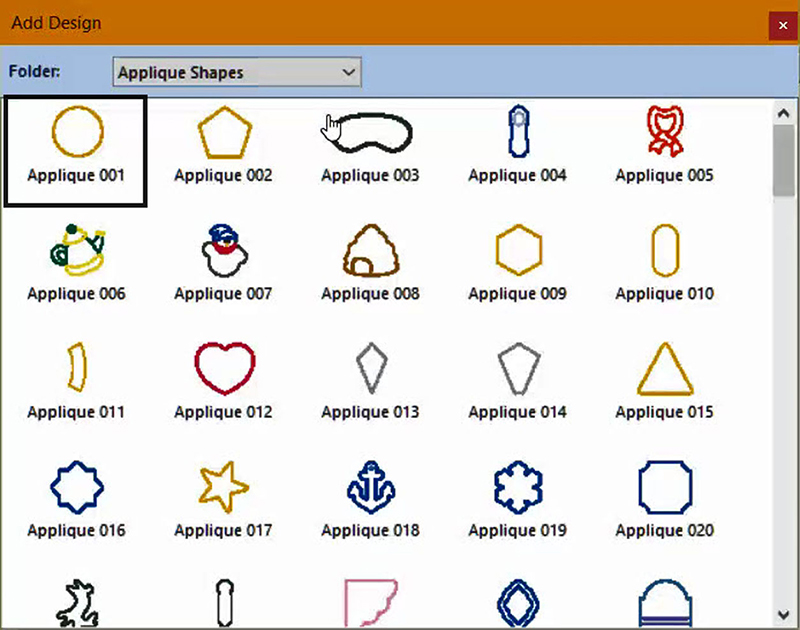
- Press Add Design and then choose Appliqué Shapes from the dropdown menu.
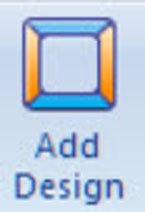
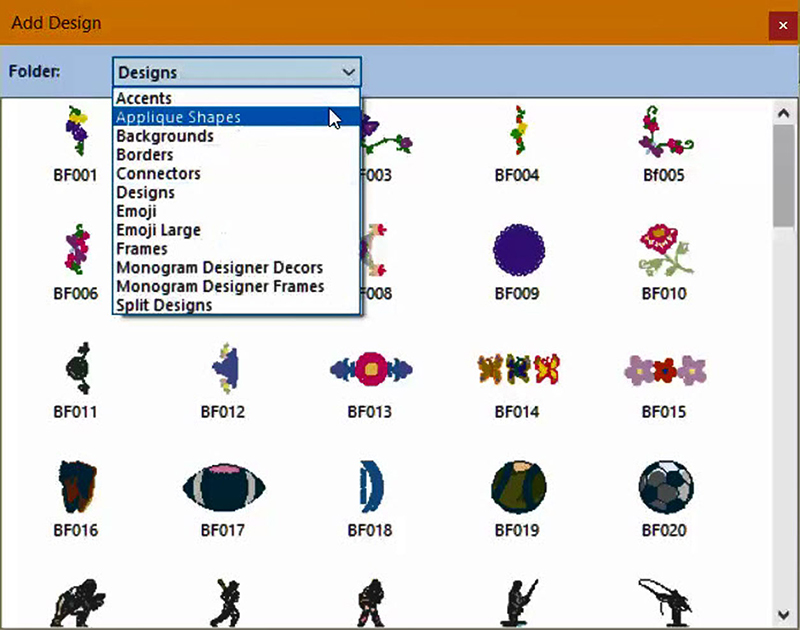
- Choose Applique shape 001
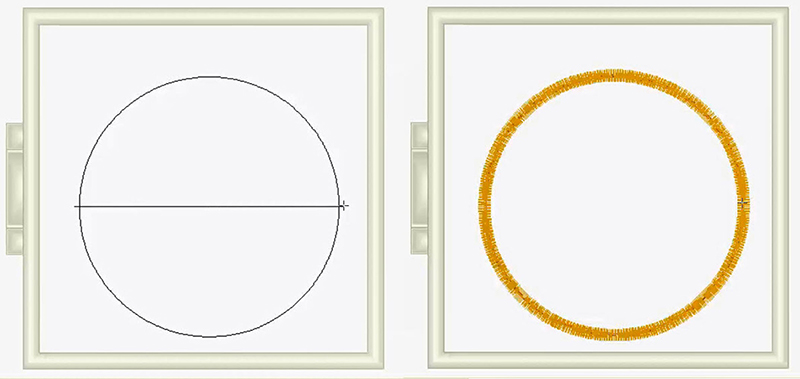
- Hold down the left mouse button and drag the mouse to the right to draw a circle the size you want the surround around the letter you are going to emboss.
- Click on the Select Tool. The circle should automatically be selected.

- Click on the Arrange Tab and then choose Center.
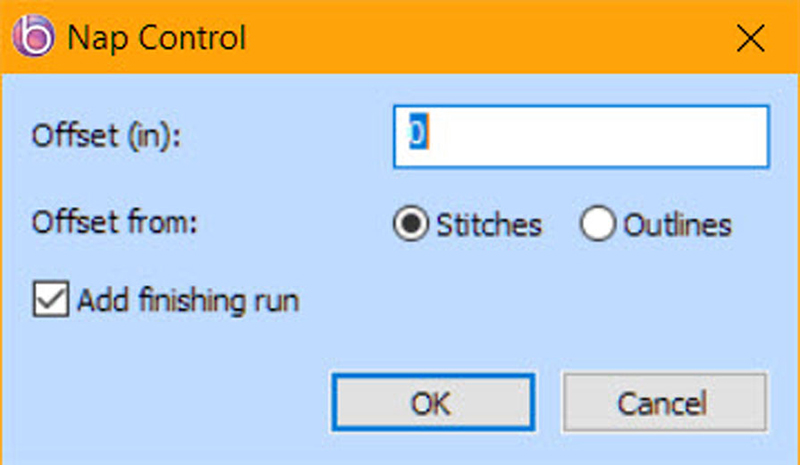
- Click on the Tools Tab and then choose Nap Control.
- Change the offset to 0, choose Offset from Stitches, place a checkmark in front of Add finishing run and then click OK.
- In the Sequence window, select the applique circle and then press Delete on the keyboard to remove the circle.
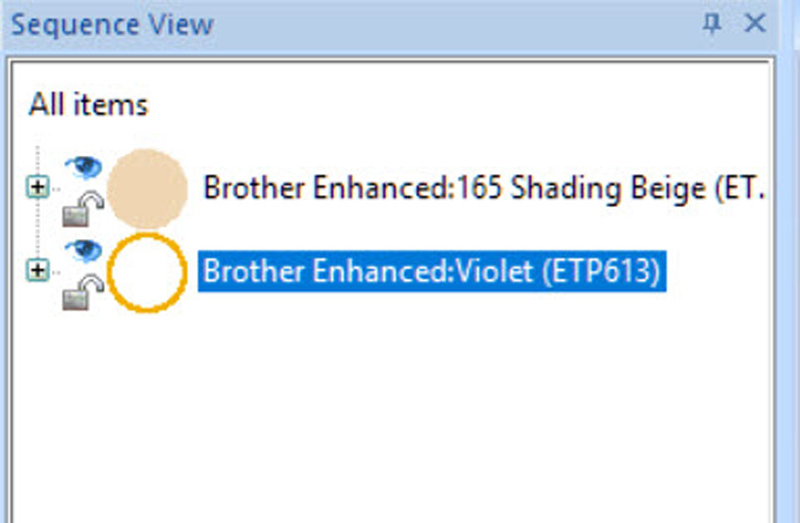
- You are left with the Nap Control and finishing run.
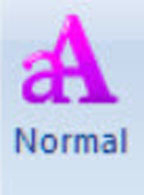
- Click on the Home Tab and then select the Normal Text Tool.
- Click in the Center of the circle to activate the Text tool and then type in the letter you would like to emboss. I typed the capital M.
- In the Properties window, place a checkmark next to TTF.
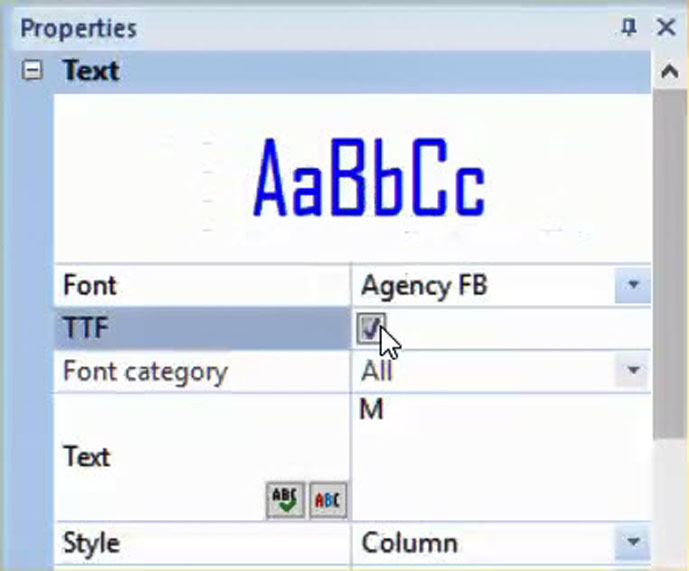
- Click on the Font pull down menu and select a bold style font from your computer. A fat/bold font works best for embossing. I selected Cooper Black (You may or may not have it on your computer. The fonts on each computer are different based on programs that are installed.) The up and down arrows on the keyboard allow you to see a preview of the fonts as you scroll.
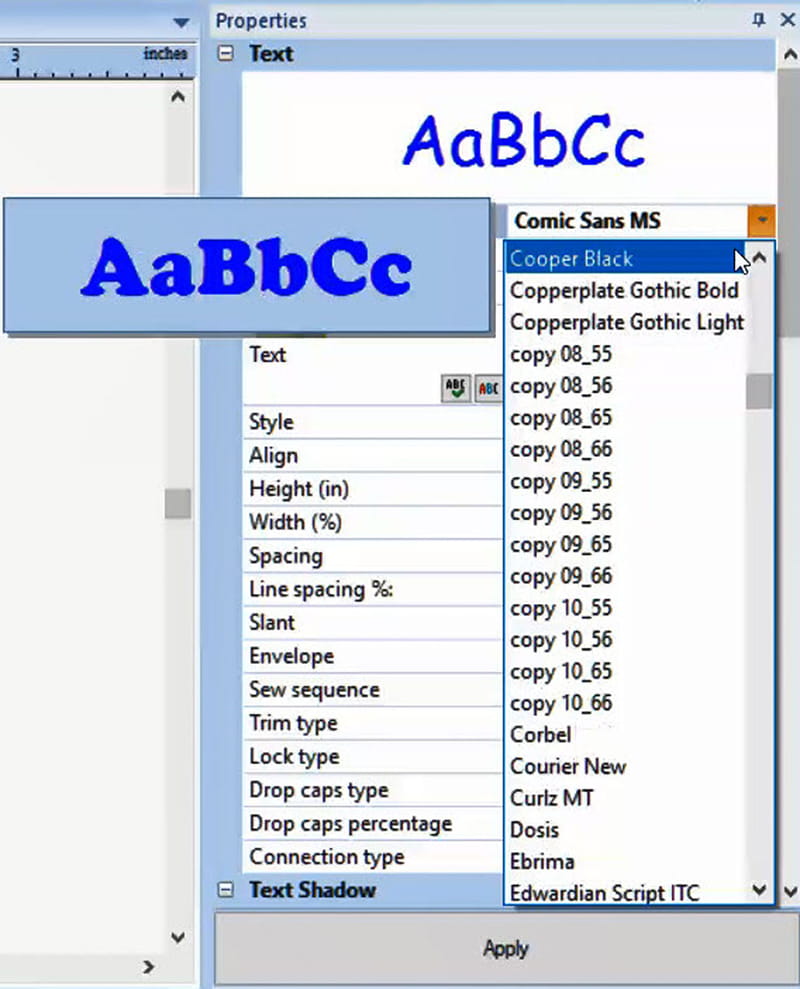
- Click Apply at the bottom of the properties window.
- Click on the Select tool.
- The letter will automatically be selected.
- Click on a thread tile to change the color so you can see the letter.
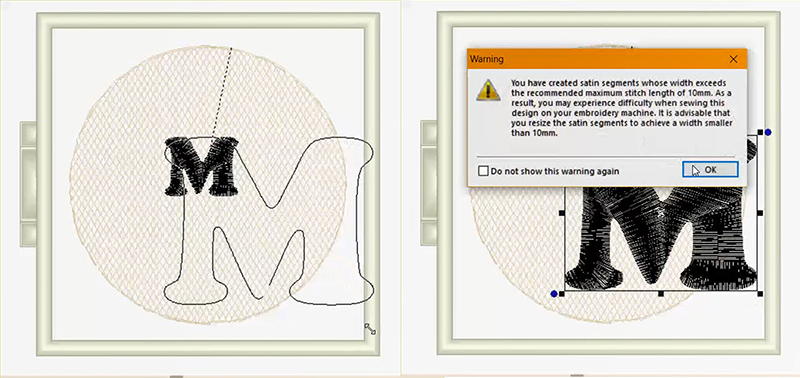
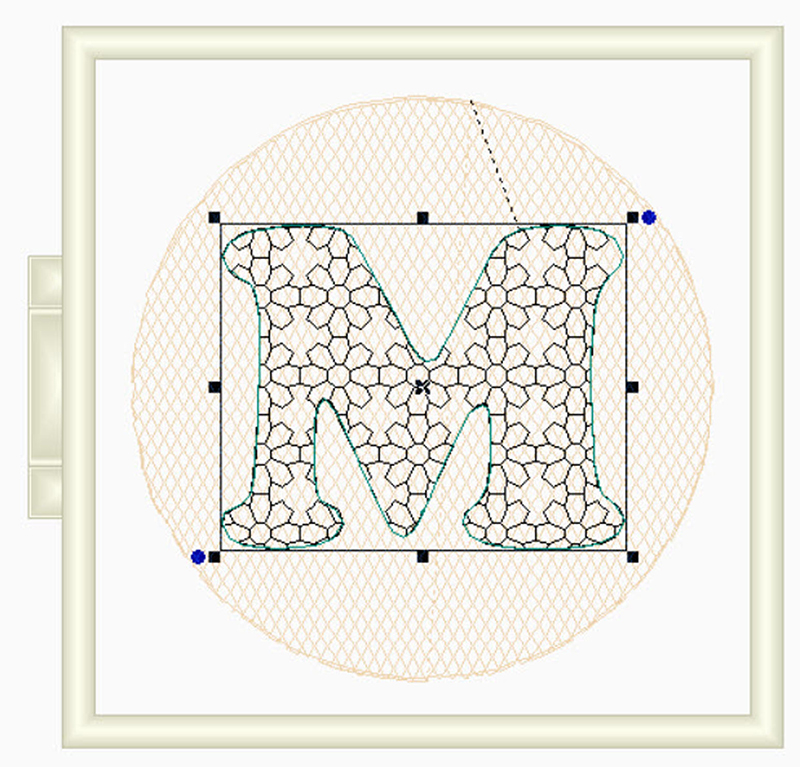
- Pull the letter outward, from one of the corner squares, to enlarge the letter. You will want to make it quite large, but not larger than the nap control circle. An error message telling you that you have created a design with a large satin stitch will appear. Press OK to dismiss the message.
- Click on the Arrange Tab and then choose Center.
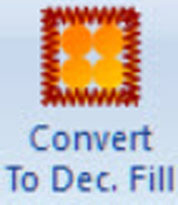
- Click on the Tools Tab and then choose Convert to Dec Fill.
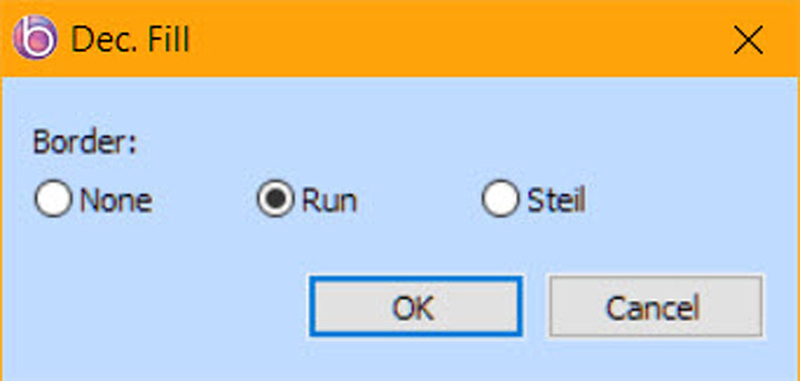
- Select Run as the border (it should be the default) and then click OK.
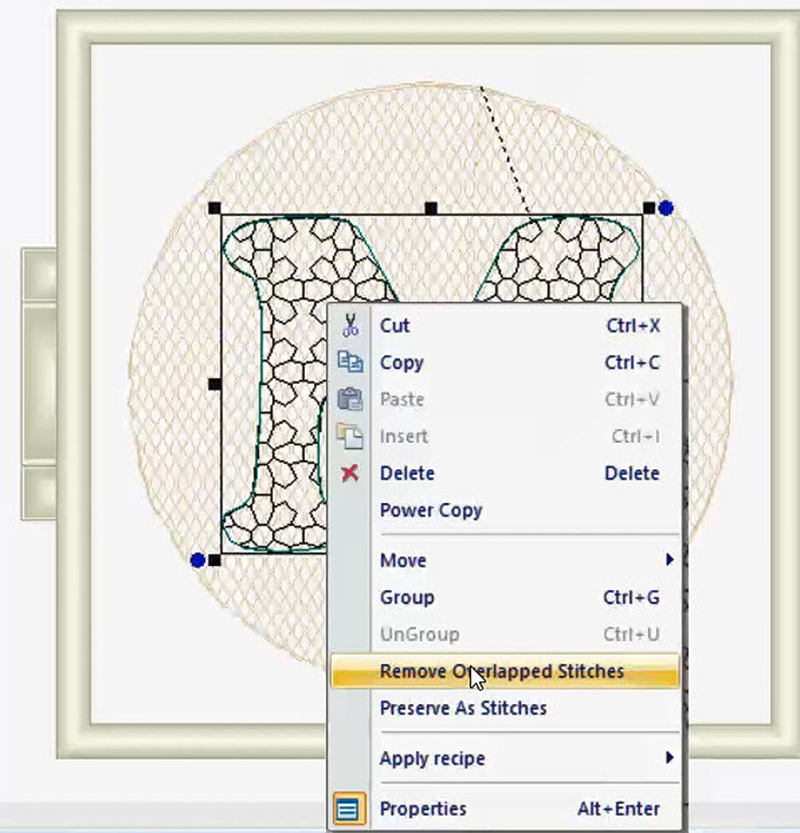
- Right-mouse-click on the M in the design window or the Sequence View Window and choose Remove Overlapped Stitches.
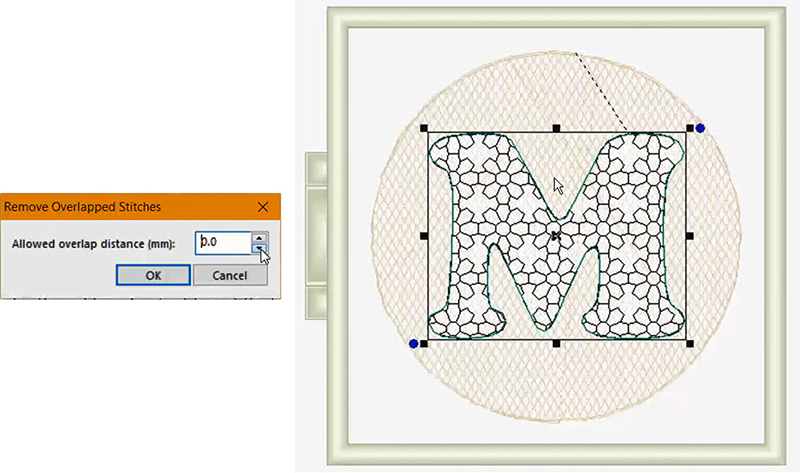
- Change the Overlap distance to 0 and then click OK.
- The nap control will be removed from under the letter.
- In the Sequence window, click on the decorative fill for the M and then press Delete on the keyboard.
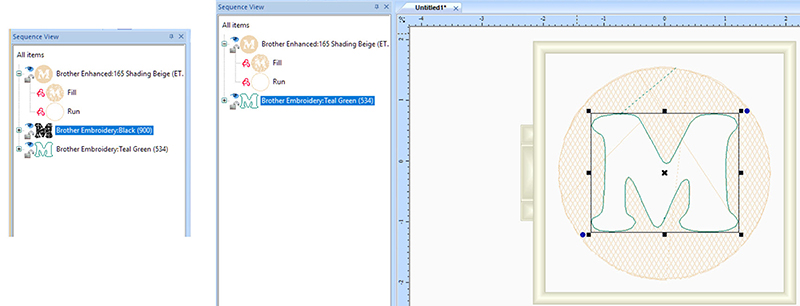
- On the Color ribbon, there are two lines of colors, the lower color ribbon shows the colors that are currently in the design. For my design, there are two colors.
- Click on color 1 to change the outline of the M to the color of the background.

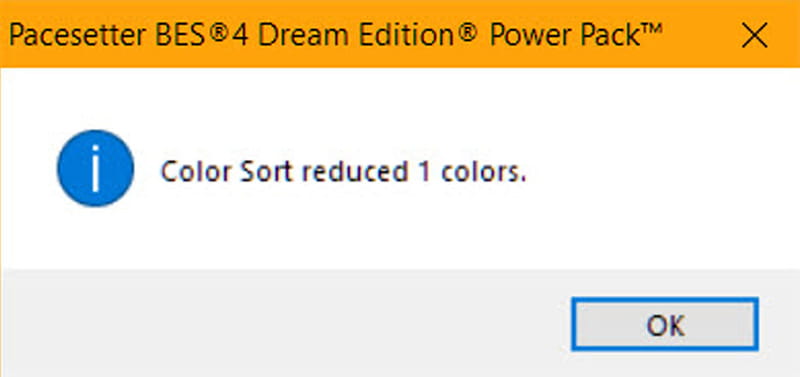
- Press the Home Tab and then click on Color Sort to combine the two segments. This seems weird, but the machine will stop for a color change if you don't Color Sort.

- Press OK when the success message appears.
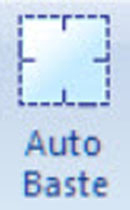
- Press the Auto Baste to add a basting stitch to the design. This will keep the water-soluble topping in place during the embroidery process and keep the animal from shifting.
- If you have your wireless card setup and inserted into the machine and your machine powered on, you can press the Send to Machine button on the Quick Access toolbar to send the design directly to the embroidery machine.
- Click on the Pacesetter button and then choose Save As.
- Name the design, change the format to your machine format and then press Save. If you have setup Autosave brf in your preferences, you do not need to save again in the brf format. If you don't have Autosave brf setup, go to the Pacesetter button, choose Save and save the brf file.

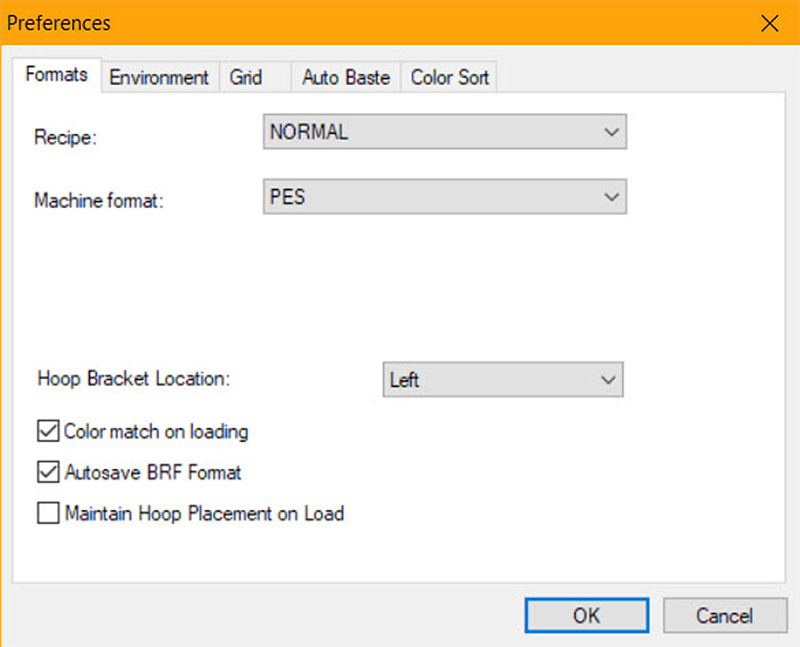
Tip: If you click on the View Tab and select Preferences, you can place a checkmark in front of Autosave brf file and then click OK. The software will then automatically save the brf file each time you save in your machine format. This will save you a step. (If you update the software, you will need to set your preferences up again.)
Tip: Some TTFont outlines will not close. On the tools tab, while the outline is selected, press Close Shape to make sure the outlines are closed to provide crisp edges to your embossing.
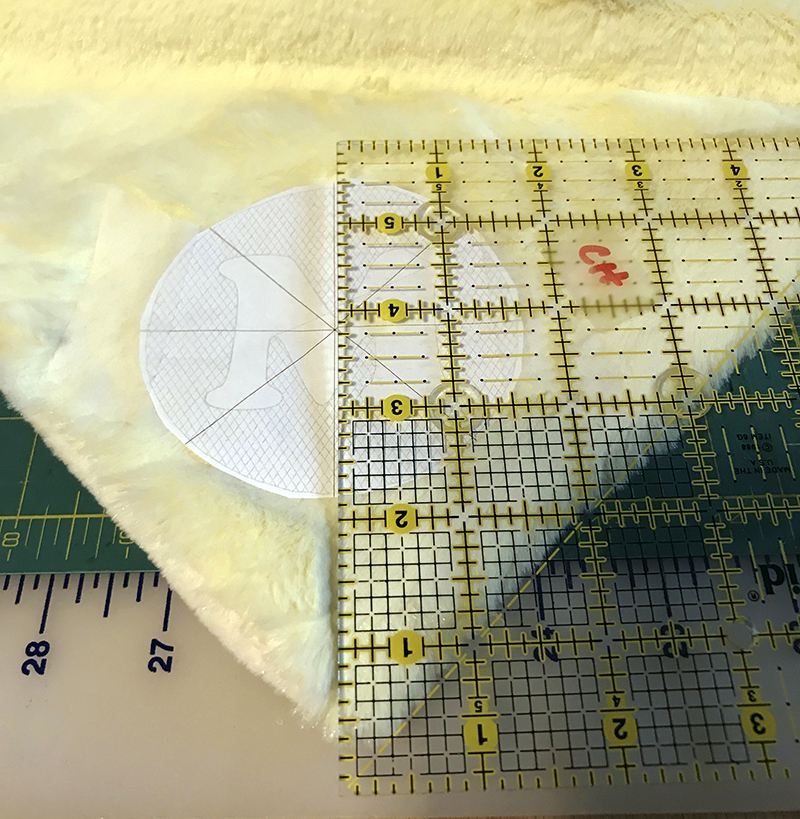
- I found this project easier to center by printing a template and taping it to the project.
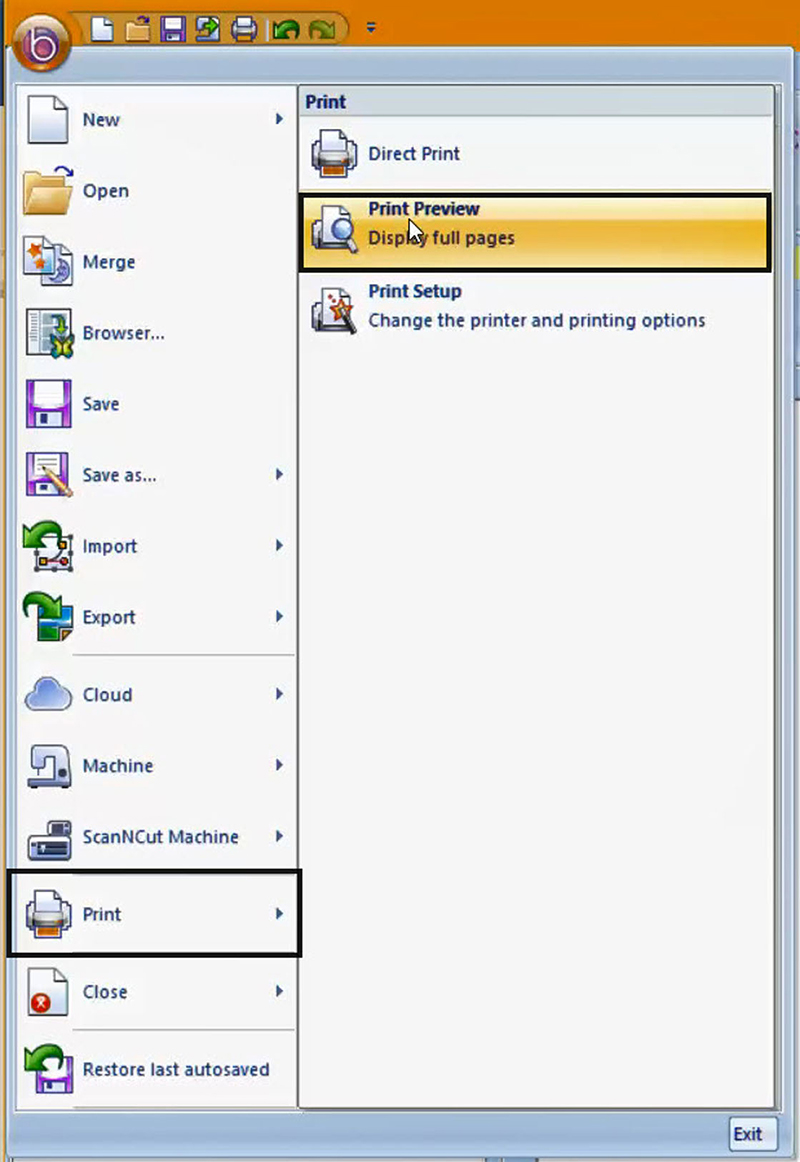
- Click on the Pacesetter button.
- Choose Print and then Print Preview.
- Press Settings. Choose Actual Size, Print in One Page, Remove Jump Stitches, show Crosshair and then click OK.

- Press Print.
- Type in Page 1 to 1 and then press OK.
- The template will print.
Now let's embroider!
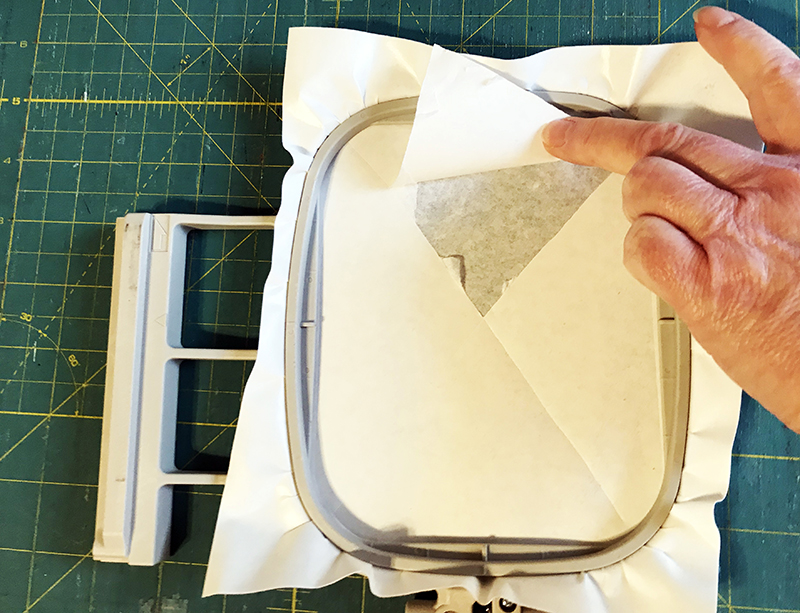
- Hoop a piece of Lightweight Adhesive-backed, water soluble stabilizer (SA5906), with the paper side up, in a 4x4 inch hoop.
- Score the inside of the paper and peel the paper away to reveal the adhesive stabilizer
- Cut out the center of the template and tape it into place where you want the design embroidered. For my duck and bunny, I wanted the design toward the bottom front of the animal's skirt.
- Place the item onto the hoop with the adhesive stabilizer in the center of the hoop and the animal's head over the front.

- Place the hoop into the embroidery machine, bring up the design on the embroidery machine. Rotate the design so that it is oriented correctly and center the design on the template.
- Choose a thread that is slightly darker than the item you are embroidering. You want it to blend into the background.

- Remove the template and place a piece of Water Soluble film on top of the project. Tape into place.
- Embroider the Basting stitch to attach the water-soluble topping to the project. This is a high loft project, so watch that the foot doesn't drag the topping.
Tip: You may wish to raise the embroidery foot height to keep the foot above the project.

- Embroider the design.
- Remove the project from the hoop.
- Trim the water-soluble backing as close as possible to the embroidery.
- Tearaway the excess topping.
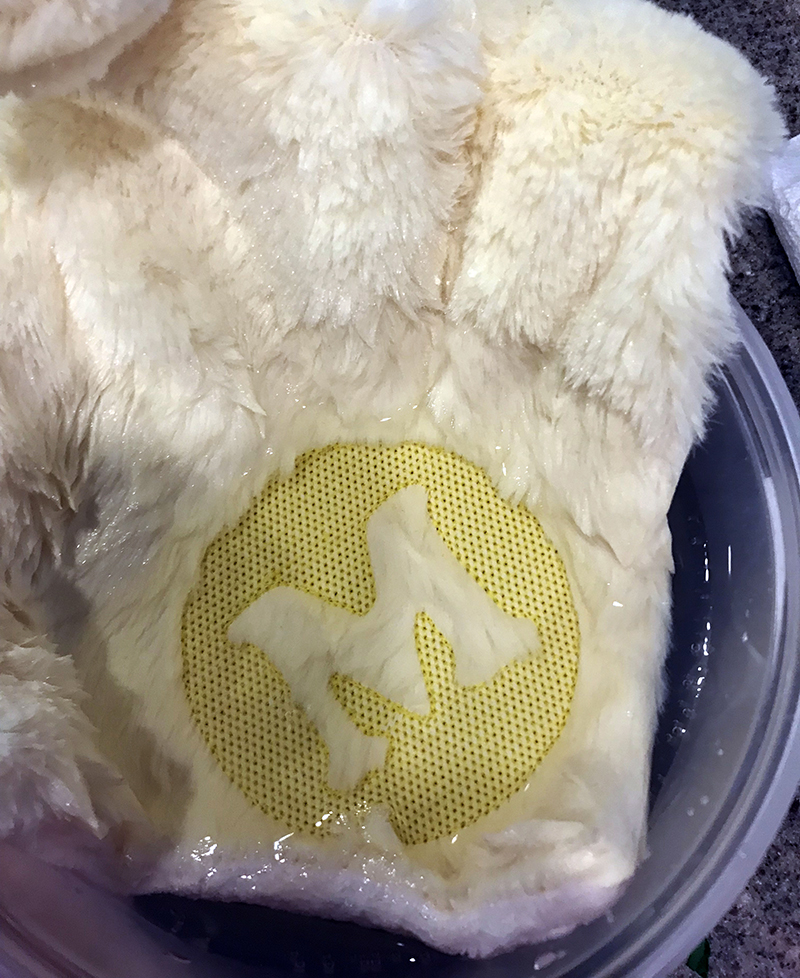
- Rinse in warm water to remove the stabilizers. I placed mine in a bowl to soak.
- Let dry.
- If necessary, repeat the rinsing process until all the stabilizer and stiffness is removed.
- My animals couldn't be washed and dried, so I rinsed until they were no longer stiff and put them in the dryer without heat until they were fluffed.
Related Projects
Stay Connected
* Required fields