Embroider a Lipstick Case
I tend to carry a lot of bags when traveling, even back and forth to the office. In an attempt to stay organized, I fill each larger bag with mini bags. You can find my previous blog posts with a couple of these bags: With today being National Lipstick Day, I got thinking, what about a cute case for lipstick? Anything to keep that cover from coming off in my bag!
Sewing Embroidery Machine and Accessories used:
- THE Dream Machine®
- Buttonhole foot (A)
- Button foot (M)
- 4 x 4 Embroidery Hoop
Highlighted Feature:
- Droplight™ LED Embroidery Positioning Marker
Materials and Supplies:
- 7” by 6” faux leather or vinyl (Adjust the size of the case for your specific lipstick or lipgloss containers)
- 7” by 6” lining fabric (polyester, satin, cotton, or silk are a few options)
- 1 button
- Tailors chalk
- Measuring gauge or quilters ruler
- Leopard Print Lipstick design
from iBroidery - Embroidery thread
- Sewing thread
- Fabric clips
- Sticker or fabric marker for embroidery placement
- Button hole cutter or seam ripper (see the Editor’s Tip mentioned in this post between points 13 & 14!)
- SA5815 Medium-weight, adhesive tear away, embroidery stabilizer
Let’s get started!
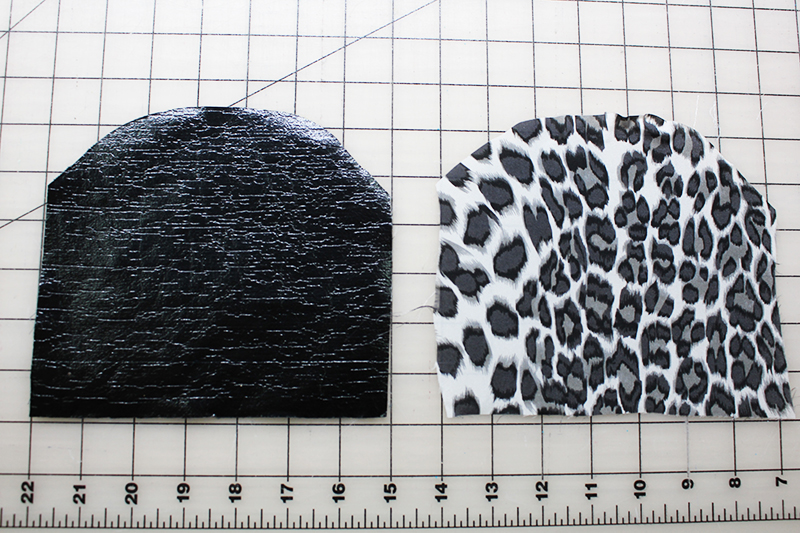
Mark the Fabric for Embroidery- Layout the vinyl and lining pieces and cut a curve along the top edge, as I have shown here.
- Starting with the vinyl fabric, mark the location for the embroidery design. 3 ½ inches from the side and 2 ¾ of an inch from the top of the curve. Place a sticker mark that location.
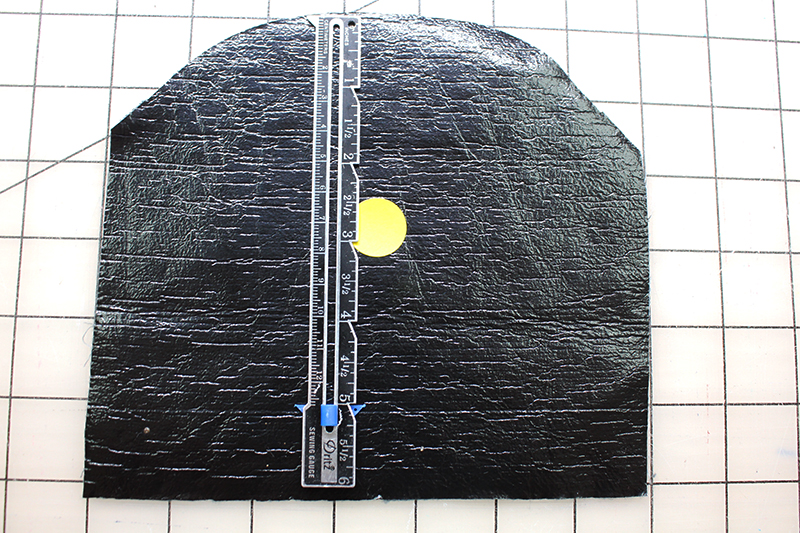
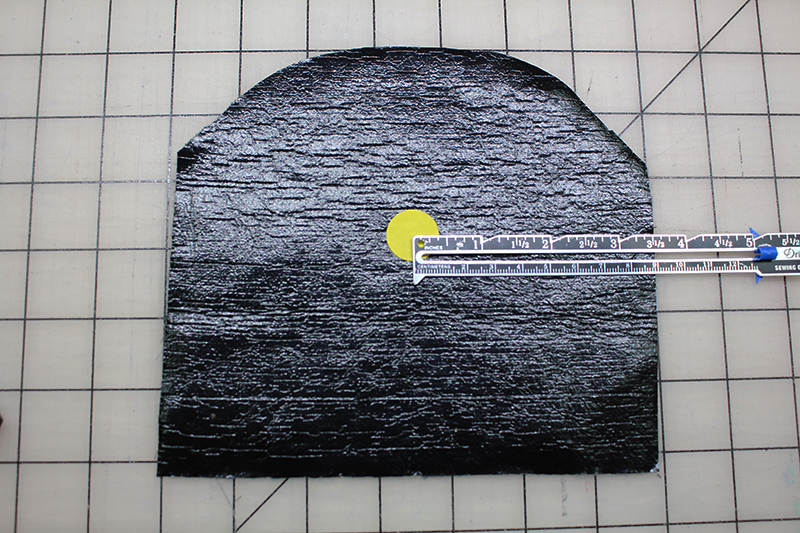
- Use a marker or pen to mark the EXACT center position.
Note: You could also use a snowman sticker for embroidery placement.
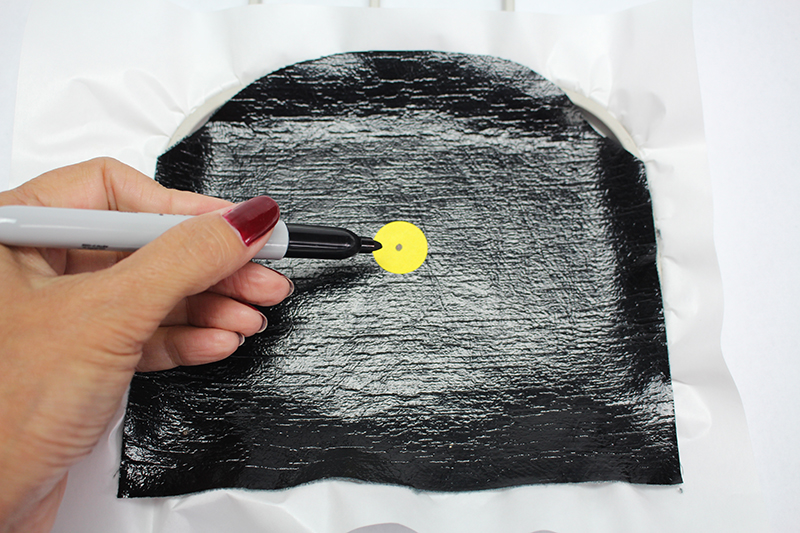
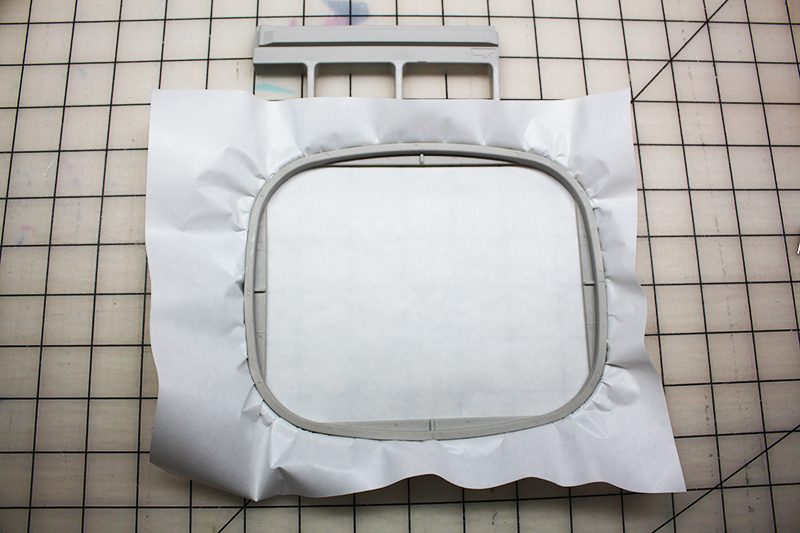
- Hoop the embroidery stabilizer with the paper side up, as shown.
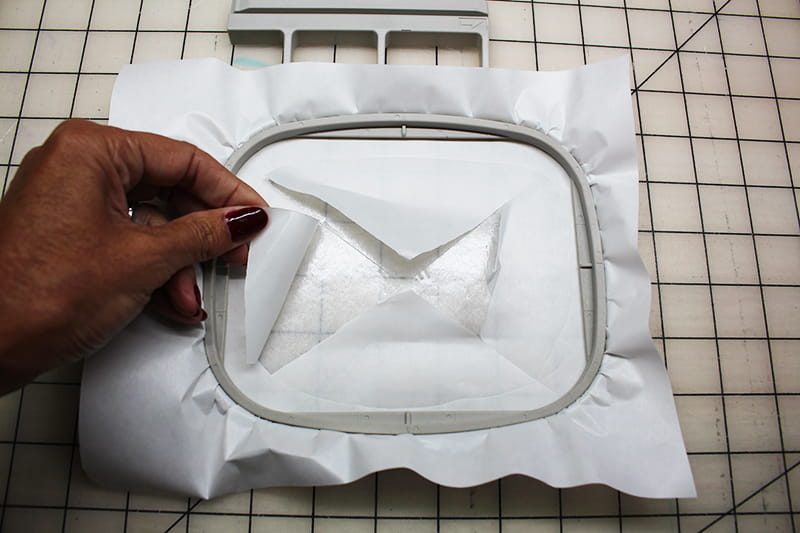
- Score the paper and pull the paper away.
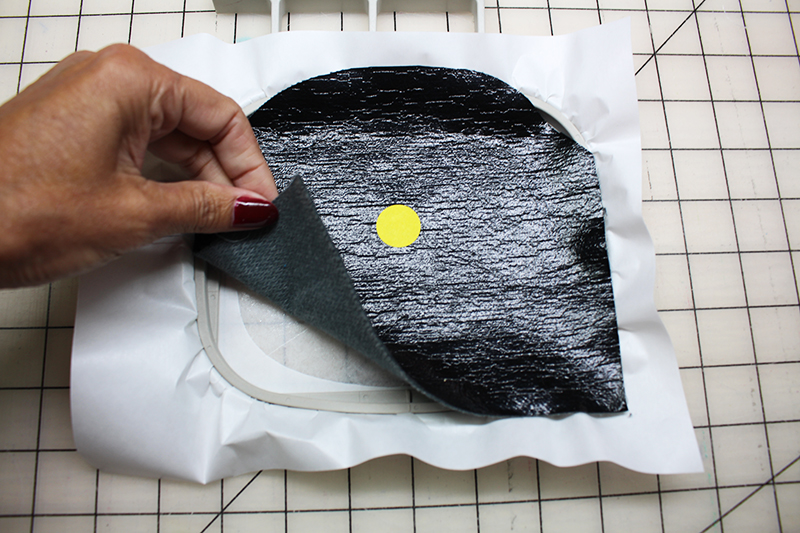
- Place the vinyl, with the right side facing up, onto the sticky back stabilizer. Try to keep the yellow dot in the center of the embroidery frame.
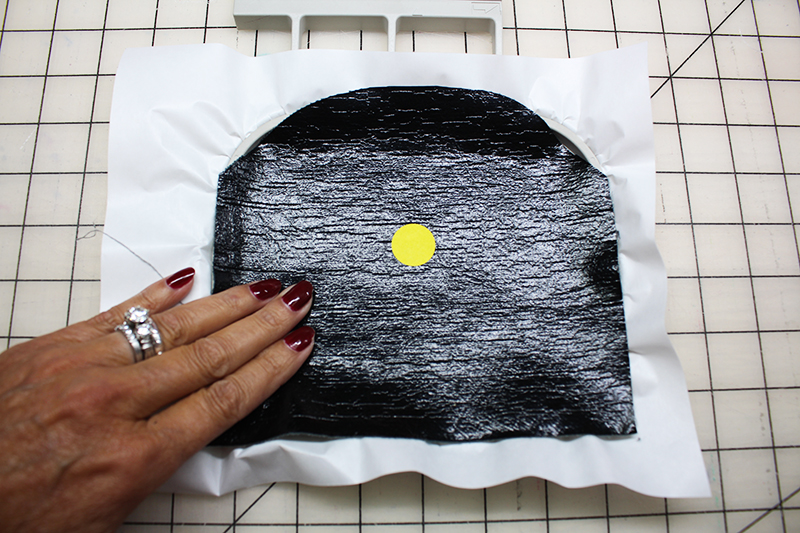
- Run your fingers across the fabric to make sure it’s nice and tight against the embroidery stabilizer.
Embroider the Lipstick Design
- Download the lipstick design from ibroidery.com
- Insert the design into the Brother Dream Machine. The machine indicates design will take 15 minutes to embroider.
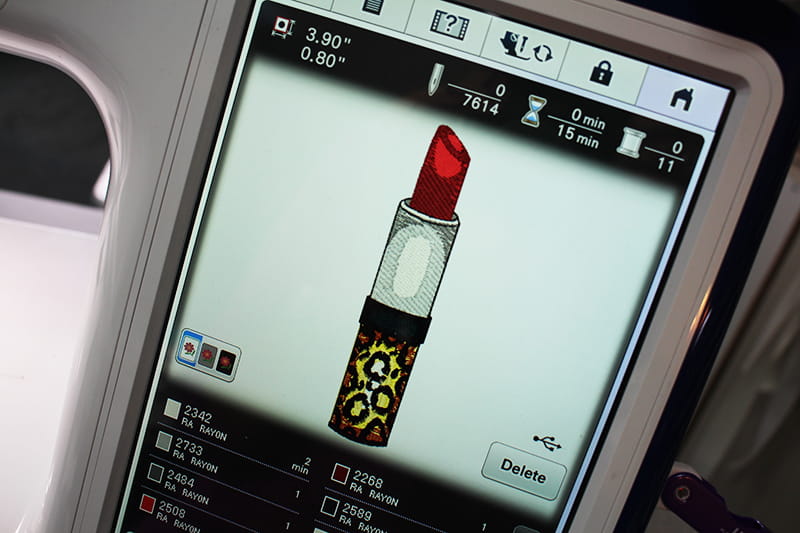
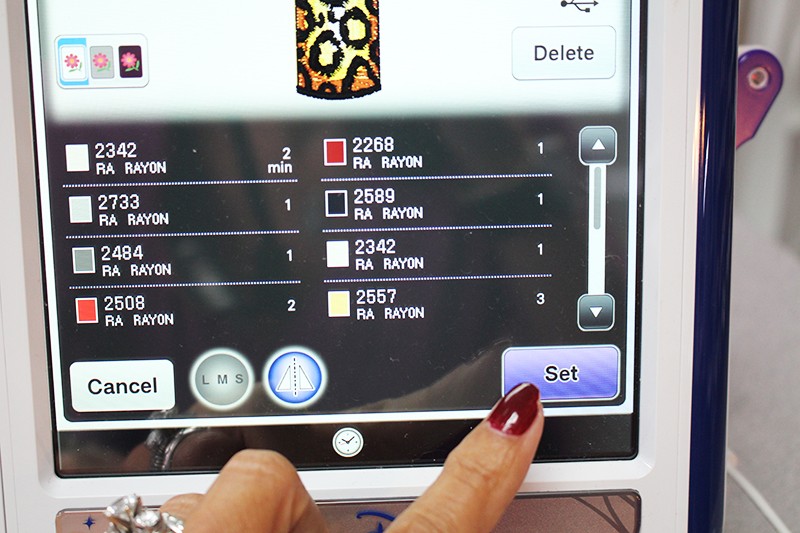
- Click SET.
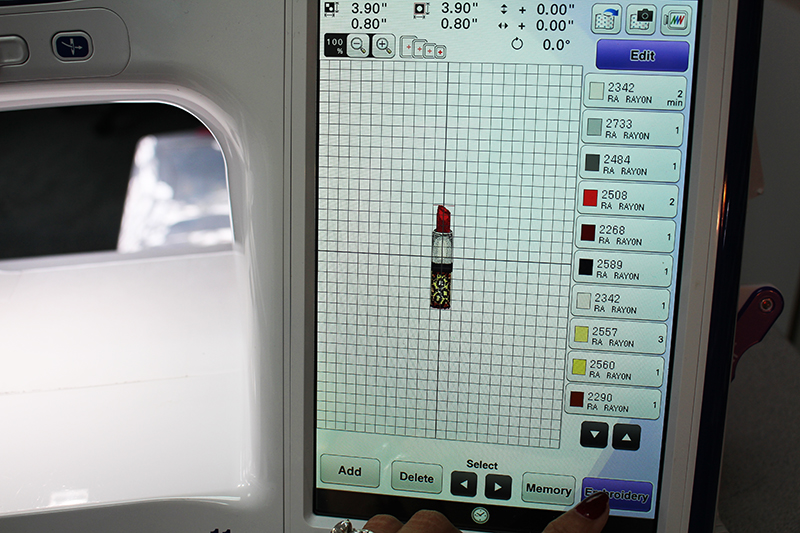
- The embroidery design will automatically show up in the center of the screen. Click EMBROIDERY.
- Click on the Droplight™ LED Embroidery Positioning Marker to check the placement of the design with the marking on fabric.
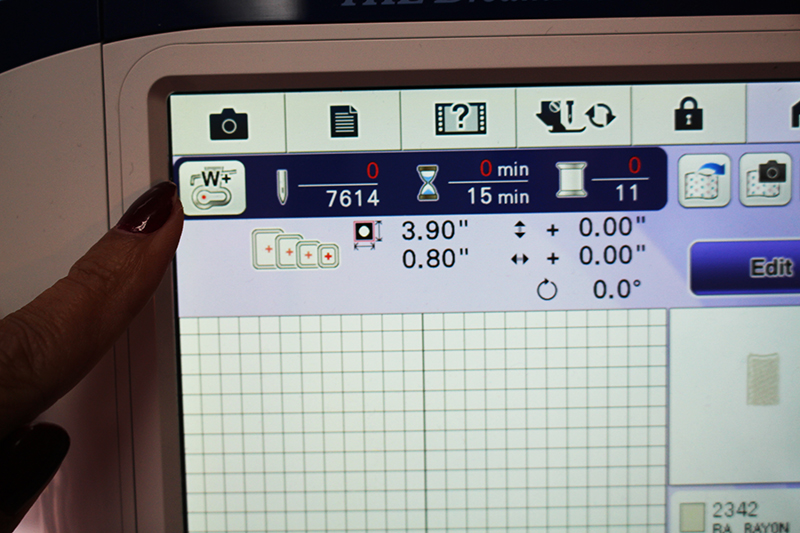
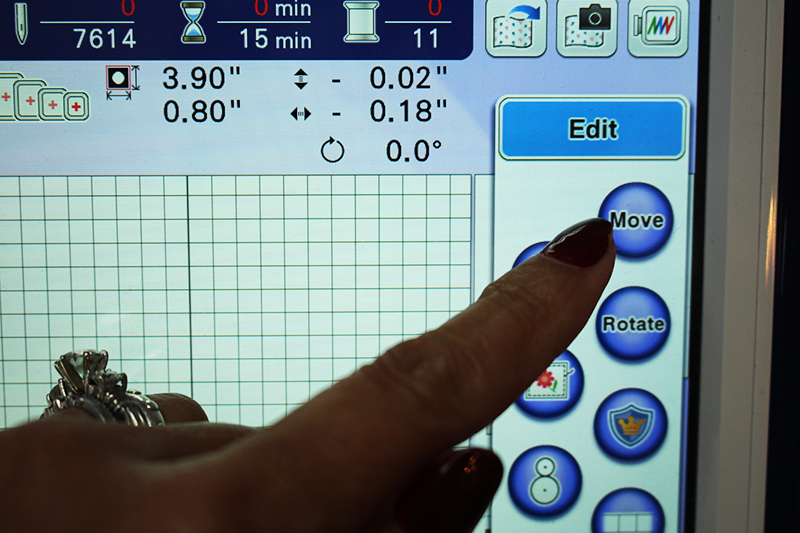
- The laser light is not quite on our center marking. Click EDIT and MOVE to change the position of the design. The laser light should be directly on top of the center position.
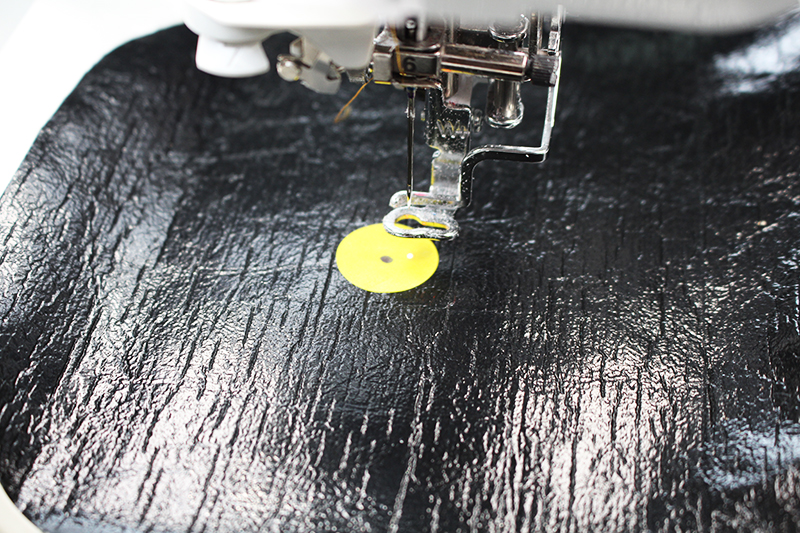
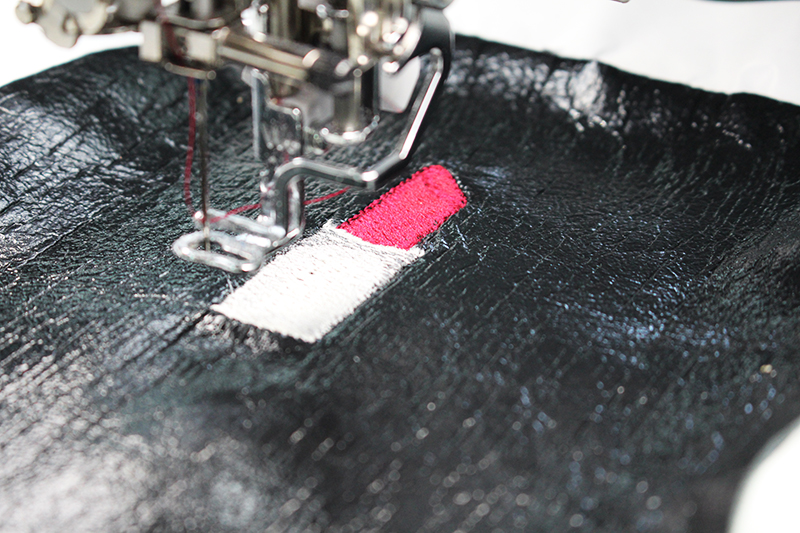
- Embroider the lipstick design.
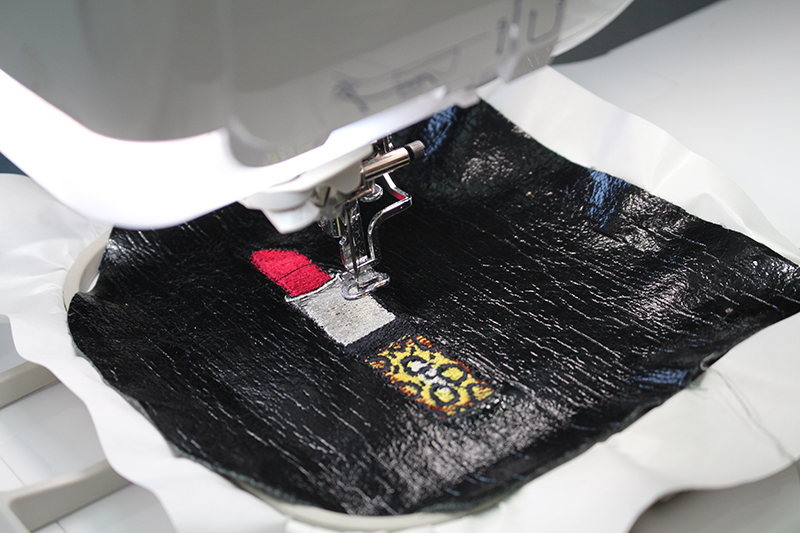
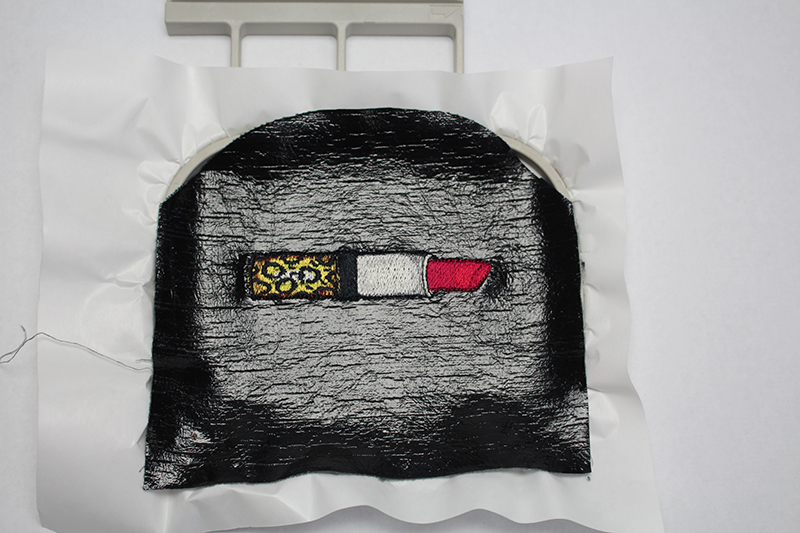
- When the design is finished, remove the embroidery hoop and tear-away the stabilizer.
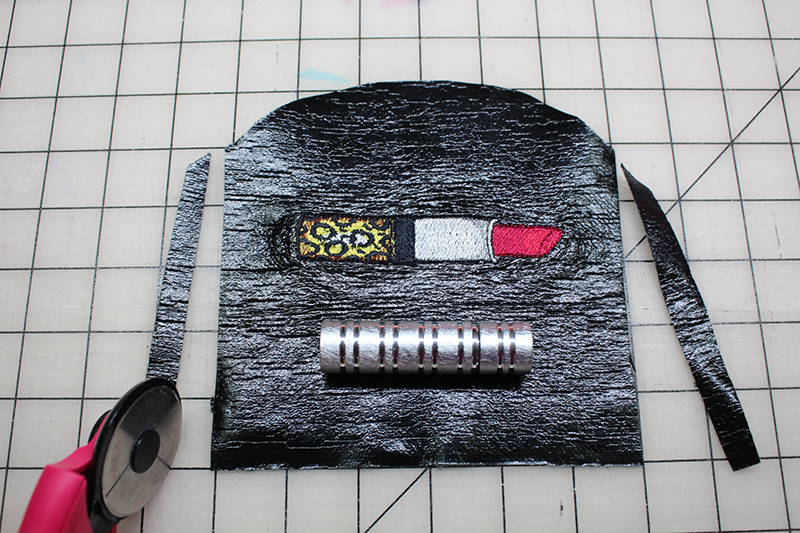
- Now that the embroidered design is finished, I can compare the size of the bag to my lipstick. It looks like I could trim off ½” on each side and still maintain the embroidery design and have plenty of room for my lipstick.
Sew the Case
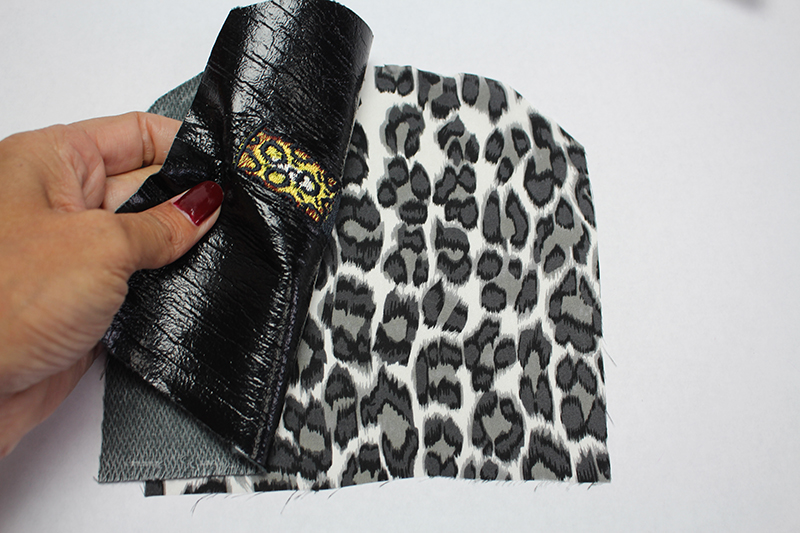
- With right sides together, layer the vinyl and the lining.
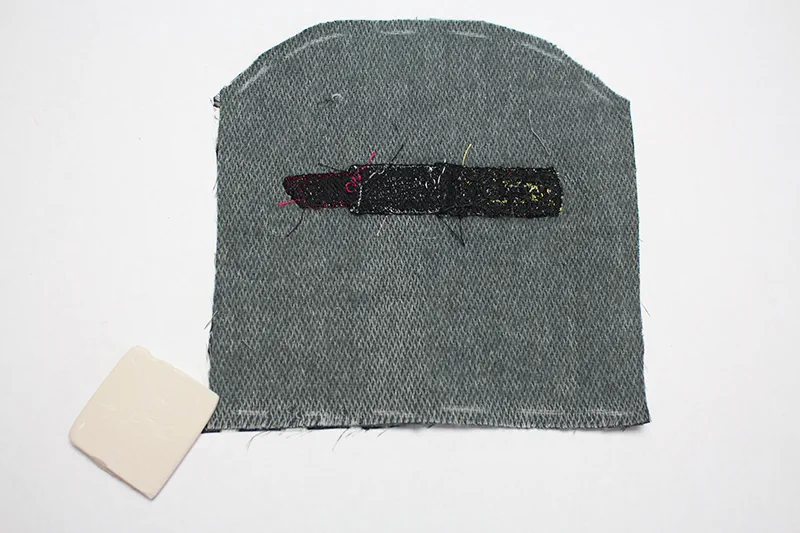
- Stitch across the upper curved edge and the lower edge with the ¼ inch seam allowance. I have marked this area with chalk.
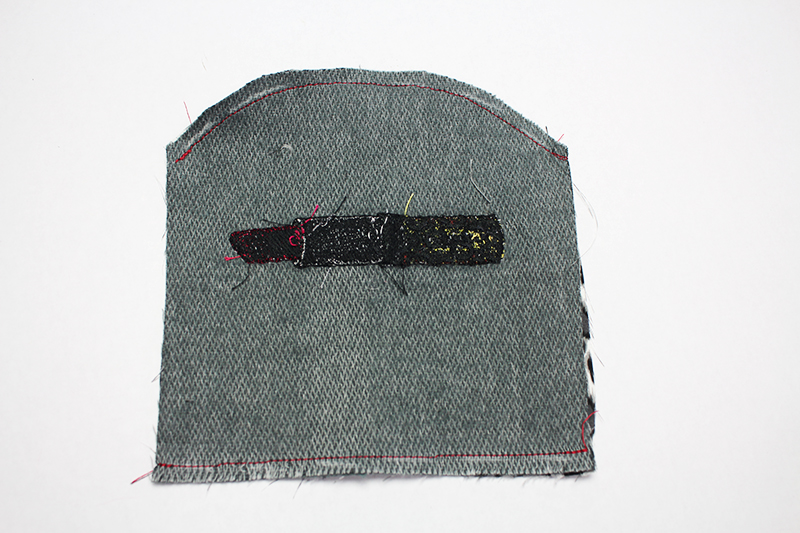
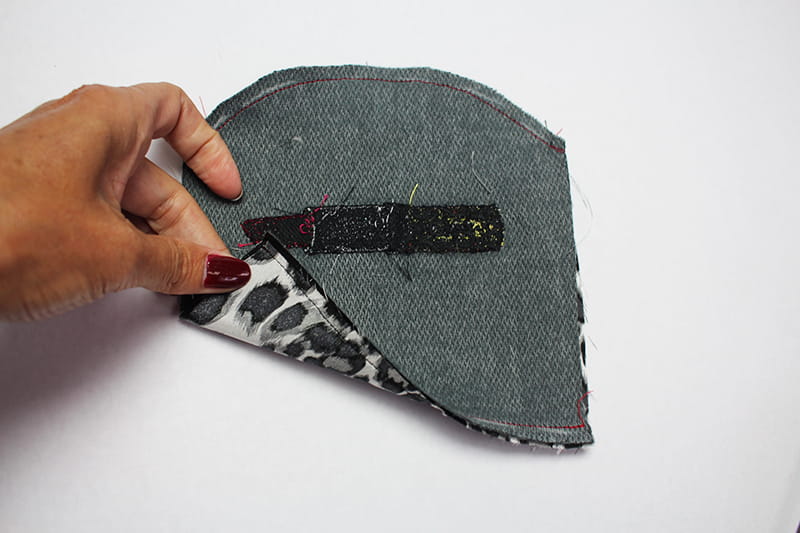
- Reach your hand into the side and turn the bag right side out.
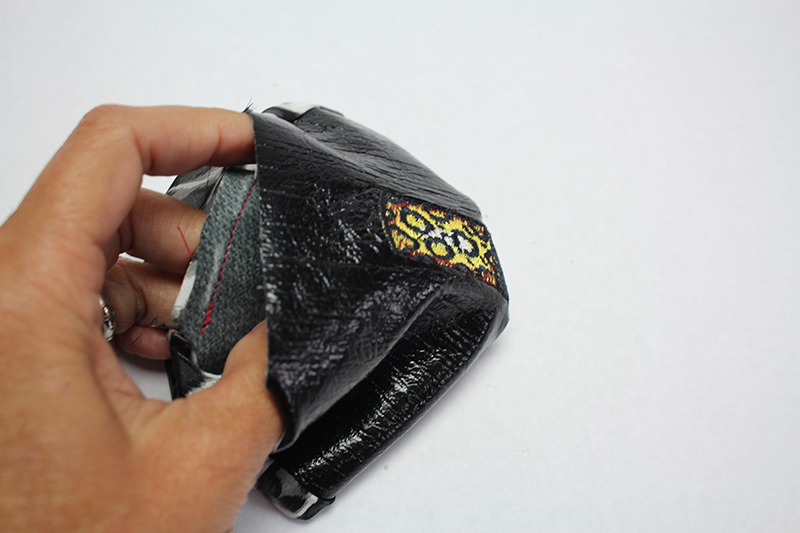
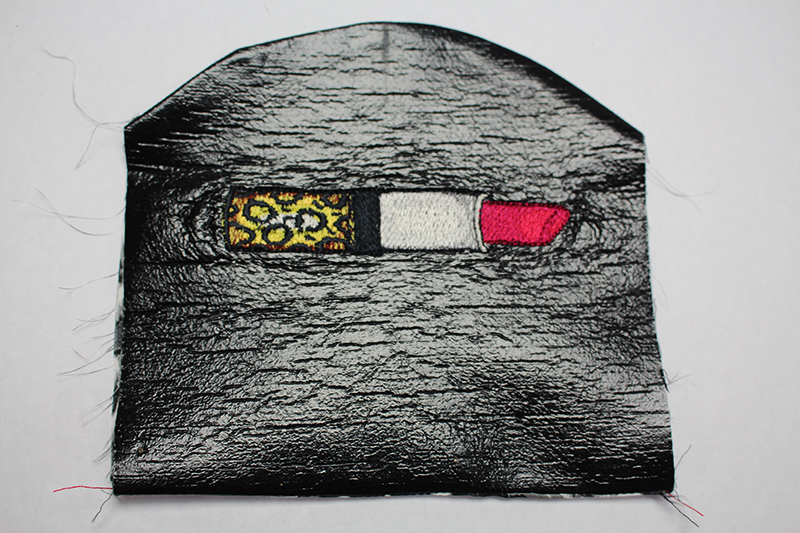
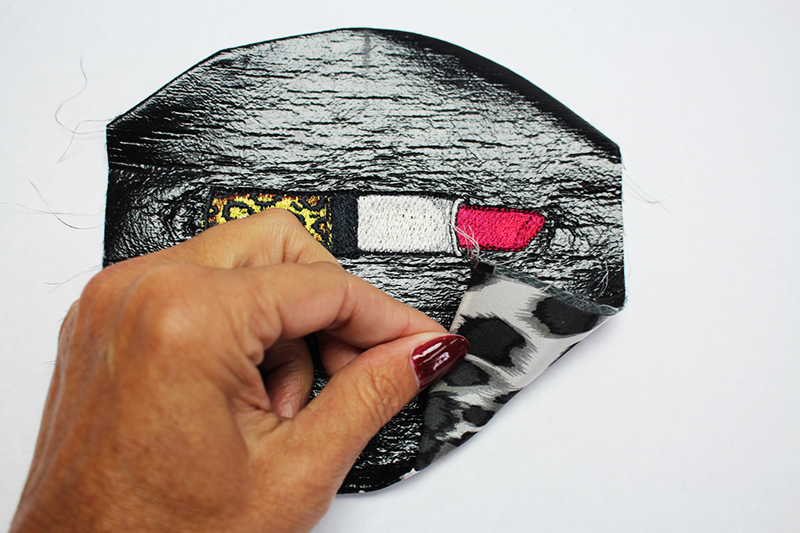
- Using a low heat on the iron, press along the sewn edges from the lining side. DO NOT PRESS THE VINYL FABRIC!
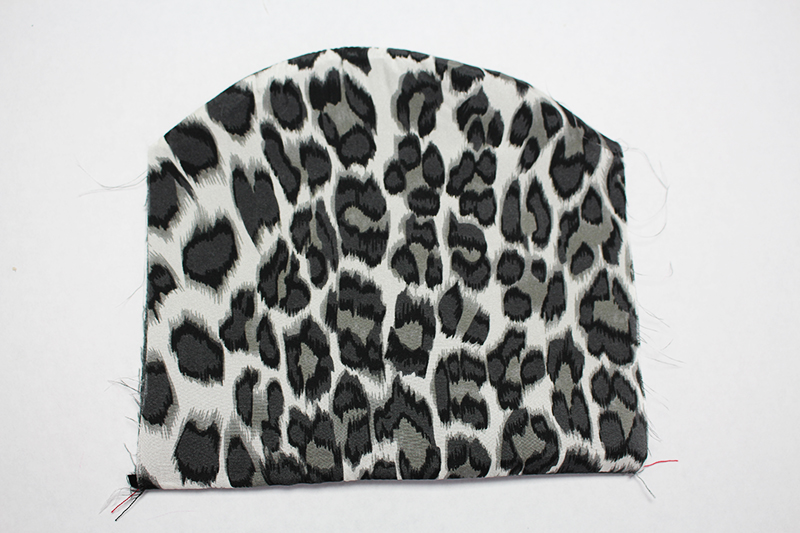
Sew the Buttonhole and Button
- Mark the button hole placement with tailors chalk. Draw a line along the top curved edge as shown.

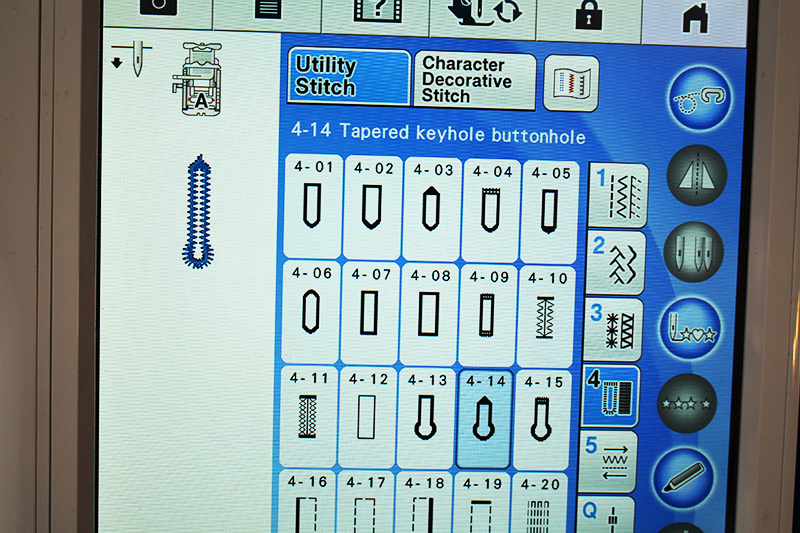
- Choose one of the buttonhole designs from the sewing machine.
TIP: A keyhole design will make it easier to open and close the case.
- Place the button in the back of the buttonhole foot (foot A).
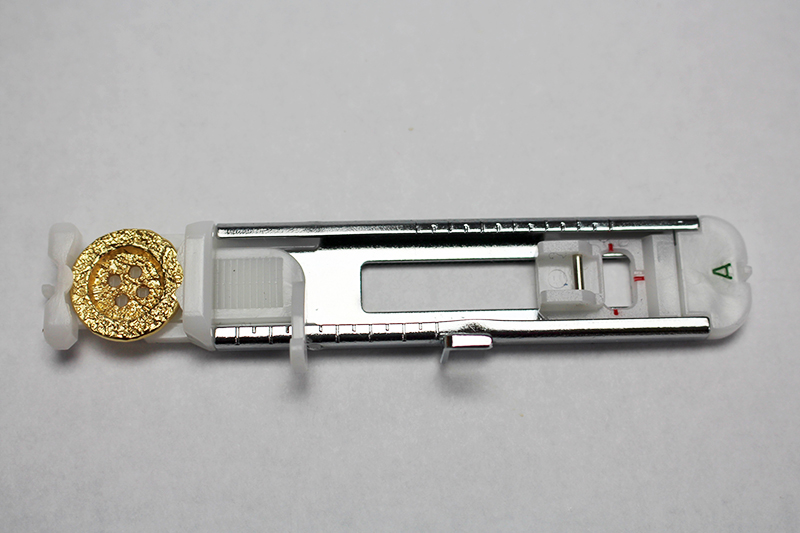
- Insert the buttonhole foot onto the sewing machine. Lower the grey lever behind the foot as shown (refer to your manual if you have questions about this).
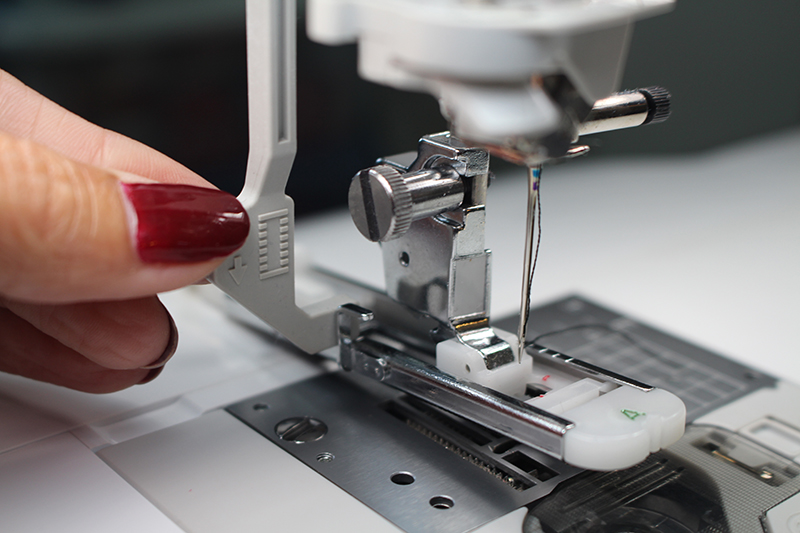
- Line up the center of the foot with the chalk marking. Start with the needle approximately half an inch from the finished edge.
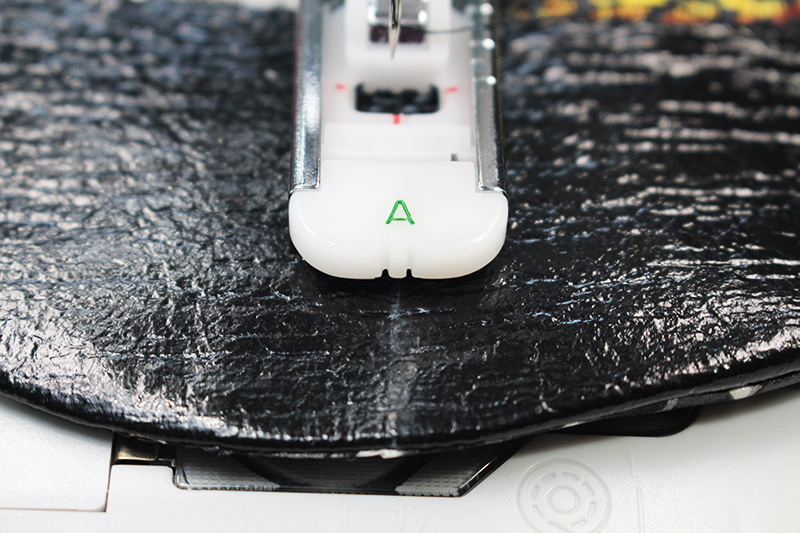
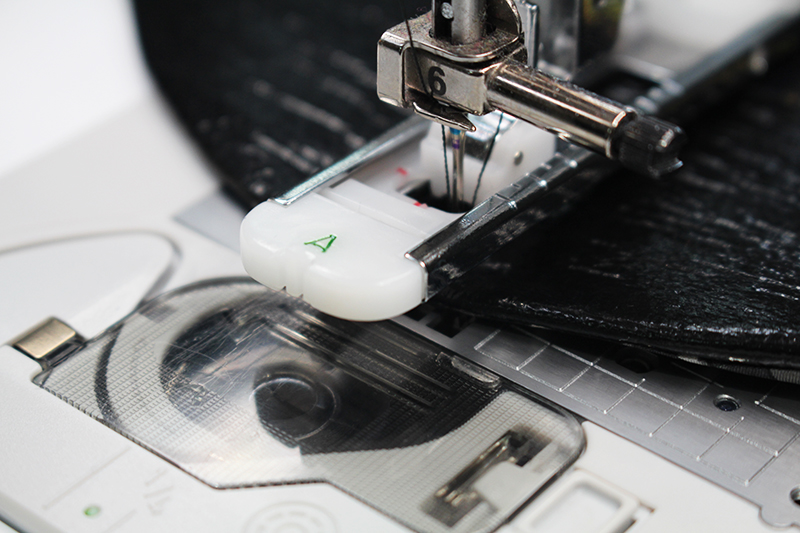
- Stitch the buttonhole.
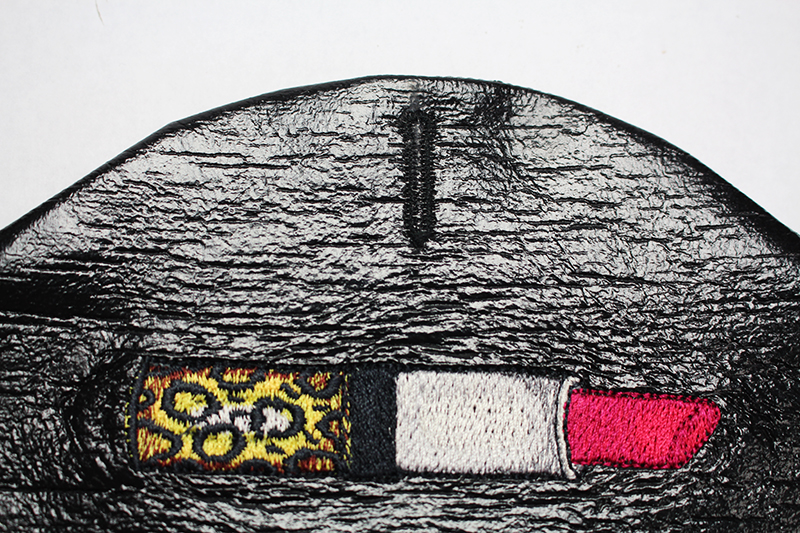
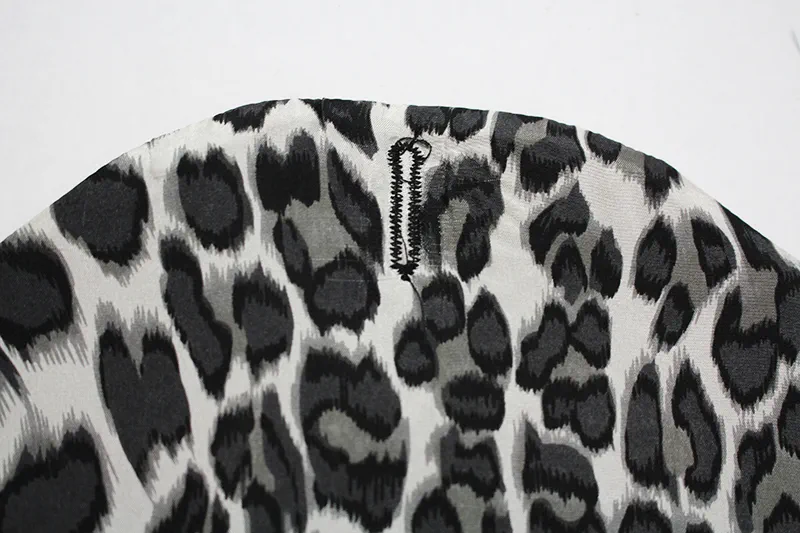
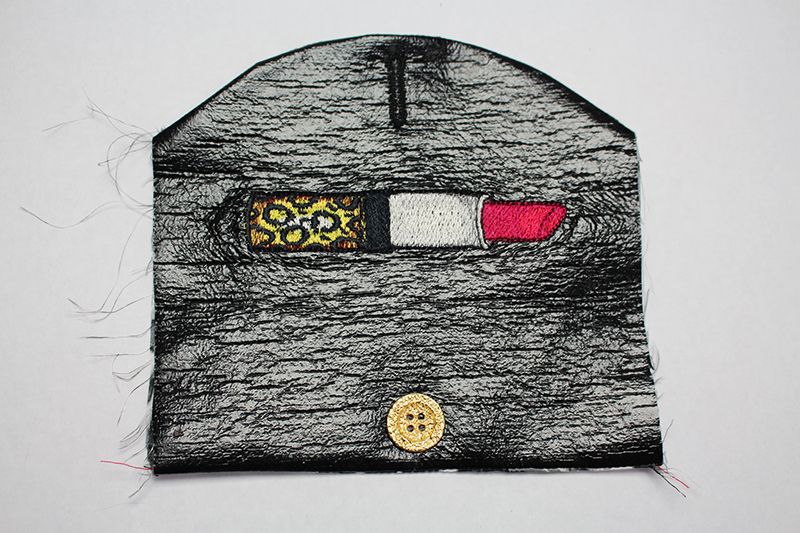
- Place a button on the opposite side of the bag, as shown. The placement should be opposite of the buttonhole and at least ¼ of an inch from the finished edge of the bag. Depending on the size of your button, the placement might be a little bit different than mine.
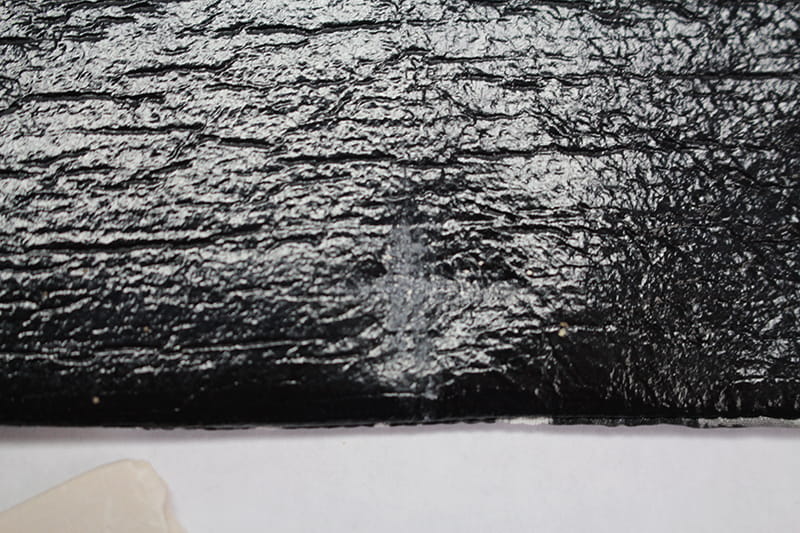
- Mark the button placement with an “X” using tailors chalk or sticker.
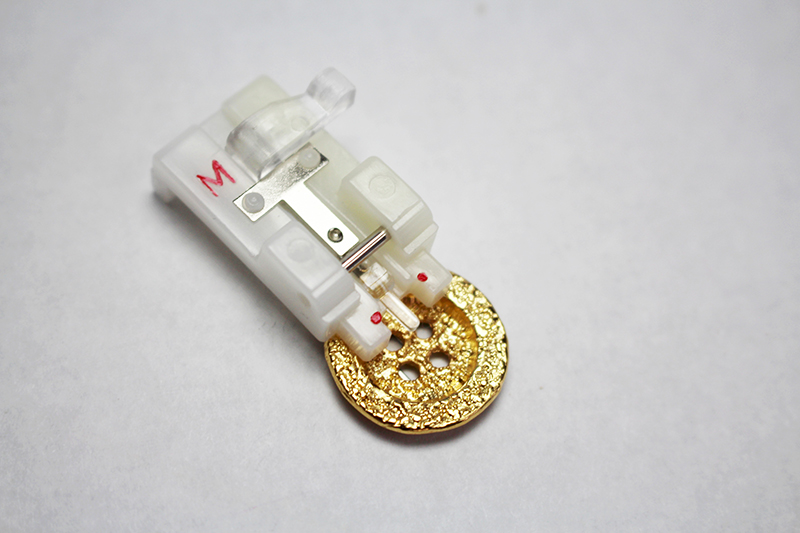
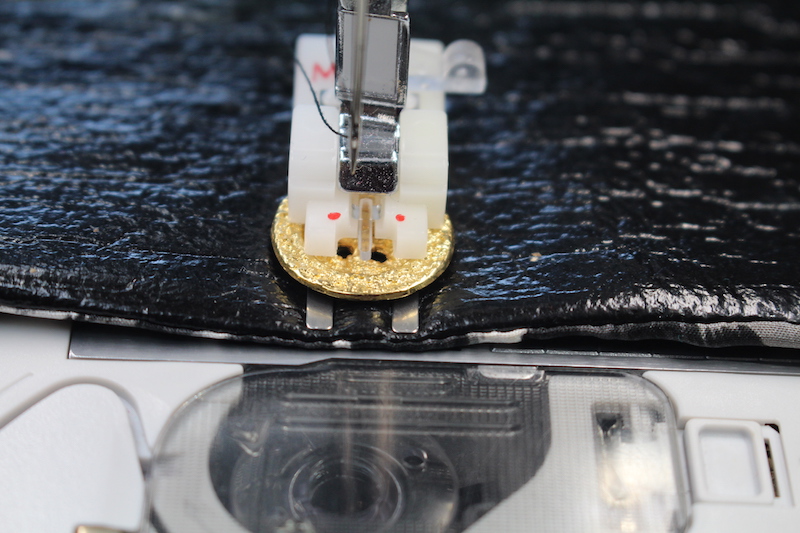
- Place the button into the button sewing foot (foot M).
- This is a view from the backside.
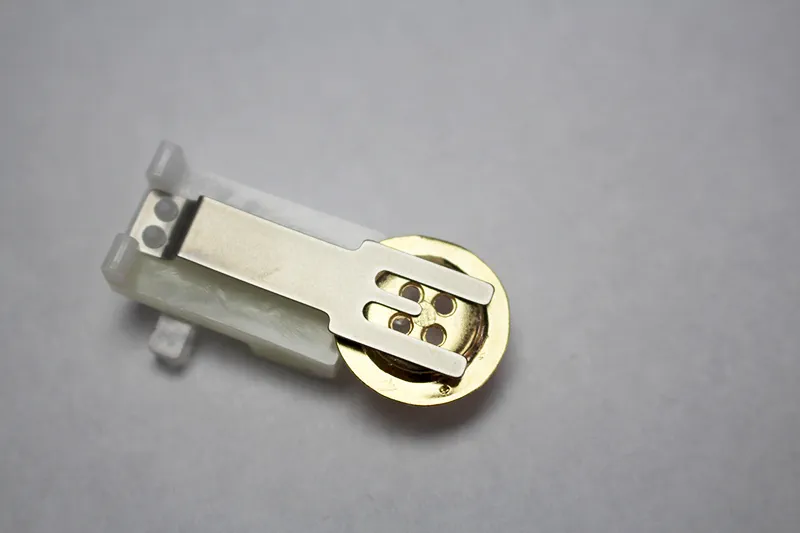
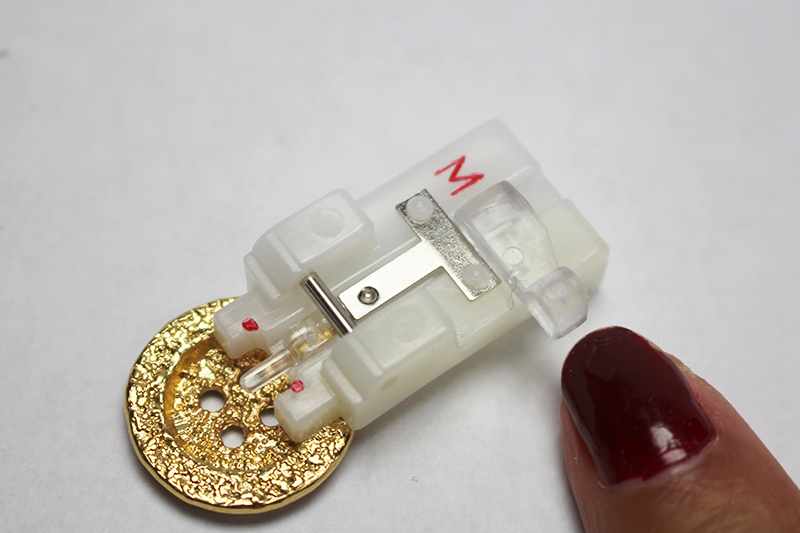
- Slide the plastic lever on the side of the foot to the front. This will create a shank for the button, making is easier to open and close the bag.
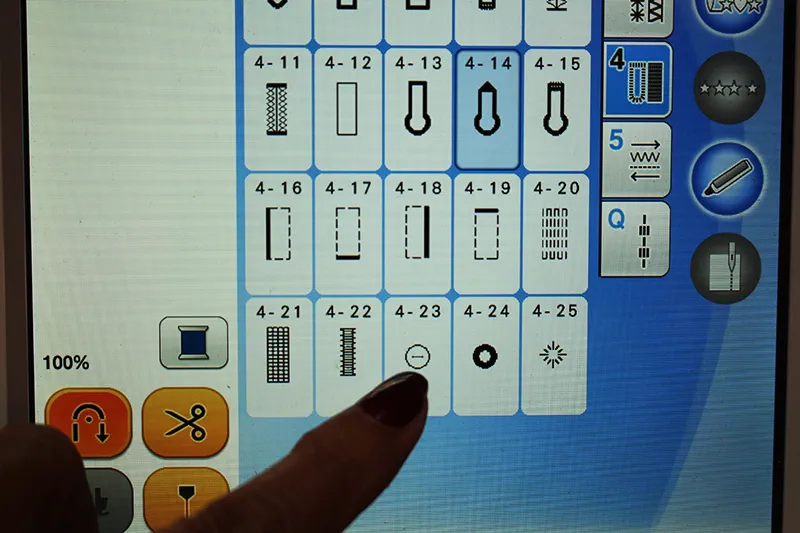
- Choose the button sewing icon on the sewing machine (stitch 4 – 23 on the Brother Dream Machine).
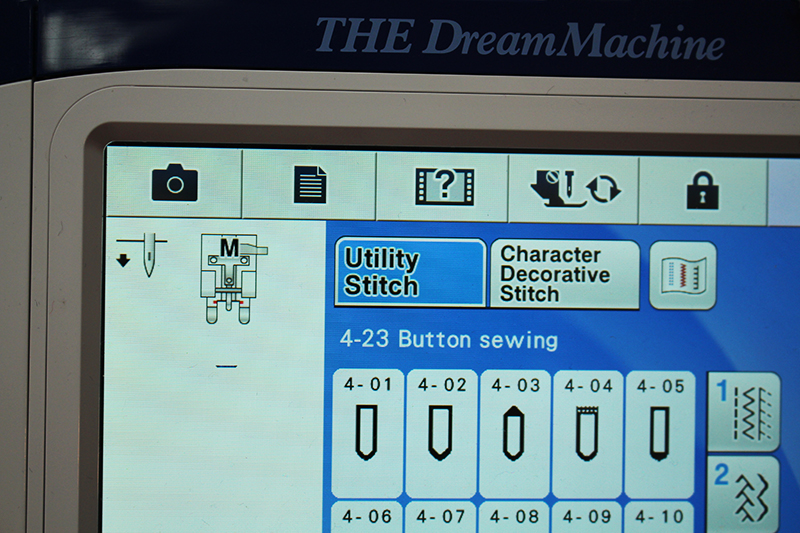
- Slide the fabric underneath the button. Align the button directly over the center of the chalk marked “X”.
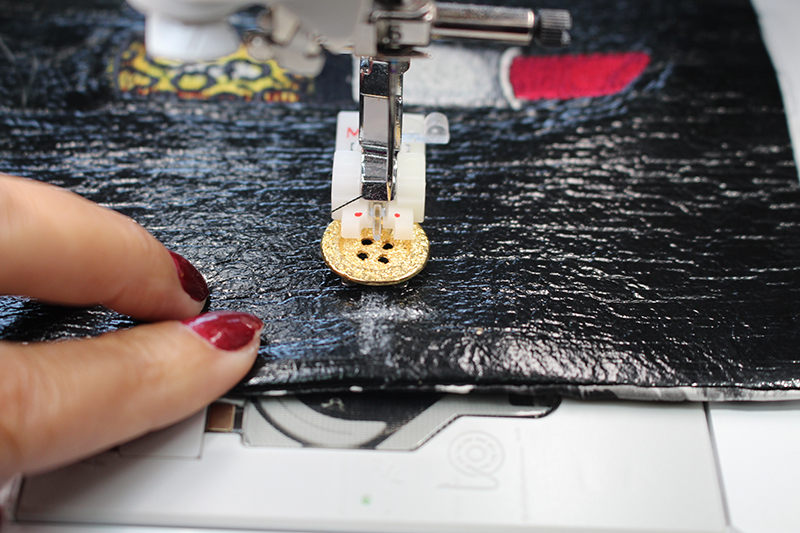
- It’s a good idea to stitch the first couple of stitches with the hand wheel to check that the needle goes through the holes of the button.
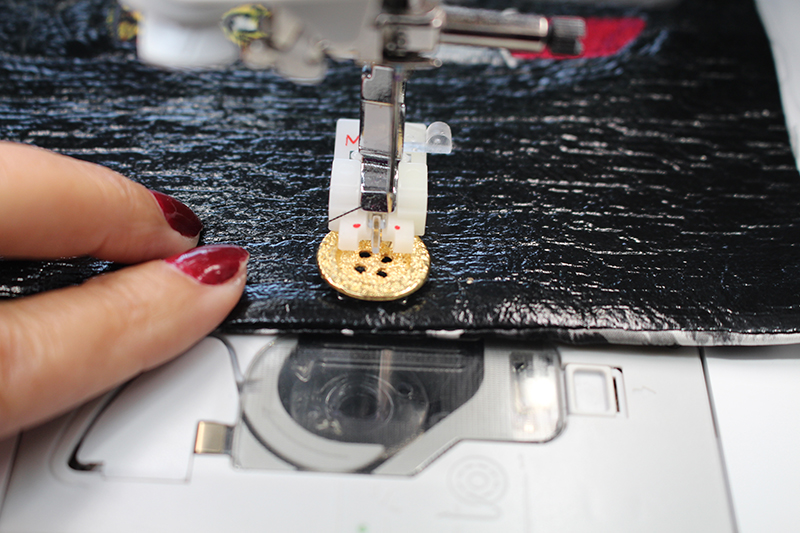
- Stitch the button.
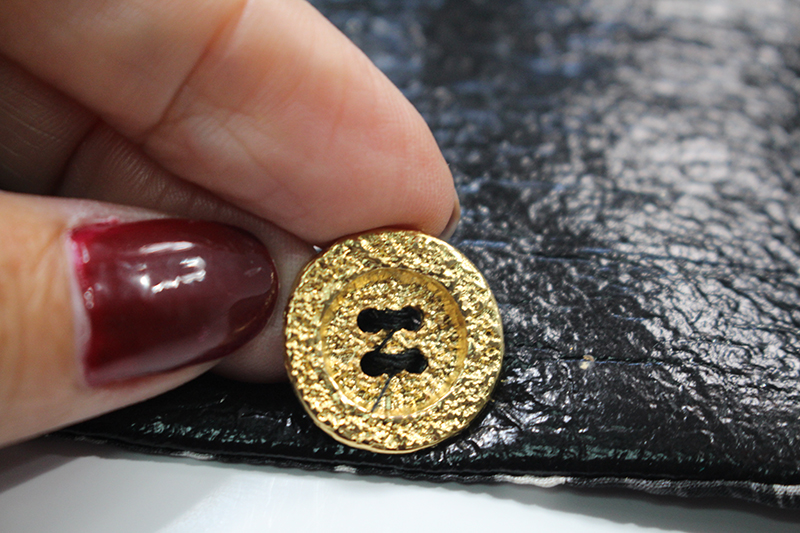
Finish Sewing the Bag
- Turn the bag wrong side out.
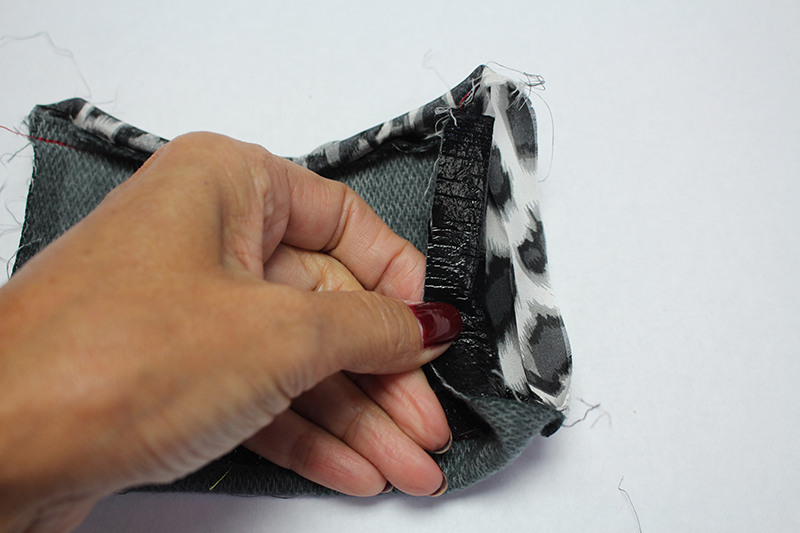
- Slide the bag so the vinyl fabric meets and hold the seam closed with fabric clips.
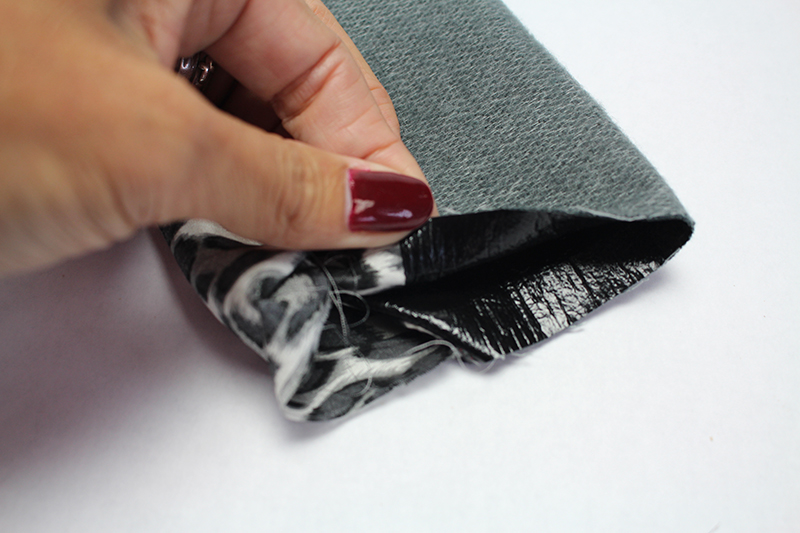
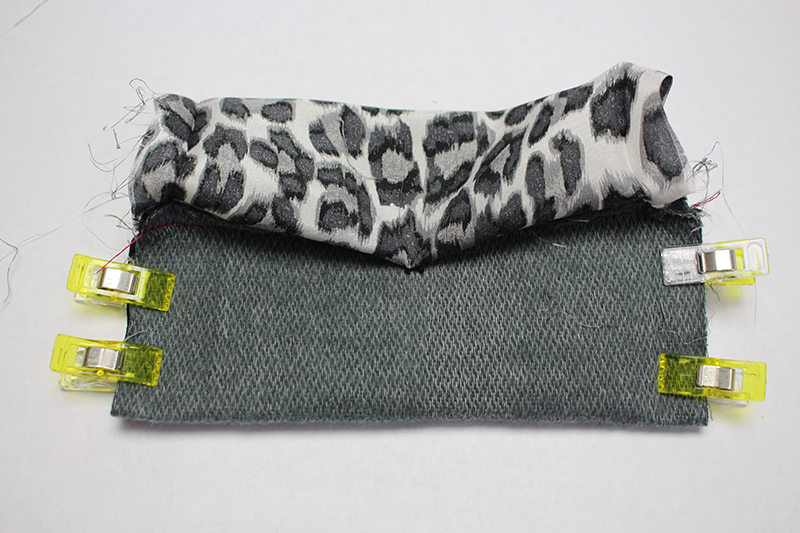
- Stitch along each side of the vinyl with ½” a seam allowance.
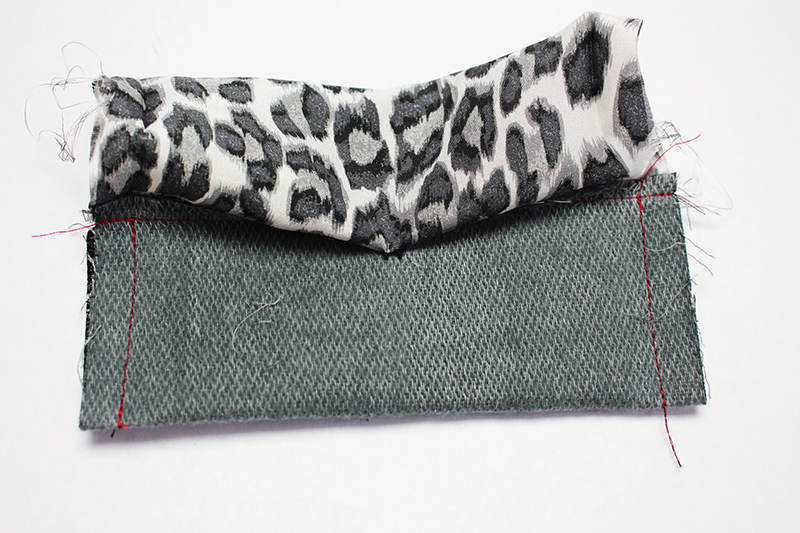
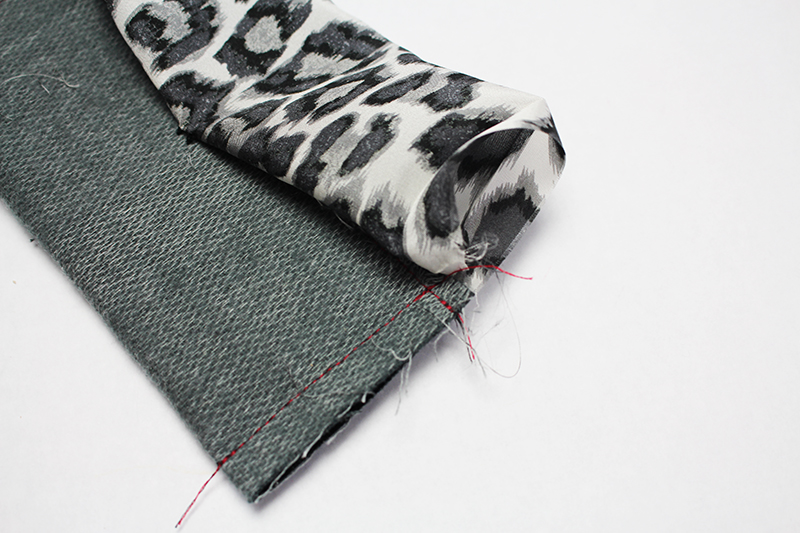
- Slide the bag right side out through the opening in the lining.
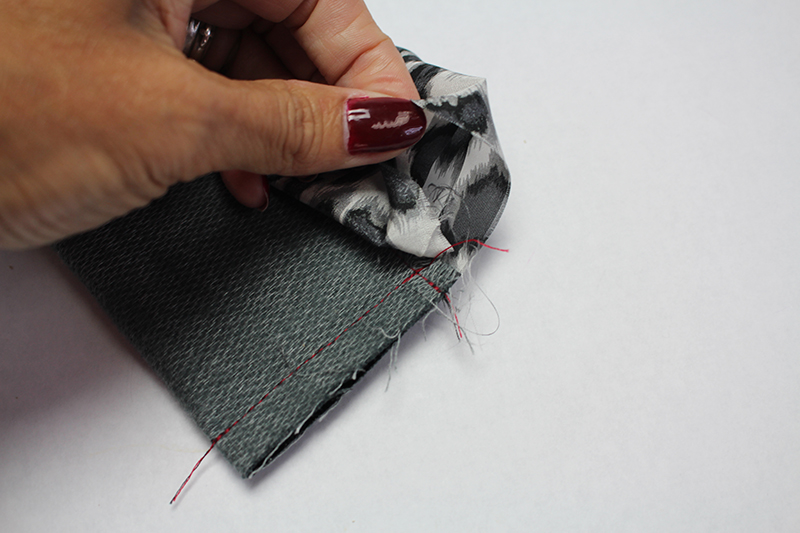
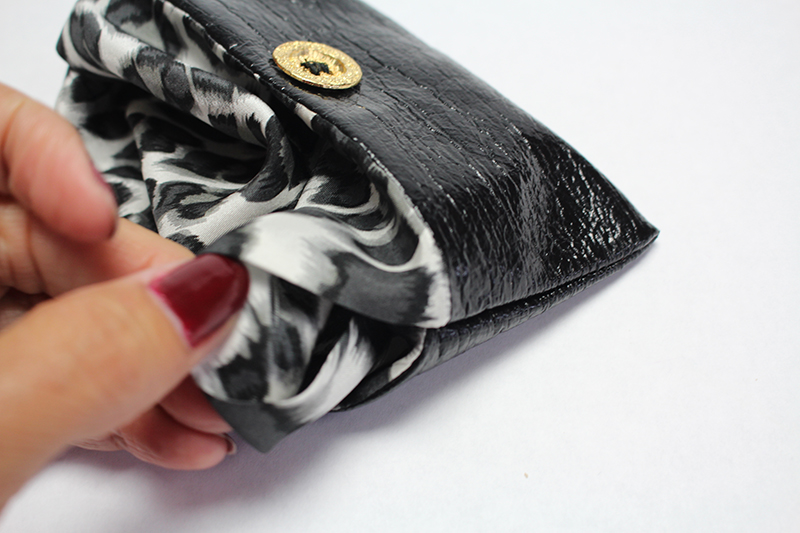
- Turn in the seam allowances on the lining and finger press in place.
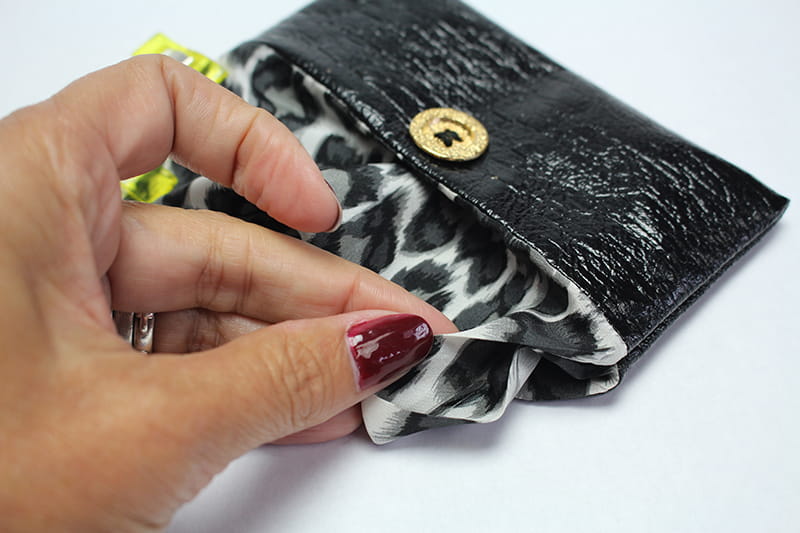
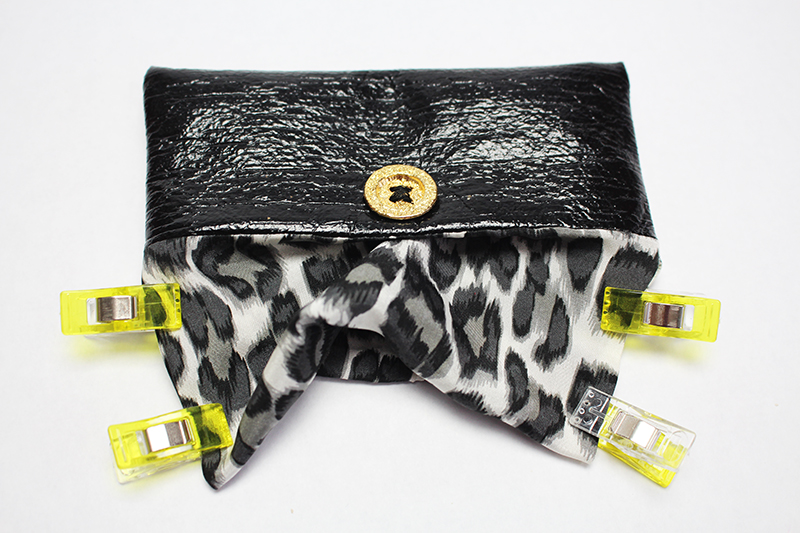
- Stitch the lining together about 1/8” from the edge of the fold.
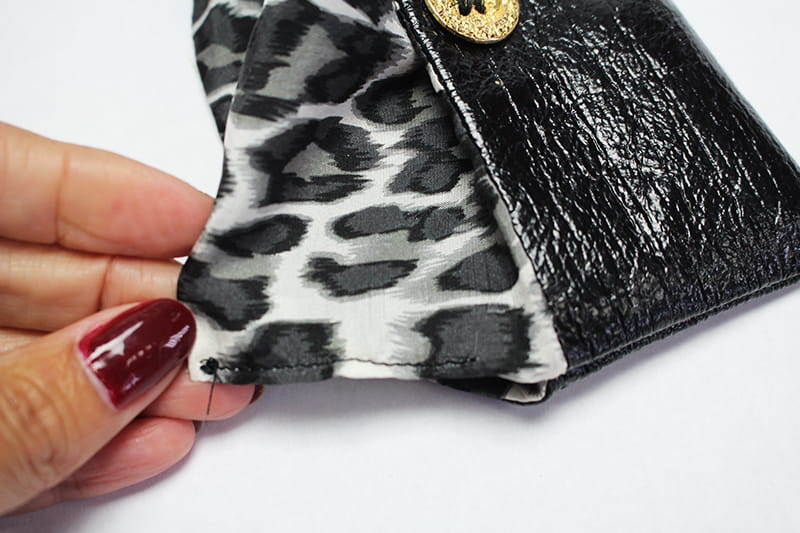
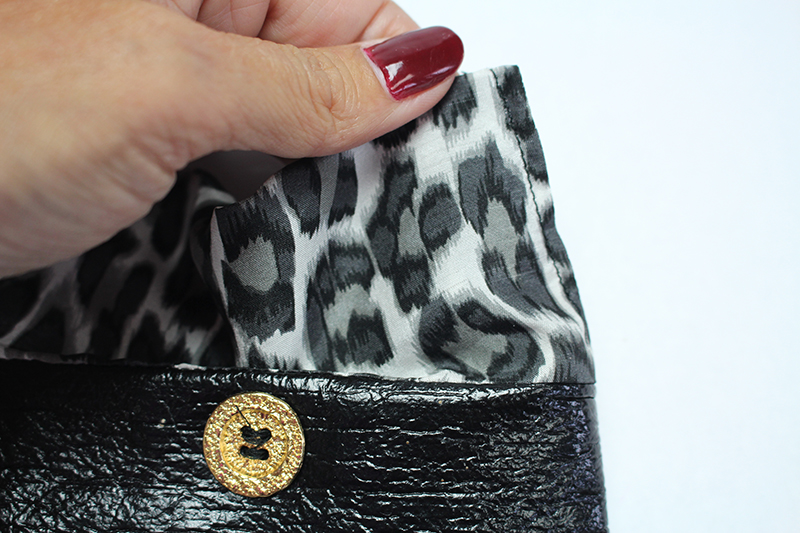
- Slide the lining into the bag.
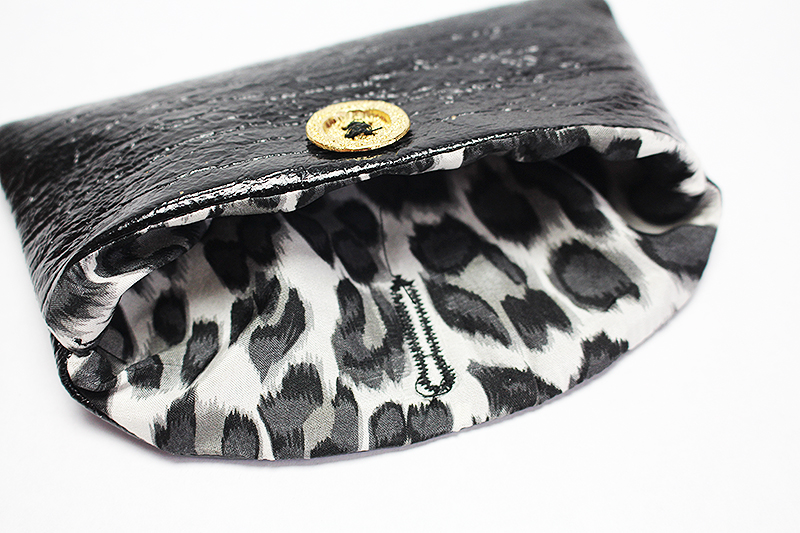
- Open the button hole.
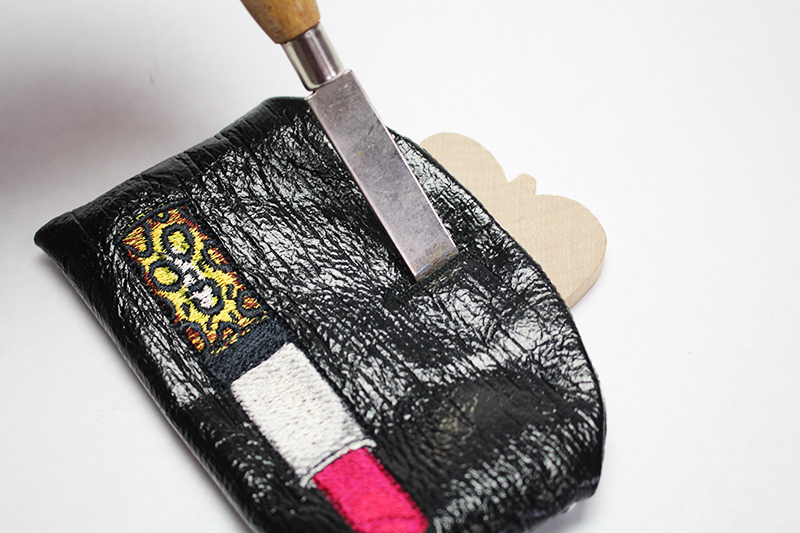
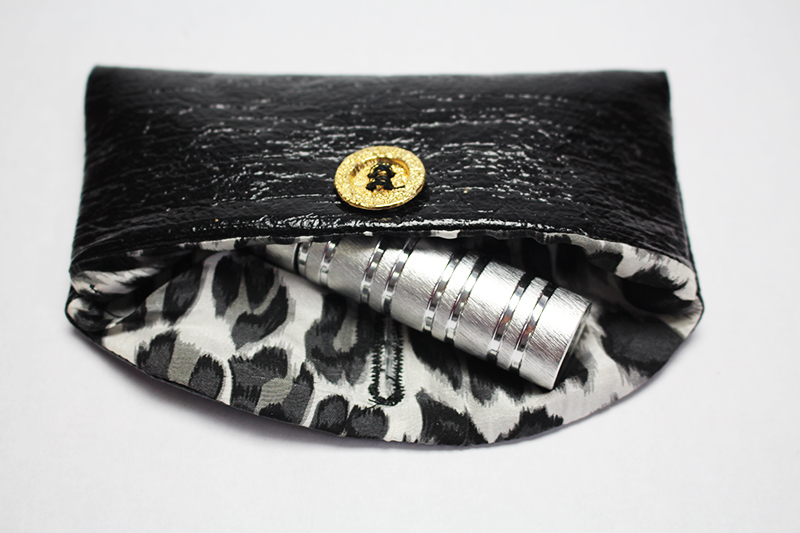
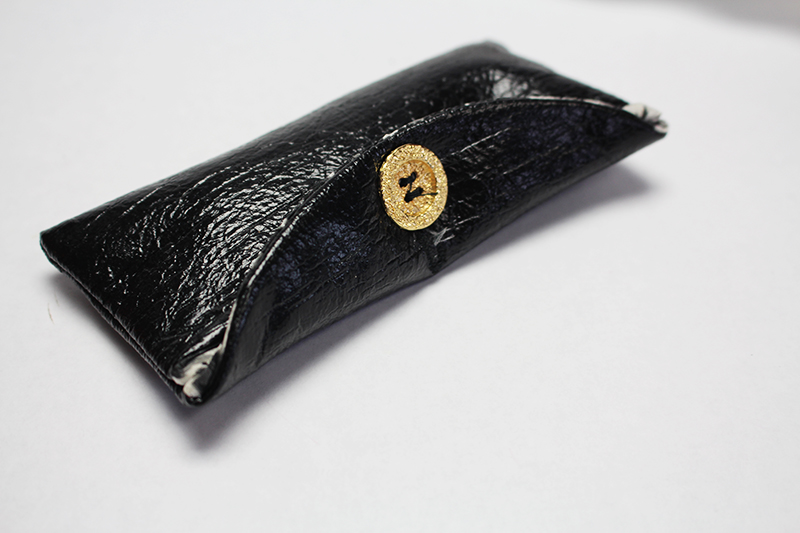
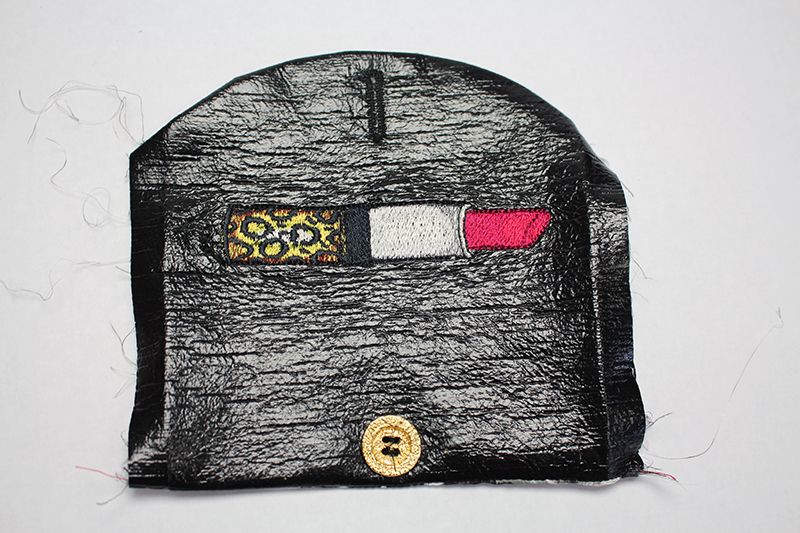
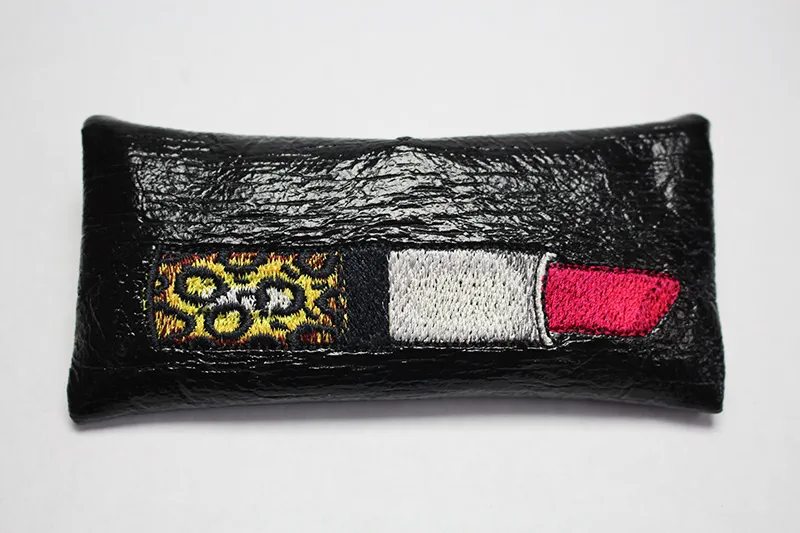 And we are finished!
You can make this pouch any width size you need. My next one is going to be 9” wide by 6” tall to hold my lip gloss 😊
Be sure to share photos of your projects on Facebook and Instagram using hashtags #StitchingSewcial, #brothersews and #angelawolf - I always love to see what you are working on!
Cheers,
Angela


